Project 1 - Meshing of Floor Panel
Aim: To ensure that the geometry is cleaned up, midsurfaced, and meshed accurately according to given quality criteria.
Objectives:
- To remove unwanted geometry features and prepare the geometry for accurate meshing to meet the quality criteria .
- To create an accurate midsurface representation of the floor panel to simplify the geometry while ensuring that the thickness is assigned correctly.
- To generate a high-quality mesh of the floor panel with the target element length of 5 units to accurately represent the geometry, provide reliable results, and meet the design requirements.
Introduction
The term "floor panel" generally refers to the structural component of a car's floor that forms the bottom surface of the passenger compartment. This panel is typically made of steel or other strong materials, and is designed to provide a sturdy foundation for the seats and other interior components.
In addition to providing structural support, the floor panel may also include various features and components, such as:
- Mounting points for the seats, seat belts, and other interior components
- Channels or channels to route wiring, plumbing, and other systems
- Openings or vents for air conditioning and heating systems
- Sound insulation materials to reduce road noise and vibrations
The design of the floor panel can vary depending on the type of vehicle and its intended use. For example, high-performance sports cars may have lightweight, aerodynamic floor panels to improve handling and acceleration, while off-road vehicles may have reinforced panels to withstand rough terrain.
Steps Carried Out
- Import the geometry: The first step in meshing the floor panel in ANSA is to import the geometry into the ANSA software. This can be done by using the import geometry function.
- Geometry cleanup: Once the geometry is imported, the next step is to clean up the geometry. This involves removing any unwanted geometry features that can cause meshing issues. The cleanup can be performed using the geometry cleanup tools available in ANSA.
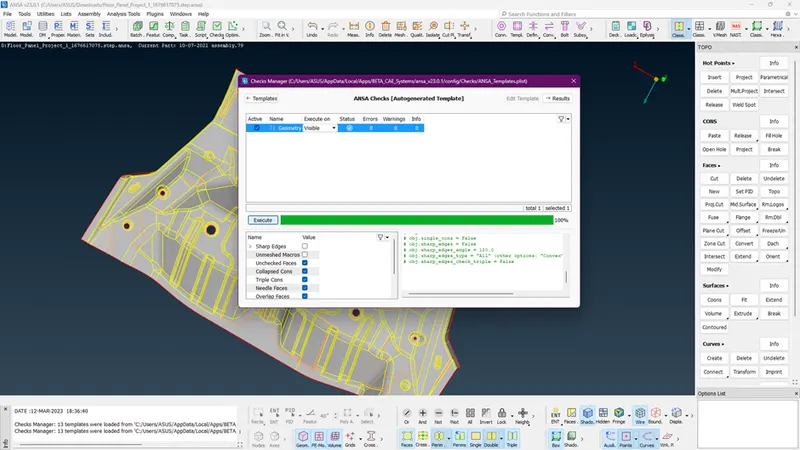
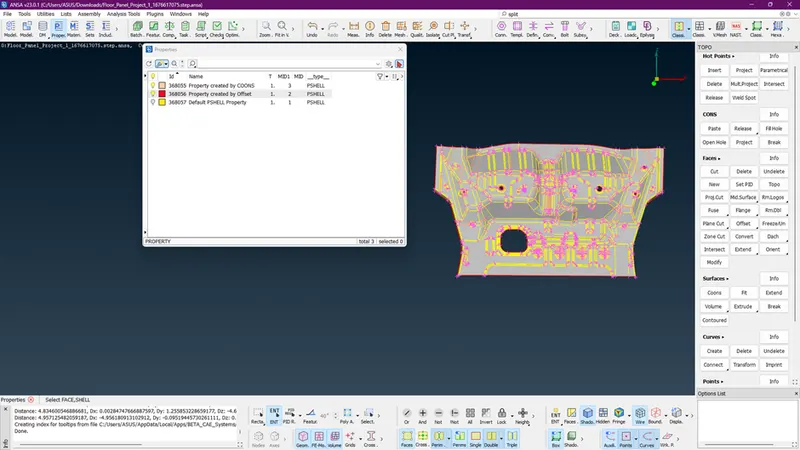
- Midsurfacing: After the geometry cleanup, the next step is to create a mid-surface representation of the floor panel. This is done using the midsurfacing function in ANSA. The midsurface should accurately represent the thickness of the floor panel.
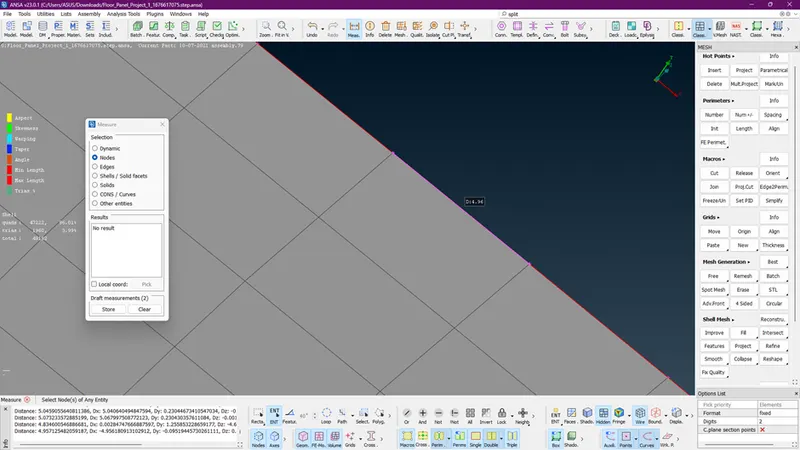
- Assigning target element length: Once the mid-surface is created, the next step is to assign the correct length to the midsurface. This can be done using the length function in ANSA.
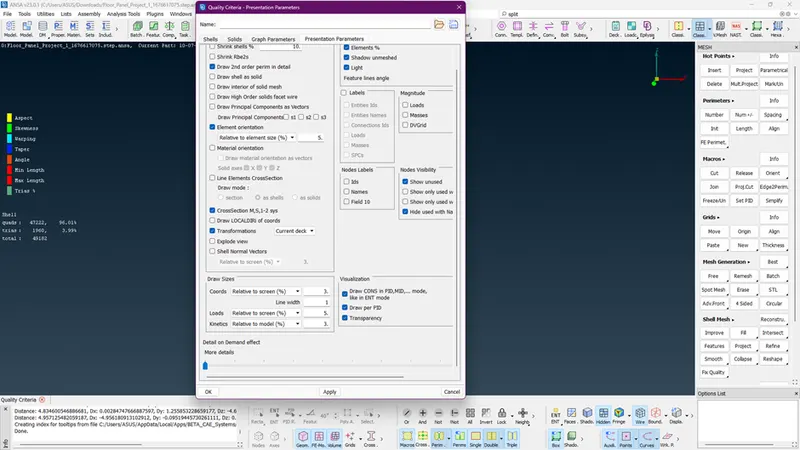
- Quality check: A quality check should be performed to ensure that the mesh meets the required quality criteria. This can be done using the mesh quality checking tools available in ANSA.
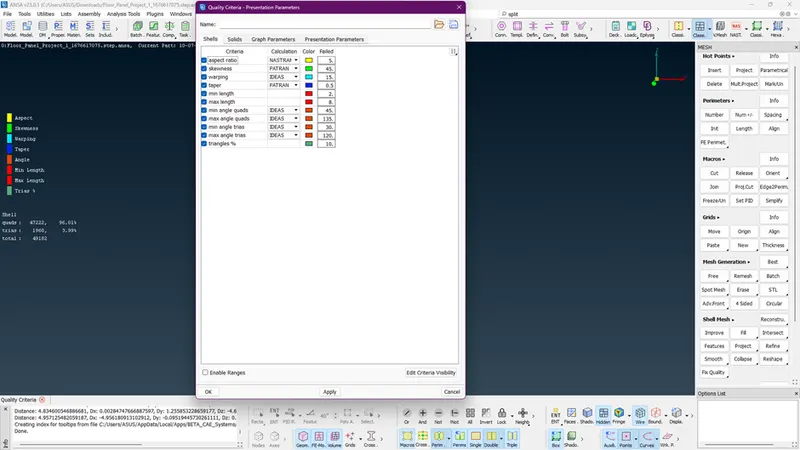
- Meshing: The final step in meshing the floor panel in ANSA is to generate a high-quality mesh. ANSA provides various meshing tools such as tetrahedral, hexahedral, and shell meshing. The meshing should be done with the target element length of 5 units to accurately represent the geometry and provide reliable results.
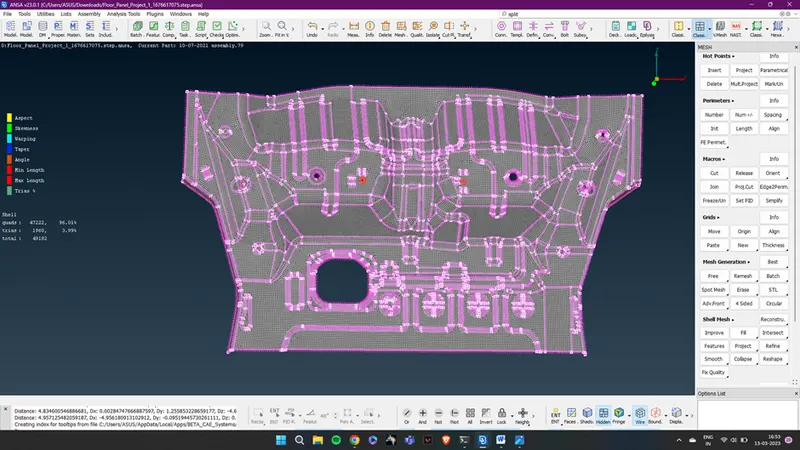
Results
- Total percentage of trias: 3.99
- Total percentage of quad elements: 96.01
- No of off elements : 0
Conclusion
The meshing process involved several steps, including geometry cleanup, midsurfacing, thickness assignment, meshing, and quality checking. Each of these steps played an essential role in ensuring that the mesh met the required quality criteria, such as element size, element shape, aspect ratio, skewness, and smoothness. By using the tools available in ANSA, a high-quality mesh was generated with the target element length of 5 units. The quality of the mesh was thoroughly checked to ensure that it meets the desired quality criteria.