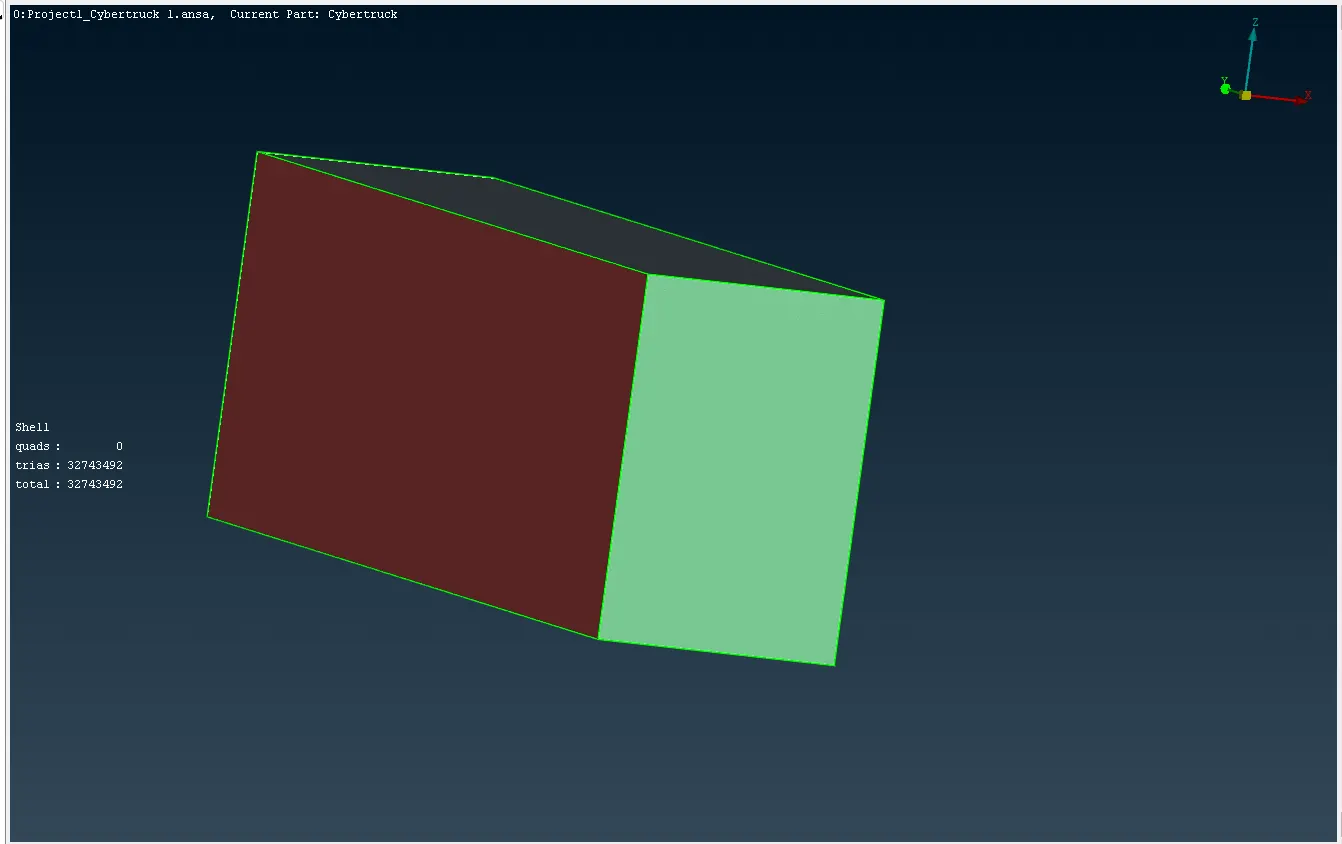
Project 1 : CFD Meshing for Tesla Cyber Truck
Aim
To CFD meshing the Tesla Cyber Truck by using the ANSA application.
Objective
Given the model, check and solve all geometrical errors and assign PIDs to perform meshing with the suitable target length and element quality criteria. To create the wind tunnel with tetra elements and volume meshing.
Procedure
The Tesla cyber truck clears the geometrical errors, assigns PIDs, and meshes the model using ANSA.
- Topo clean
- Assign PIDs
- Meshing
- Wind tunnel
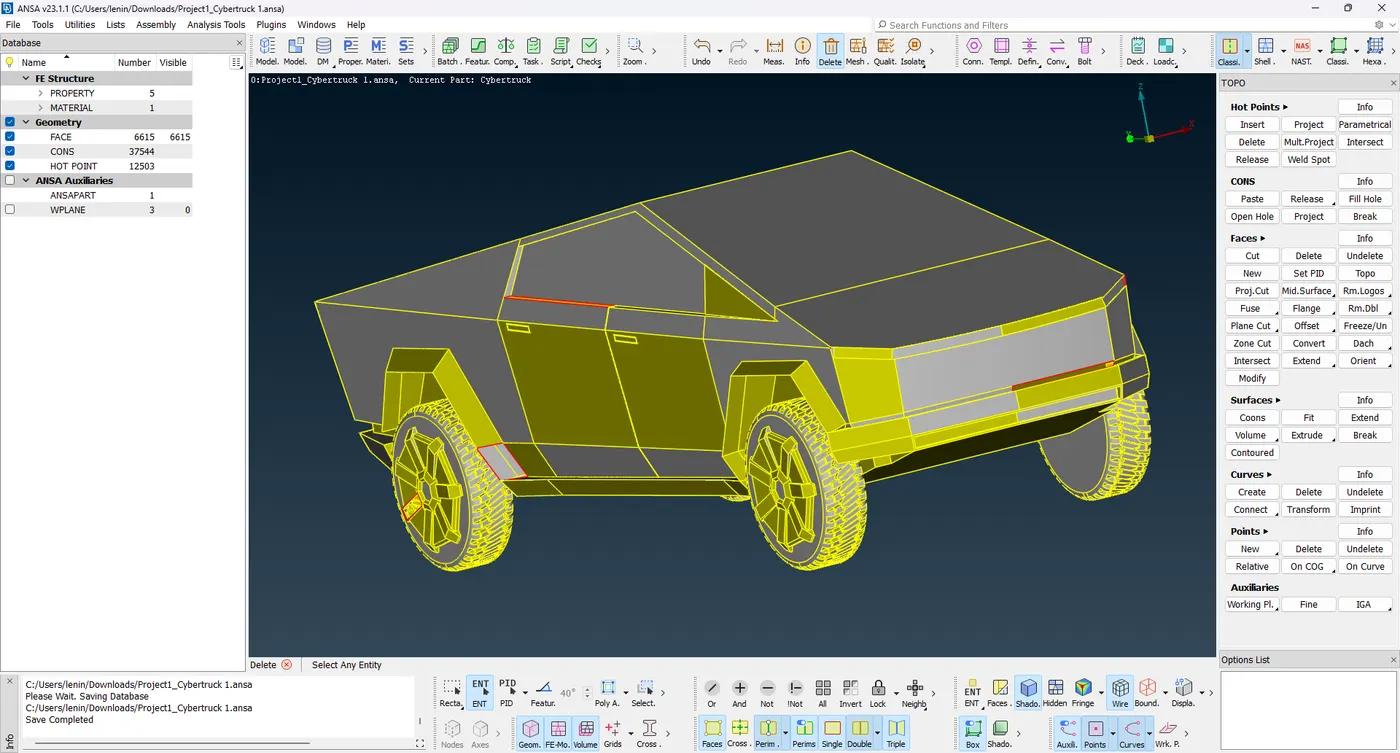
The Tesla Cyber truck model file is open in the ANSA application by File -> Open -> Select the file "Project1_cybertruck" -> Ok. The model will load and open in ANSA as shown below.
1. TOPO Clean
You can open the model and observe that in some places, surfaces are missing while extra surfaces are present. The model is full of single cons so select the full and Topo the model. TOPO -> Faces -> Topo -> Select the overall model -> Ok then it shows the missing surface. First create the surface where it is missed by using the tool NEW, TOPO -> Face -> New -> Fitted -> Select the single cons -> click the middle mouse button -> to show the preview of the surface -> Ok. The single cons region is patched to become a perfect model.
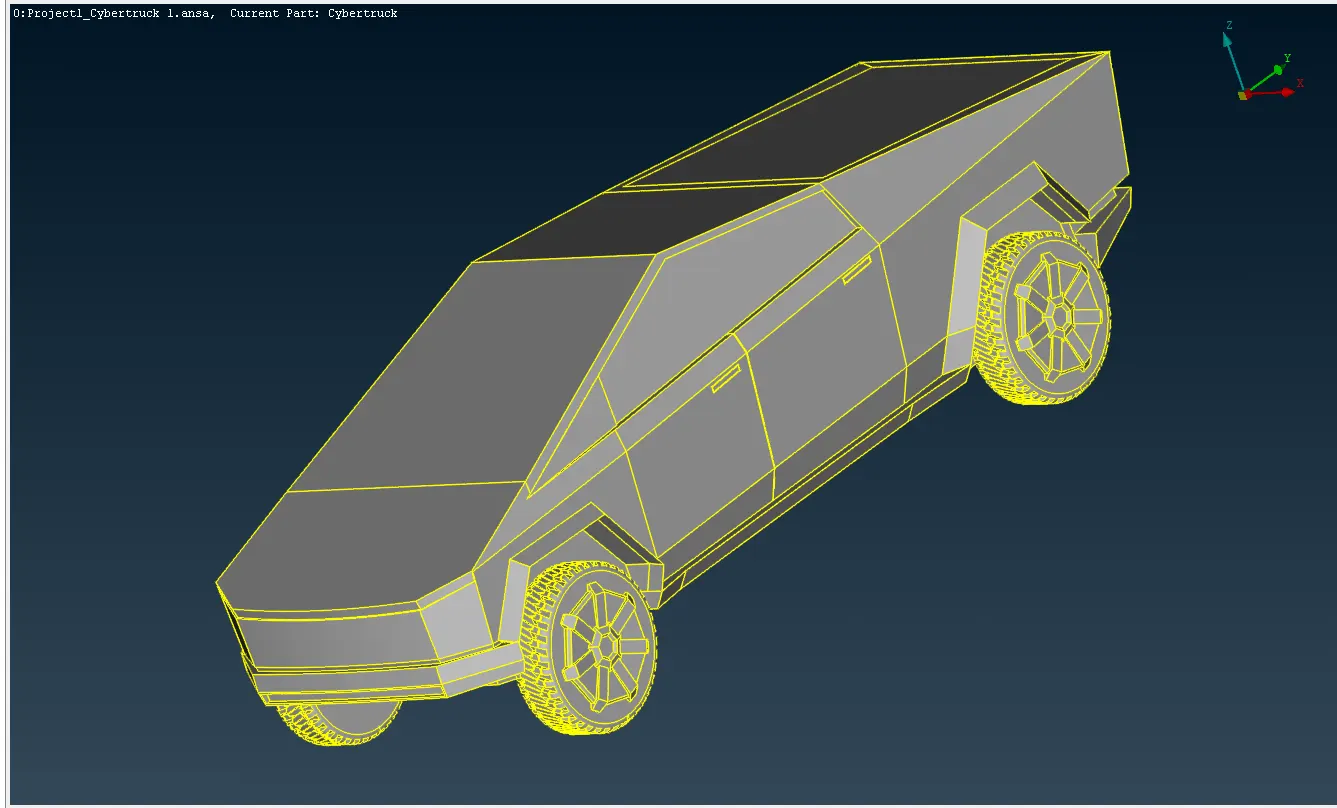
In four places, extra surfaces need to be deleted and recreated with suitable alterations as necessary. Mainbar -> Delete -> Select the unwanted surfaces -> Ok, the surfaces are deleted. Use some tools like Cut, New, Fill Hole, and Paste to alternate the surfaces with suitable needs and create that place, to inspect the model thoroughly any unwanted surfaces are present or not both outside and inside of the model. The geometrical errors are clean as shown in the image.
2. Assign PIDs
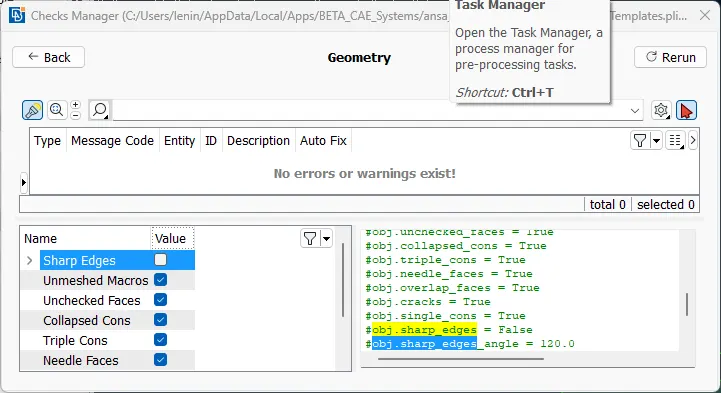
After clearing the geometrical errors to check the model whether single cons, triple cons, cracked surfaces and needle face, these present to solve the errors and the model be a no errors while checking, the PIDs already assigned in the model are four wheels separately and body 5 PIDs are present. Mainbar -> Checks -> Select the option "Geometry" -> Open the tab "Check Manager" -> Select all the errors without "sharp edge" -> Click the Execute -> "No errors" is indicated to the next step as shown below.
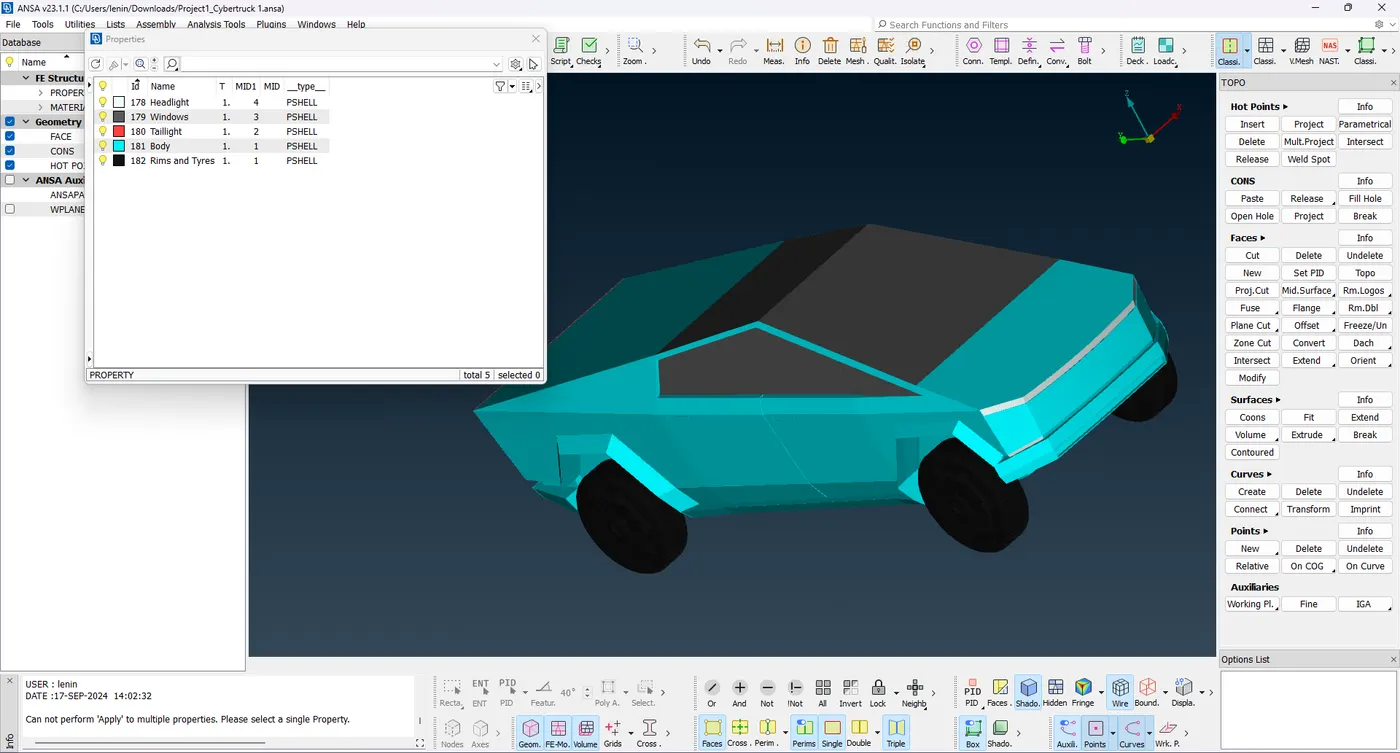
To create PIDs named Body, Rim and tyre, Headlight, Taillight and Windows. Mainbar -> Properties -> right click the mouse to select the NEW -> PSHELL -> PSHELL -> Open the tab " PSHELL PLPLANE PSHEAR" -> Rename the need the model -> click OK to create the PIDs. After creating the PIDs assign the suitable part to assign the PIDs. After creating the PIDs assign the suitable part to assign the PIDs.
3. Meshing
Assign PIDs next to mesh the model through PIDs. Goto properties -> right-click the PIDs -> select the APPLY -> to select the parts -> OK to apply the PIDS. After applying the PIDs enter the target length and quality criteria. Mainbar -> Mesh parameter -> select the element type TRIA -> target length enter -> ok to apply the target length. Mainbar -> quality criteria -> enter the maximum length and minimum length -> Ok to apply the quality criteria, the target length is shown in the table below.
| Sl. No | PIDs | Target Length |
|---|---|---|
| 1. | Body | 2 mm |
| 2. | Rims and tyres | 4 mm |
| 3. | Windows | 2 mm |
| 4. | Headlight | 3 mm |
| 5. | Taillight | 3 mm |
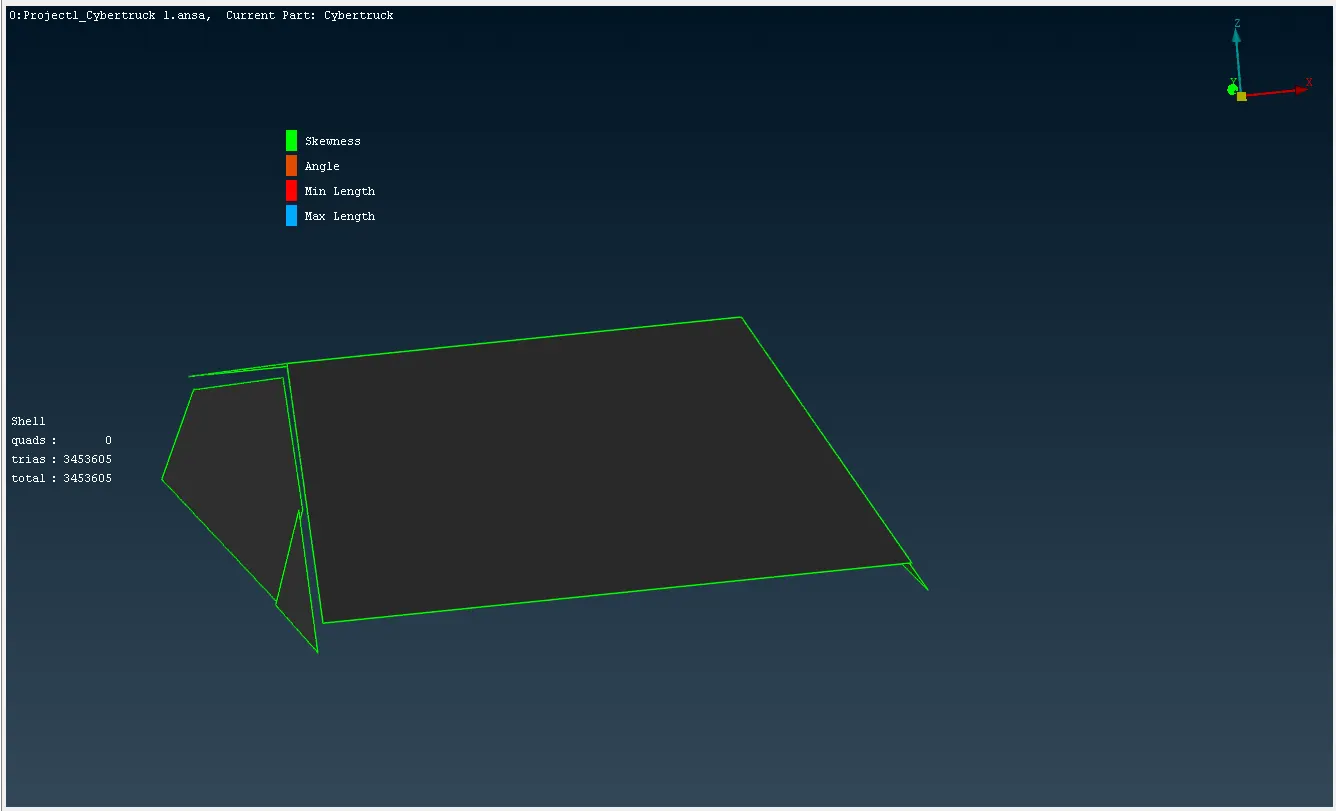
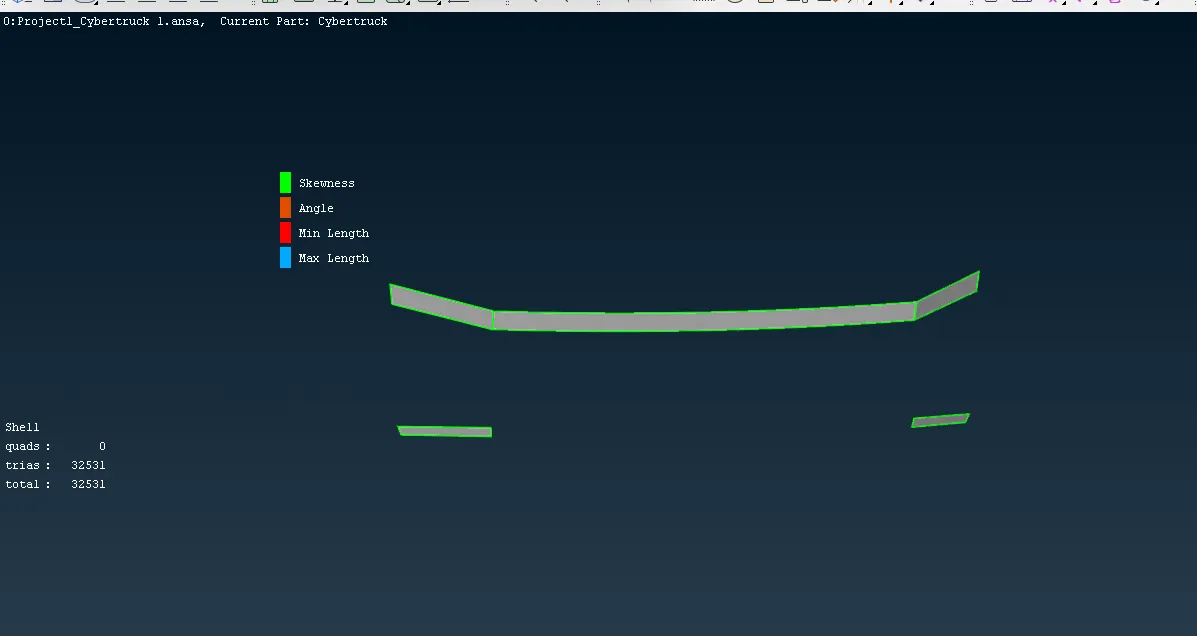
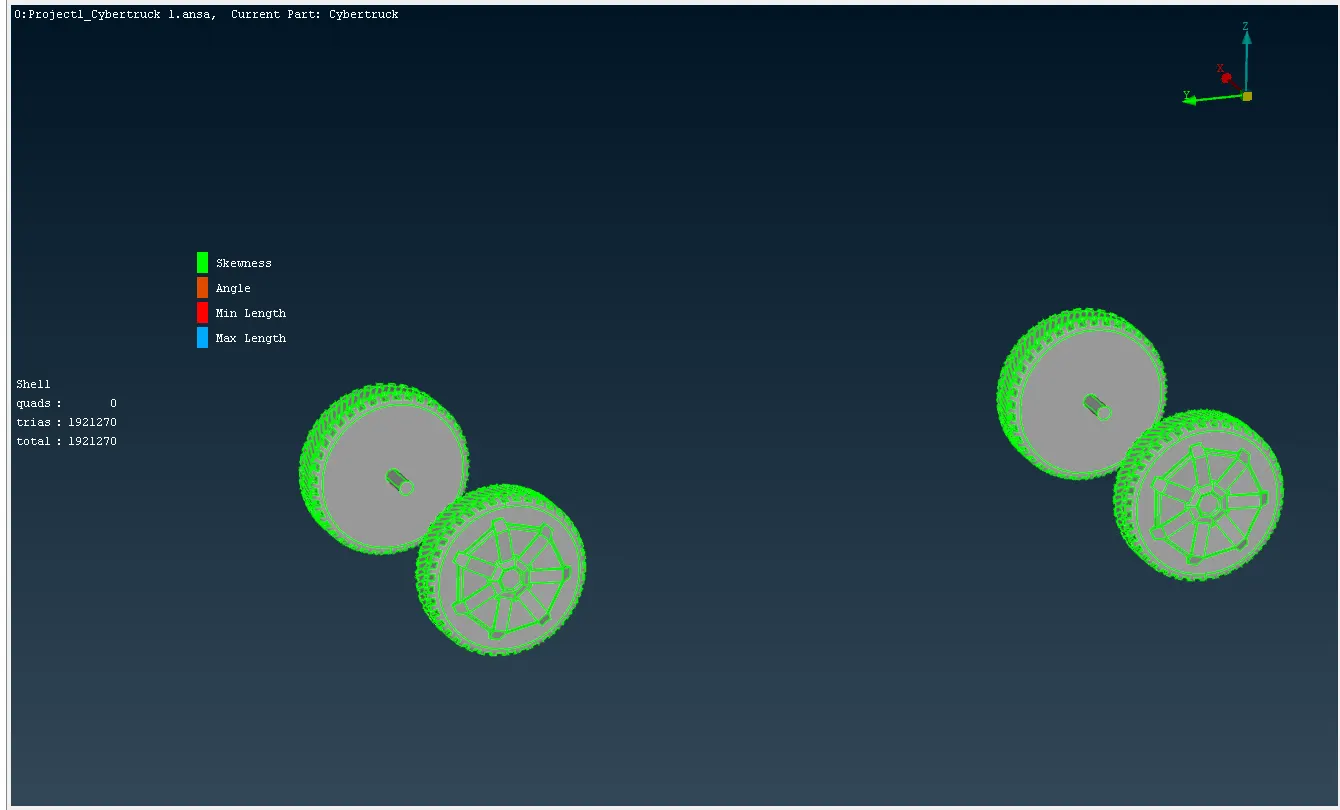
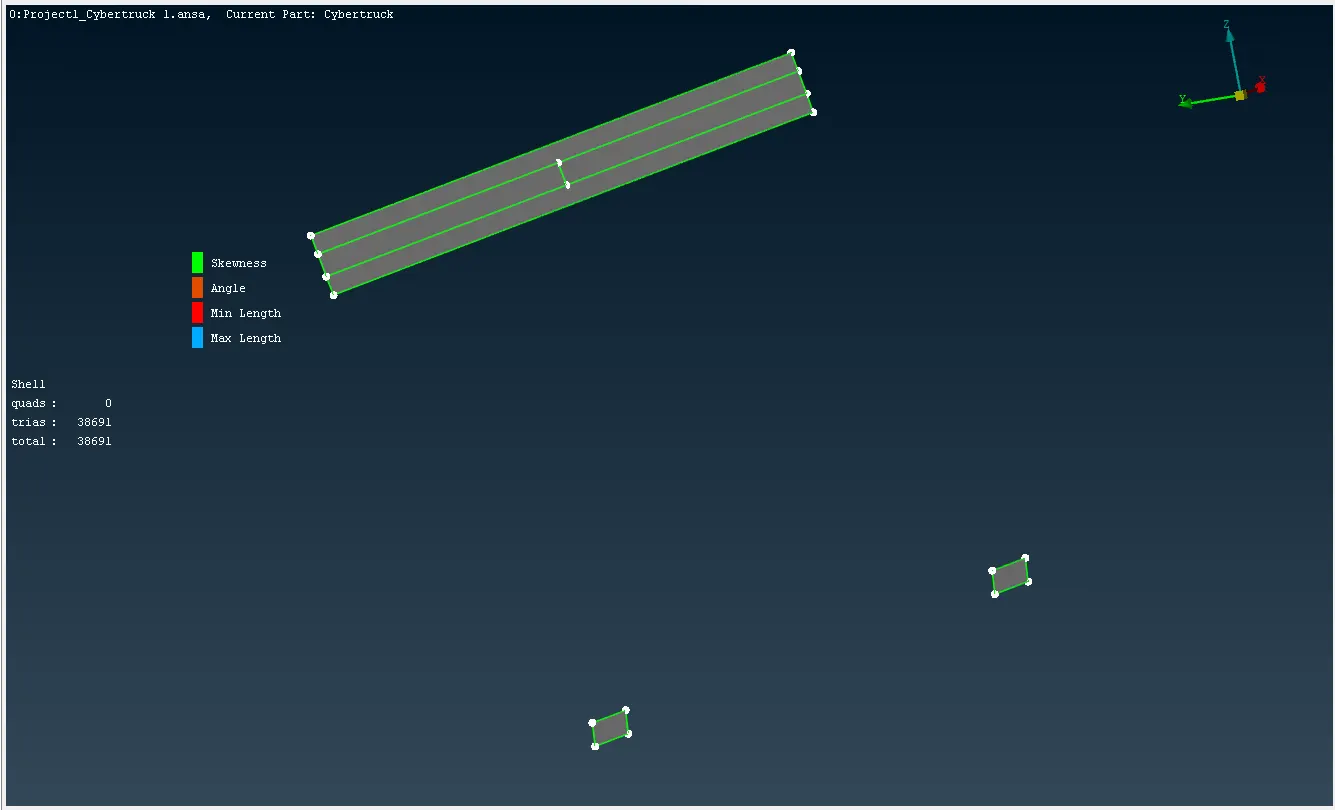
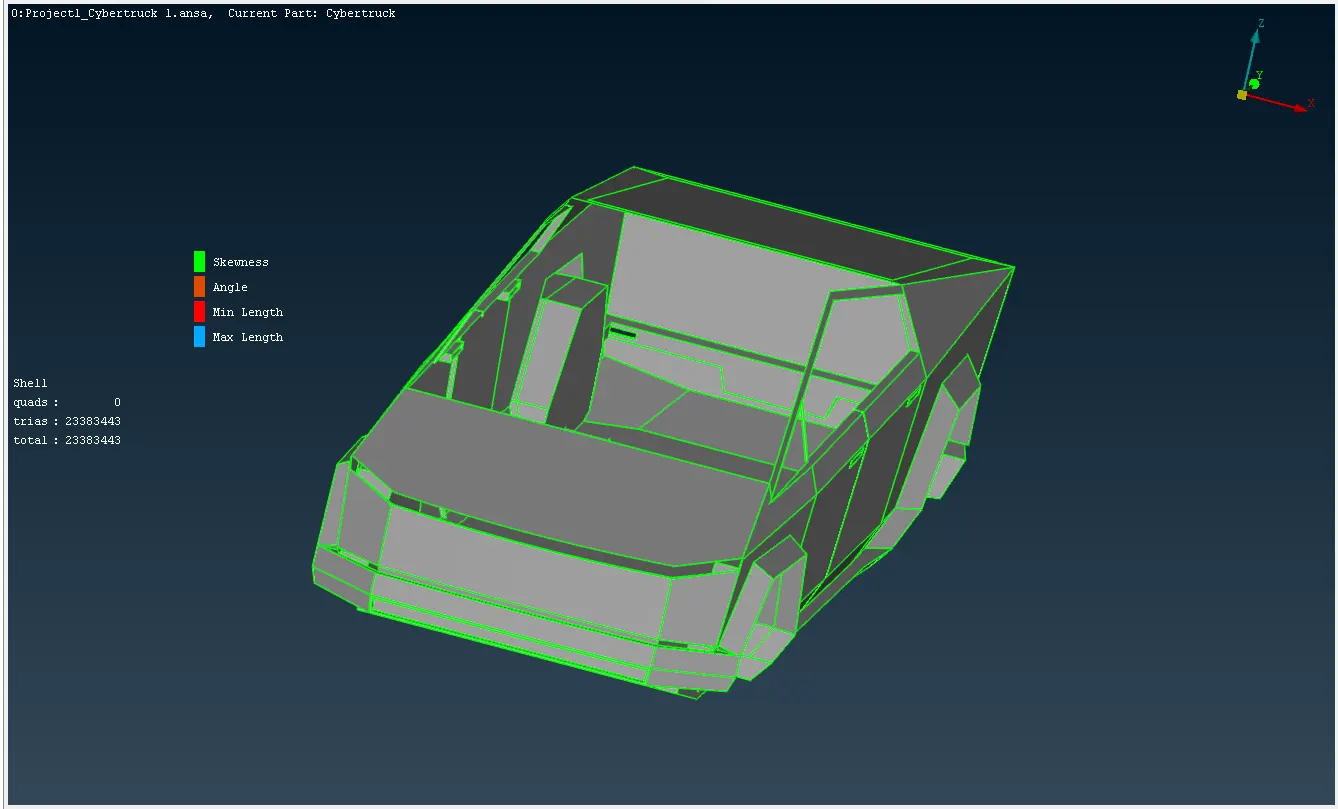
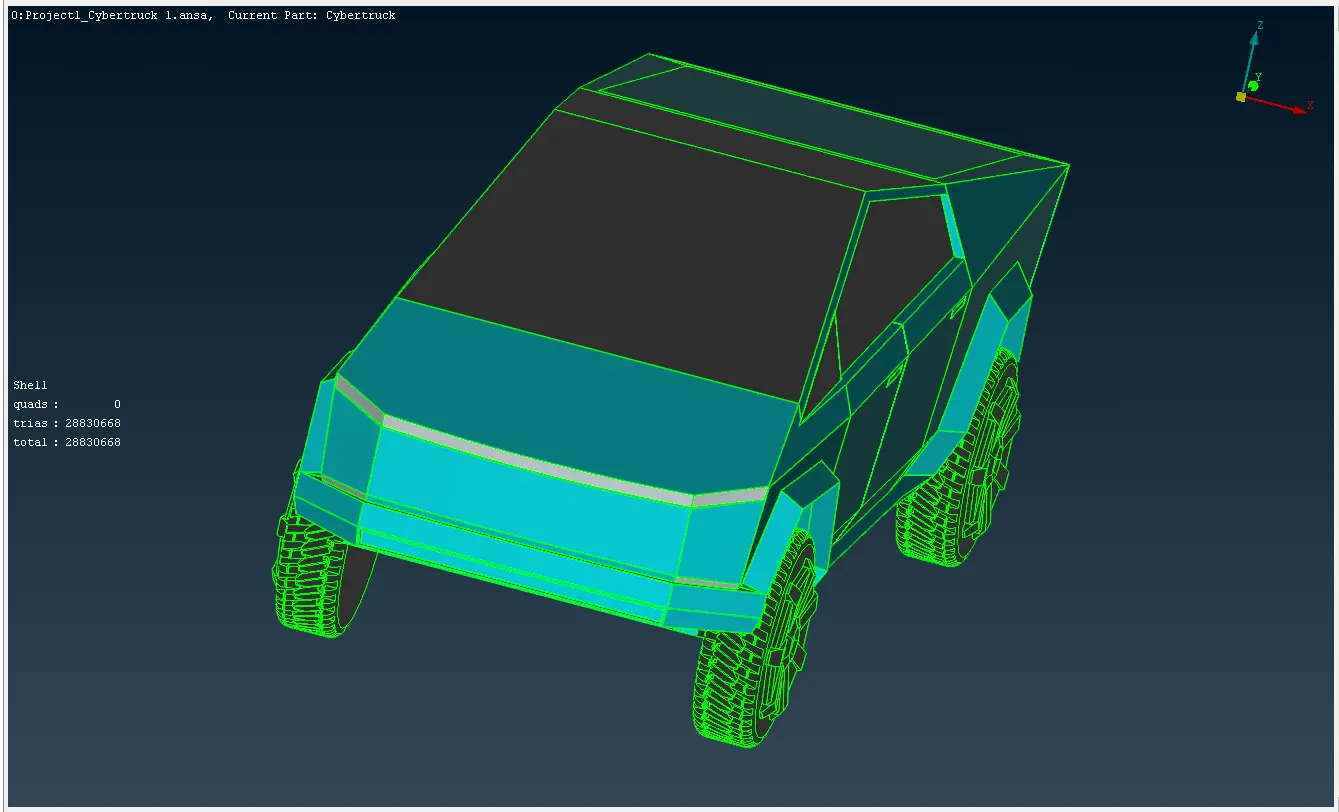
Mesh-> Perimeters -> Parameter -> select the part -> ok -> new tab open Length parameter -> enter the target length -> Ok and same as Mesh -> Perimeters -> Macros -> select the part -> ok -> new tab open Length parameter -> enter the target length -> Ok. After these steps, spot mesh the parts by Mesh -> Mesh generation -> Spot mesh -> Visible -> ok to mesh the parts as shown in the images below.
4. Wind Tunnel
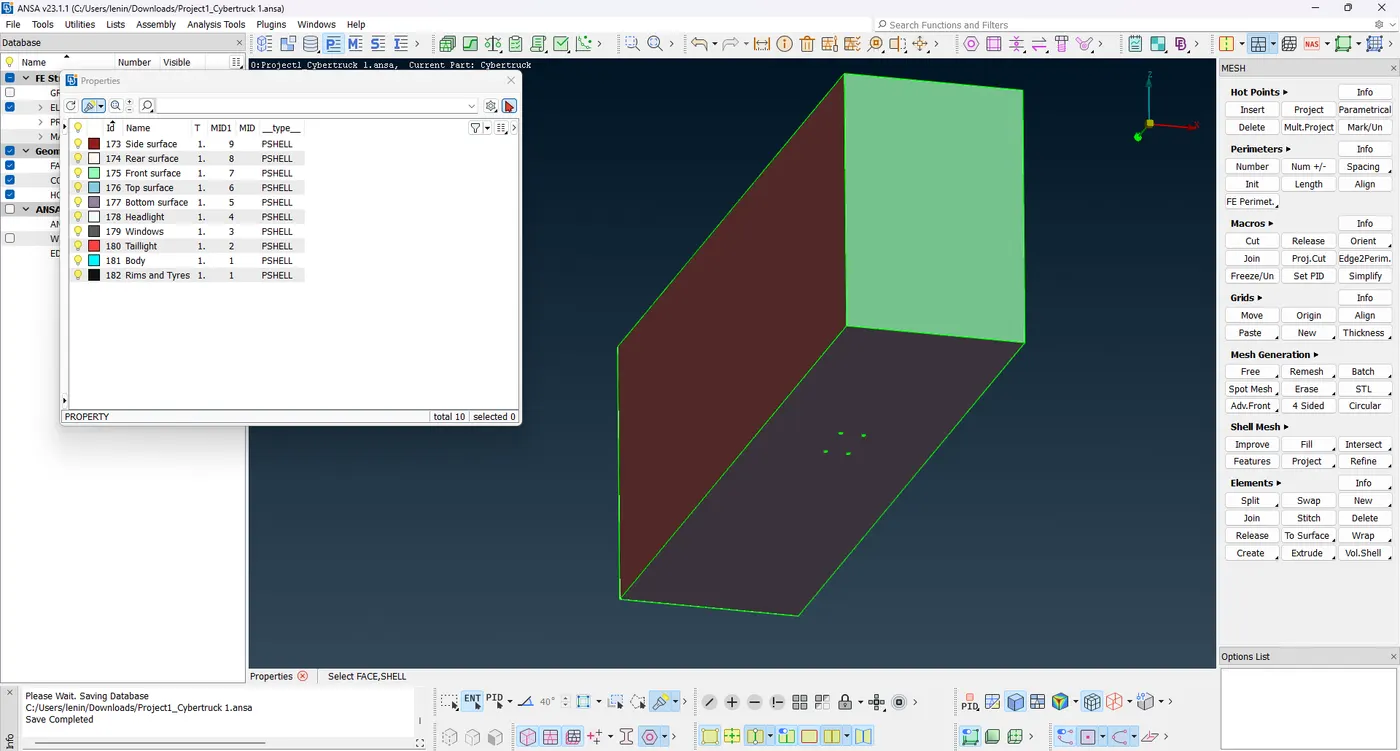
After meshing the model to create the wind tunnel over the model. The wind tunnel is rectangular in length, width and height based on the car's length as below. Let x denote the total distance of the car, the surfaces are
> Bottom surface = nearest to the wheel ~ 50 mm from the wheel
> Top surfaces = 3x from the top of the car
> Front surface = 4x from the bumper of the car
> Rear surface = 6x from the back surface of the car
> Side surface = x from a side door of the car
x = 5870 mm
Top surface = 17610 mm
Front surface = 23480 mm
Rear surface = 35220 mm
Side surface = 5870 mmm
To create the surface TOPO -> Points -> Relatives -> select the point to create the length -> ok and then TOPO -> Curves -> Create -> to select the created points to refer 3D cons -> Faces -> NEW -> select the cons -> Ok to create the surface. After creating the first surface offset the surface at the opposite side by Faces -> Offset -> select the surface -> Enter the value to offset -> Ok to create the surface. Next, join the opposite surface to make the front, back and side surfaces.
After creating the surface and meshing the surface's bottom surface is mesh at a target length of 30 mm, the top surface is mesh at a target length of 150 mm and the side surface is mesh at a target length of 300 to 150 mm by the spacing option, to mesh the wind tunnel as shown below.
Learn Outcomes
This project assists me in evaluating my skills in this ANSA application to solve this model.
Result
Geometrical errors are solved, and assigned PIDs, and the model with a suitable target length to mesh and create the wind tunnel is successfully done as shown in the image below. Finally, the meshed TRIA element is 32743492 this element was not processed to create the volumetric mesh of the wind tunnel in my device, so I completed the project till the wind tunnel mesh was done and the model link is attached below.
Tesla Cyber Truck <- click here.