Project 1 : CFD Meshing for Tesla Cyber Truck
AIM: To solve all geometrical errors and perform meshing with the suitable Target length and element Quality criteria.
PROCEDURE:
- First, open the given model file into the ANSA GUI.
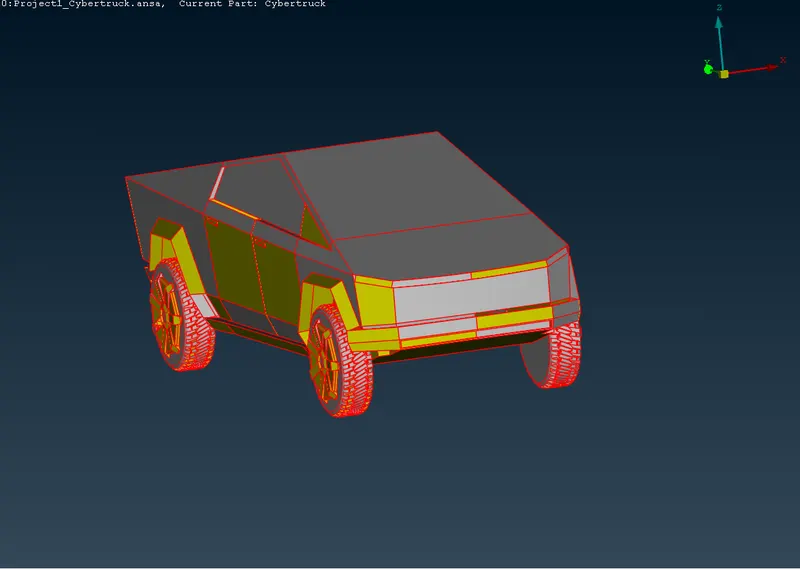
- Here, we observe that all the cons are single cons, so apply TOPO to the entire model. Then that single cons turns into double cons.
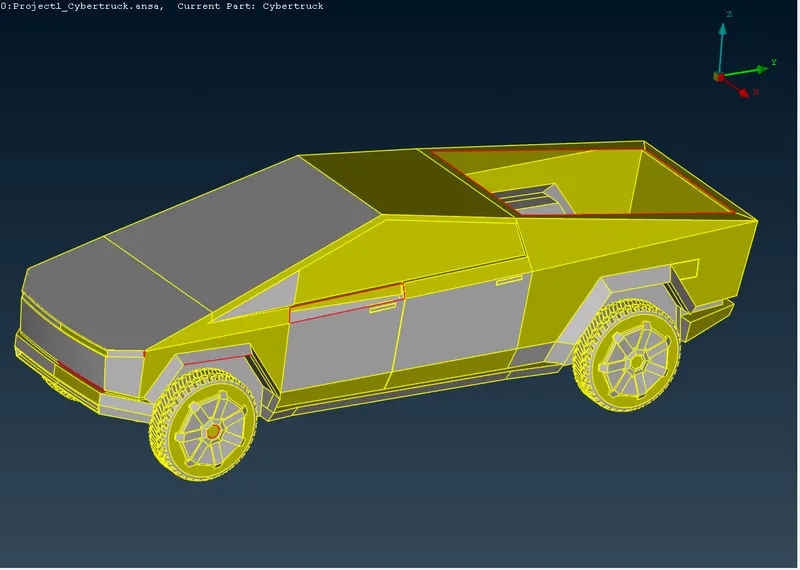
- Even though some single cons are shown up on the model surface, so use NEW option in faces section and solve the error.
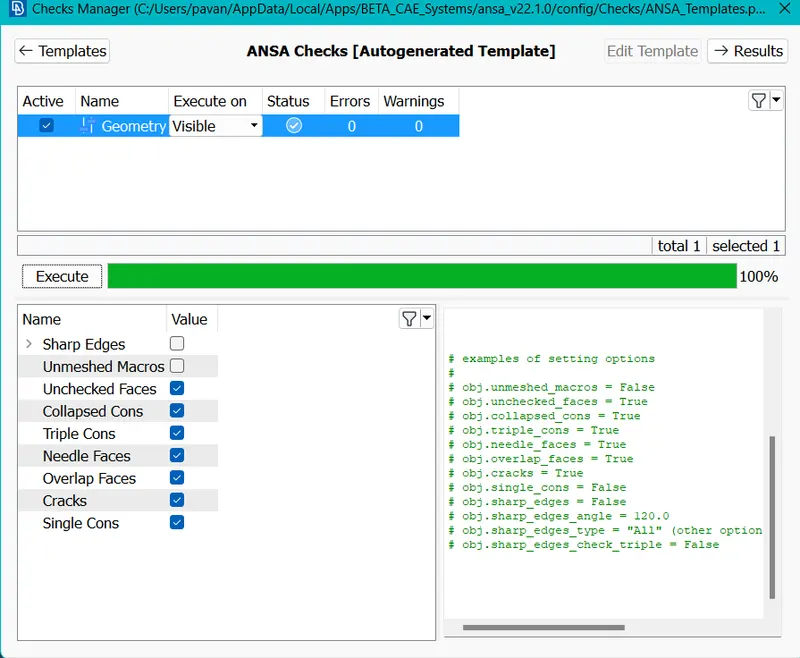
- And use Geometric CHECK tool to check the topo errors of the model surface.
- And here, it shows that there are no errors on the model surface.
- Then, create the PID's i.e.., BODY, LIGHTS, RIM AND WHEELS, WINDOWS AND DOORS.
- Then, assign the surfaces of the models to the respective PID's.
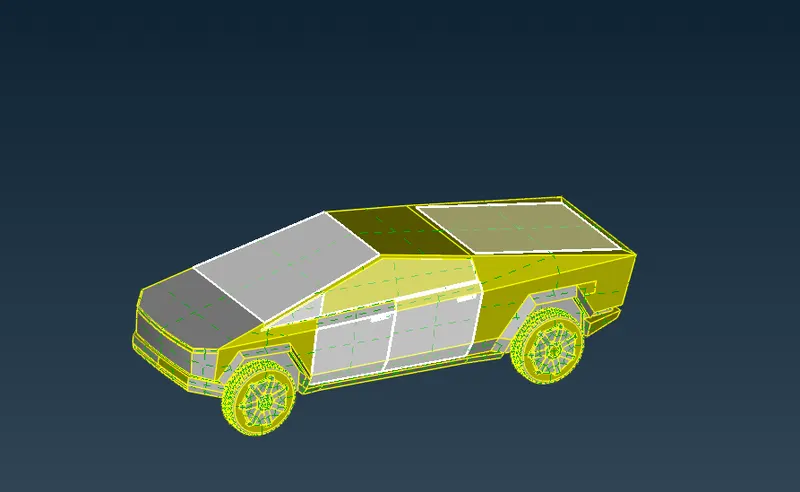
- First, assign the lights, windows and doors, rim and wheels PID's then turn off the assigned PID's and apply the remaining whole surface as BODY PID.
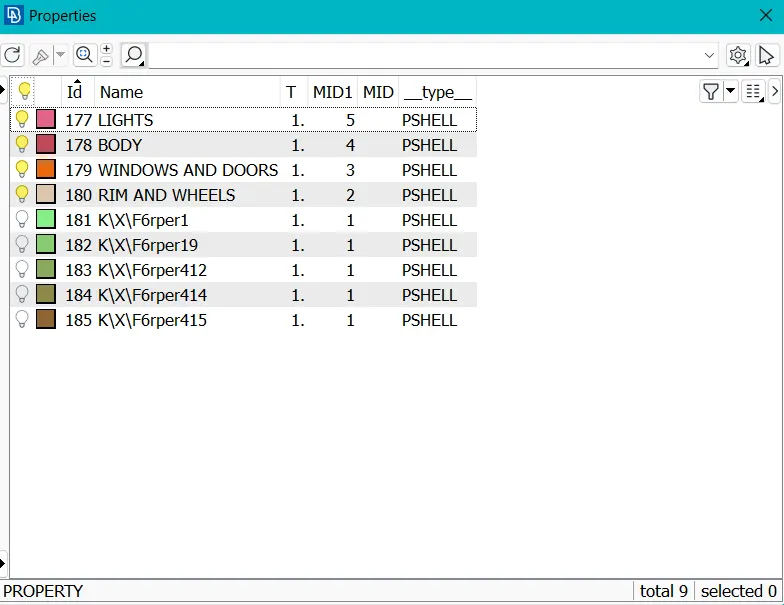
- Then, remove the unnecessary PID,s using COMPRESS option.
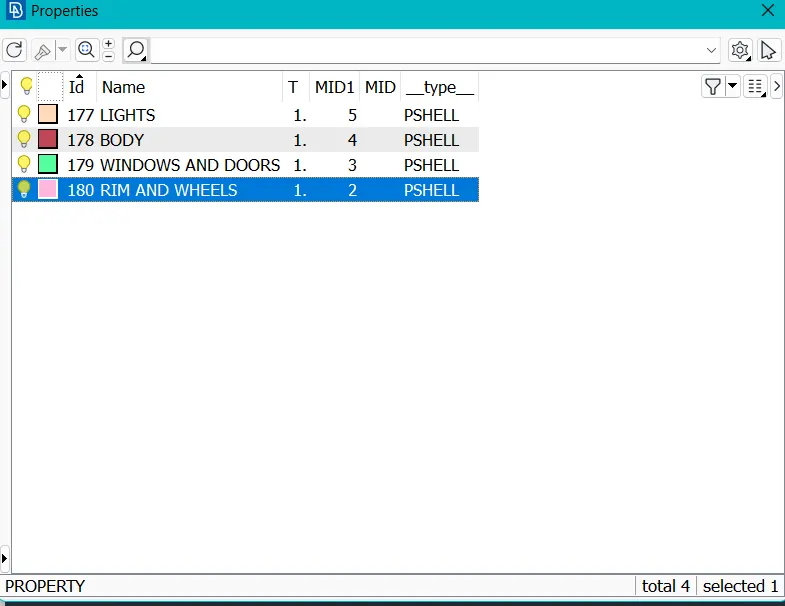
- Now, move to meshing part, before that measure the minimum suface distance of every PID using MEASURE option.
- And the minimum surface of distance of the wheels and rim are 2.5mm, and to the windows and doors PID are 28mm, and to the Lights PID are 30mm, and to the Body PID are 1mm.
- Based on this i taking the target lengths for the every PID as
Body - 3mm
Lights - 3mm
Windows and Doors - 5mm
Wheels and Rim - 2mm - And go to mesh, and first select the Lights PID only and give the target length as 3mm and the min length as 1mm, and max lenght as 5mm
- And select the mesh element as TRIO.
- And select LENGTH and give perimeters length as 3mm and macros as 3mm, then do middle click.
- And apply spot mesh to the Whole PID.
- Then, turn on the Hidden mode here it shows some off elements.
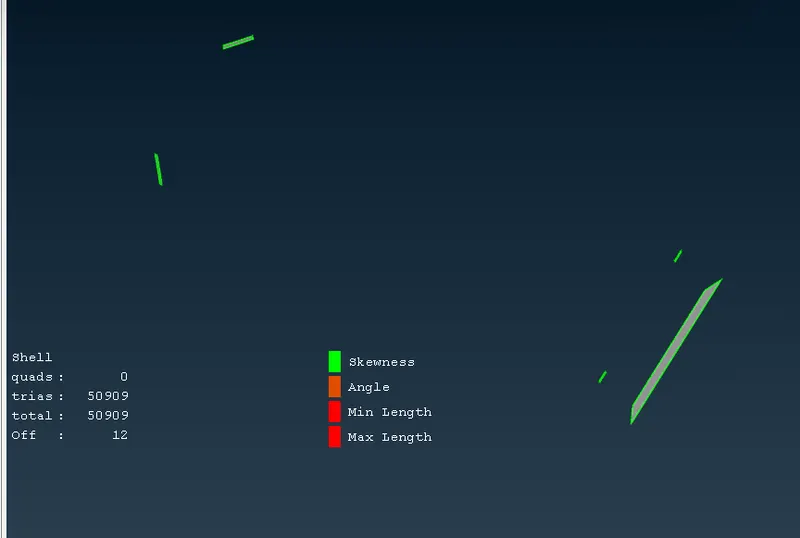
- So, use Reconstoption to clear the off elements.
- Then select the windows and doors PID and repeat the meshing steps with target length as 5mm.
- Then clear the off elements using Reconstruct tool.
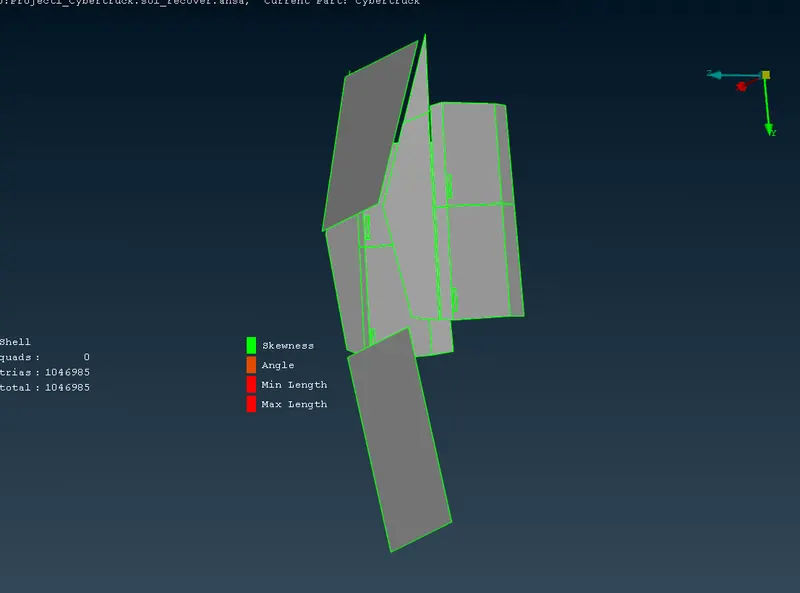
- Then select the Rim and wheels PID and apply the meshing steps of Target length as 2m
- Then clear the off elements using Reconstruct tool.
- Then, select the next PID i.e.., BODY and repeat the above steps and create mesh with an Target length of 5mm.
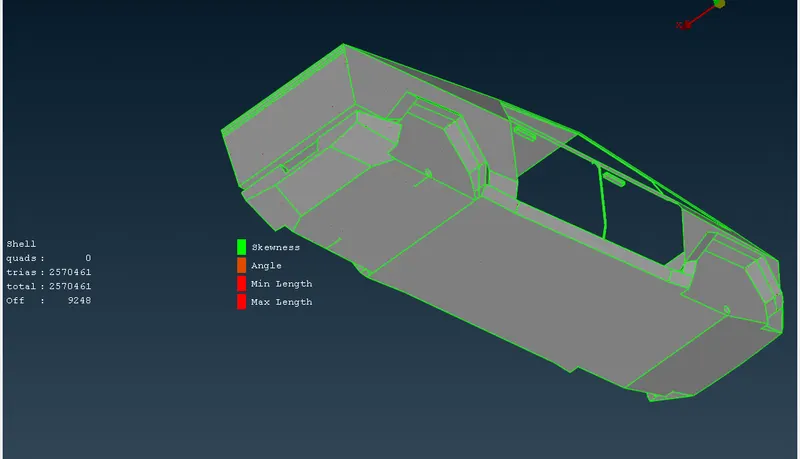
- And apply Reconstruct opption to clear the off elements, Still we see some off elements on the mesh surface, so clear the off elements using Mesh GRID tools.
- So, the meshing process is completed to all the PID's, the create a wind tunnel to the meshed model.
- To create the wind tunnel, first inserting a point using Relative option at the bottom face of the model at a distance of 350mm.
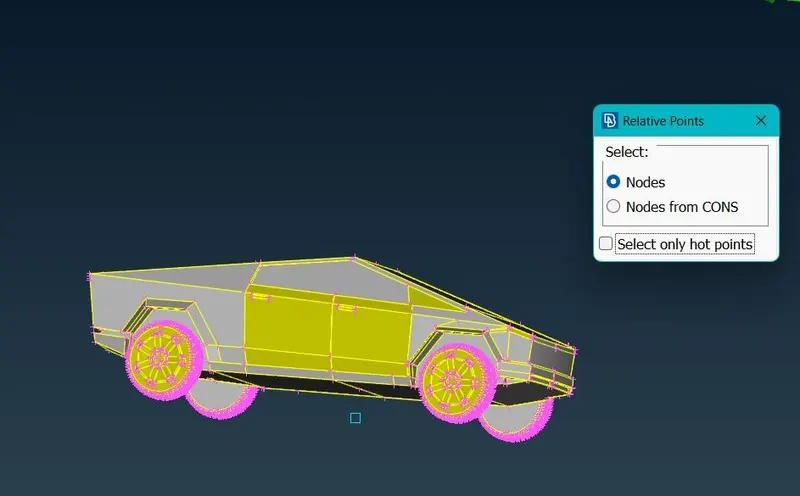
- Then create more points at a distance of 4X from that previously created refence point, here X is the lenngth of the model i.e.., X=5713.14
- Similarty create the point at a distance of X distance by taking the previous points as refernce.
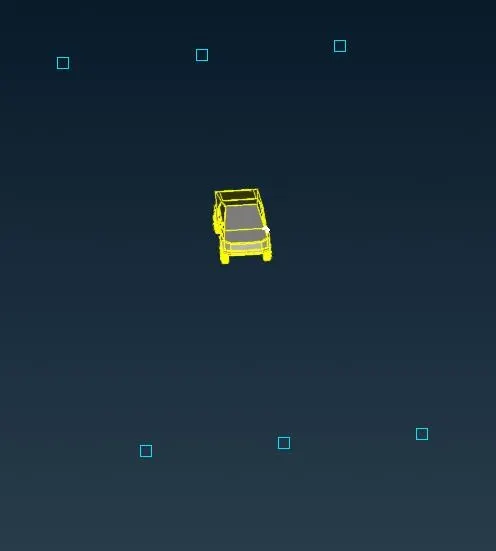
- Then using Curves join the created points to create bottom face of the Tunnel.
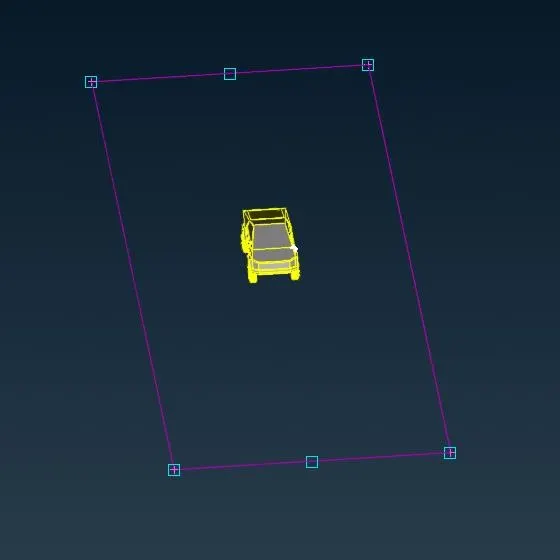
- Then make a face using NEW option tool and assign it to Bottom face_tunnel PID.
- Similarly make more points to create the Top face at a Distance of 3X from the Bottom face points.
- similarly make the sides face using NEW option tool and assign to the respective PID's.
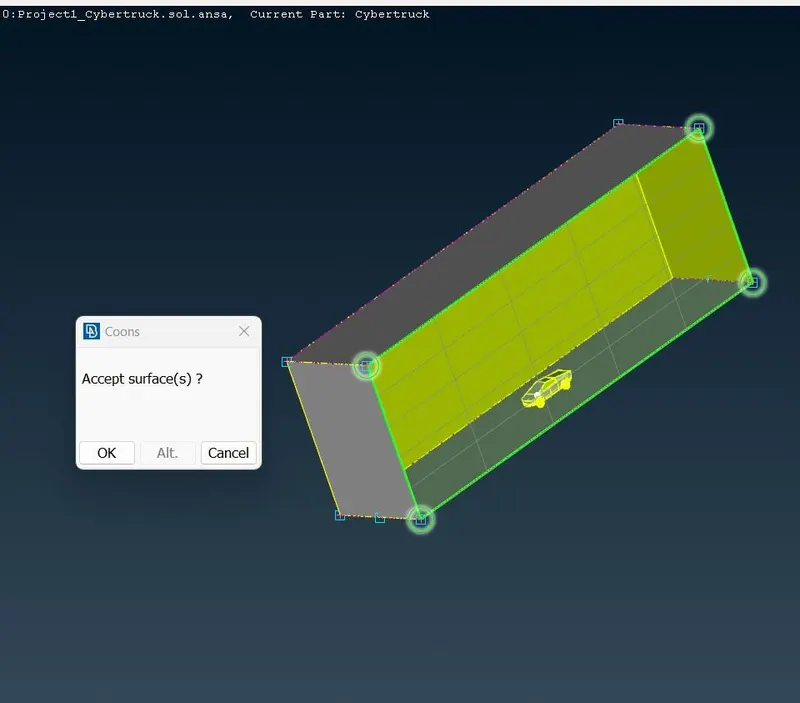
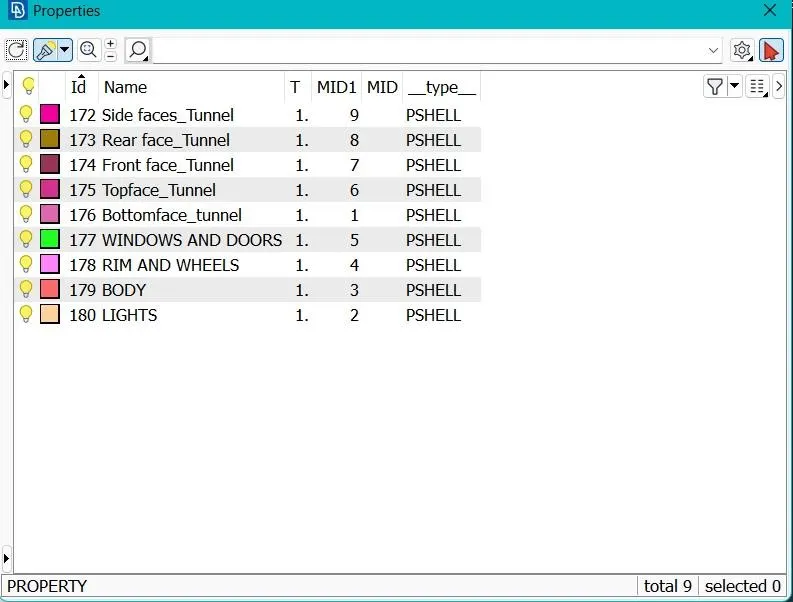
- Then now, mesh the Bottom face with an Target length of 20mm, and mesh the top face with a target length of 100mm.
- Then using Spacing option tool and mesh the side, front and rear faces with an spacing factor of 1.1 from a target length of 20mm to 100mm.
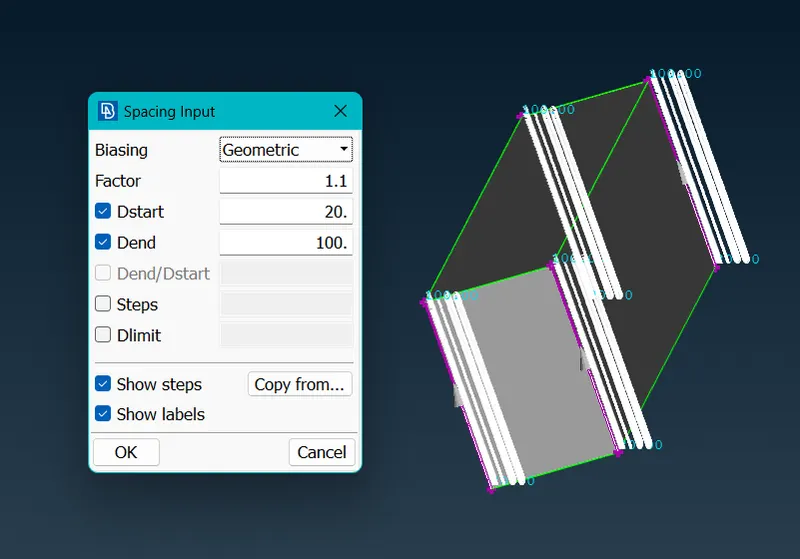
- Then move to volumetric meshing and use DEFINE tool to the meshed model and delete the unnecessary surfaces.
- Then Remesh the defined surface with Tetra CFD elements.
: Hence i solved all the topological errors and performed the meshing with the suitable Target length and element Quality criteria and crearted the Wind tunnel to the meshed model.