Project 1 : CFD Meshing for Tesla Cyber Truck
Aim: CFD meshing in Tesla cyber truck
Procedure: To perform CFD meshing in cyber truck by using following steps:
(a)Topo cleanup
(b) PID generation
(c) Meshing-surface meshing
(d) Create wind tunnel
(e) Meshing-Volumetric mesh
Step 1: Topo cleanup
- File---->Open--->select the object; Import the Tesla Cyber Truck (TCT) in the ANSA window
- Initially we have to observe the given model is symmetric or not; From that our given model is symmetric so create the hotpoints in the center axis of the truck and delete the half part of the model for easy access.
- Identify the errors in the TCT model which is check the single cons and triple cons.
- Close the holes in the model by using Faces--> New--->COONS or select fill hole and create the new face and close it
- Check the Single cons and clear it by using faces-->cut; faces---> New options
- Clear the unwanted hot points; Hot points---> Delete
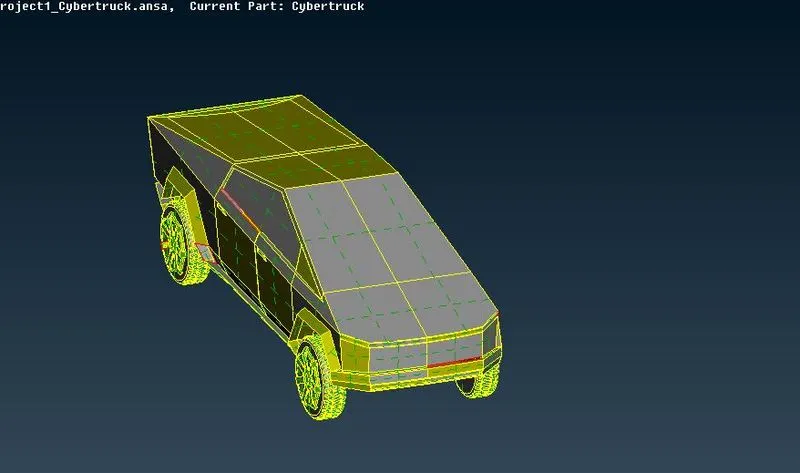
Fig 1: Initial model
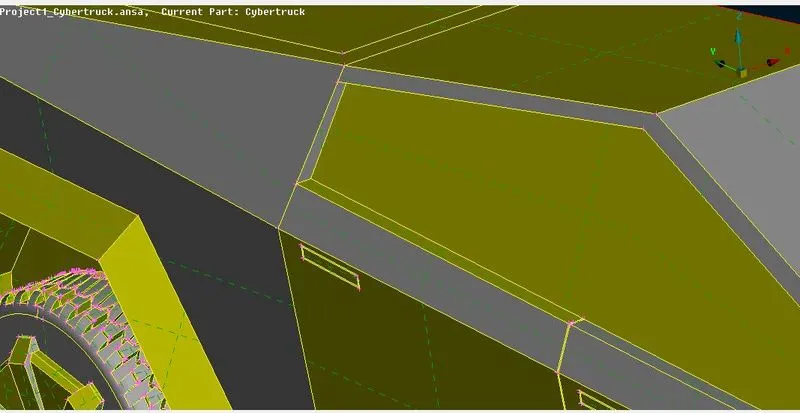
Fig 2: Topo clean up in windows
Step 2: PID generation
- After finishing the topo cleanup, we will generate the PIDs for each part.
- Go to PID tool--> new-->Pshell---> give the names |(body, tyres, windows)
- Then assign the part by clicking apply and select the part and middle click in mouse.
- Check finally all the parts are assigned or not.
- Select compress tool for removing unwanted remaining PID
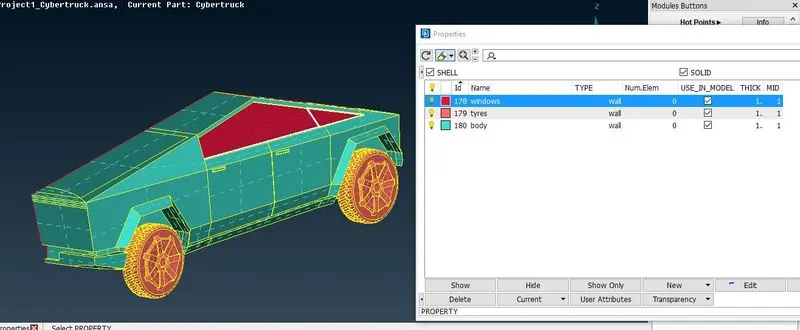
Fig 3: PID generation
Step 3: Surface Meshing
- Select each part and giving the quality criteria and meshing parameters
- Then select the Length--> perimeters---> macros--> give the target length for the particular object;
- By using PID manager, hide the parts and do the meshing; once meshing with tyres; click faces--> frozen and then do for next part;
- After meshing clear the off elements which present in the part;
- Once all the parts are meshed; deselect the frozen parts; faces--> unfrozen
- Afterthat create hot points in the center axis to do symmetry
- Seelct transform--->copy--> entities--> select the object-->select the axis-->finish
- The mirror object will be appear perfectly; if any single cons are there select faces-->paste option or clear the errors in the model.
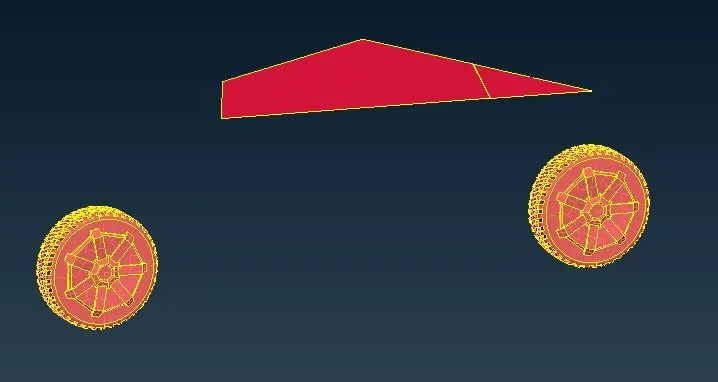
Fig 4 (a) Windows and tyres: before meshing
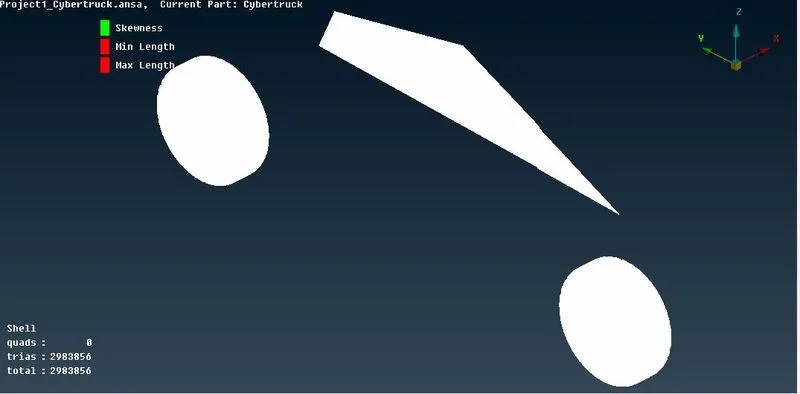
Fig 4 (b) Windows and tyres: after meshing
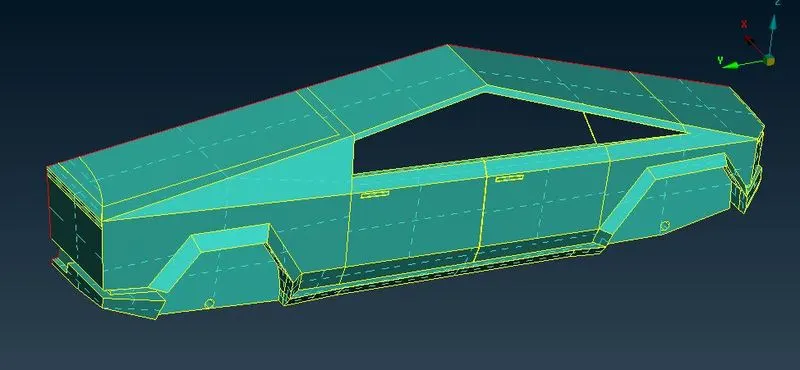
Fig 5 (a) Body ; before meshing
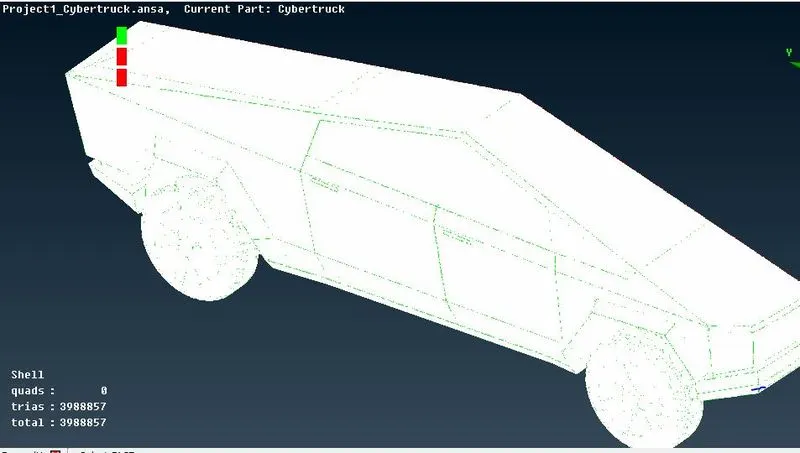
Fig 5 (b) : Body; after meshing
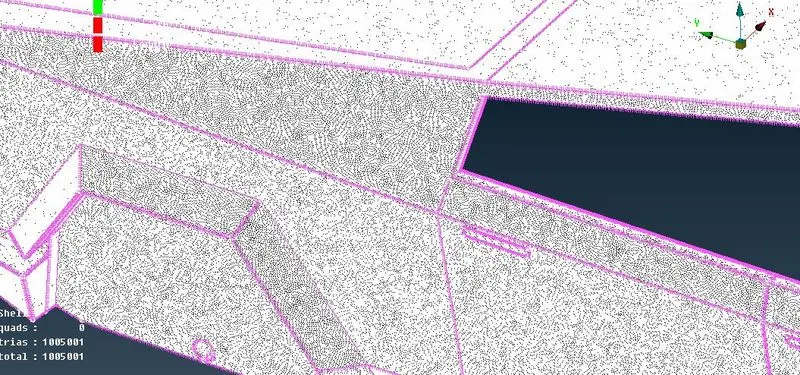
Fig 5 (c) Body; meshing in clear view
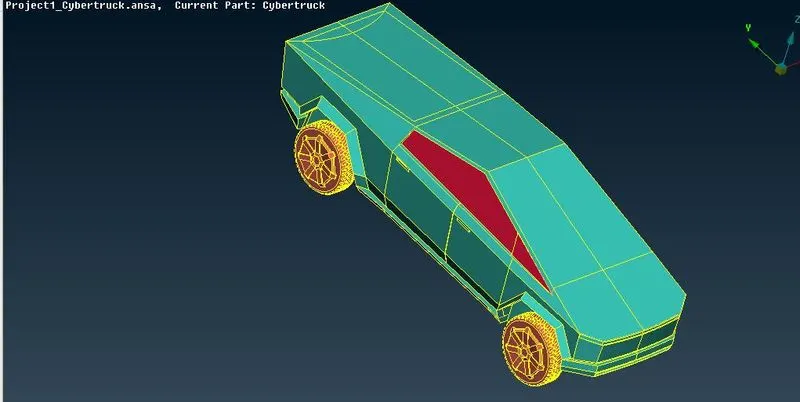
Fig 6: TCT after symmetry
Step 4: Wind Tunnel Generation
- To generate the wind tunnel create the hot points as a reference point in the base of the TCT;
- Then select the points---> relative and give the distance dz=-1000
- Measure the distance of the x direction, y direction by measure option to choose the relative points; dx, dy and dz
- Once the relative points are created; make the lines using curves--> new--> select the points
- Then create the faces; Faces--> new
- After creating the new faces at the bottom delete all the reference point as well as delete all the curves and click faces--> offset--> give the distance of offset top faces
- The top face will be created and then make the side faces by faces--> new option
- Create the PIDs for the windtunnel; top. side and bottom faces
- Then create the surface meshing of the wind tunnel by giving the perimeter and macros length
- Finally finish it with mesh---> CFD mesh--> visible
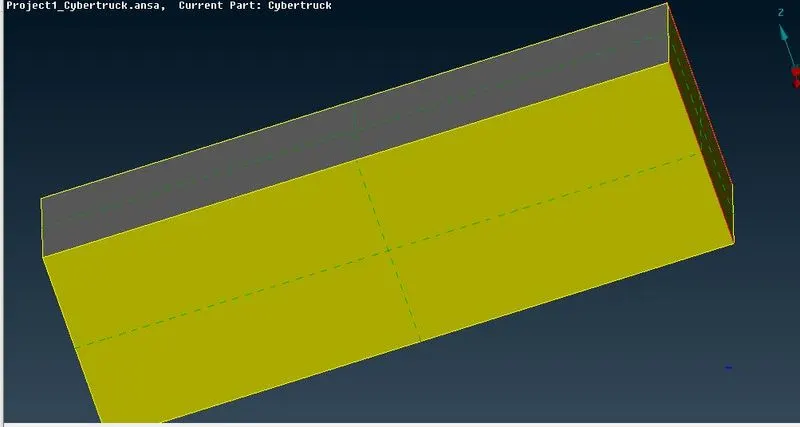
Fig 7 : Wind Tunnel
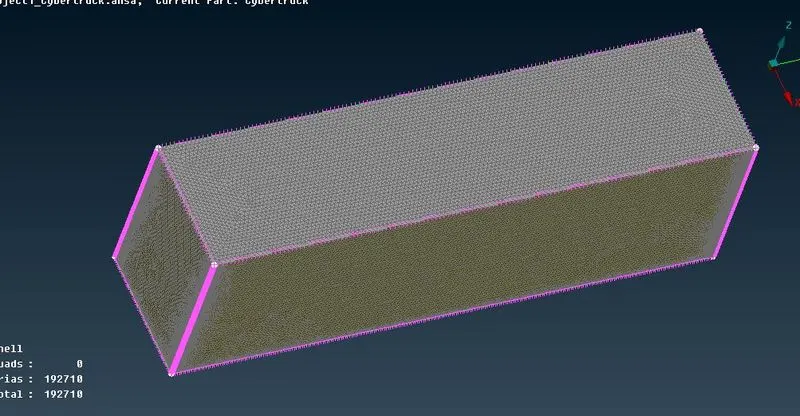
Fig 8: Wind Tunnel after meshing
Step 5: Volumetric Meshing
- Inorder to create the volumetric mesh; initally define the objects; remove the unnecesary parts and perform the volumetric mesh.
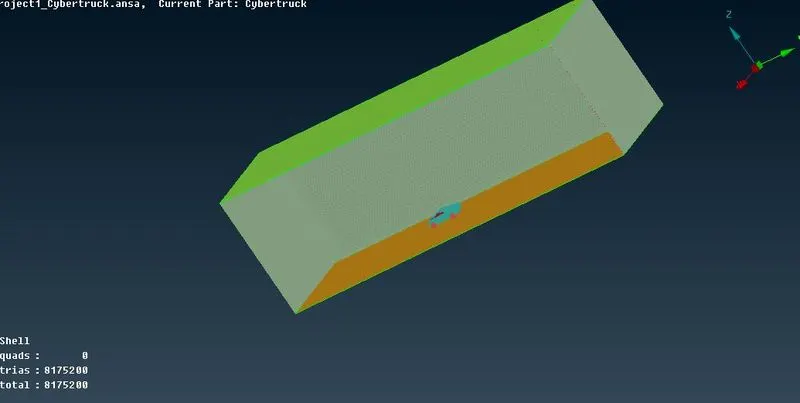
Fig 9: Final model before volumetric mesh
Final results:
- Tesla cyber truck model is perfectly cleared the geometrical errors and performed the surface meshing without off elements.
- All the errors are cleared in surface meshing.
- Generated wind tunnel and meshed successfully