Project 1 : CFD Meshing for Tesla Cyber Truck
## Objective: External aerodynamic analysis of Tesla Cyber Truck Design
## Procedure:
**Step A: Geometry Cleanup
1. When the file is loaded into ANSA, there are too many single cons. Hence select all of them and perform TOPO operation.
2. After performing TOPO, it is observed that some surfaces are missing. At such spaces, single con is formed. Hence create surfaces at such places.
3. In the inside, there are 4 stub axles where wheel assembly is attached. But this part is inside the car. It is not much importance for external analysis. Hence we can simple delete this part as well as close that opening. The stub axle will create additional volume inside the car. Hence deleting is a good decision.
**Step B: Assigning PIDs
Create following PIDs
1. Body
2. Window
3. Rim and Tyre
4. Wind shield (Front Visor)
5. Lights
** Step C: Applying Surface Mesh
1. Before applying the surface mesh, measure the minimum and maximum dimenion of each component. Do this to determine the length of element as well as for quality criteria
| Component | Minimum Dimension | Maximum Dimension | Length | Minimum Length | Maximum Length |
| Window | - | 2937 | 10 | 3 | 13 |
| Light | 30 | 865 | 10 | 8 | 12 |
| Body | 56 | 5900 | 15 | 10 | 20 |
| Rim and Tyre | 3.50 | 900 | 10 | 2 | 12 |
| Wind Shield | - | 1714 | 15 | 12 | 18 |
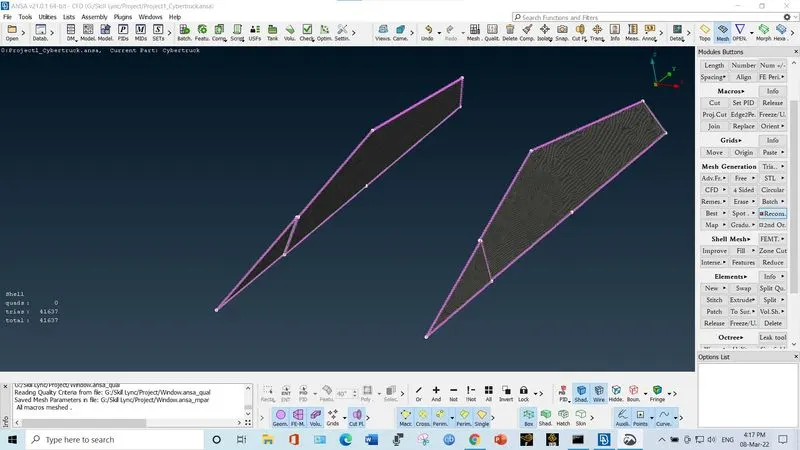
2. Surface mesh on window
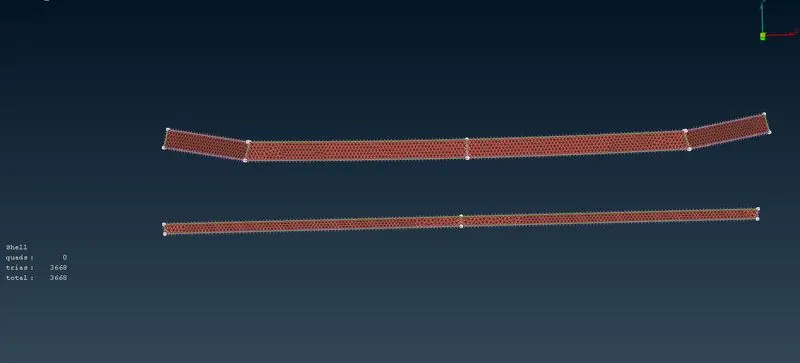
3. Surface mesh on head and tail lights
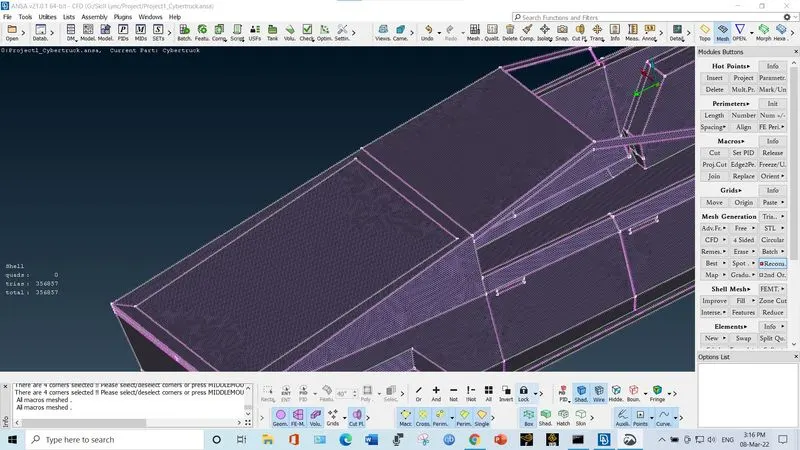
4. Surface mesh on body
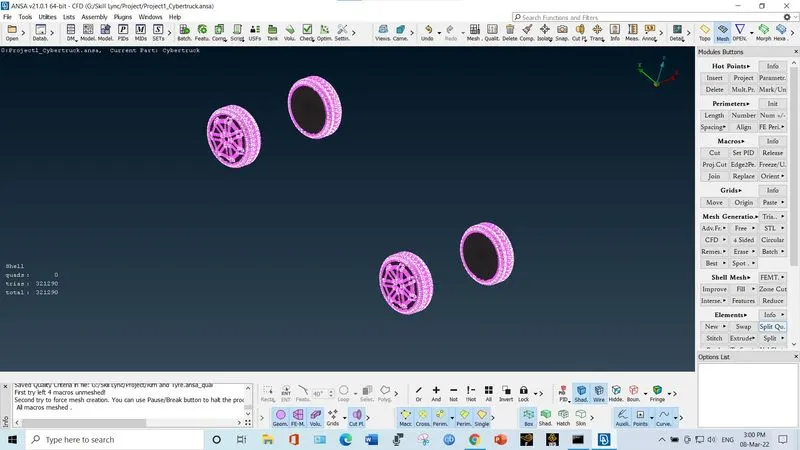
5. Surface mesh on rim and tyre
6. Surface mesh on wind shield
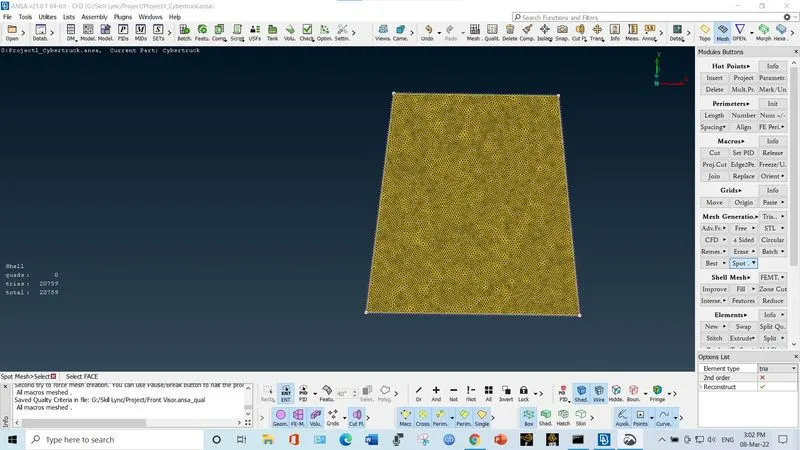
7. Complete mesh
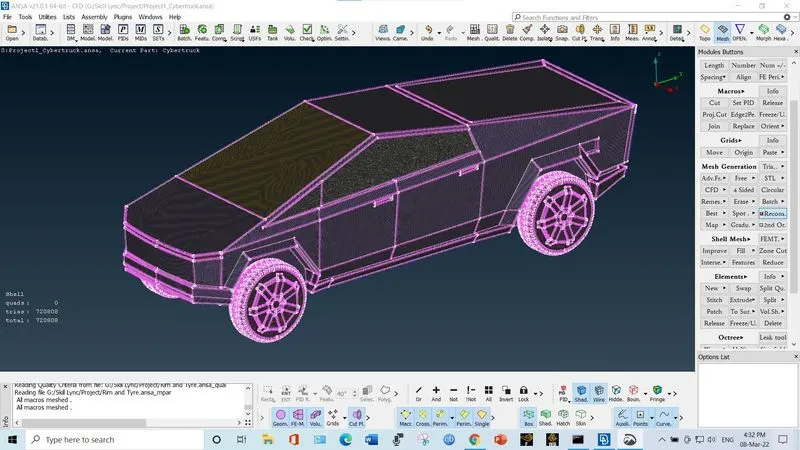
** Step D: Create wind tunnel
1. Insert a point by using a reference on body. The front side of wind tunnel is at distance of 4*X from car. The back side is at distance 6*X times from car. The side surfaces are at distance X from car while the top is at distance 3*X. (X=5900). Insert the points.
2. Create the curve by joining the points. Create a surface by using the curve. Later delete the inserted points as well as curves.
3. Use offset command to create the top surface of wind tunnel. Later create new face using the lateral cons of 2 surfaces. By this way, wind tunnel is created.
4. Create the PIDs for wind tunnel.
** Step E: Meshing of wind tunnel
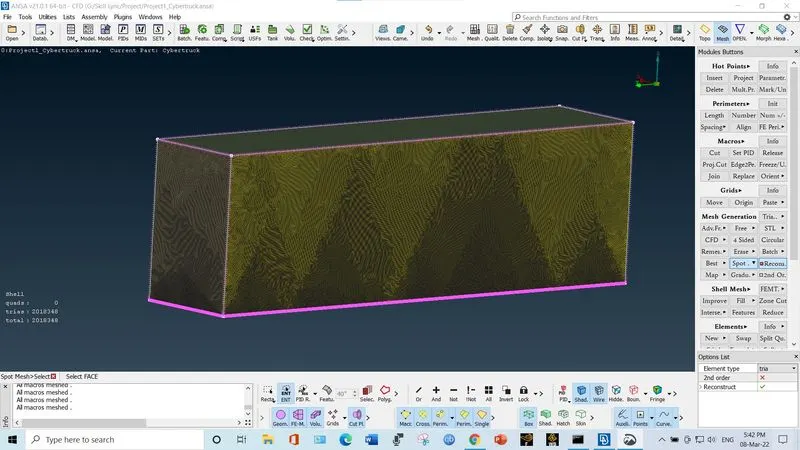
1. For top surface, element size is 250. Since the length of top surface is in range of 50000, 250 is sufficiently small. Use spot mesh to apply surface mesh on top surface.
2. For the base, element size is 50. Use spot mesh to apply surface mesh.
3. Select spacing option in perimeter. In spacing, select dmin as 50, dlimit as 250 and select the lateral sides. Click Ok. Apply spot mesh.
** Step F:
1. Go to Volume mesh. In volume option, go to define. Select auto detect.
2. 6 volumes are detected so far. Out of them 5 are not useful. So delete them.
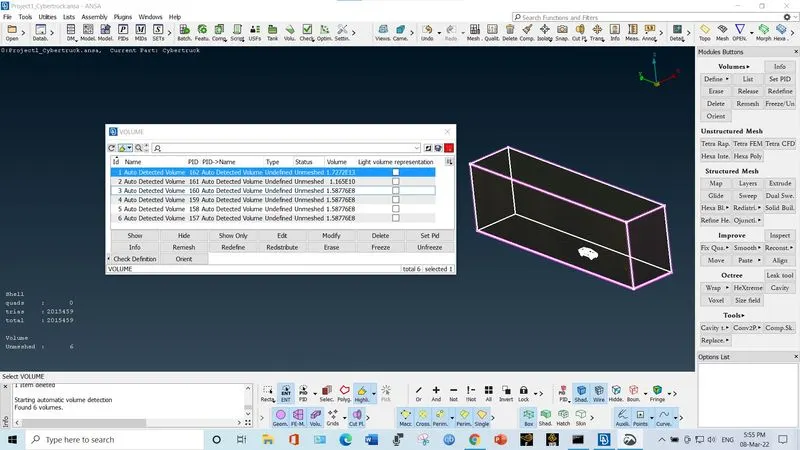
3. The reminig volume is the volume of viscinity in between wind tunnel walls and the car. We have to mesh this volume.
4. Right click on "unmeshed" and select "Remesh". Choose TeraCFD option.
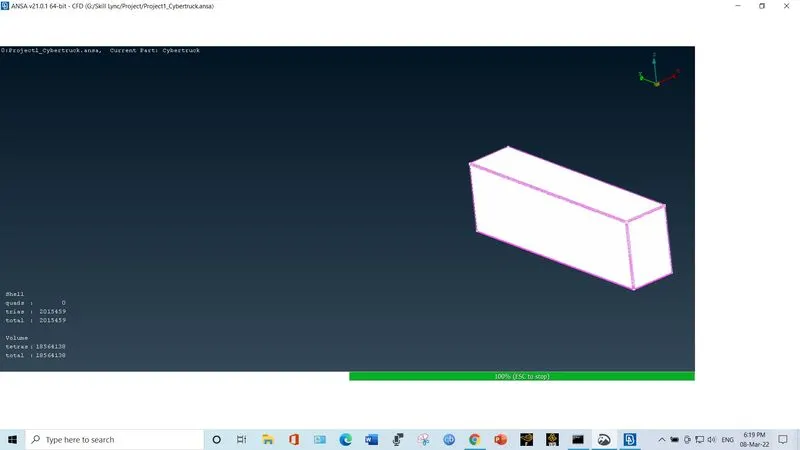
$$ The google drive link for mesh file is provided. Please download the file and check the mesh.
https://drive.google.com/file/d/154iK7MfNG87Lr3n2Kikd0MKmPT9WE7v3/view?usp=sharing
## Learning outcome: I learned how to perform the geometry cleanup, applying surface mesh, generating wind tunnel, applying the volume mesh.