Project 1 : CFD Meshing for Tesla Cyber Truck
Aim:
- Check and solve all the geometries.
- Assign proper PIDs.
- Perform meshing with suitable target length and element quality.
Take away:
- One will be able to clean up the CAD using different tools.
- Assign PIDs.
- Mesh with appropriate mesh length.
Procedure:
Geometry clean up:
- First we have to upload the geometry model.
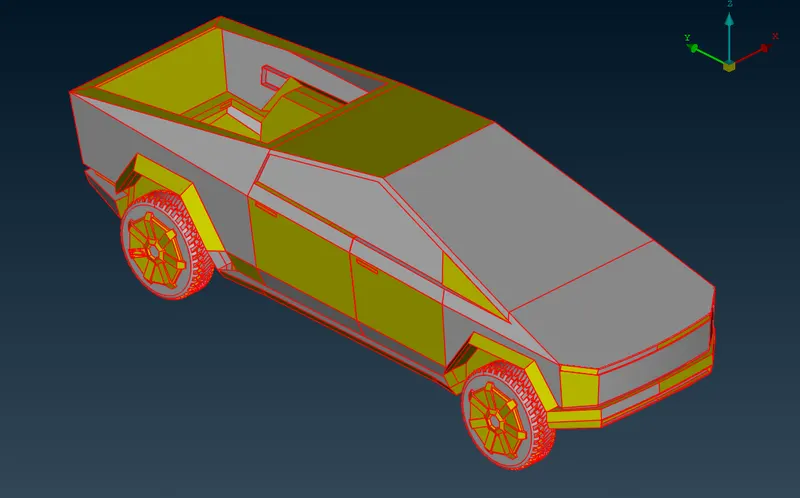
- Then do the topo for the whole body. So that we can avoid maximum number of single cons.
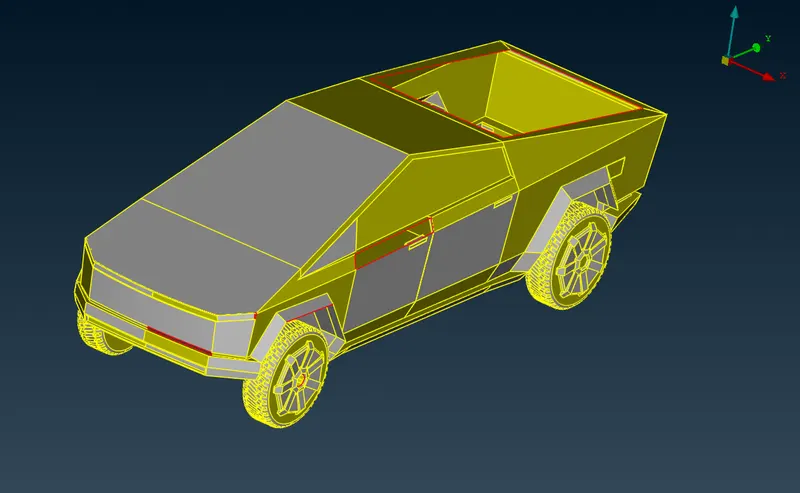
Since the model have less errors, we can directly cleanup the whole geometry without doing symmetry.
>> Exploring NEW option:
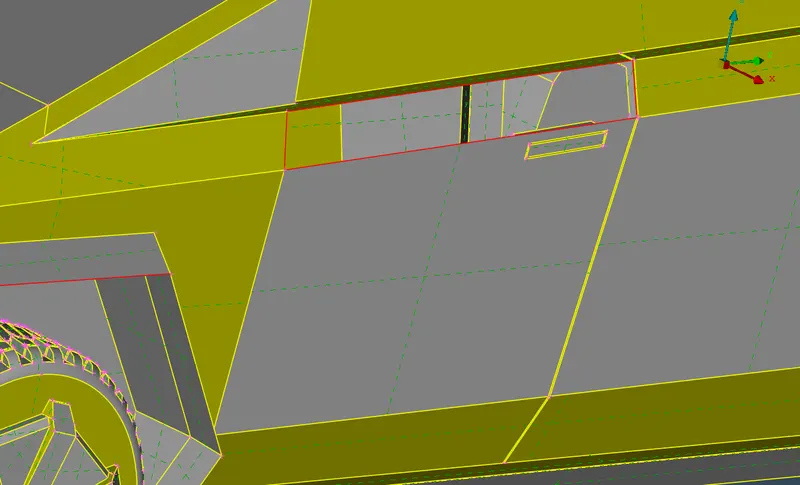
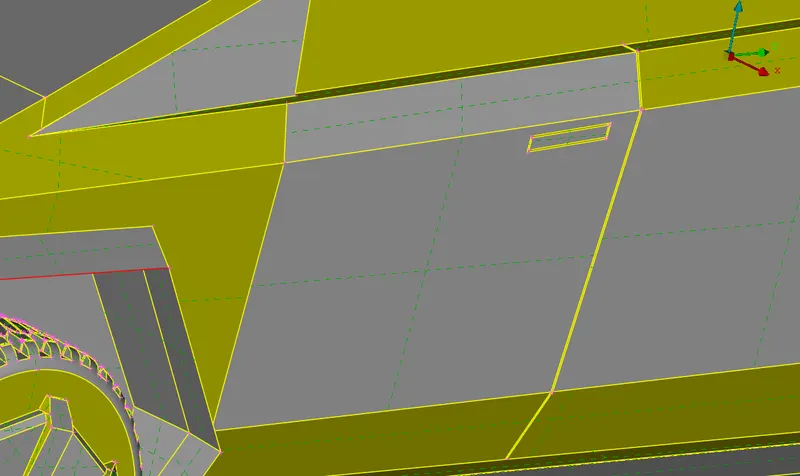
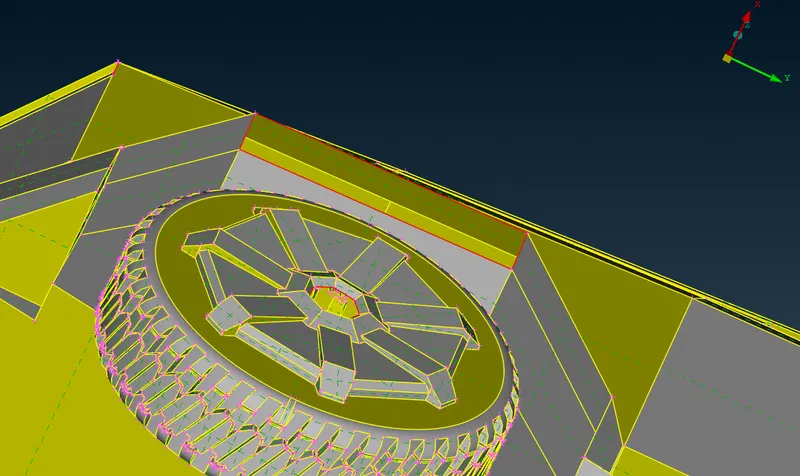
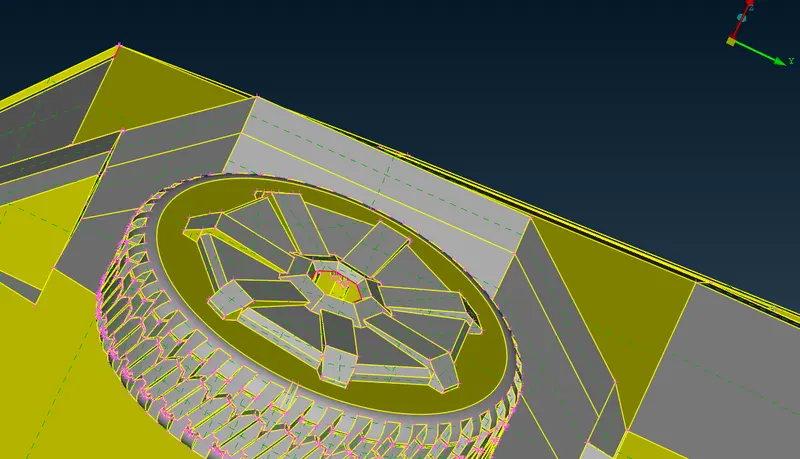
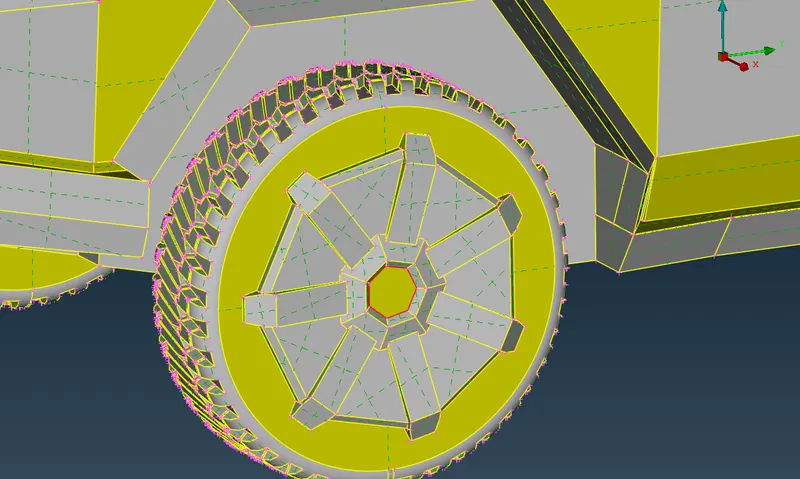
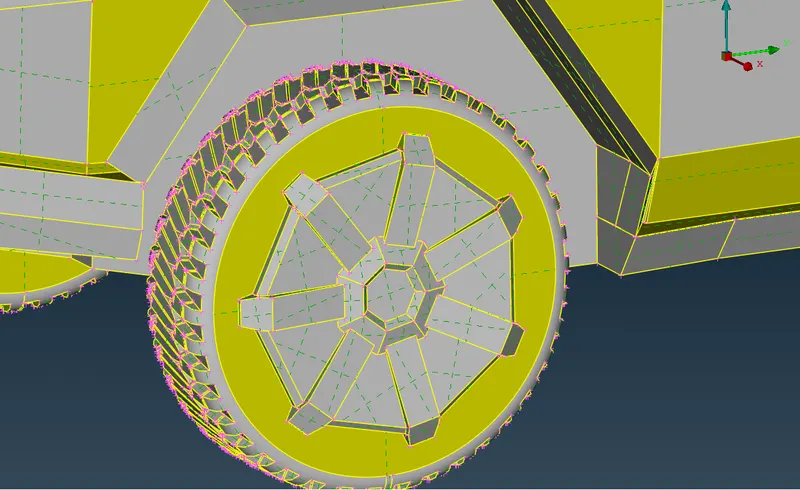
- In the model we can observe that some of the surfaces are missing. So, we have to creat the surfaces.
- This tool creates a surface or face where there is no face or surface.
- Select NEW option. (TOPO >> FACES >> NEW).
- Filling all the surfaces where surface is missing.
Before:
After:
Before:
After:
Before:
After:
Before:
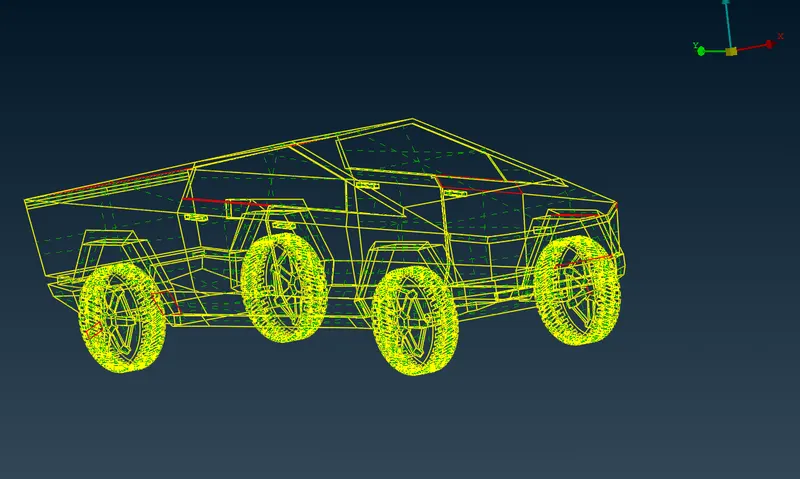
- After:
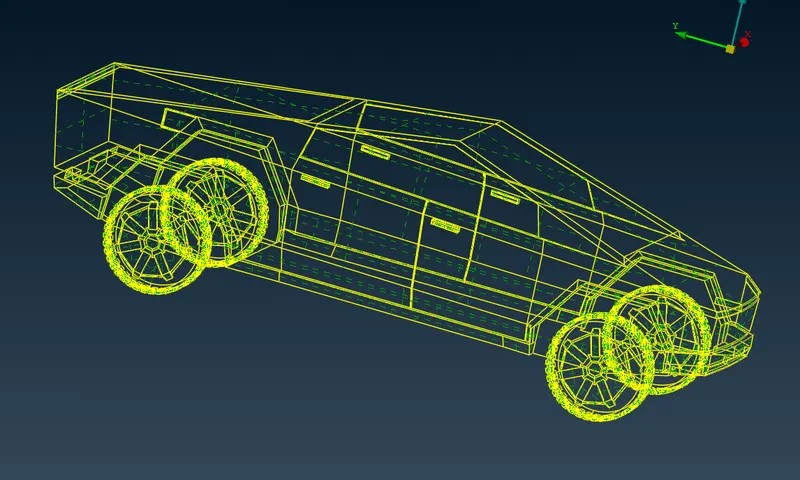
- And some of the minor surfaces are missing. we have to creat the surfaces accordingly.
- There is intersecting surfaces.
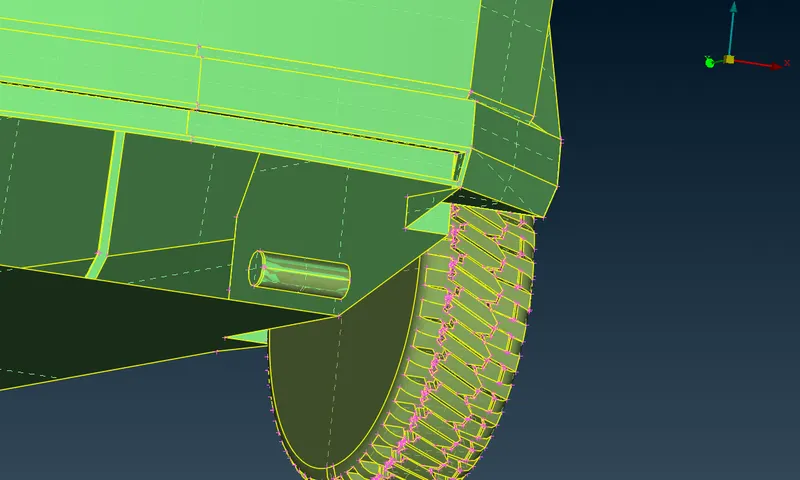
- This can be cleaned using UNIVERSAL DELETE option present in the ribbon.
- Before assinging the PID's once run ther check manager. The geometry should be with zero errors.
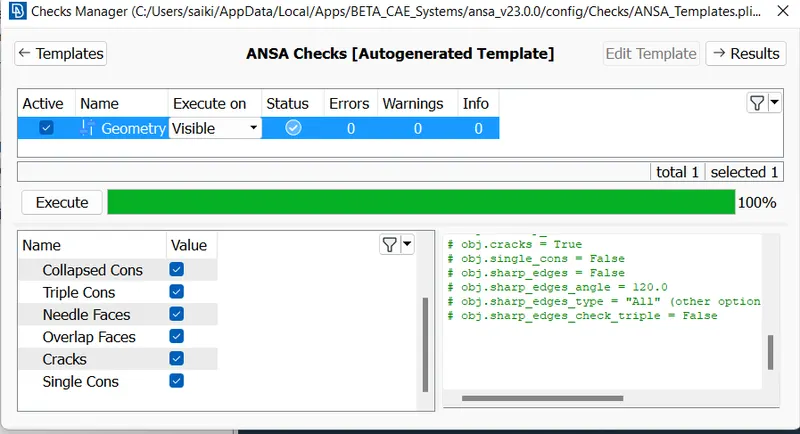
- Then the model is ready for meshing.
Assigning PIDs:
- Go the properties and creat new PID's. Assign the names and conform the parts by apply.
- Delete or compress the all unwanted PID's.
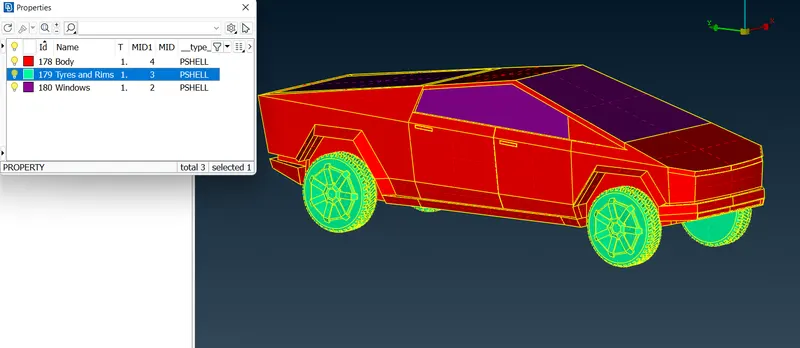
Meshing:
There should be zero off elements.
1) Meshing up the Windows:
- In order to assign quality criteria one must know the minimum and maximum length present in the geometry.
- Measure it using the measure tool.
- Target Lenght = 2 mm.
- Minimum Lenght = 1 mm.
- Maximum Lenght = 3 mm.
- Quality criteria = 0.5.
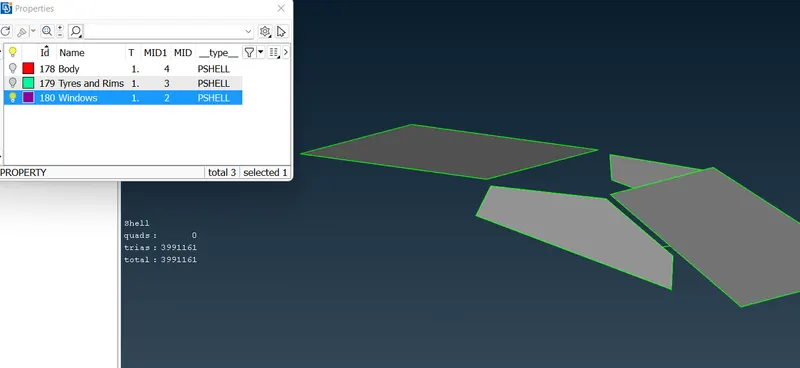
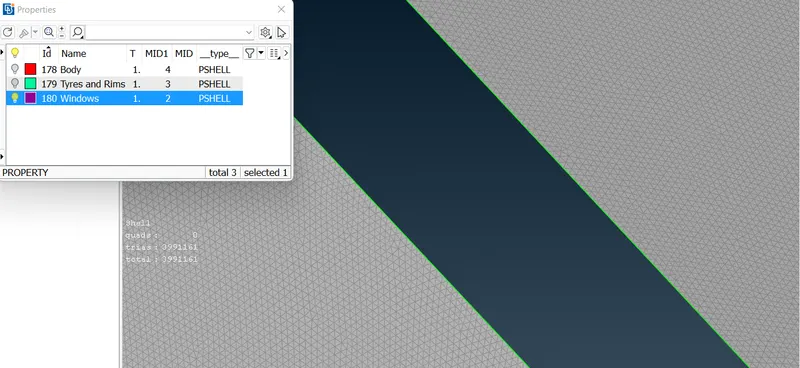
2) Meshing up the Rims and Tyres :
- In order to assign quality criteria one must know the minimum and maximum length present in the geometry.
- Measure it using the measure tool.
- Target Lenght = 3 mm.
- Minimum Lenght = 1 mm.
- Maximum Lenght = 5 mm.
- Quality criteria = 0.5.
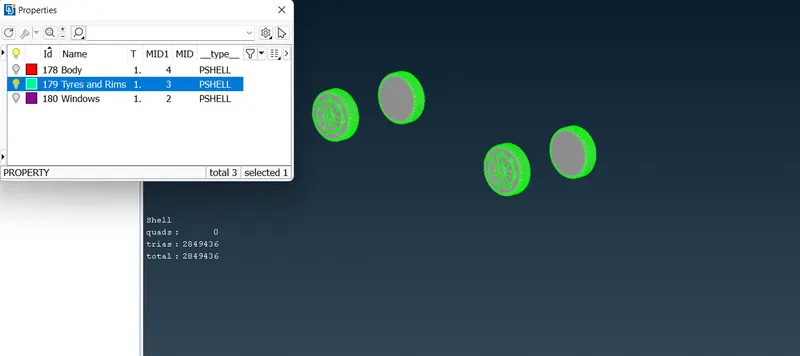
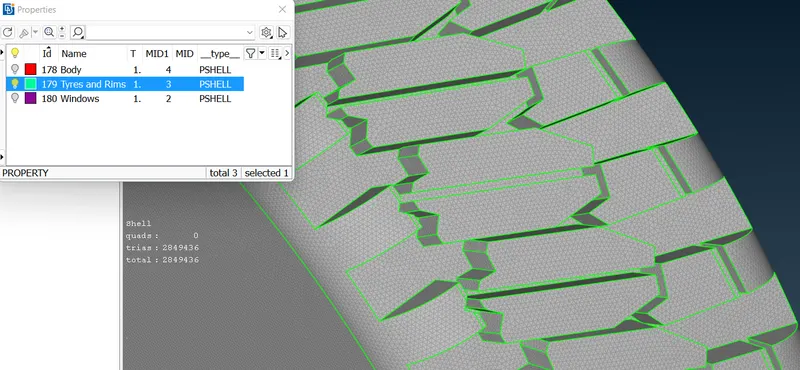
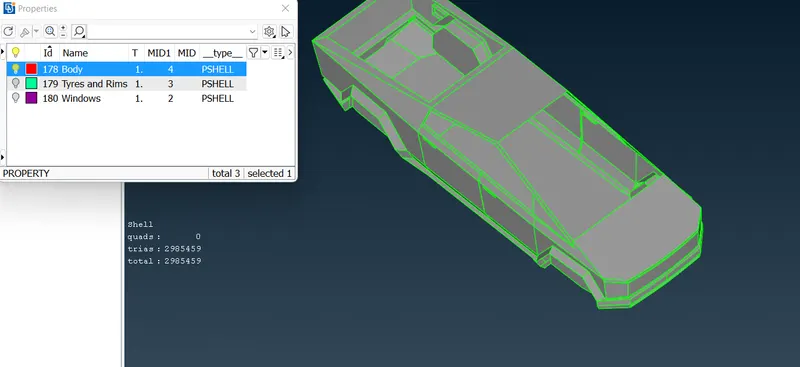
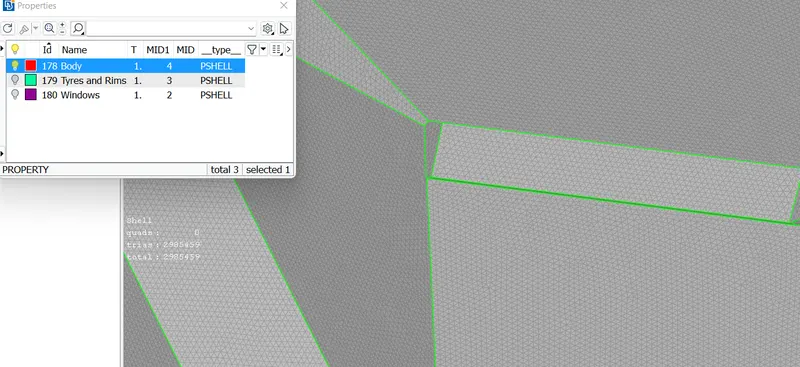
3) Meshing up the Body:
- In order to assign quality criteria one must know the minimum and maximum length present in the geometry.
- Measure it using the measure tool.
- Target Lenght = 5 mm.
- Minimum Lenght = 1 mm.
- Maximum Lenght = 9 mm.
- Quality criteria = 0.5.
Creating Wind Tunnel:
- There are few standards to be followed to make a wind tunnel.
>> Exploring the RELATIVE option:
- This tool helps in creating a point relative to an already selected point in either x,y or z direction.
- Select RELATIVE option. (TOPO DECK >> POINTS >> RELATIVE).
- A point should be created below the car.
- With the similar approach we can create more points using RELATIVE option.
- Total length of the car = 5950.
- Front Point should be created at 4x distance from the starting point of the car + distance from center point to starting point of the car.
- Rear Point should be created at 6x distance from the rare end point of the car + distance from center point to rare end point of the car.
- Top Point should be created at 3x distance from the top point of the car + distance from mid point of the car to the side end of the car.
- Side Point should be created at 1x distance from the side points of the car.
Therefore,
- Total length of the car = 5950 mm.
- Front Point = 24720 mm.
- Rear Point = 40600 mm.
- Top Point = 19880 mm.
- Side Point = 5950 mm.
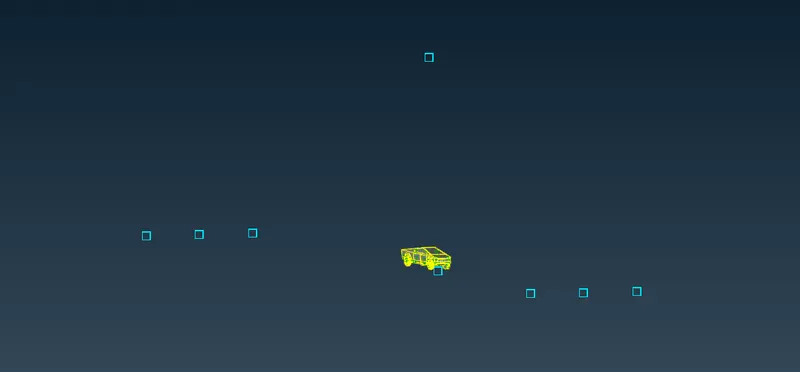
- These points can be used to create curves.
- Select CREATE option. (TOPO DECK >> CURVES >> CREATE).
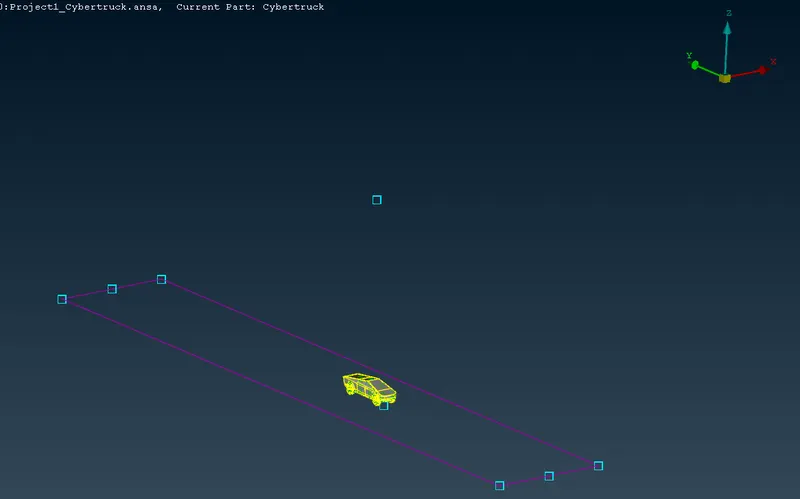
- Using this one can create surface/face.
>> Exploring the OFFSET option:
- This tool helps in creating a surface/face offset from selected entity.
- Select OFFSET option. (TOPO DECK >> FACES >> OFFSET).
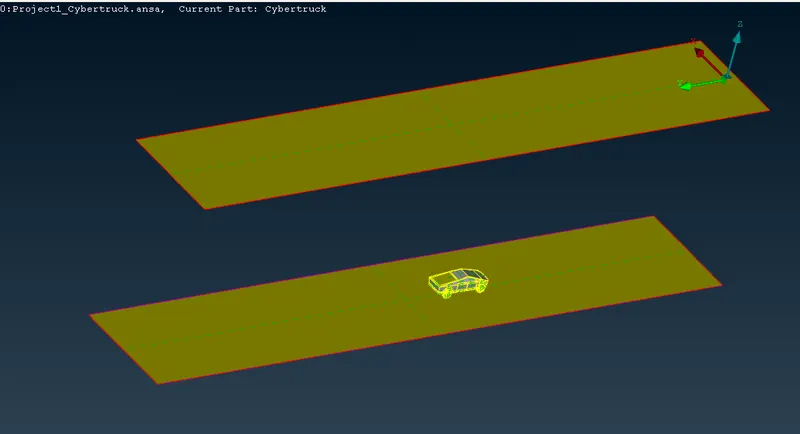
- Creat all the surfaces by taking the reference of top and base surfaces.
- And assign the PID's of the created surfaces.
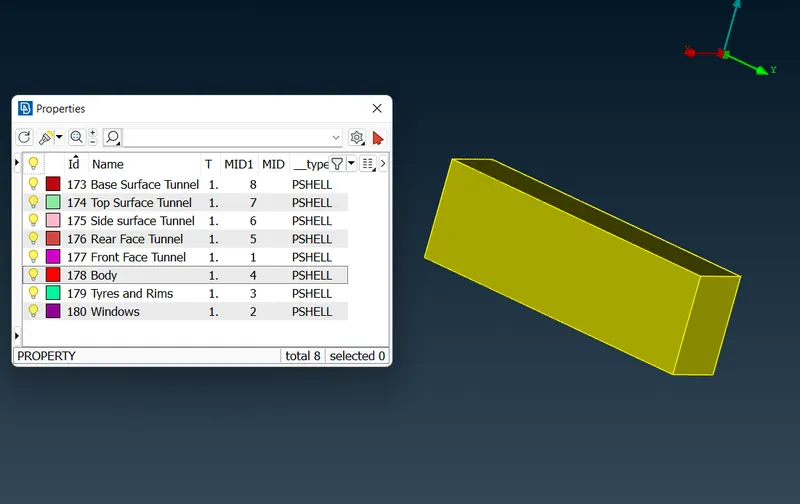
- Finally, the wind tunnel looks like this.
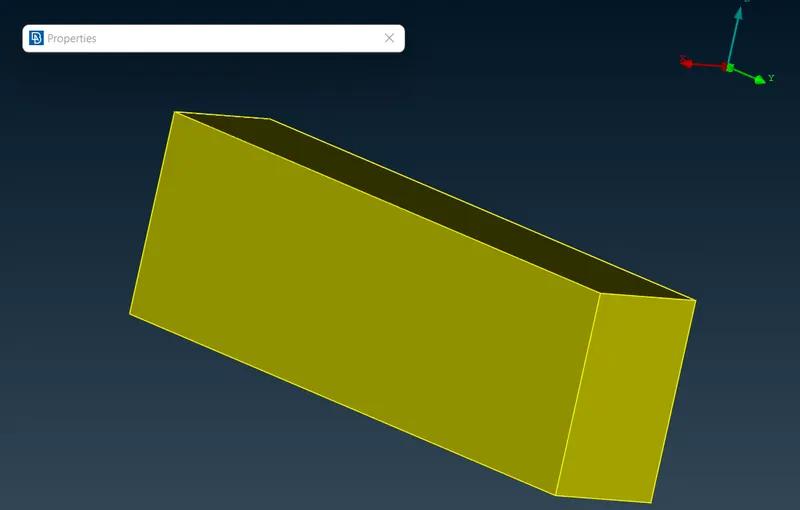
Meshing Wind Tunnel :
- Bottom Wall = 100 mm.
- Top Wall = 200 mm.
- For side, inlet and outlet, we will be using variable meshing along the verticla length.
- Select SPACING option. (MESH DECK >> PERIMETERS >> SPACING).
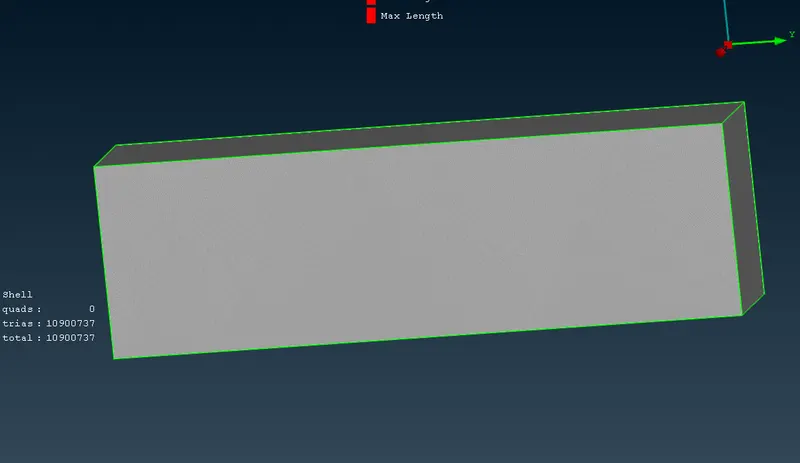
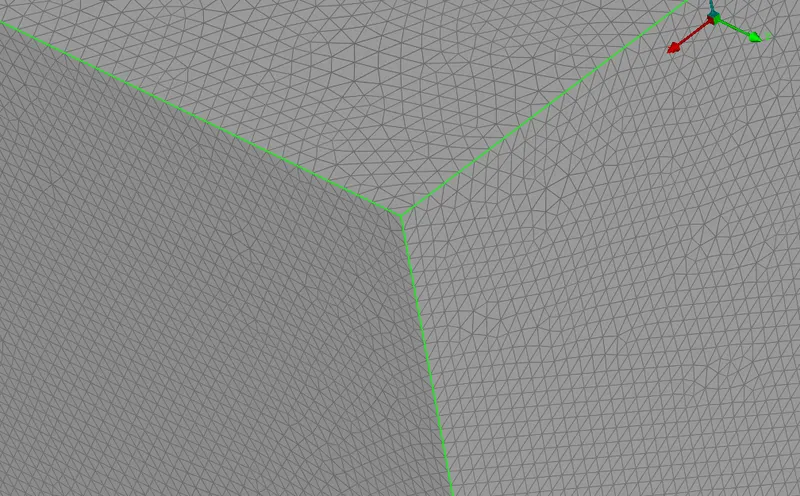
- Volumetric Mesh is not done due to limited CPU performance.
Conclusion:
- Topology clean up part by part with the help of different tools.
- Assigning appropriate PIDs.
- Meshing PIDs one at a time.
- Deligating with off elements and it rectification using different tool approach.
- Creation of wind tunnel.
Links :
zip file :
https://drive.google.com/file/d/1ERb4c9VmSzQ8R4llTq9xhsMrB3a_xyzw/view?usp=sharing
Normal file :
https://drive.google.com/file/d/1Yu0yYVpF-wXXeqDgQe80J45Vv4dO6Olx/view?usp=sharing