Project 1
Project-1
Objective:- Route engine harness routing and use appropriate support devices while routing and create flatten view for the engine harness routing
Explaination
Cam sensors & injectors have 04 Pole connectors
Neutral sensor have 02 pole connector
Temperature sensor have 03 pole connector
Oil pressure sensor will have 02 pole connector
Cooling temperature sensor have 03 pole connector
Thus we required 02 pole,03 pole & 04 pole connectors
- Component placed on engine are part of the external geometry of the assembly, i.e they are the part of the context assembly
Routing Step-1
First Create new product file & Name it as Engine Harness Context Assembly, then add engine file into this assembly
Also add one more product file into main assembly (Engine Harness Context assembly) and name it as-Engine harness geometrical bundle assembly.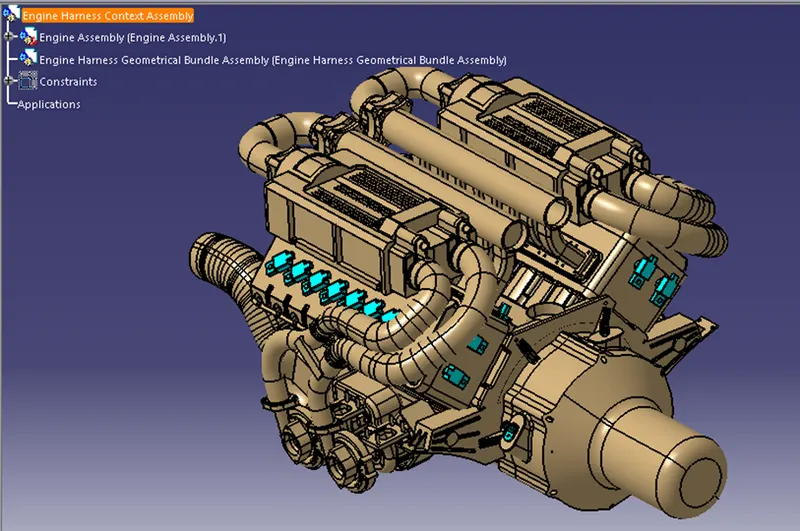
Step-2
Import all the connectors & add it to the geometrical bundle assembly product file
In assembly design workbench with the help of manipulator & compass place all the connectors at the appropriate place,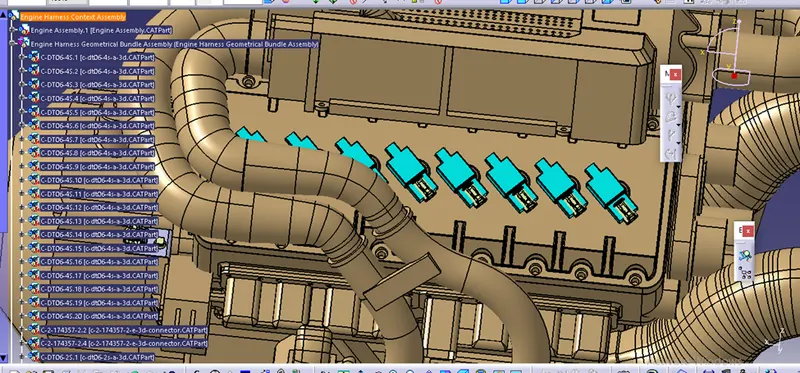
Step-3
Place the P clamps to route the wire bundle in such a way that, it restricts it’s rotational position. Add Furr tree clip, Intermediate Connector on bracket to connect to the next connections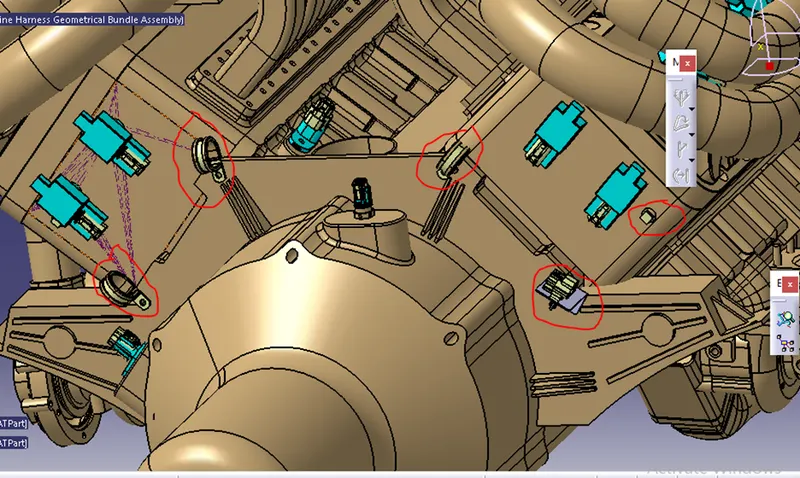
Added Furr tree clip helps to gives bundle support while routing bundle through the guide channels
Step-4Design Guide channel for the bundle to pass bundle routing thought it and to the connectors for the shown below image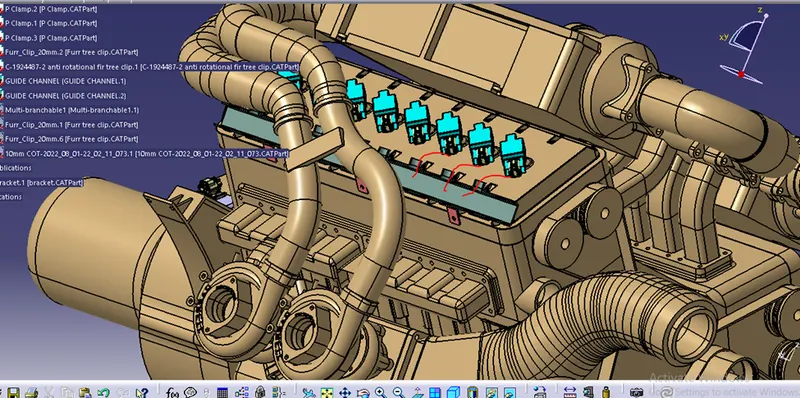
Guiding channel are fixed to the engine with the help of bracket to the engine with the bolting as shown in image below,
Design guide channel in part design workbench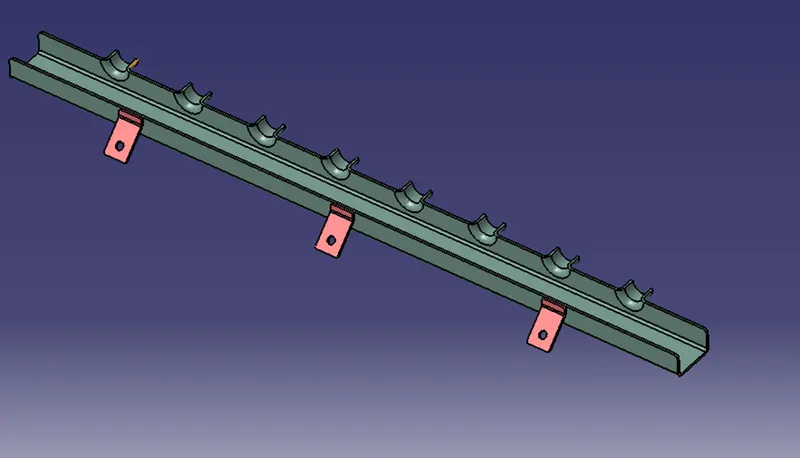
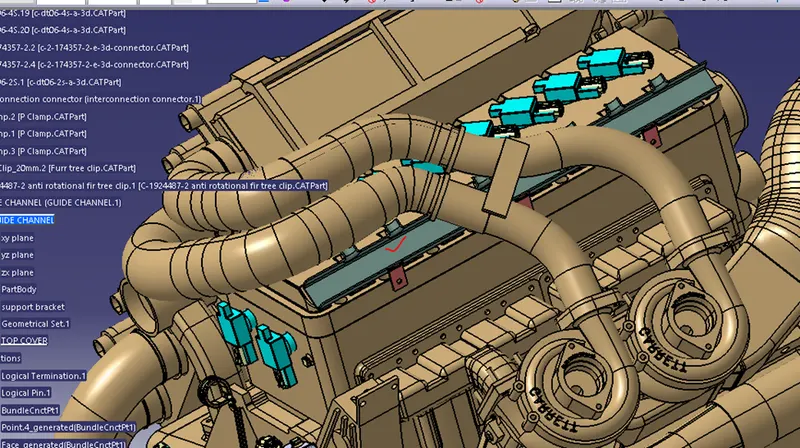
Add guide channels on both sides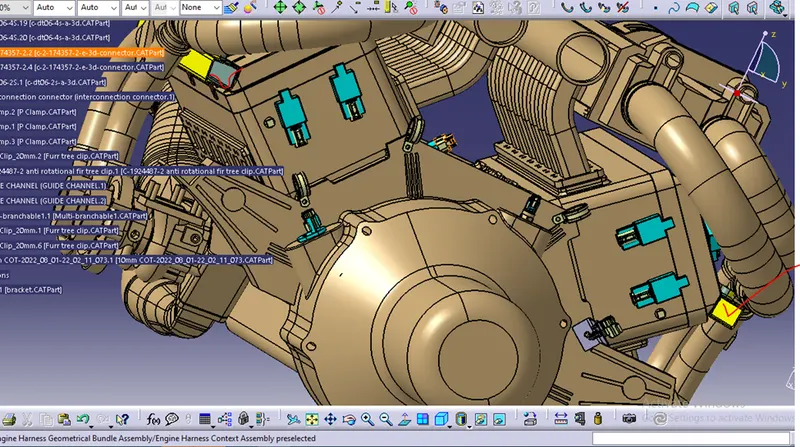
Step-5
Make sure are Imported connectors, P clamps, Furr tree clip, and guide channels are electrically defined?
If not defined then define it in electrical part design workbench
After Ensuring it that all parts are electrically defined ,
Step-6
Convert Electrical geometrical bundle assembly into electrical assembly with the help of Geometrical bundle command from electrical harness assembly workbench 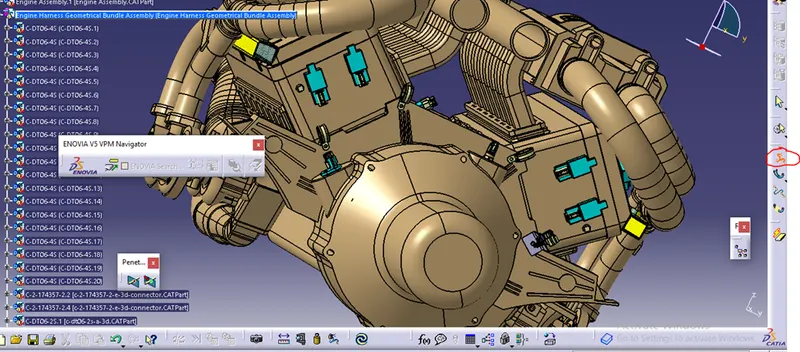
Step-7
Once routing layout path finalized then start routing
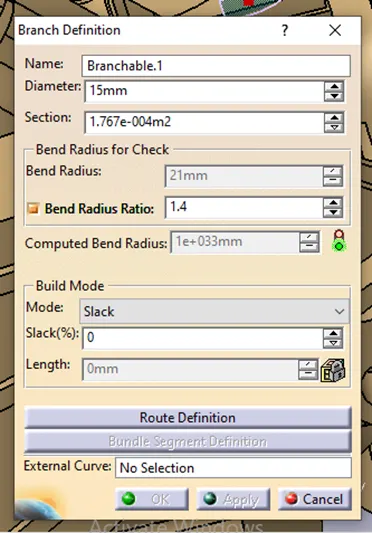
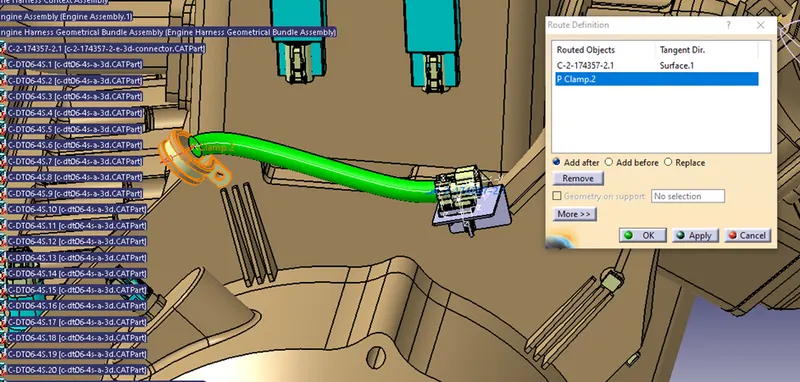
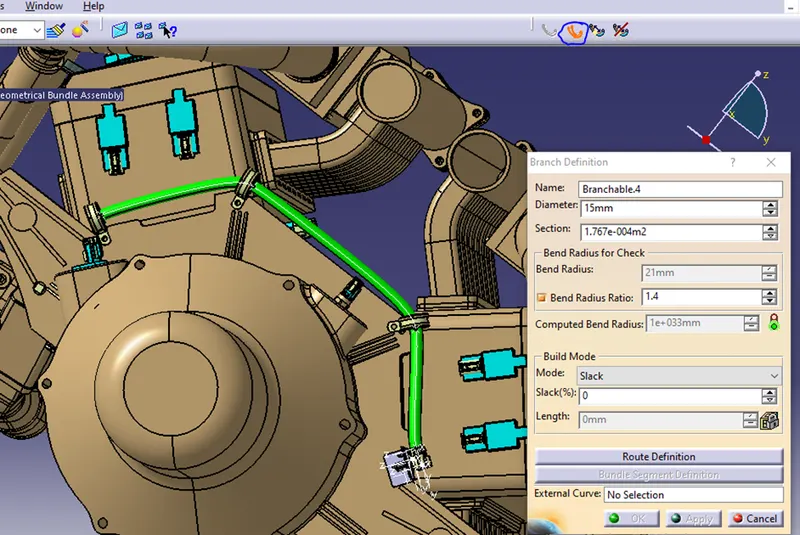
In electrical harness assembly design activate start multi branch able document and with the help of bundle definition command start routing by giving input bundle diameter 15mm, bend radius ratio 1.4, slack 0% and in route definition option select connector and P clamp for routing end, see below images
Thus proceed further for the other routing connections
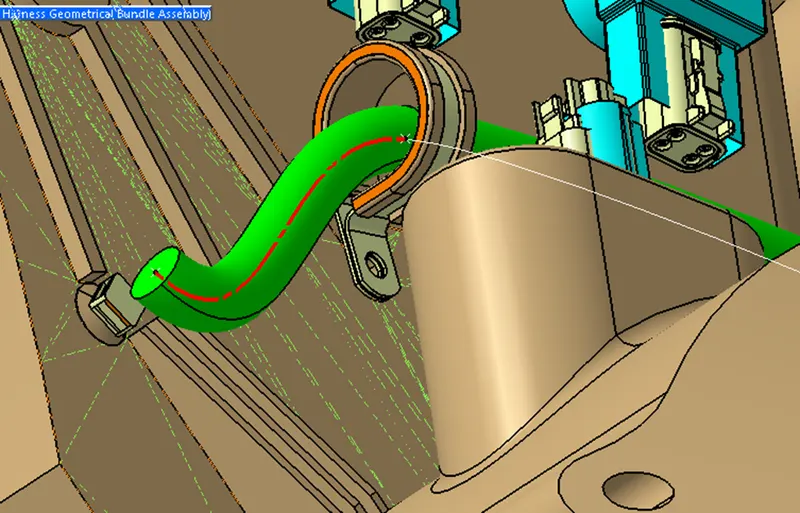
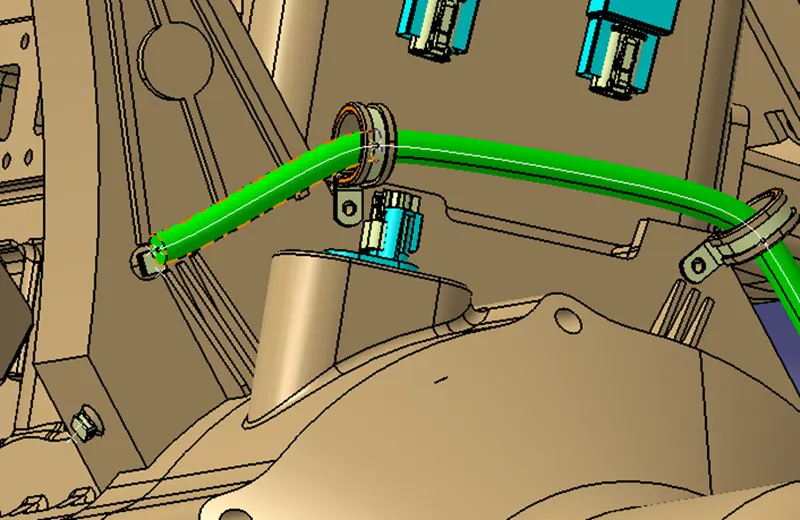
Step-8
Here for branching bundle need to add branch point with the help of add branch point command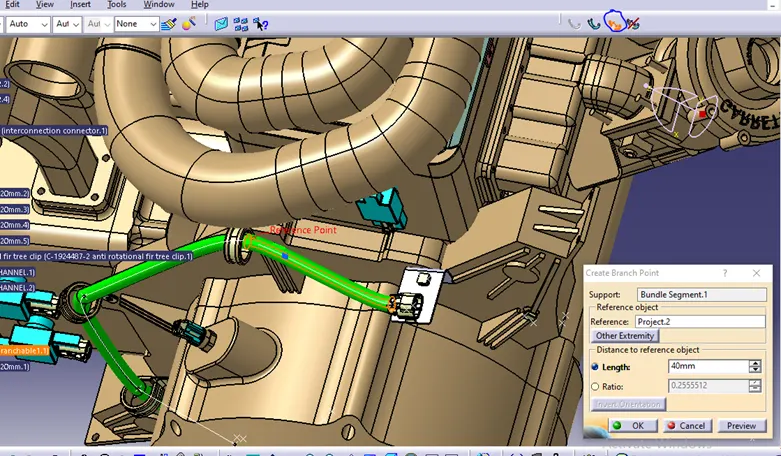
Branch point added see below image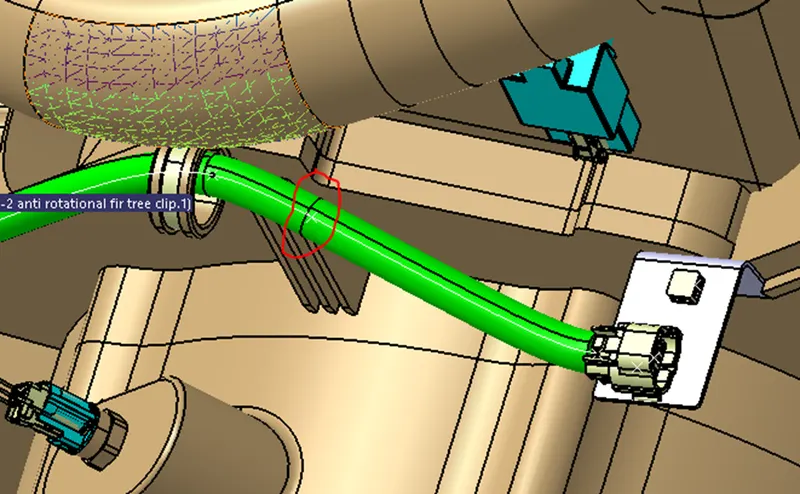
Route another branch of bundle diameter 10mm from this branch point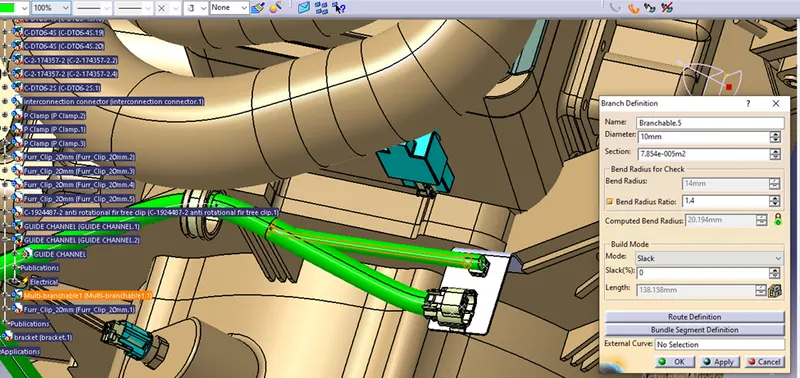
Add bundle connection branch to thevertical wall mounted connectors, ,
Below Attached furr tree clip is helps to minimize Overhanging distance between Intermediate Furr tree clip and guide channel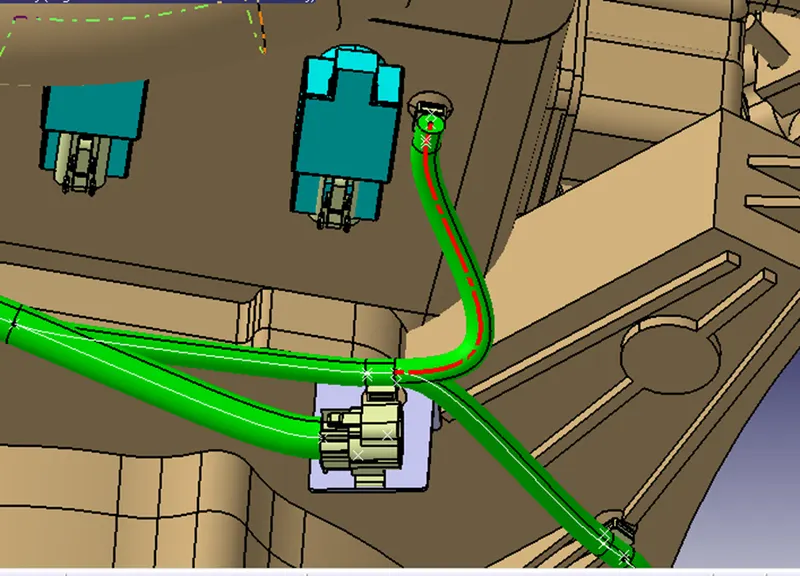 Routing contues upto guide channel
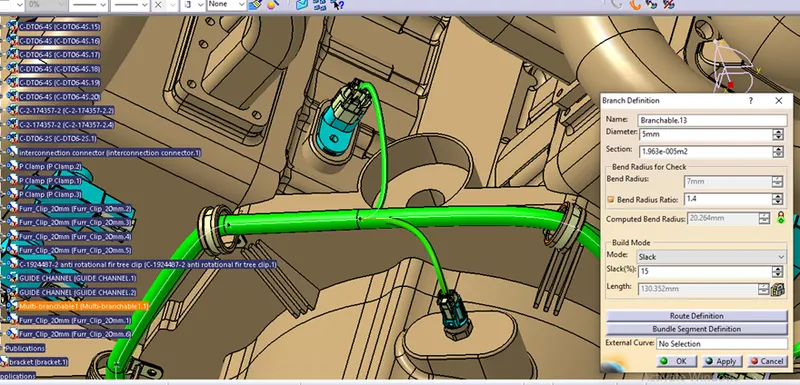
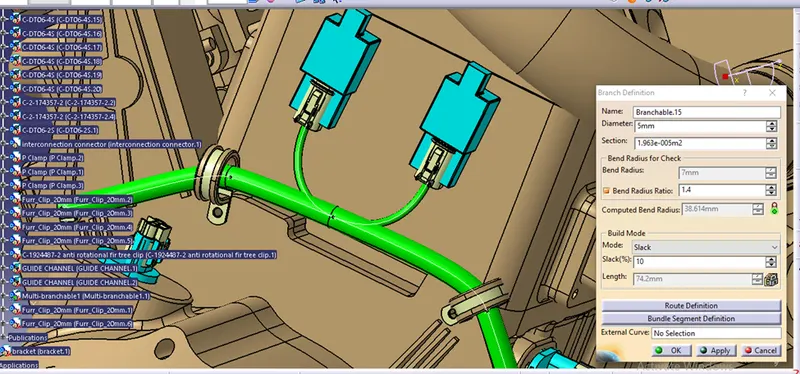
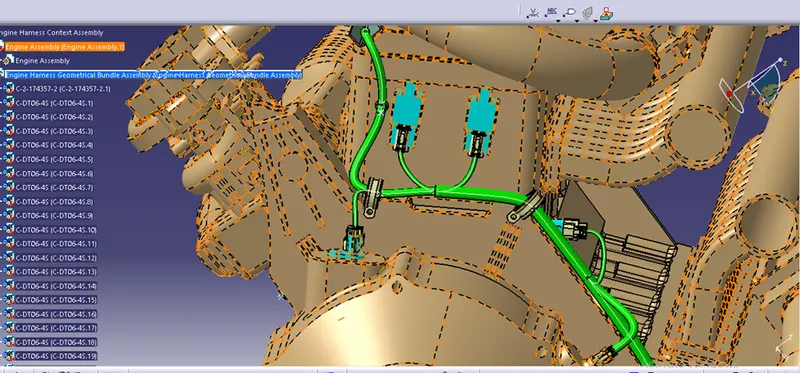
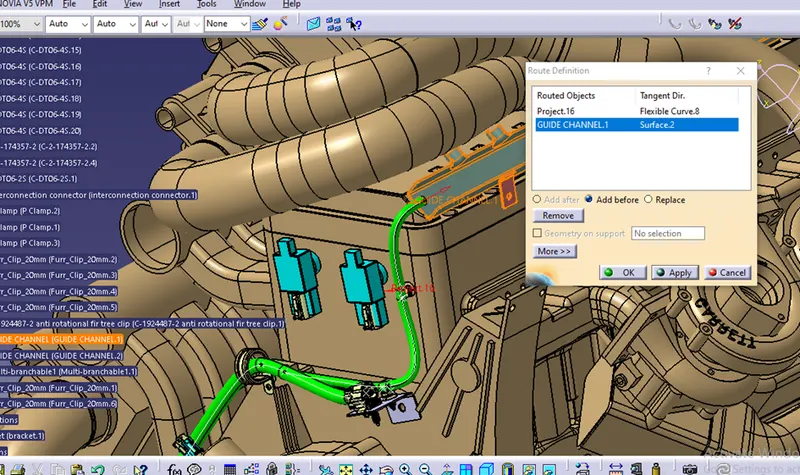 Add Intermediate Branches of bundle diameter 5mm for other connectors, slack provided to avoid tension error and to route wire easily
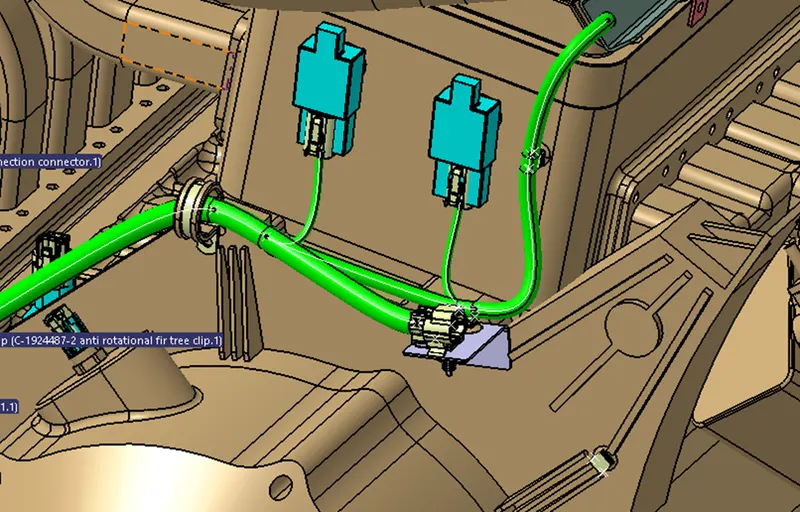 Branch points are added for other connectors and bundle routed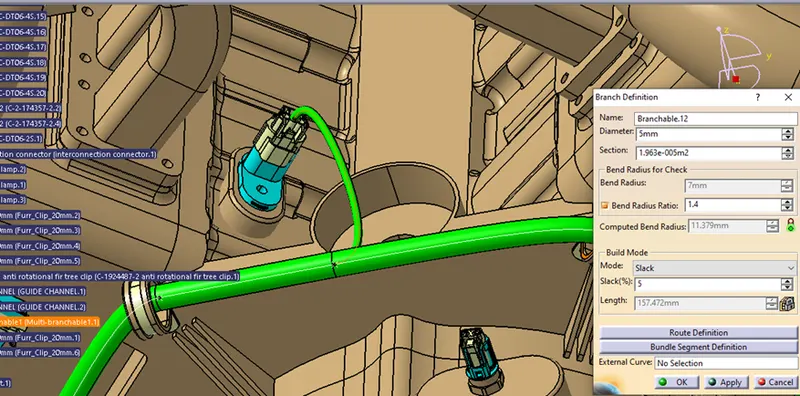
Step-8
With the help of reference curve bundle routed through guide channel,
Bundle diameter 10mm and bundle radius ratio 1.4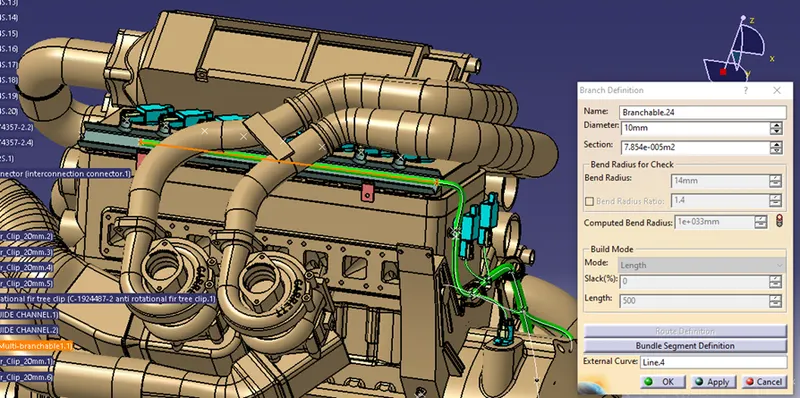 Branch points to be add for connector connection through guide channel and bundle diameter 5mm to be provide see images below and complete routing through guide channels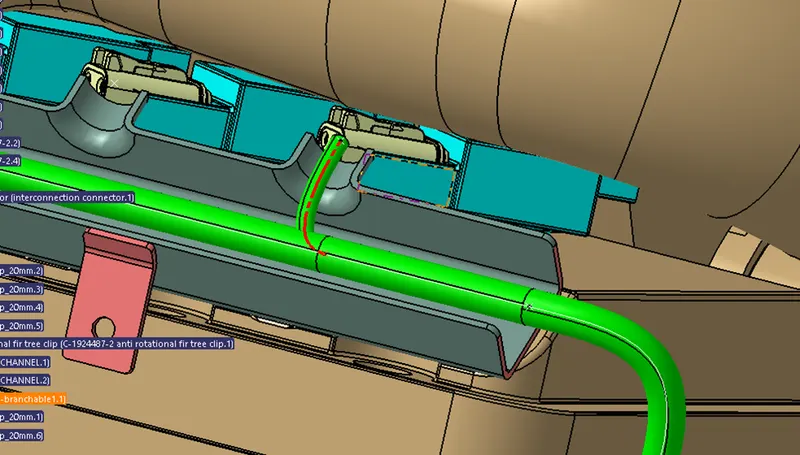
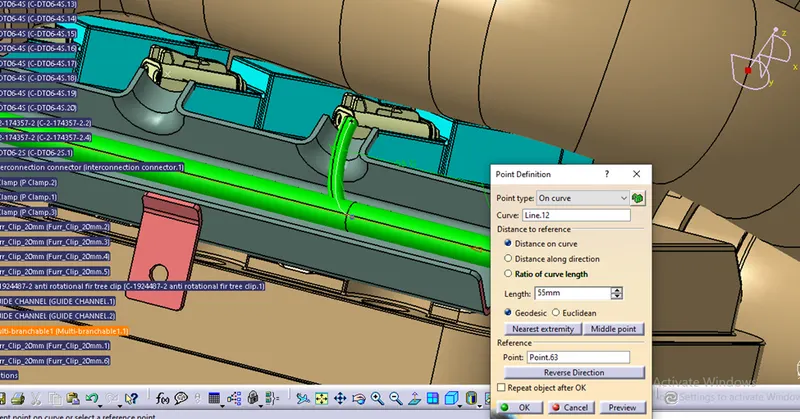
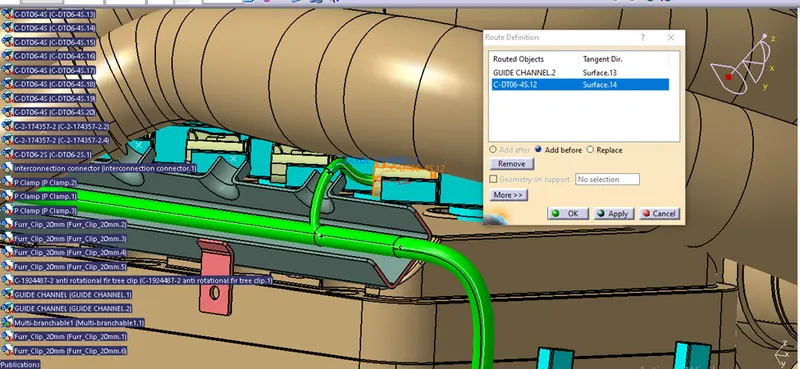
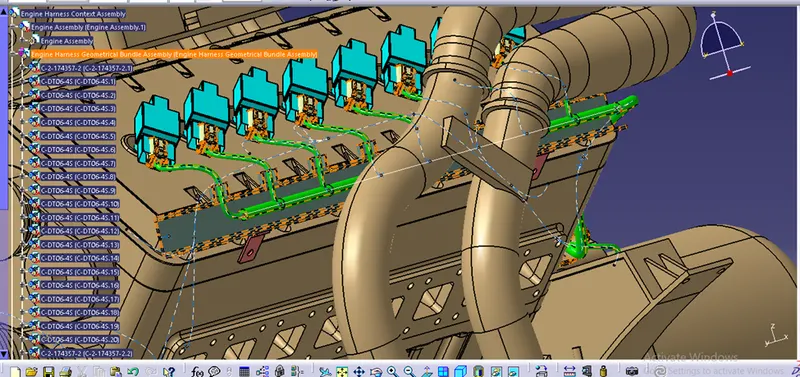
After completing Routing through Guide channel add top cover to guide channel to close it securely
Shown in below image in yellow color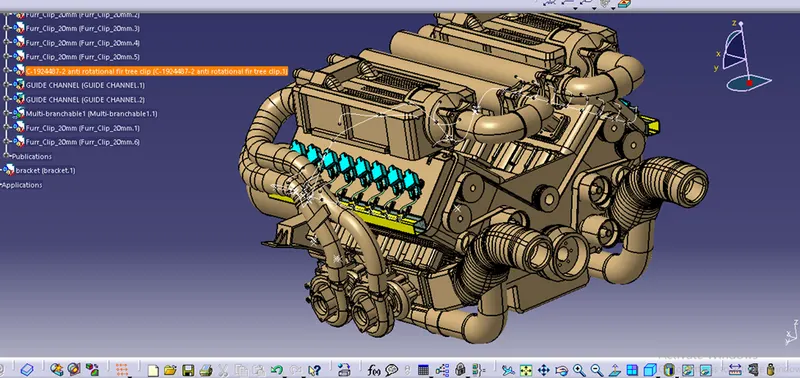
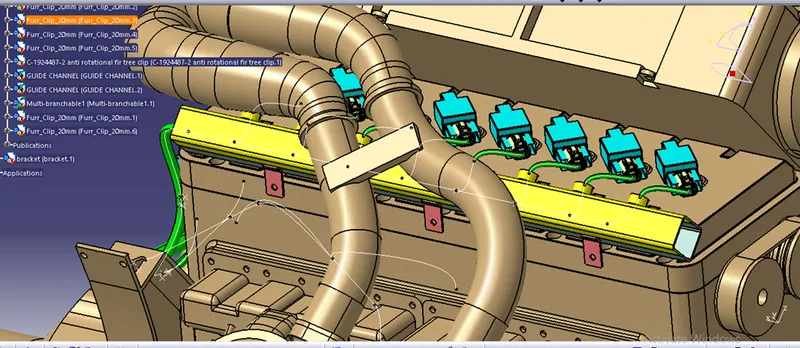
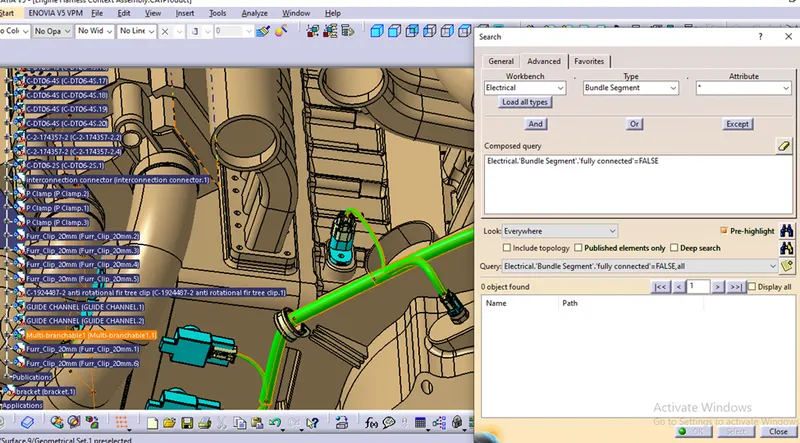
After completing bundle Routing
Add protection covering- COT tubes with the help of protection covering command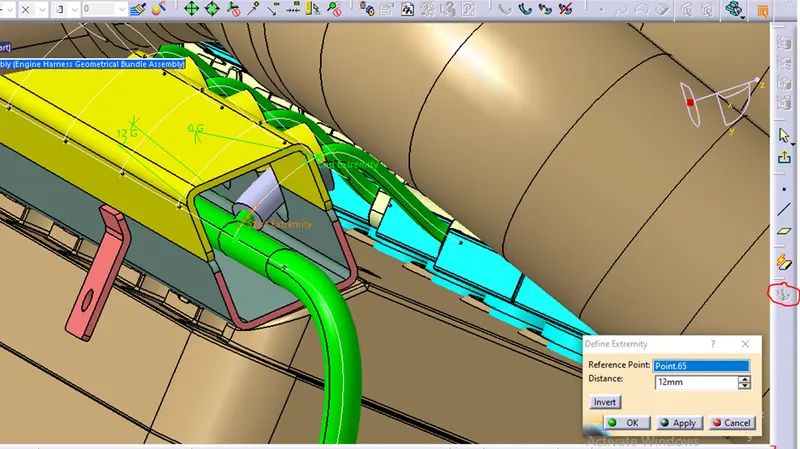
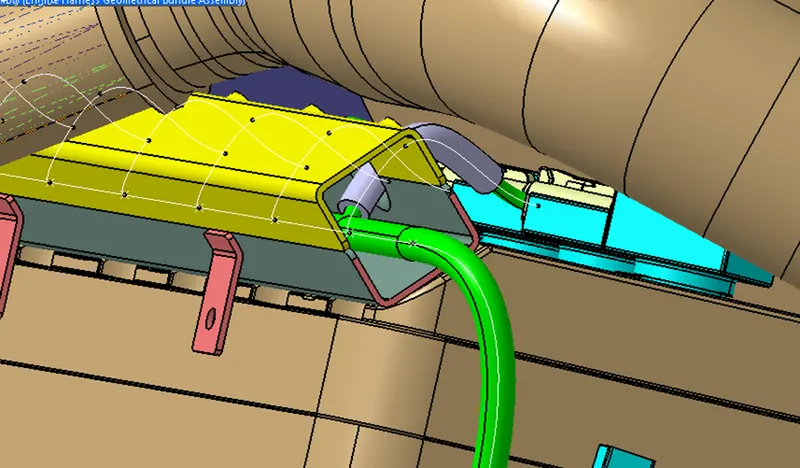
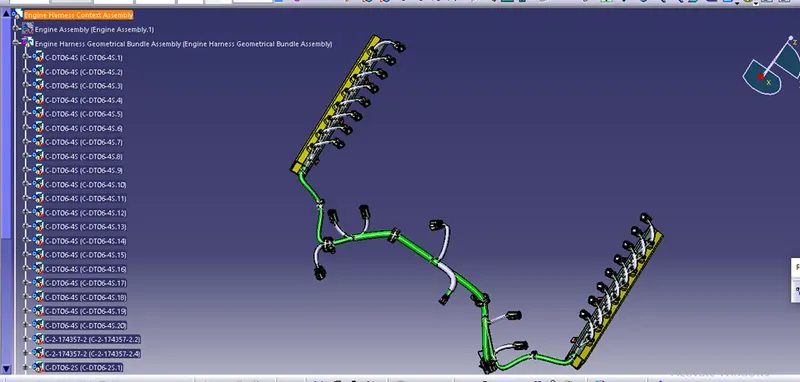
COT tubes are added as protection coverings for the bundle protection
Cot tubes protect bundle damages from the sharp corners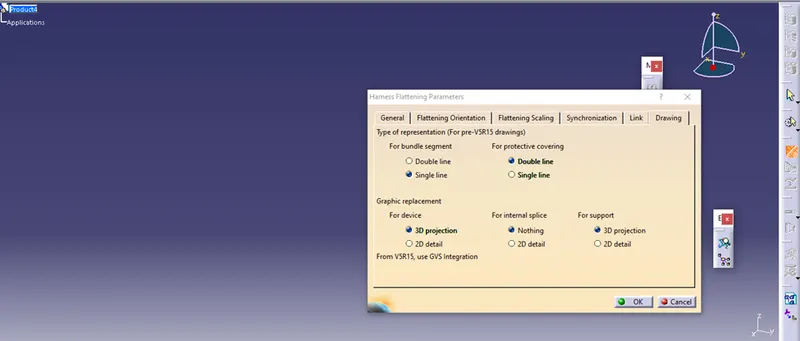
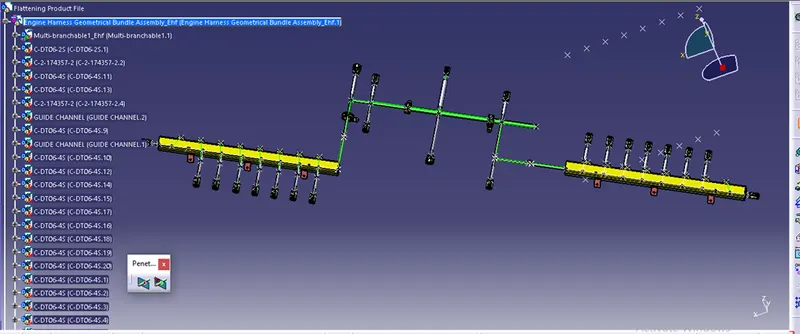
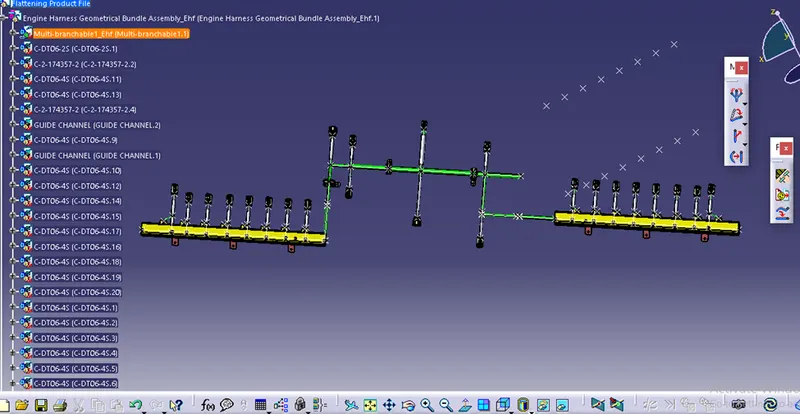
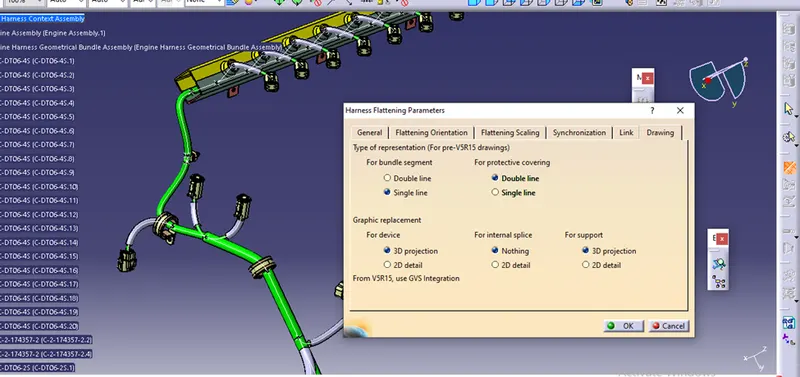
Create Flatten view and arrange clamps, furr tree clip and guide channel as respective position as shown by their connection line in green color in dotted line
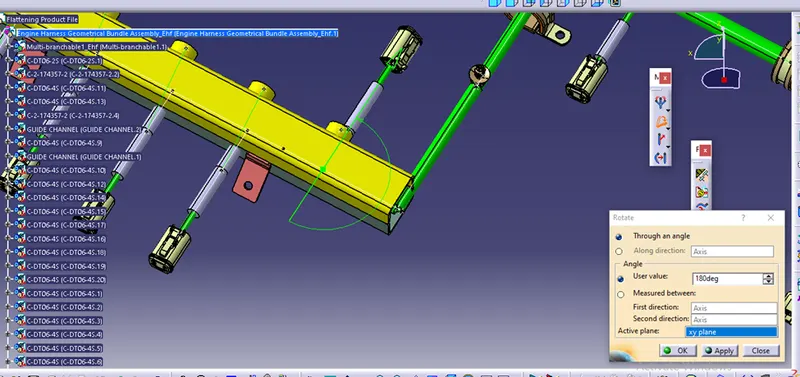
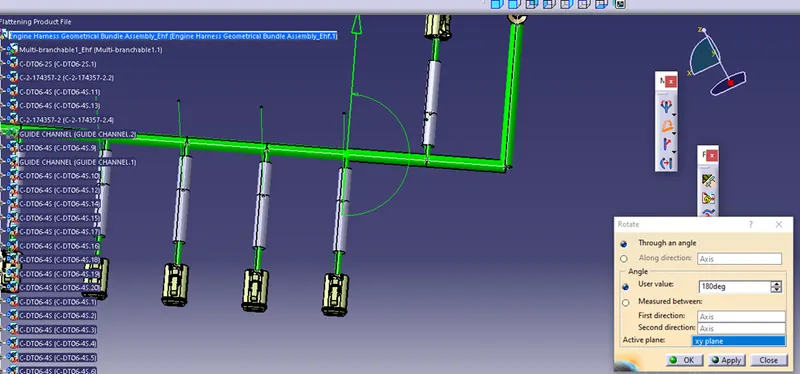
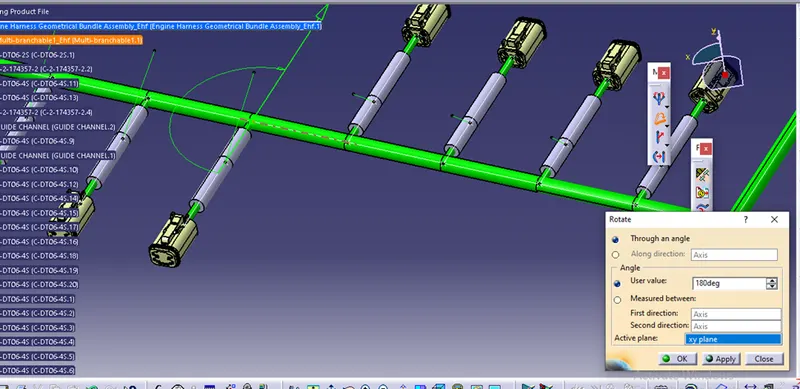
Also use rotate command to arrange branches through respective openings of guide channels, check below screenshots