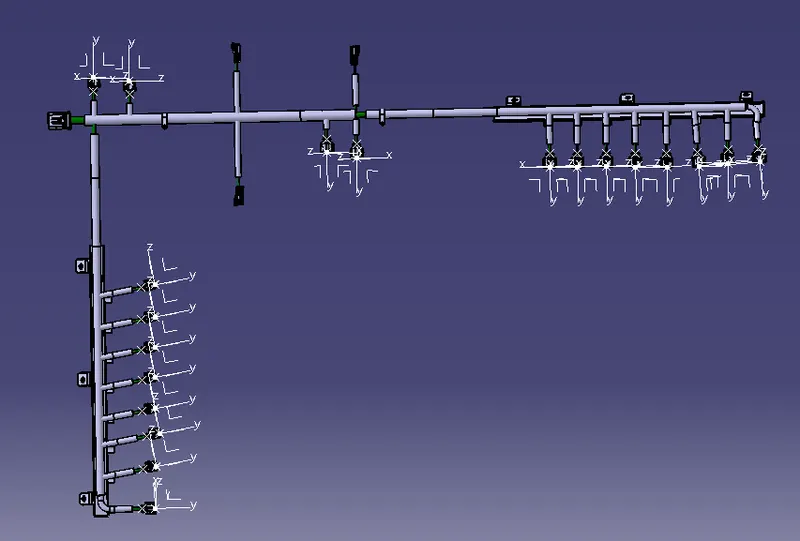
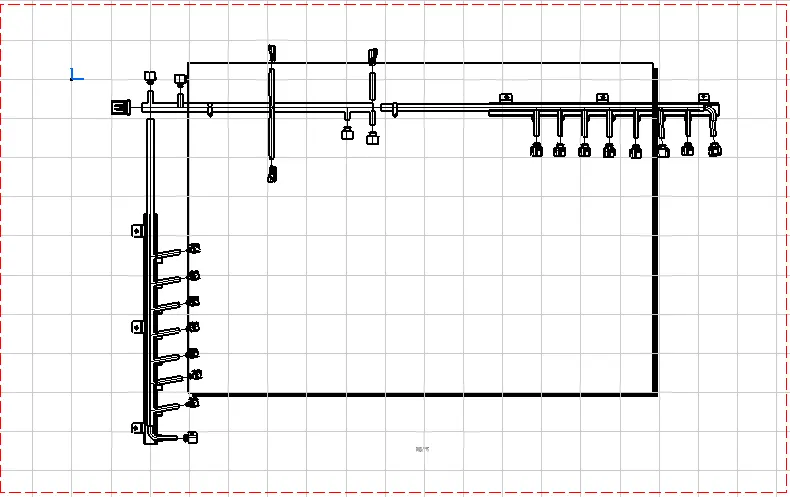
Project 1
Aim : TO route the wiriing harness on given engine assembly.
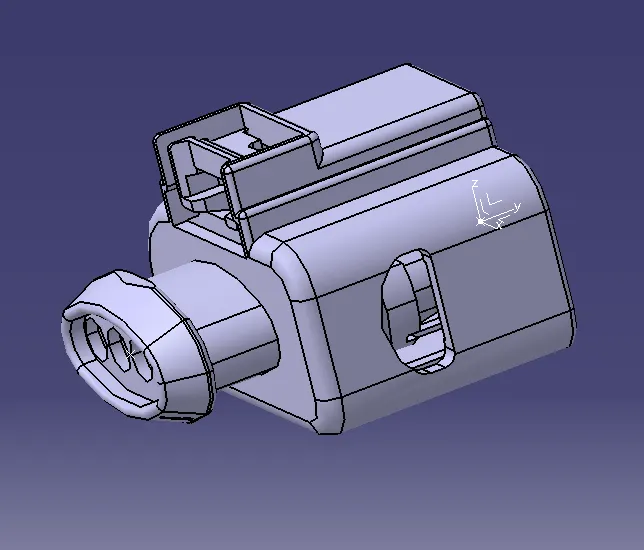
1. For defining all the connectors electrically :-
- Open the part in mechanical part design.
- On the mating side of the connector create a point and axis system with y axis facing in locking direction.
- Similarlly create one more point on the bundle entry side of connector.
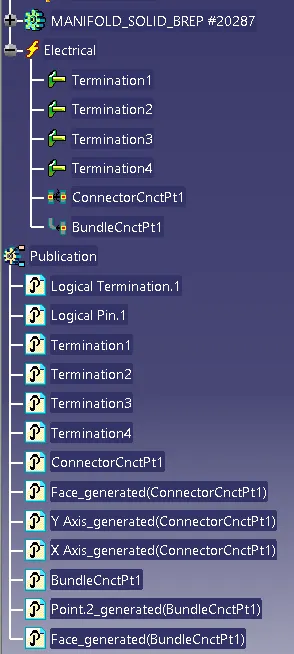
- Go to elctric part design select the "Define connector" command click on connector.
- Define the connector connection point and bundle entry point for the same connectorf as well.
- Repeat the same procedure for all the remaining connectors as well.
- Add the parts in catalogue.
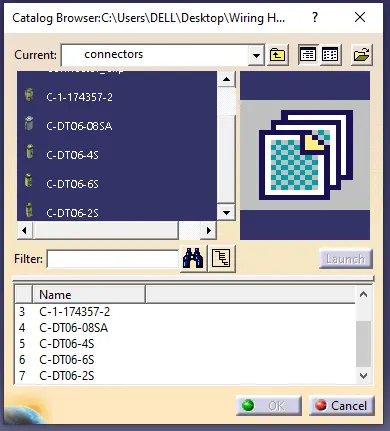
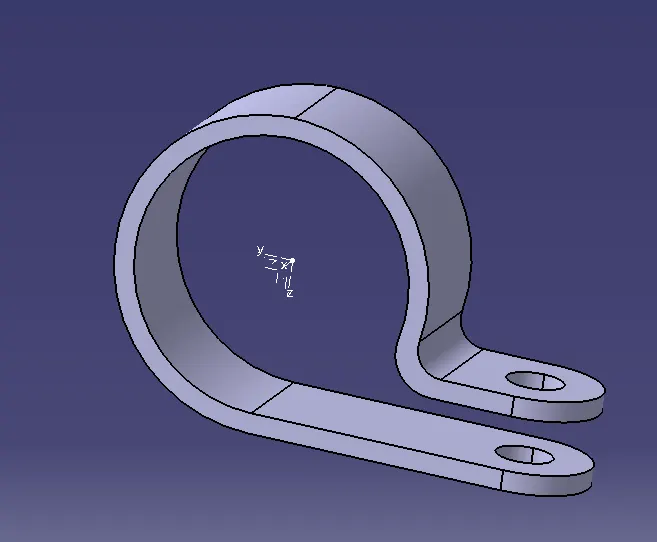
2. For defining the clamp as electric support :-
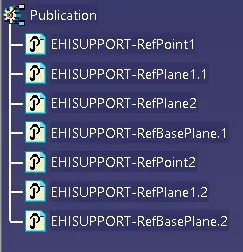
- In mechanical part design create the requird geometry like 2 points and 3 planes.
- Go to electrical part design and select the define support command click on the clamp.
- Define the entry and exist for calmp by selecting the resprctive points and plane for 1st entry and exit again do same to define the 2nd entry and exit.
- Repeat the same procedure for all the remaining connectors as well.
- Add the parts in catalogue.
3. Creating and routing the wiring harness :-
- Add and position the required connectors and clamps to necessary locations.
- Create a new product in which add the engine assembly
- create one more product in the same and name is wiring harness context assembly
- Go to elctrical wiring harness assembly workbench select the Geometrical bundle command.
- Select the multibranchable command select the interconnection connector and the p- clamp to create the wiring harness.
- simmilarly route the harness through different clamps to the connectors and complete the routing add the necessary clearences and slack as per the standered practices.
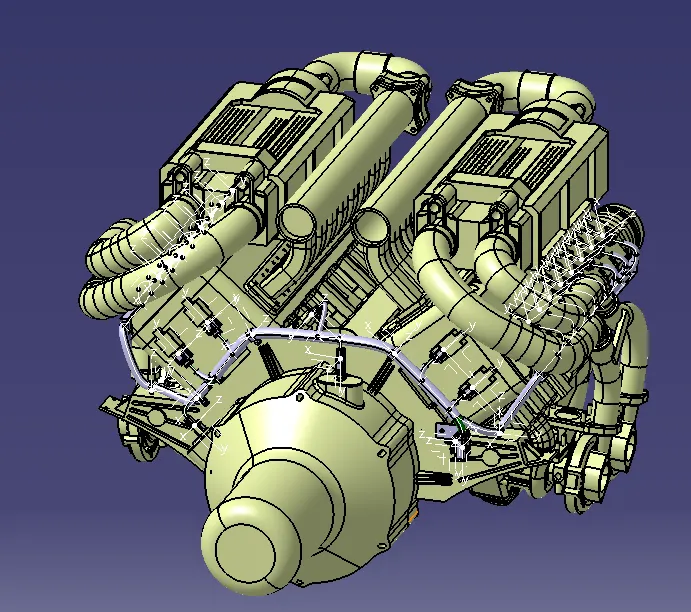
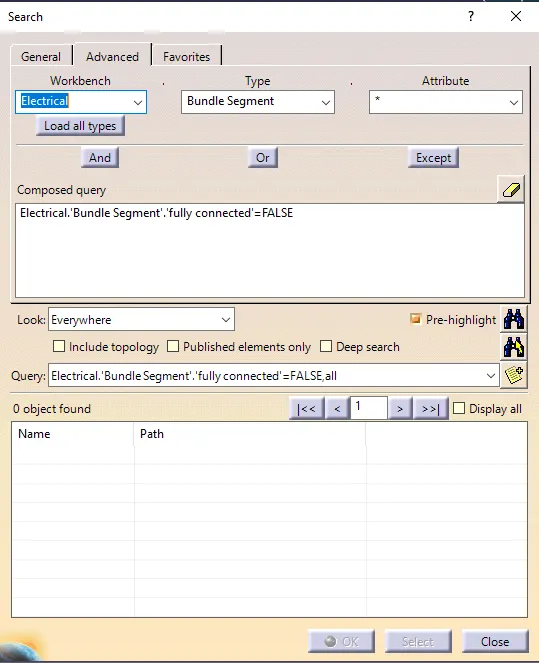
4. Applying the protective covering
-
In electric part design create a new part select the protective covering command and click on the part name in tree then in pop up box fill the required detils for cot tube diameters and clock ok save the part.
-
click on new catlogue and crate a new catlogue name Slit Catlogue select conduts in family save.
-
Add the corugatted part in the catlogue by selecting the proprt catlogue.
- Click on the protective covring command select the proper diameter cot tube from the catlogue and it will added on the branch.
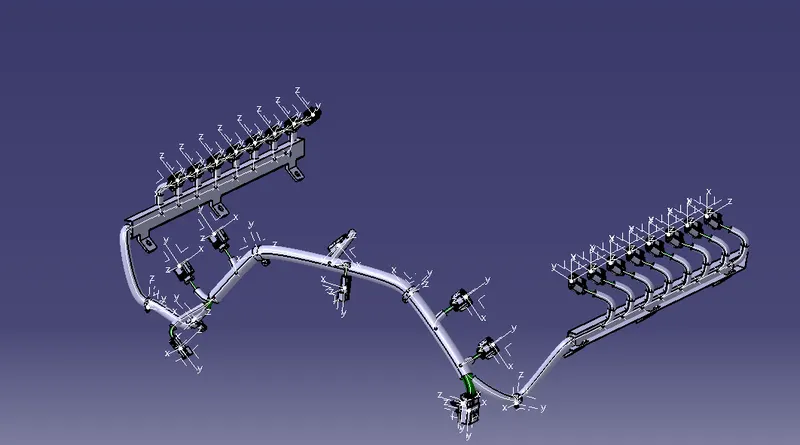
5. Flattening the Harness.
- Go to wiring harness flattning workbench give the flattning parameters
- Select extract and seclect the geometrical bunddle.
- .EHF extention will be added to the geometrical bunndle assembly
- Do the flattning by selecting the flatten command.
- Go to the drawing file add front view of any face or palne the drawing will be added to drawing sheet.