Preparing Schedule & Cost Estimation for a building using REVIT
Aim-To use shortcut keys in Revit
Introduction-Thre is shortcut kry for almost every command, here we are going to see some of example of shortcut keys and hw we used it in Revit
-Here i am using Challenge-7 Architectural model file.
procedure-
-Open Revit software
-Open Challenge-7 Architecutral Model file
1)Section Box
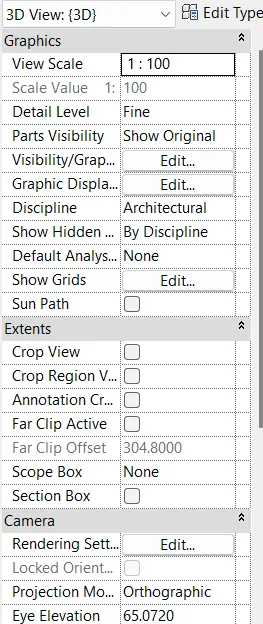
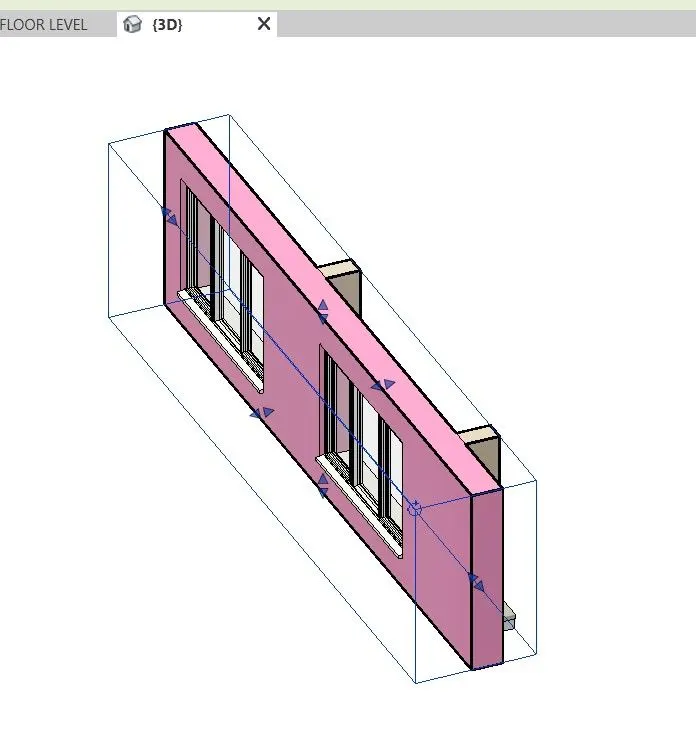
-Seelct window and type BX
-Seprate section box will appear and we can adjust it according to need
2)Create similar
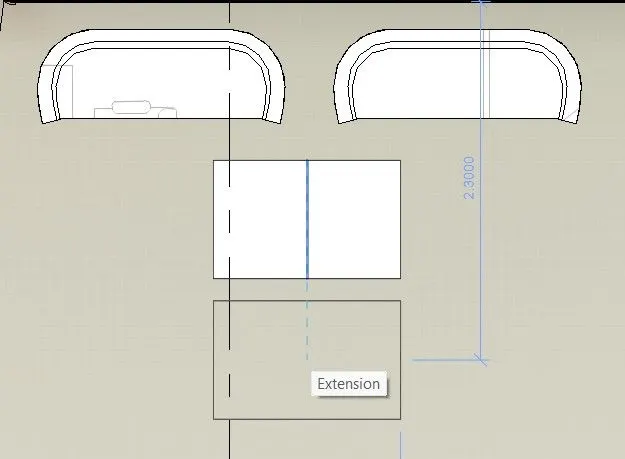
-Select tabel and type CS, pick any point of table and place it whenever we want to place it
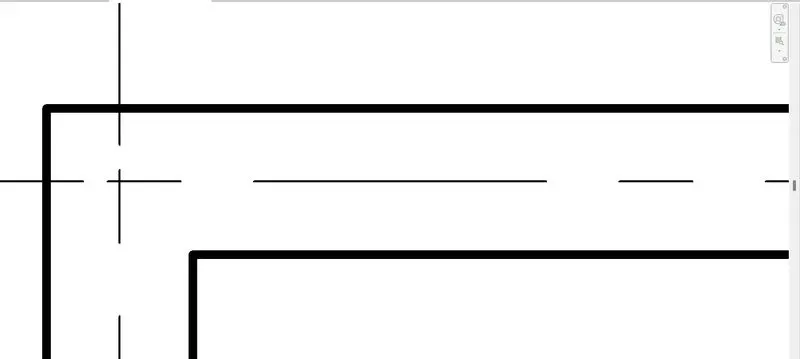
3)Thin lines
-Select wall and type TS, it will automatically decrease the thickness of wall line
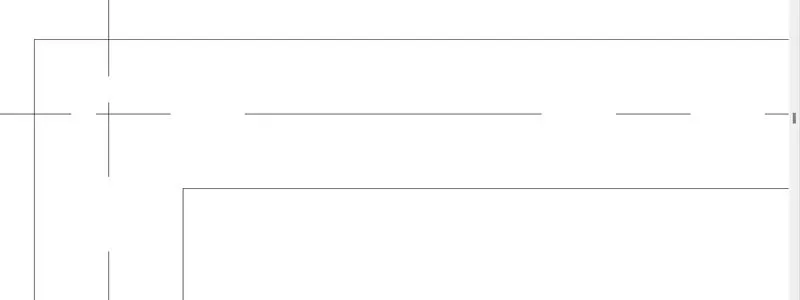
-Again select wall and type TL it will back to previous thickness of wall line
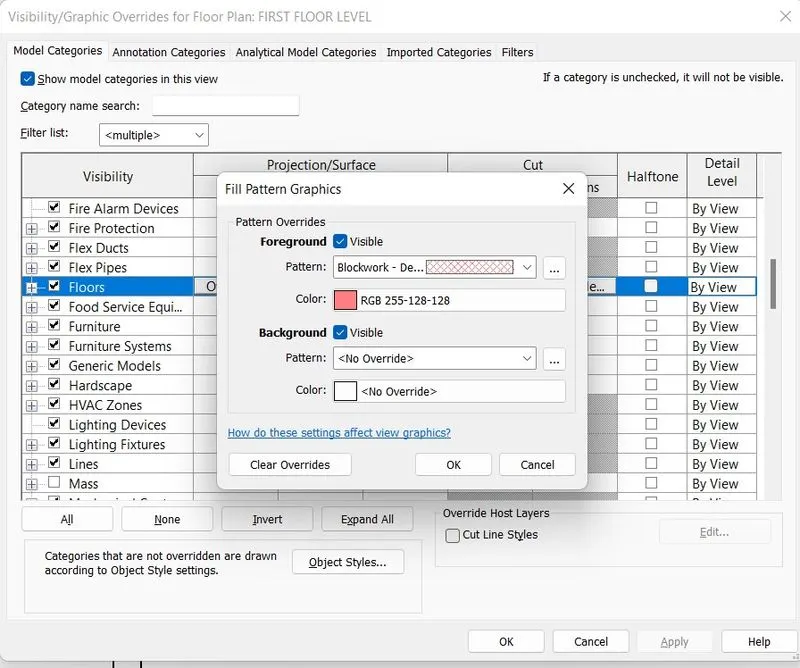
4)Override setting to floor
-Type VG dropdown to floor select override option in pattern column and give pattern and color to it
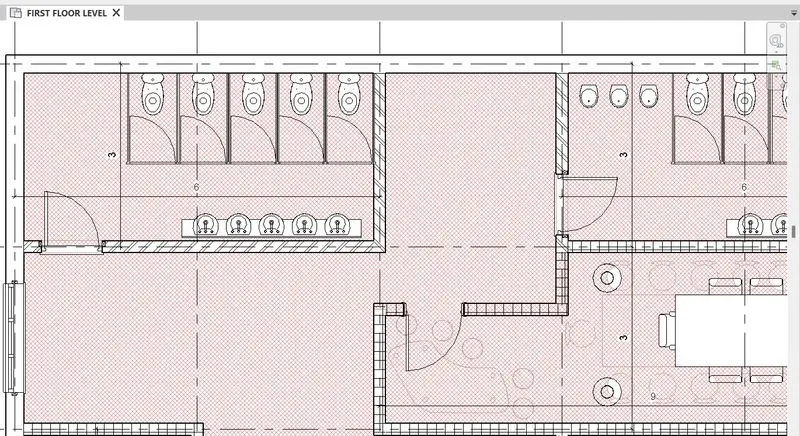
-Changes shows in plan
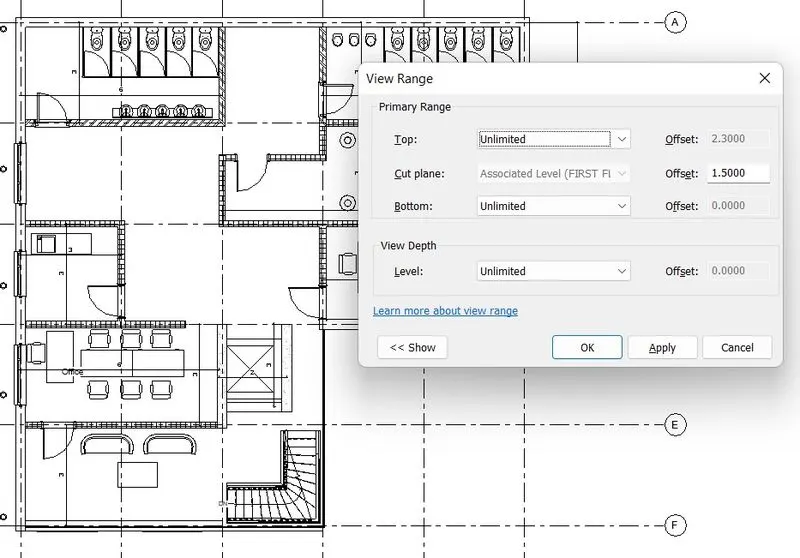
5)View range
-Type VR and amke changes according to what we need to see in our plan
6)To select previously select item
-When we want to select continue items and one of them is missed and all selected items get unselected then simply press CTRL+LEFT ARROW and it shows previously selected items
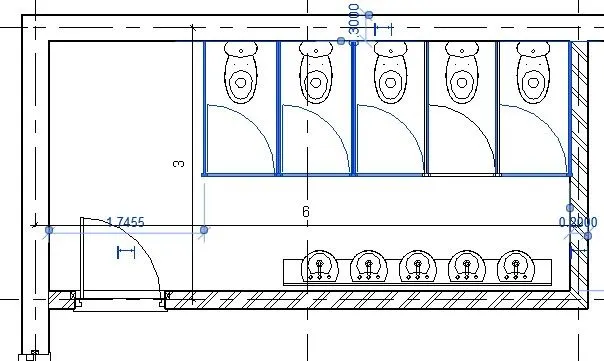
7)Add anotation
-Type DI, annotation mark appear and we can easily give dimensions
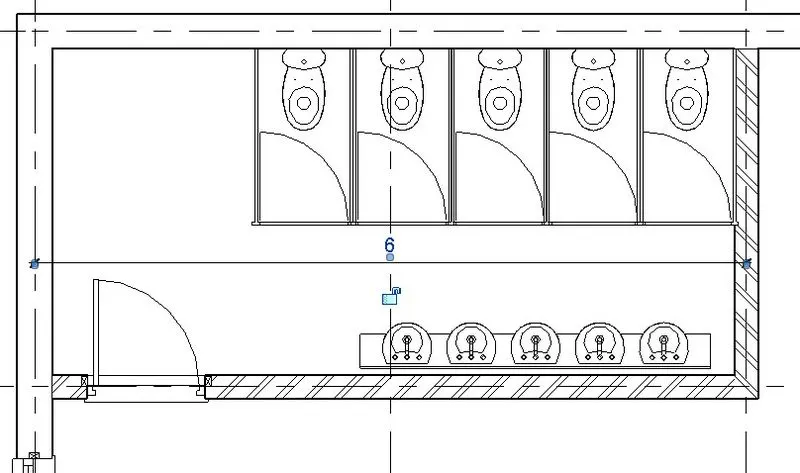
8)To bring the model elements in line
-Select element that we want to align and then type AL then select that model we want to align to it.
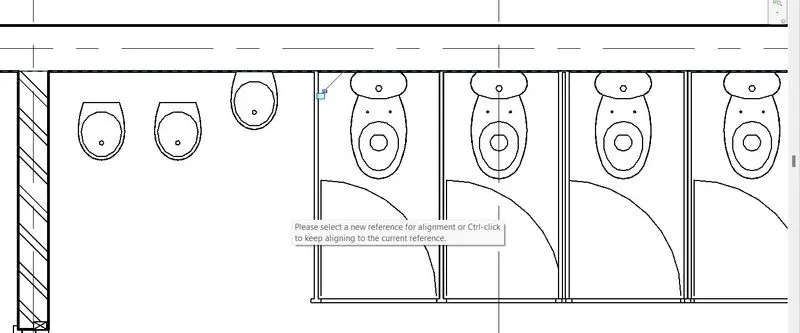
9)To rotate
-Seelct sofa that we want to rotate and type RO
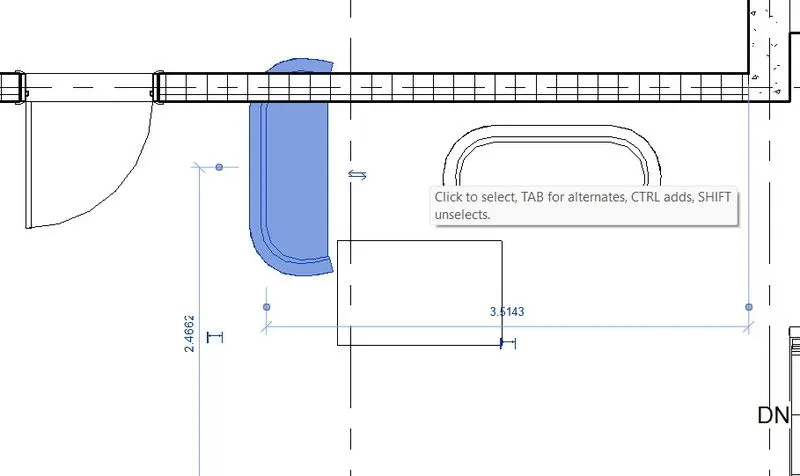
10)To move
-select table and type MV it shows displacement and place it where we want to
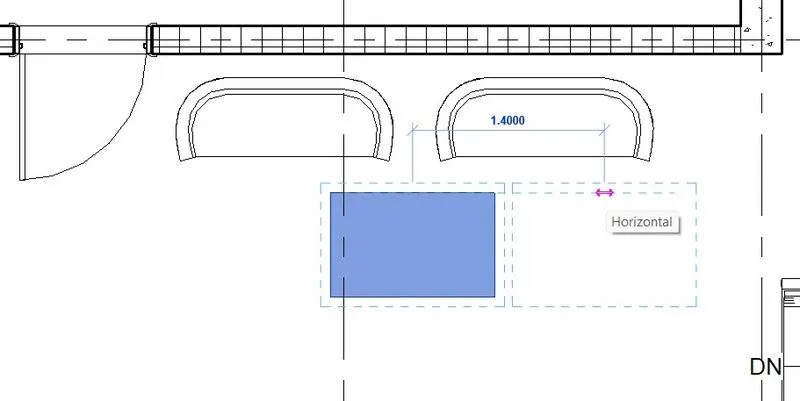
11)To copy
-Select table, type CO pick a point and place it
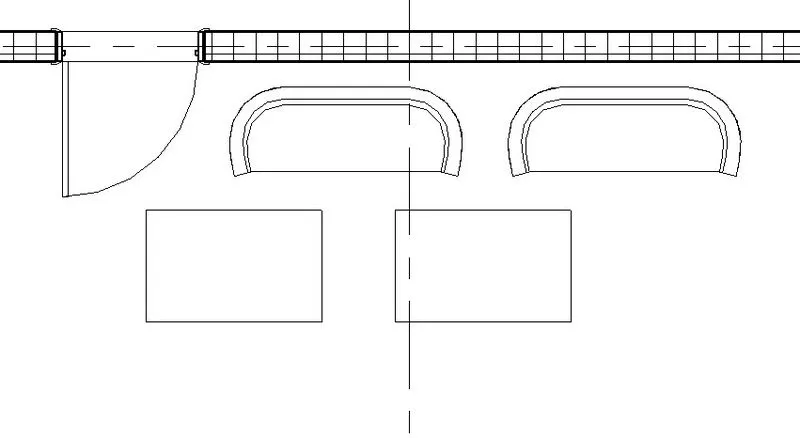
12)To mirror
-Select sofa type MM and then select axis in whih we want to mirror the sofa
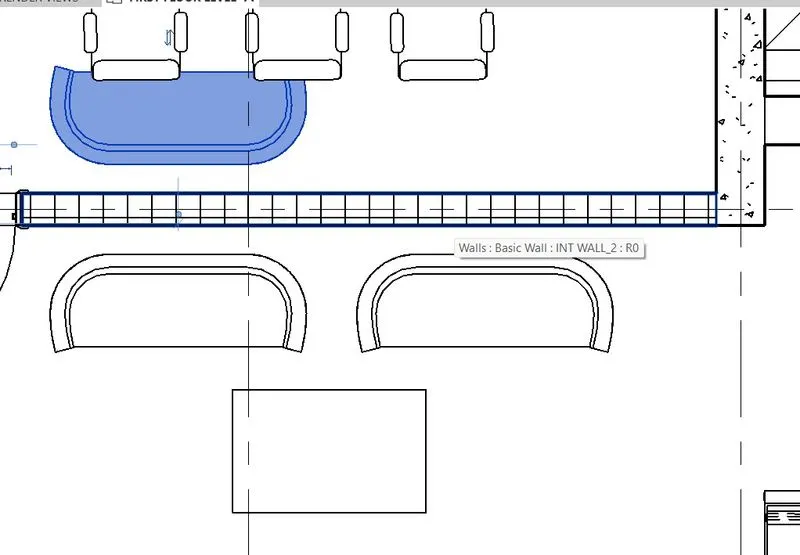
13)To create array
-Seelct table and type AR set distance as 1.5 and items will be 3
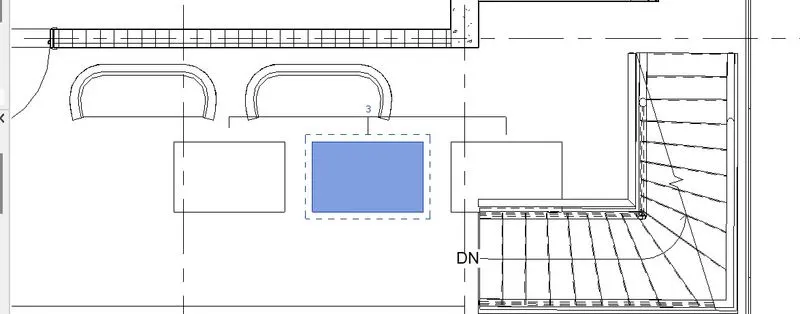
Result-
| No | TASKS | SHORTCUT KEY |
| 1 | Using 3D model create a section Box | BX |
| 2 | To create similar doors and windows in a floor plan layout | CS |
| 3 | To reduce the thickness of lines in Plan views | TL |
| 4 | To apply override settings to a floor in the model section view. | VG |
| 5 | To increase the range of visibility in a plan view | VR |
| 6 | To select the previously selected items. | CTRL +<- |
| 7 | To add annotations to the model views. | DI |
| 8 | To bring the model elements in Line | AL |
| 9 | To Rotate the model Element | RO |
| 10 | To move an object to another Location | MV |
| 11 | To copy a model Element | CO |
| 12 | To mirror an element about an axis | MM |
| 13 | To create an Array of model Elements | AR |
Aim-To prepare schedule for following
a. Walls
b. Doors
c. Windows
d. Material – Concrete/Wood
Introduction-Here i am using week 7 Architectural Model file
Revit prepare schedules seperately for every element that we used in our project. Schedules represent count, cost, area etc
Revit schedules are usually created because there is a need to quantify the various elements in your Revit project.
Revit schedules are a lot like a spreadsheet. They consist of columns and rows and the cells contain various data regarding the Revit elements. On top of that formulas and parameters can be applied to calculate new values from existing ones.
Procedure-
-Open Challenge-7 Architectural Model file
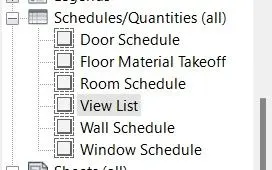
-Go to View>Select Schedule>Select wall schedule>Ok>
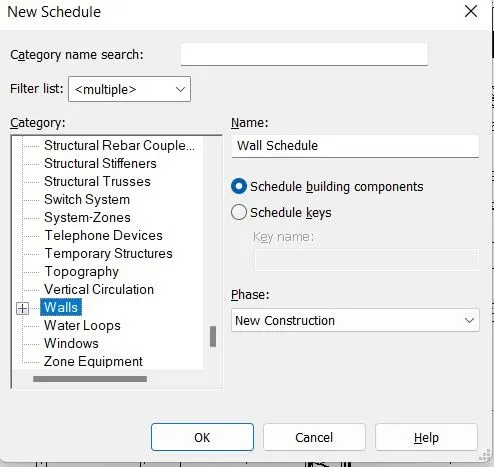
-Another dialog box will open here add parameter that we want add in our schedule
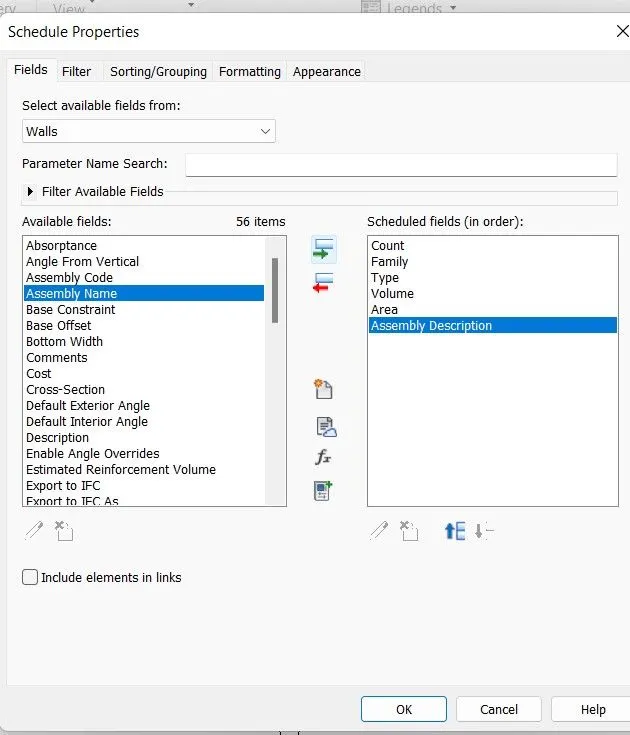
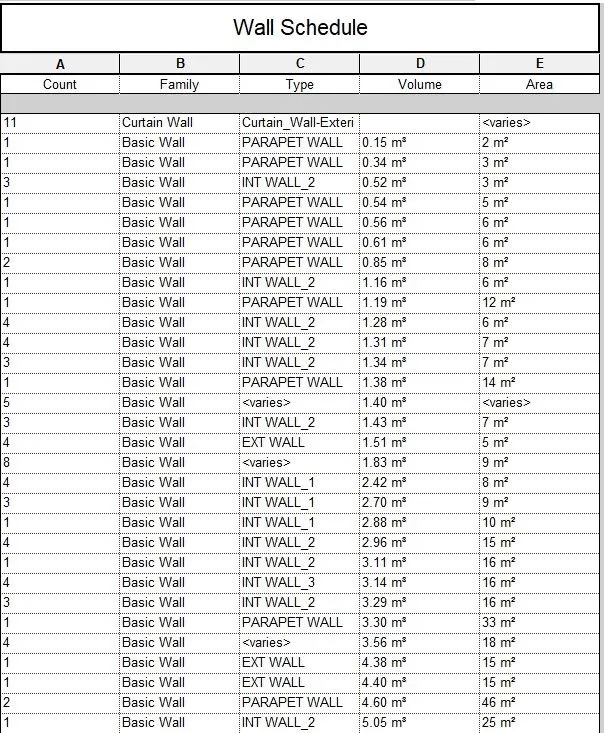
-In properties browser we can change filter, sorting, formating according to our preferences
-Go to View>Select Schedule>Select Door schedule>Ok>
-Another dialog box will open here add parameter that we want add in our schedule
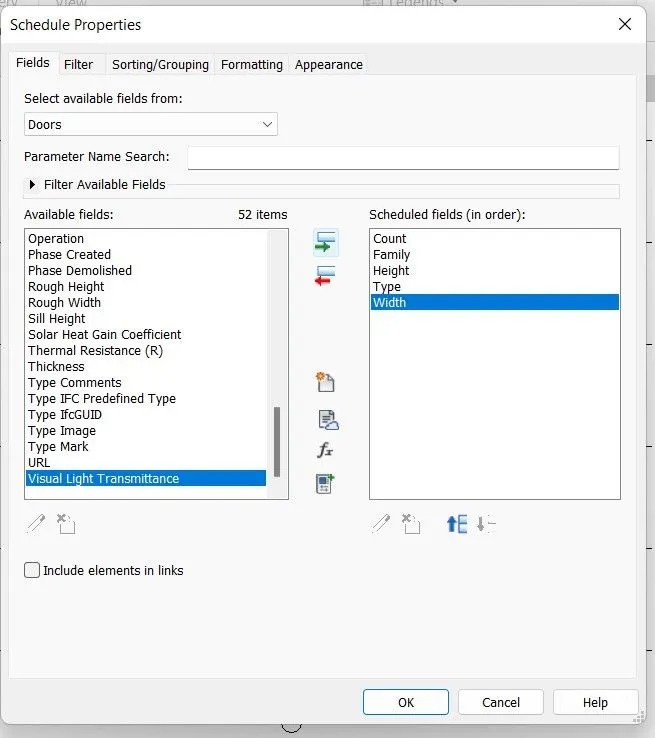
-In properties browser we can change filter, sorting, formating according to our preferences
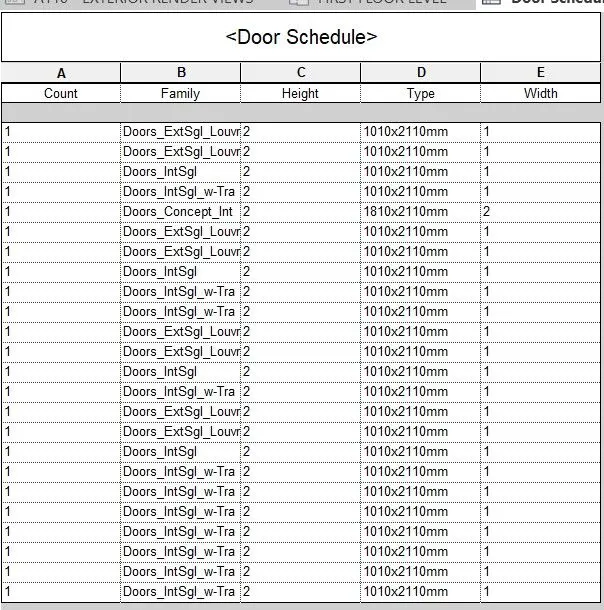
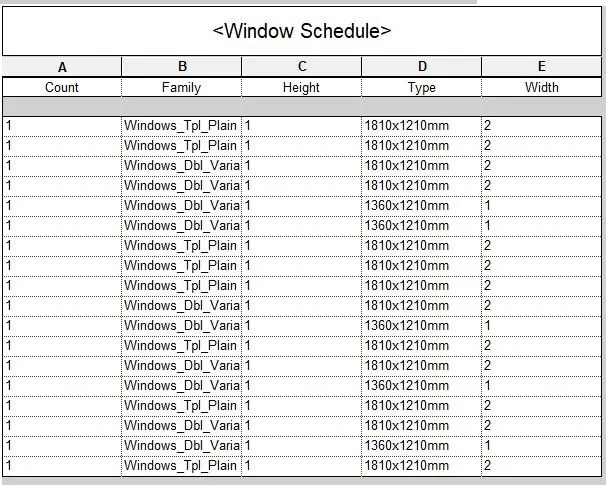
-Go to View>Select Schedule>Select Window schedule>Ok>
-Another dialog box will open here add parameter that we want add in our schedule
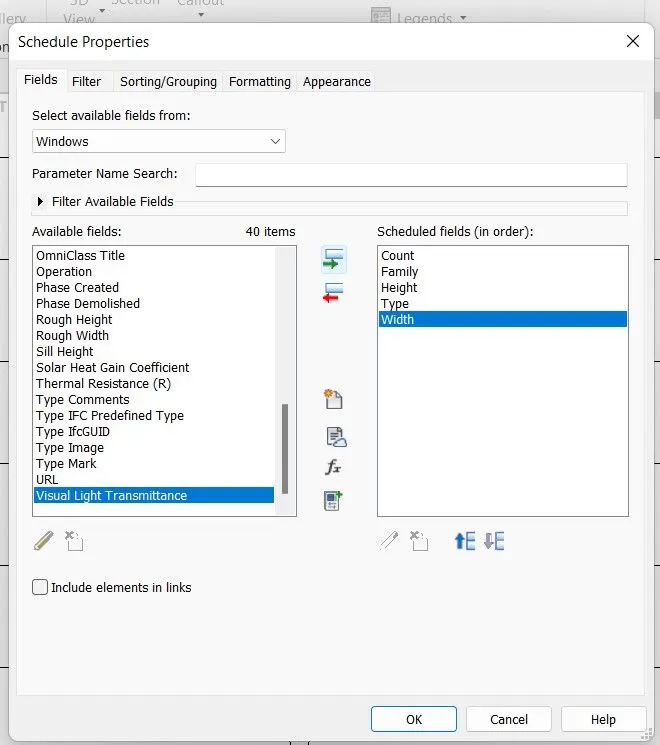
-In properties browser we can change filter, sorting, formating according to our preferences
-Go to view>Select Schedule and come downward and select Material takeoff>Slect FLOOR
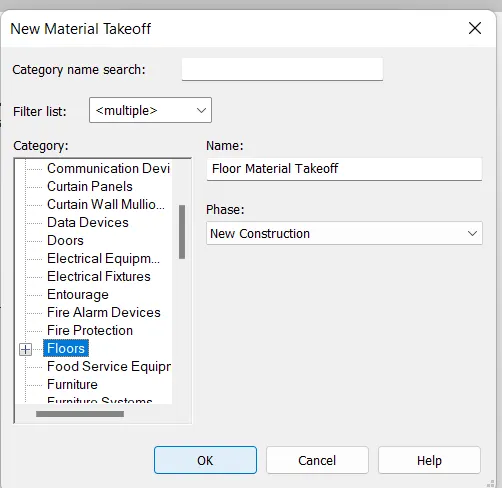
-Another dialog box will open here add parameter that we want add in our schedule
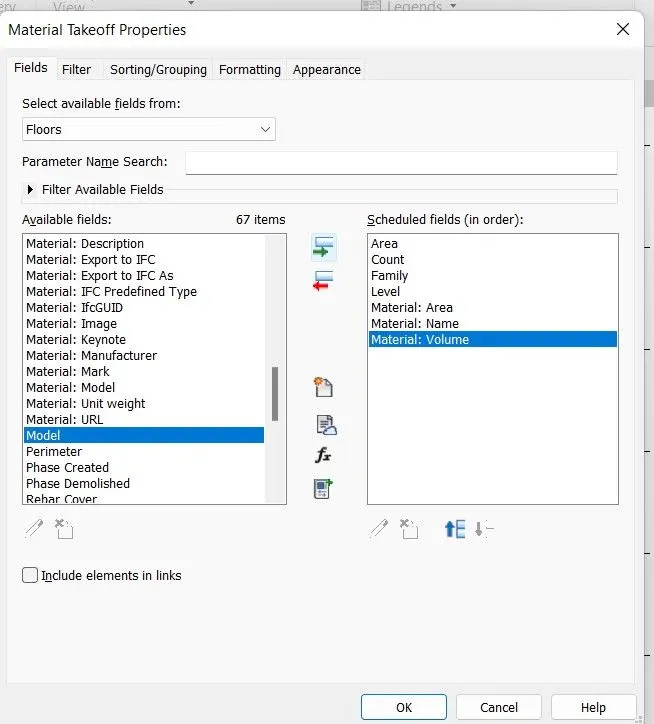
-In properties browser we can change filter, sorting, formating according to our preferences
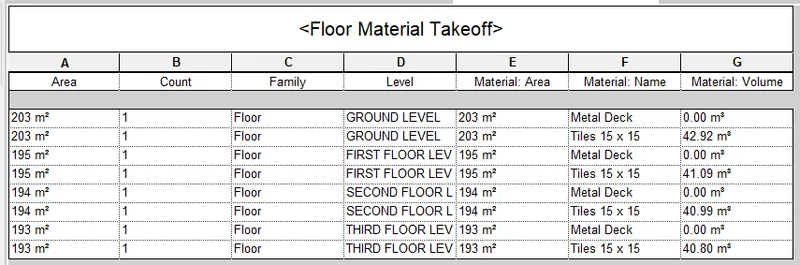
Result-
All schedule are done in this project
Aim-To calculate area and volume of each room
Introduction-Rooms and room tags are separate but related to Revit Architecture components. Rooms are model elements in Revit Architecture, like walls and doors.
Room tags are annotation elements that can be added and displayed in plan views and section views. Room tags can display values for related parameters, such as room number, room name, computed area, and volume.
Procedure-
-Open Challenge-7 Architectural Model file
-Go to View>Select Schedule>Select Room schedule>Ok
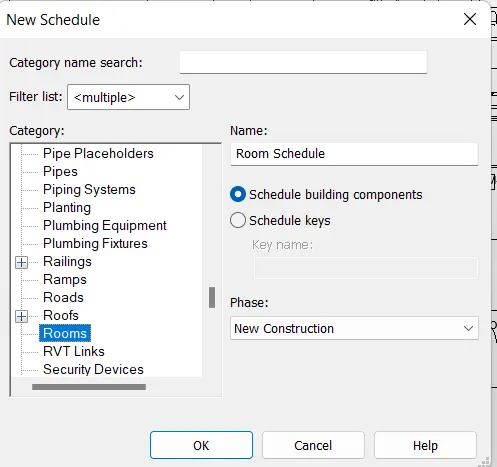
-Another dialog box will open here add parameter that we want add in our schedule
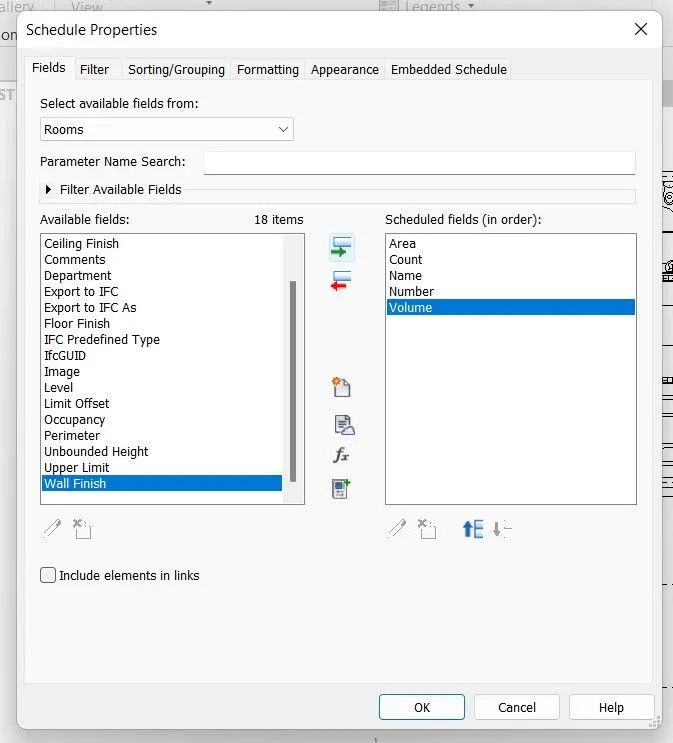
-Room scedule is done
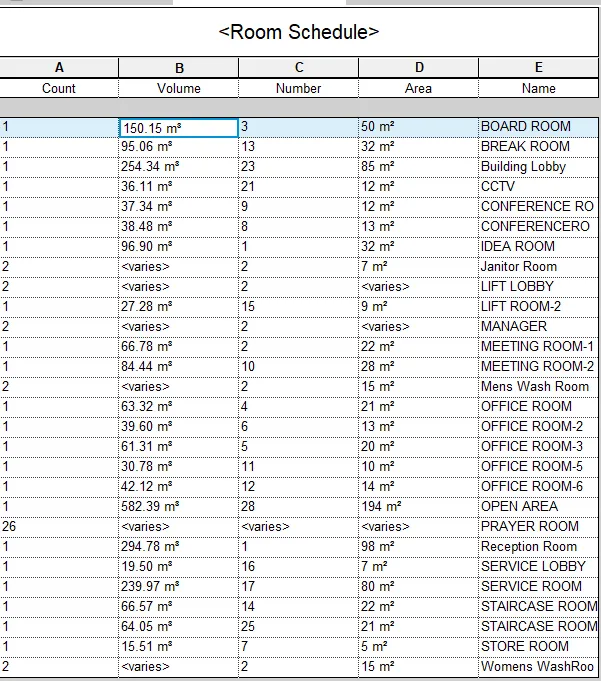
Result-
We calculated Area and Volume of each room
Prepared a schedule report for area ad volume of each room.
Aim-To create a total cost of materials schedule using the unit cost rate
Introduction-As the building design matures and construction details are accurately modeled, precise quantity takeoffs can be extracted from the BIM model to compute very detailed cost estimates that factor in the planned construction process and consider the labor, materials, equipment, and subcontractor costs for all building elements.
If we have started our model by choosing the masses option, we can add now some model elements as floors by face, and wall by face...to get a cost estimation at this step of the project, which is a little more accurate than the previous one
Procedure-
-Open Challenge-7 Architectural Model file
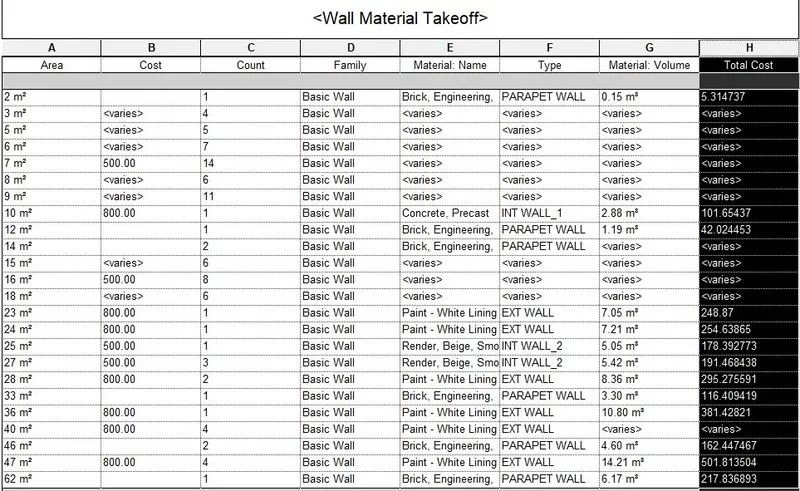
-Go to View>Select Schedule>Select Material takeoff>Select wall>Ok>
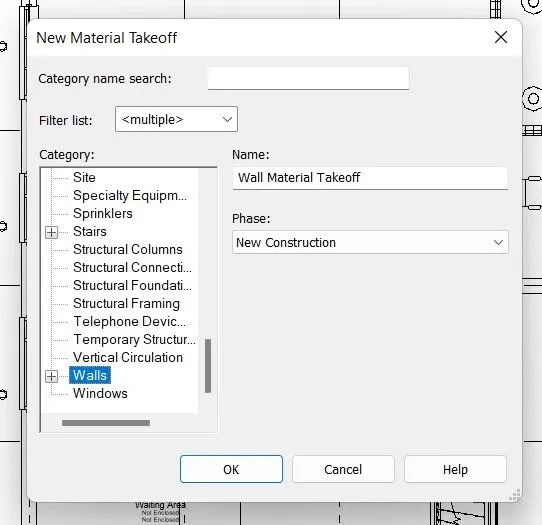
-Another dialog box will open here add parameter that we want add in our schedule
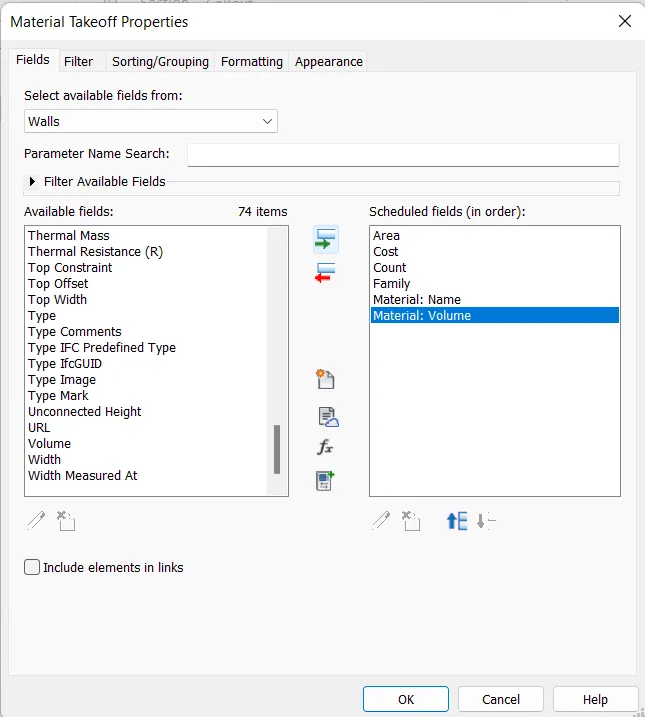
-In properties browser we can change filter, sorting, formating according to our preferences
-In ribbon select Calculate, st formula as Volume/1 CF we get Total cost
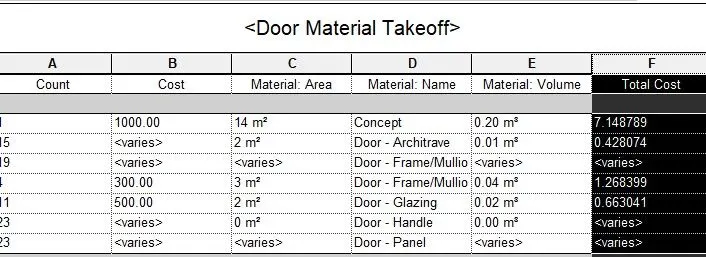
-Go to View>Select Schedule>Select Material takeoff>Select Door>Ok>
-Another dialog box will open here add parameter that we want add in our schedule
-In properties browser we can change filter, sorting, formating according to our preferences
-In ribbon select Calculate, st formula as Volume/1 CF we get Total cost
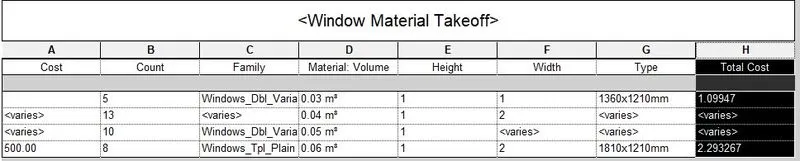
-Go to View>Select Schedule>Select Material takeoff>Select Window>Ok>
-Another dialog box will open here add parameter that we want add in our schedule
-In properties browser we can change filter, sorting, formating according to our preferences
-In ribbon select Calculate, st formula as Volume/1 CF we get Total cost
Result-
All the schedules are done.
5]
a. How to decide framings for a structure using Dynamo
b. If there is no water coming from the pipes
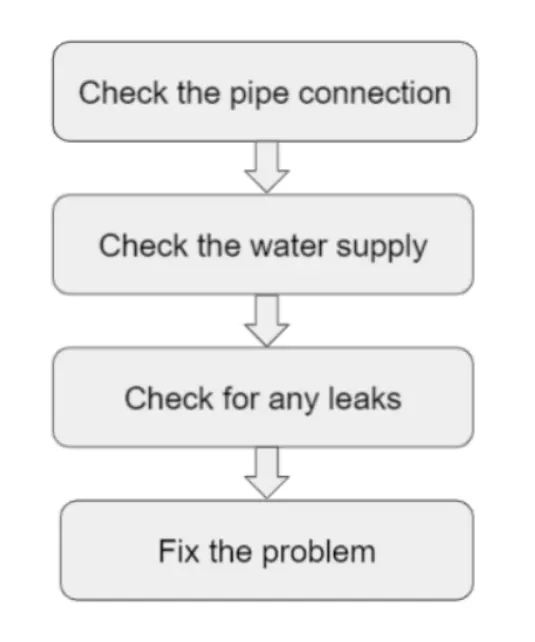
c. If the request for money from the client has been declined for the project
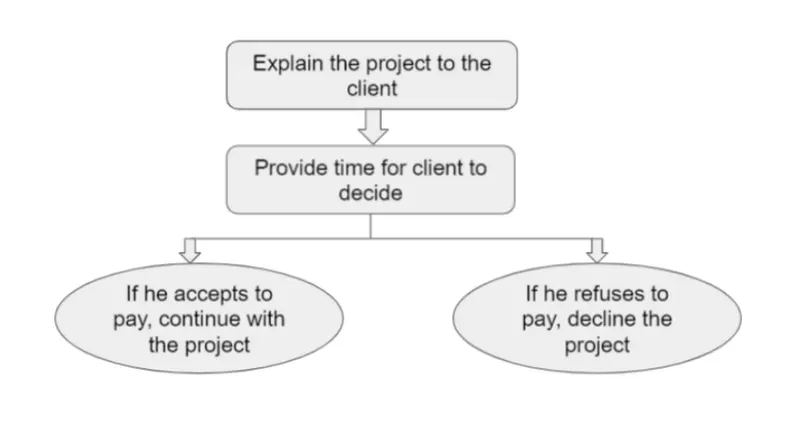
6]
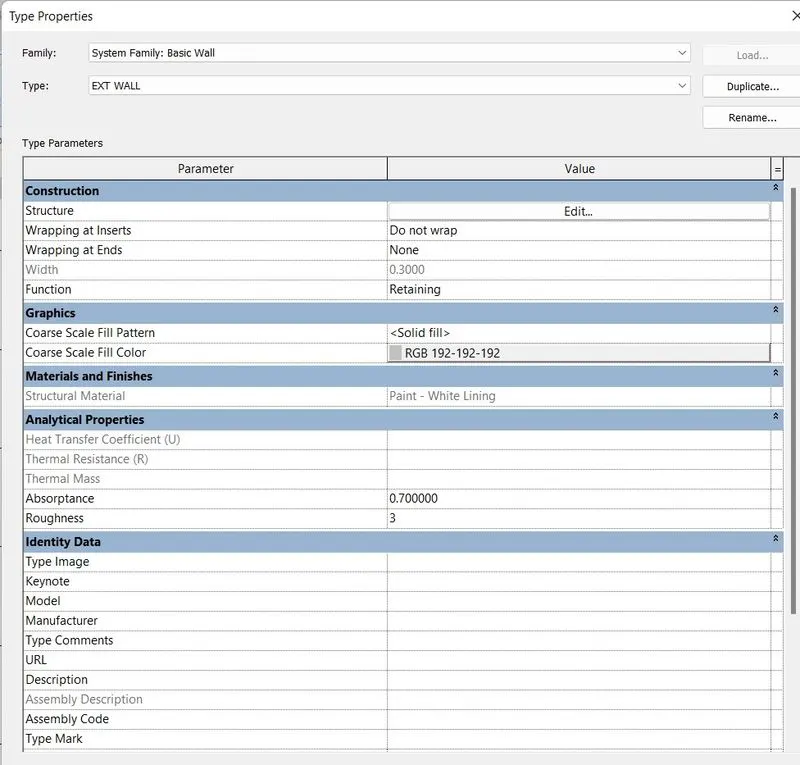
a)Wall
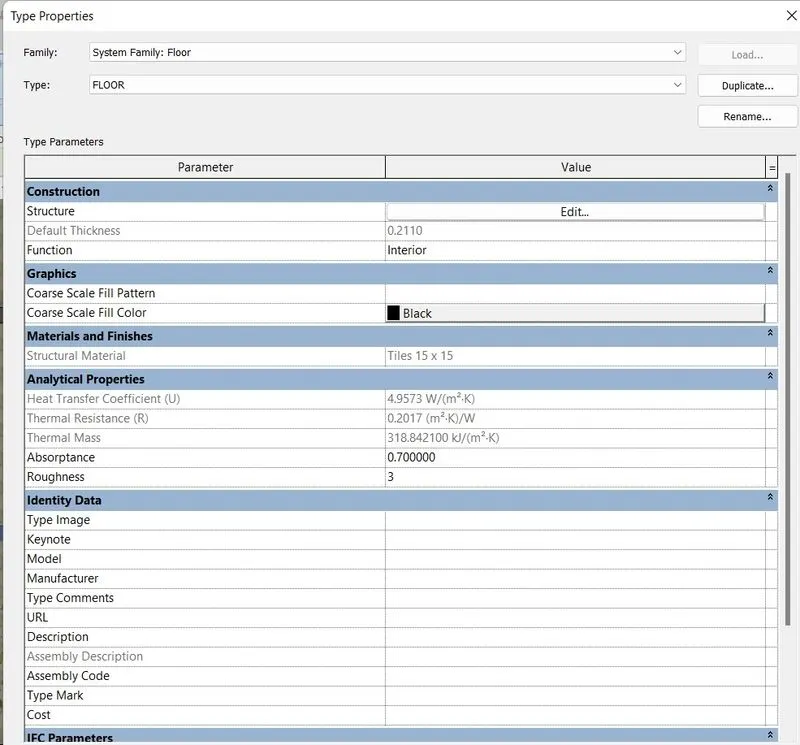
b)Floor
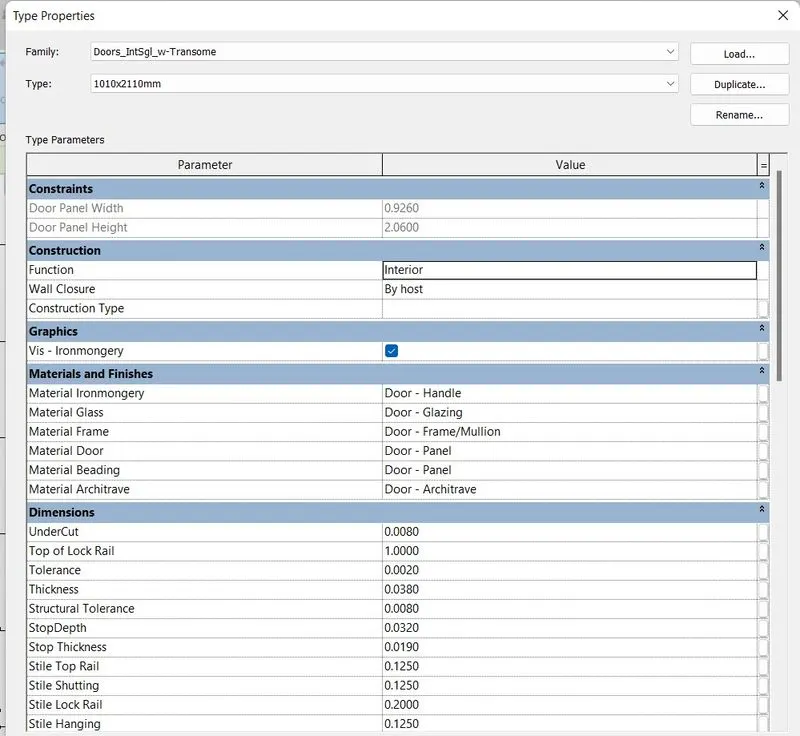
c)Door
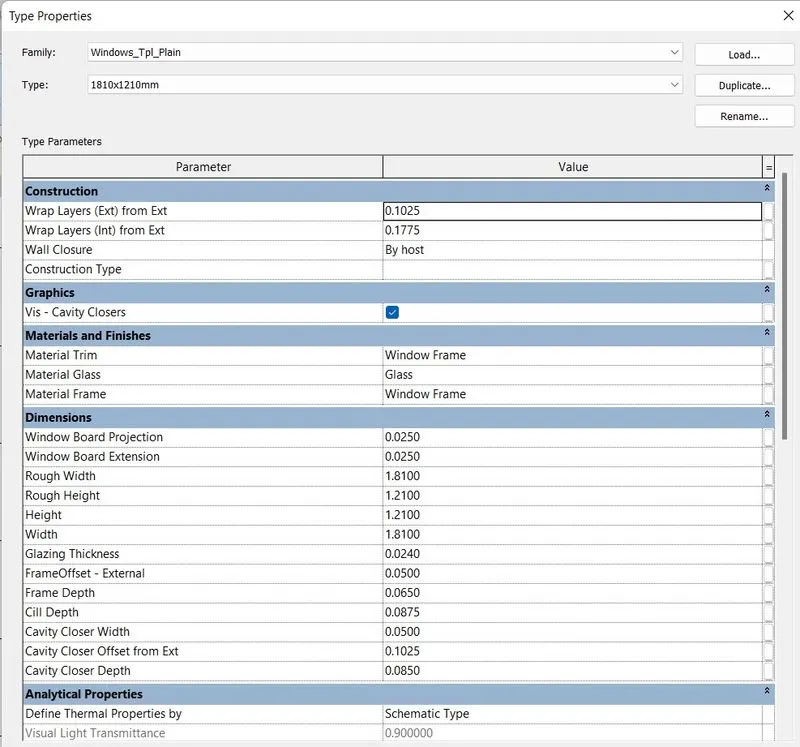
d)Window
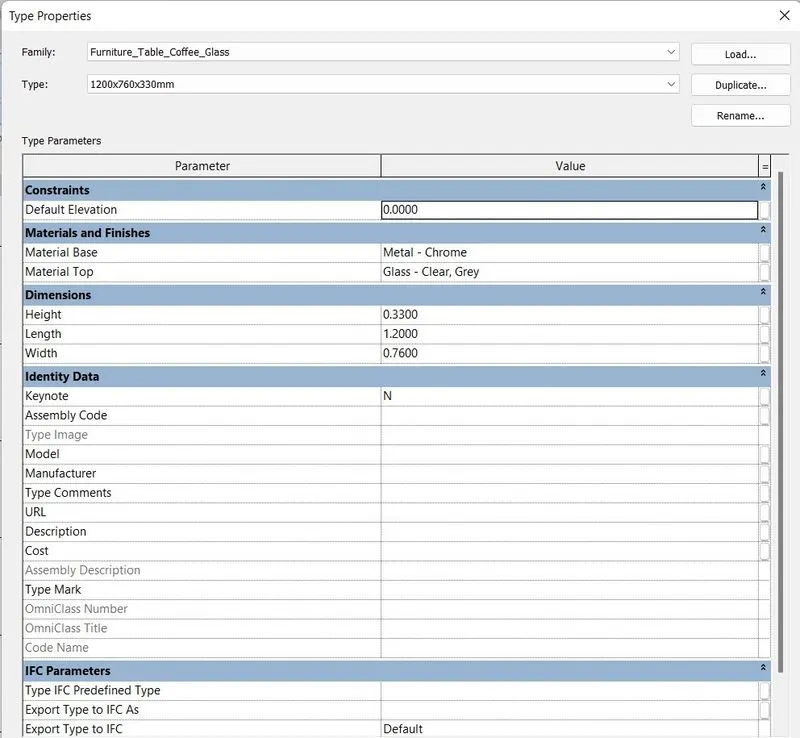
e)Table
f)Building