Photo Realistic Rendering
OBJECTIVE
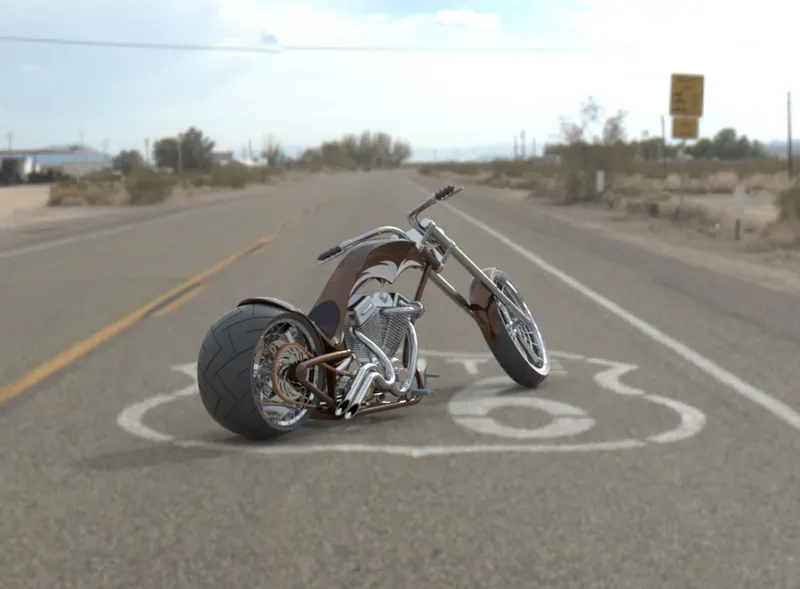
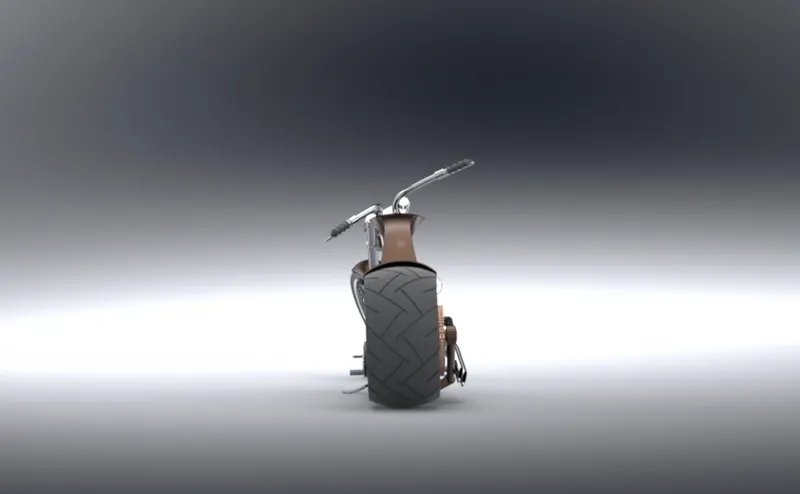
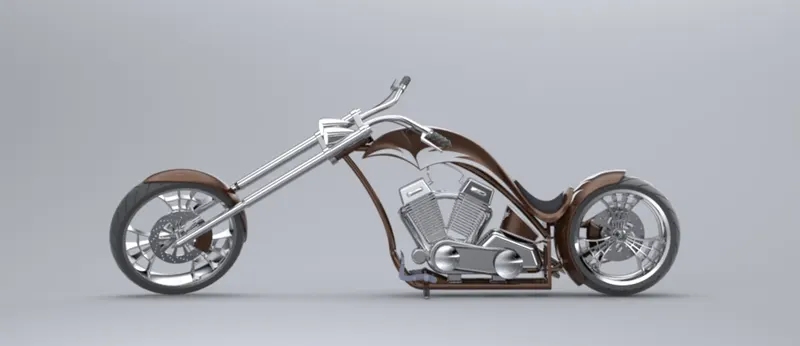
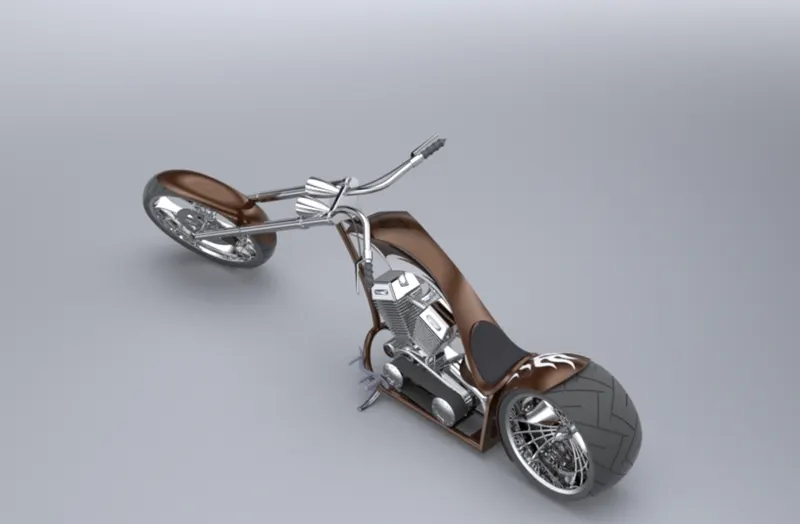
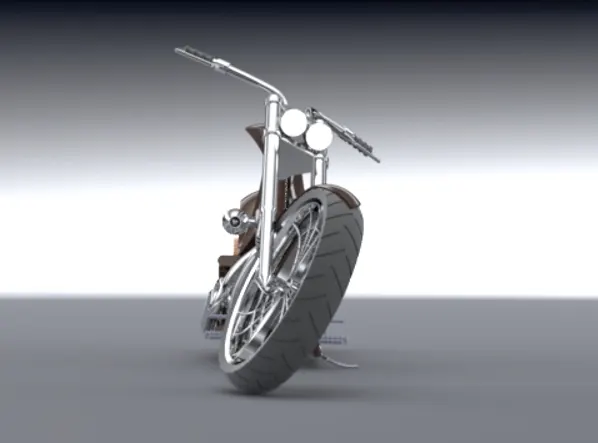
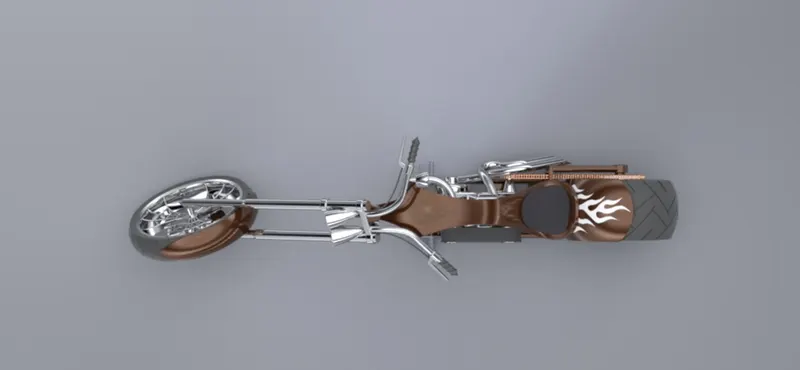
The main objective of this project is to design and assemble the American Chopper with photo realistic renders using Solid works. Decals, Scenes, Lights and Camera should be added to the assembly. Using Photo view 360 and solid works visualize render American Chopper
INTRODUCTION
SolidWorks is a solid modelling computer-aided design (CAD) and computer-aided engineering (CAE) application published by Dassault Systems. At the initial stage, the software is used for planning, visual ideation, modelling, feasibility assessment, prototyping, and project management. The software is then used for design and building of mechanical, electrical, and software elements.
The ideology behind Modelling of American Chopper using Solid Works software is to understand how to design models in solid works and to get the photo realistic view. Also, to understand the design process.
The American chopper is made up of the below parts:
- Transmission Belt
- Front Fender
- Rear Fender
- Kick stand
- Chain
- Oil tank
- Pedal
- Front Wheel
- Rear Wheel
- Engine
- Chassis
- Front Fork
- Gas Tank
- Transmission belt:
Transmission Belt transfers power from engine to gear box
Features Used:
- Fillet
- Extruded Boss
Design Procedure:
The profile of transmission belt is created as per the dimension in the front plane. A 3.5mm thickness is provided and then exit the sketch. Extrude the drawn profile up to required dimension and give appearance.
- Front Fender:
The purpose of fender is to catch water, grime, or mud spraying off on to the wheel. Along with reducing the amount of wet waste sprayed onto the bike, the fenders also reduce the grit that can stick to the bicycle's moving components while riding in wet conditions.
Features Used:
- Revolved Boss/Base
- Split
Design Procedure:
Draw a 3point arc and offset it to certain dimension to get require thickness of the arc. Draw a line at certain distance from the arc and revolve the arc about the line. Perform split operation to get the fender into desired shape. Apply appearance.
- Rear Fender:
The purpose of fender is to catch water, grime, or mud spraying off on to the wheel. Along with reducing the amount of wet waste sprayed onto the bike, the fenders also reduce the grit that can stick to the bicycle's moving components while riding in wet conditions.
Features Used:
- Revolved Boss/Base
- Split
- Fillet
- Shell
Design Procedure:
Draw a 3point arc and offset it to certain dimension to get require thickness of the arc. Draw a line at certain distance from the arc and revolve the arc about the line. Perform split operation to get the fender into desired shape. Finally apply shell command and give appearance.
- KICK STAND
It allows the bike to be kept upright without leaning against another object.
Features Used:
- Loft
- Dome
- Extruded Boss
- Fillet
- Split
- Cut Extrude
Design Procedure:
Two ellipses are created at different planes and are connected by a spline. Now perform loft operation. Elliptical dome feature is used to create a round edge at the ellipse. Cut the slot at the top end of kickstand and draw a circle and extrude it. It holds on to the chassis. Finally apply appearance.
- CHAIN:
Chain transfers power from engine to rear wheel.
Features Used:
- Boss Extrude
- Fillet
- Curve Pattern
- Mirror
- Blocks
Design Procedure:
Chain is created with 3point arc and circles by giving tangency relation between them. Later Trim operation is performed to remove unnecessary profiles drawn. The chain plates were created on the same plane but are not made part of the sketch. They are converted to blocks and brought into the sketch at required number. The chain plates were extruded and are patterned through curve. Mirror feature is performed and a combine feature is used to make the entire chain as one single solid body. Finally apply appearance.
- OIL TANK:
The function of oil tank is to hold the fuel.
Features Used:
- Boss Extrude
- Combine
- Fillet
- Shell
Design Procedure:
On the Top plane create a Profile with 3point arc and line by giving tangency relation and extrude the drawn profile. In the front plane draw a profile and perform combine operation to get proper shape of the oil tank. Perform shell command and finally apply appearance.
7.PEDAL:
It is the integral part of the bike where the rider rests his foot. It provides comfort as well as maintains the road balance.
Features Used:
- Boss Extrude
- Revolve
- Fillet
- Linear Pattern
- Chamfer
- Dome
Design Procedure:
A sketch with the help of arc and spline were drawn in the front plane and is extruded. Another sketch is drawn on the face of the extruded portion and revolve operation is performed followed by Fillet, chamfer and dome.
- FRONT WHEEL:
The front wheel plays the role of taking in impact and steering your bike.
Features Used:
- Revolve
- Boss Extrude
- Cut Extrude
- Cut Revolve
- Circular pattern
- Fillet
- Chamfer
- Combine
Design Procedure:
The rim of the wheel is created by drawing a sketch with 3point arc and revolving it about an axis. Spider web is created in the front plane at required dimensions. Rotor is created on the same plane. Circular pattern is used for creating the holes on the rotor. Calliper created with required dimension and chamfer applied to it. create tyre with rectangle patches on it. Finally apply appearance.
- REAR WHEEL:
The front wheel plays the role of taking in impact and steering your bike.
Features Used:
- Revolve
- Boss Extrude
- Cut Extrude
- Cut Revolve
- Circular pattern
- Fillet
- Chamfer
- Combine
Design Procedure:
The rim of the wheel is created by drawing a sketch with 3point arc and revolving it about an axis. Spider web is created in the front plane at required dimensions. Rotor is created on the same plane. Circular pattern is used for creating the holes on the rotor. Calliper created with required dimension and chamfer applied to it. create sprocket and tyre with rectangular patches. Finally apply appearance.
- ENGINE:
Engine allow air-fuel mixture and upon combustion the energy is transmitted from crank shaft of the engine to rear wheel.
Features Used:
- Revolve
- Boss Extrude
- Cut Extrude
- Circular pattern
- Dome
- Split
- Fillet
- Chamfer
- Linear Pattern
- Combine
- Sweep
Design Procedure:
Engine is created by using blue print of American chopper. The base of the engine followed by the cylinders were created. Later the exhaust pipe and spark plug were created. For creating exhaust pipe a projected curve which is a 3D sketch is generated and is swept along the path. Finally apply appearance.
- CHASSIS
Chassis is known as a frame. The purpose of cassis is to bear the weight of the bike
Features Used:
- Boss Extrude
- Cut Extrude
- Sweep
- Split
- Fillet
- Chamfer
- Dome
- Combine
Design Procedure:
Chassis is created by using blue print of American chopper. Close to the blue print a sketch is drawn with spline and later is projected and swept to get the required structure of chassis.
- FRONT FORK:
Fork incorporates the front suspension and front brake, and allow the front wheel to rotate about the steering axis so that the bike can be steered.
Features Used:
- Boss Extrude
- Revolve
- Linear Pattern
- Cut Extrude
- Mirror
- Dome
- Sweep
- Fillet
- Combine
Design Procedure:
Create a sketch on front plane as per the required dimension and revolve it. Create half of the triple clamp and head light and mirror it. Cables are created by using projected curves. Finally apply appearance.
- GAS TANK:
Gas tank stores the fuel and supplies it to engine.
Features Used:
- Surface sweep
- Surface trim
- Surface Loft
- Boundary surface
- Surface Knit
- Mirror
- Surface Extrude
- Boundary surface
- Fillet
- Cut sweep
- Shell
Design Procedure:
Using surface design tools and blue print of American chopper gas tank is created.
ASSEMBLY OF AMERICAN CHOPPER
All the components which are created were assembled by giving proper mates and is ensured that there is not interface/collision between the mating components.
RENDERING OF AMERICAN CHOPPER
Using solid works visualize rendering is done. The below are the steps followed:
- Adding Decals to the model
- Setting up scene, Light and camera.
- Placing the model in an environment
- Finally rendering the American chopper.