Photo Realistic Rendering
Photo Realistic Rendering:
Objective: our aim for this project is to render the American chopper.
Introduction: After you have created the object, lights and shades, you can bring these elements together in the find the render process with adjustable quality levels. Generally, better the rendering quality required, the longer the renderer takes.
Render tools command:
Render tools command is used to adjust the decals and appearance on the model.
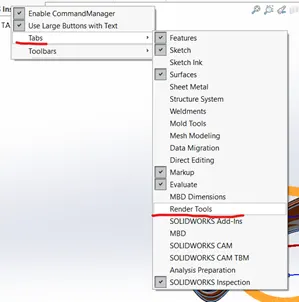
Render tool is in tool bar, if in case you not find tool in the tool bar.
We have to customize tool or select the any command in the tool click the right click of the mouse and go to tabs and active the render tool shows in the figure.
You can activate accounting to your requirement.
Activate and de-activate command in tabs.
How to activate the photo 360?
Go to search bar and type add in
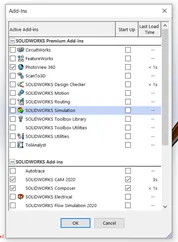
Select the photo 360.

Tools are activated, if not activate the photo 360 this tool are also not activated.
Decal: select the gas tank and open in part body.
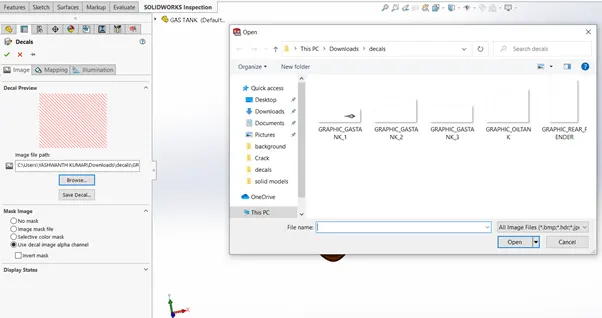
Select the required decal by using the browse and active the use decal image alpha channel.
Mapping: select the opposite faces and to project and adjust the image in the xy direction and distance shows in the figure.
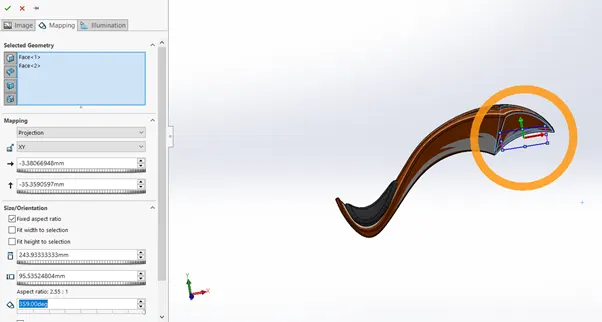
In the mapping there are multiple option to adjust the decals
Like
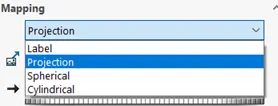
Option are used Accounting to your requirement
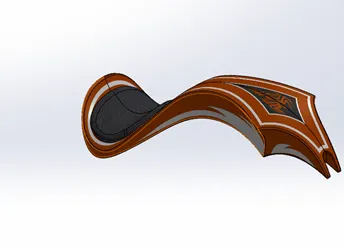
After all decals are adjusted.
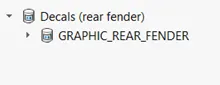
Do the same operation to the rear fender
Select the face and mapping is label is used.
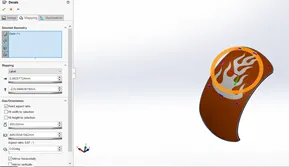
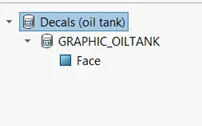
For oil tank use the same operation.
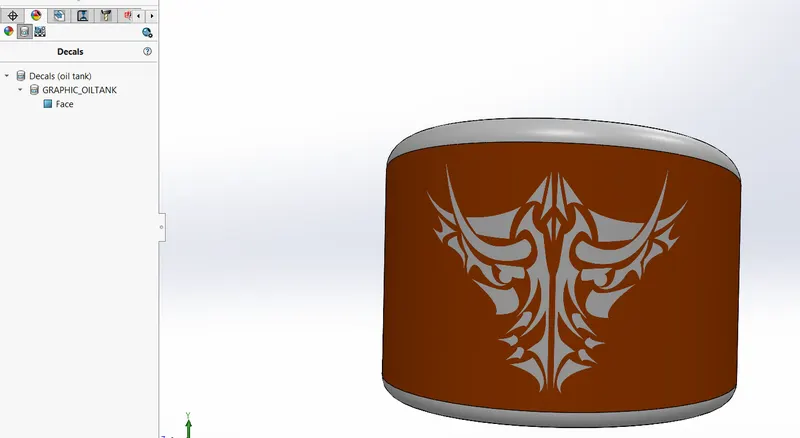
Tree structure;
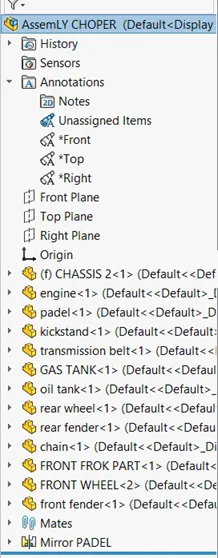
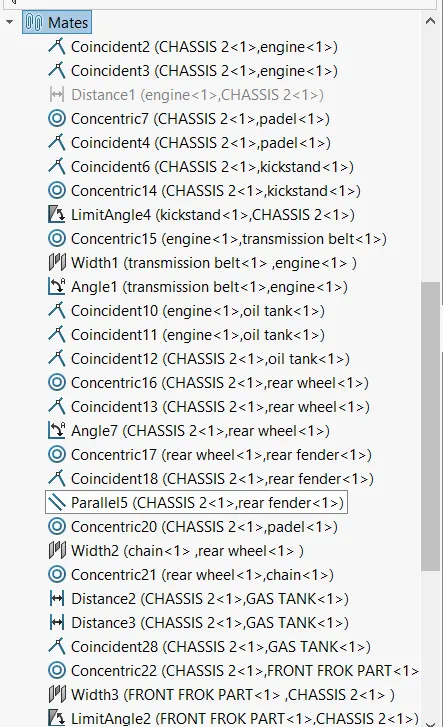
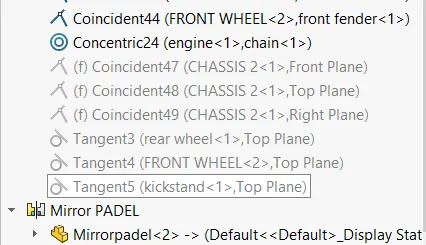
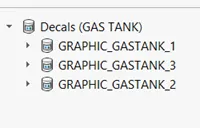
Decal tree structure:
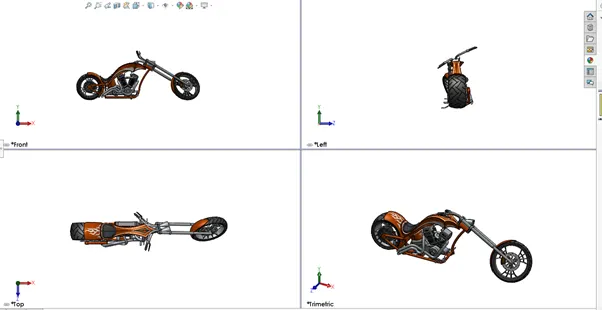
Top, side ,right, isometric views;
Adjust the lights and camera:
Go to tools and select the lights and camera
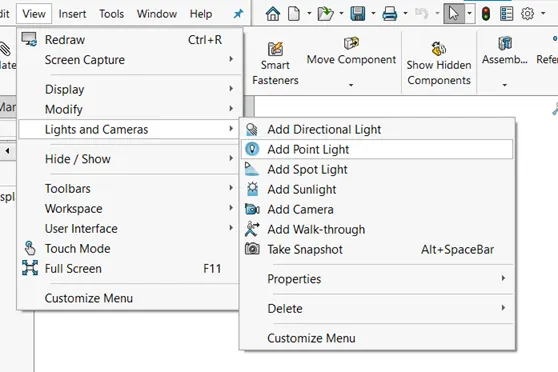
add pont light:
adjust light accounding to your requremint.
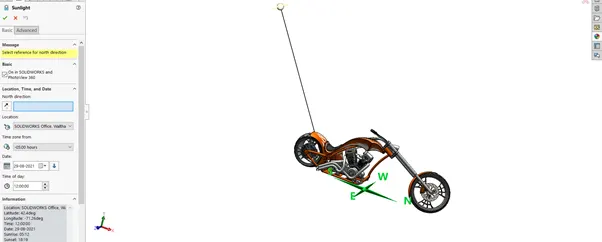
Spot light:
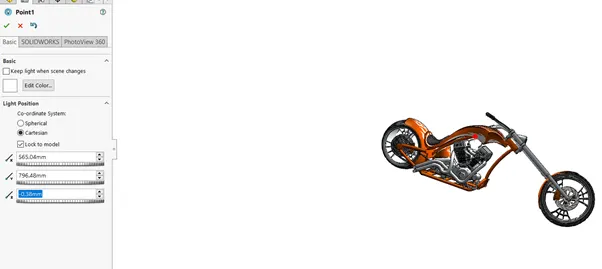
Spot 1:
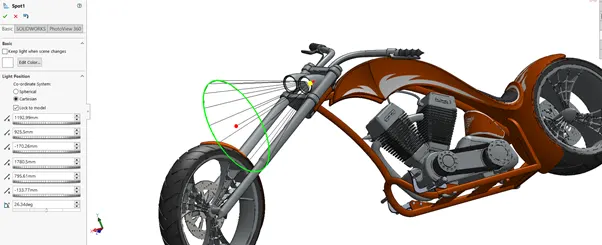
Adjust lights accounting to your requirement.
Camera:
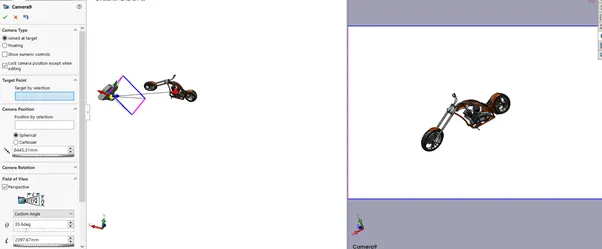
Adjust them by using the mouse and by using the provided adjustments.
Direction light.
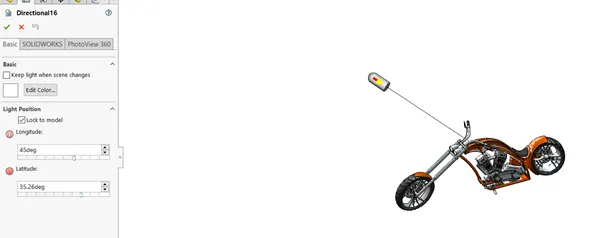
adjust the light by using the longitude and lattidutes.
Photo visualize:
Select the file and go import and select all file .
Then assembly will project on the screen.
There are multiple option they are show in the figure.
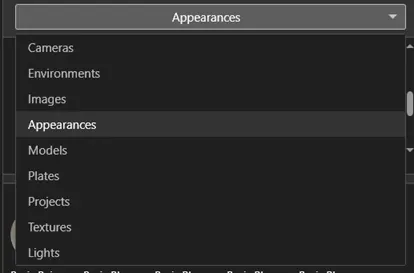
Environment is used adjust the background.
Select the appearance
Select the paints.
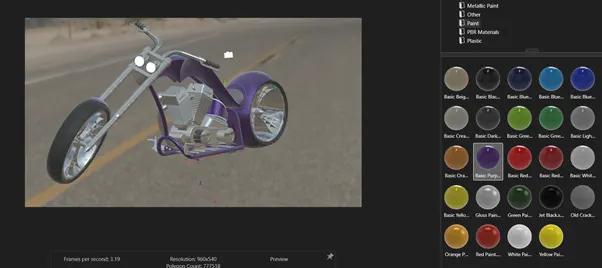
Drag and drop on the required parts
I have used purple print.
You change by drag and drop method.
Add camera they are options.
Adjust the camera by using the tools.
It as to look as possible as natural play with tools .
If you bike is in perfect position then do the rendering
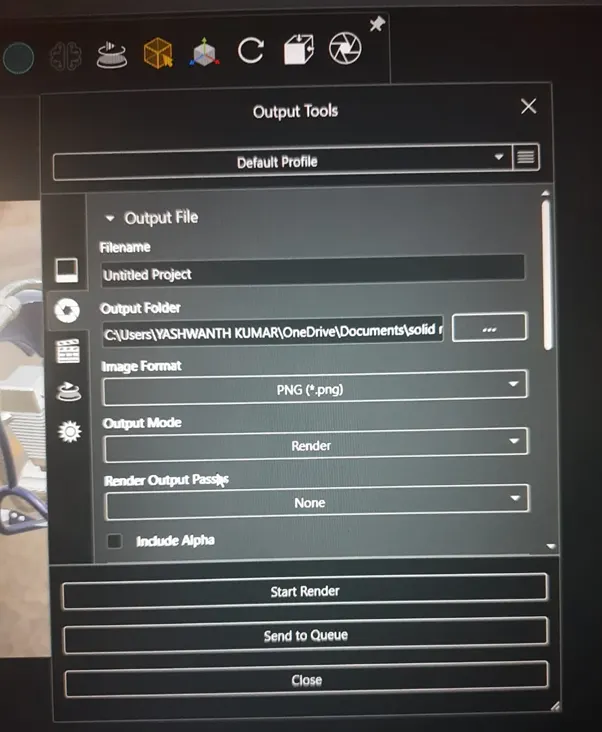
Image format should be PNG.
START RENDERING.
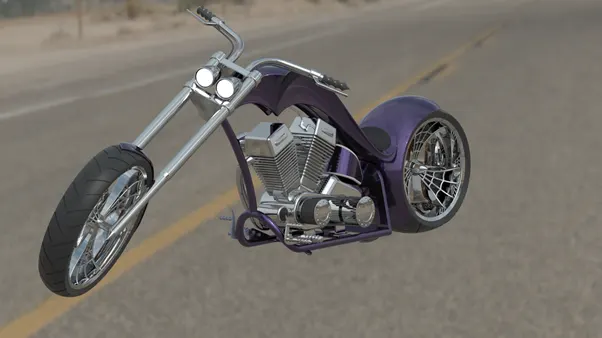
FINAL OUTPUT.