Modelling and 2D meshing a car hood
OBJECTIVE: To model the given Hood geometry using 2D Mesh and achieving the following criterias.
QUALITY CRITERIA:
| S.N | Quality Criteria | Value |
| 1 | Aspect Ratio | 5 |
| 2 | Skewness | 45 |
| 3 | Warping | 15 |
| 4 | Taper | 0.5 |
| 5 | Min. Length | 2mm |
| 6 | Max. Length | 8mm |
| 7 | Min angle Quad | 45 |
| 8 | Max angle Quad | 135 |
| 9 | Min angle Tria | 20 |
| 10 | Max angle Tria | 120 |
| 10 | Tria % | 10 |
PROCEDURE:
1. Import the Hood CAD Model in Hypermesh.
The Model consists of 5 Components: Inner Body, Outer Body, Hinge 1, Hinge 2, and Latch.
The Inner body and outer body is symmetric about the y-axis and the model as a whole is symmetric.
2. Delete the solids first and perform topology cleanup for each component and generate the mid surface of each component separately.
Perform topology cleanup on every component mid-surface as well as it may miss some surfaces and toggle unnecessary edges.
The mid-surface should be an exact replica of the geometry.
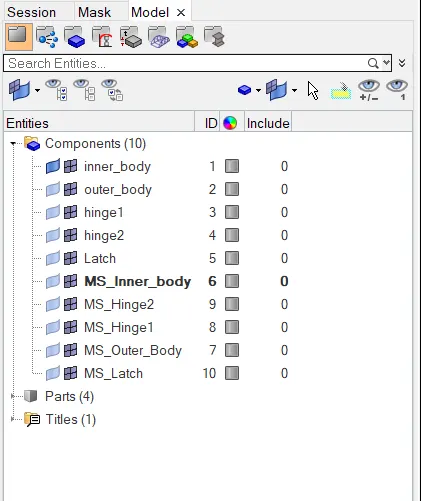
3. since the outer body and inner body are symmetric about the y-axis, we can perform meshing operation to only half of the symmetrical component.
The latter half can be meshed by creating a reflection of the elements of the meshed half using reflect command.
4. Set quality criteria for meshing as shown.
While meshing try to avoid rotational quads, fixed trias, tria elements touching edges, two trias touching each other, opposite trias in a component.
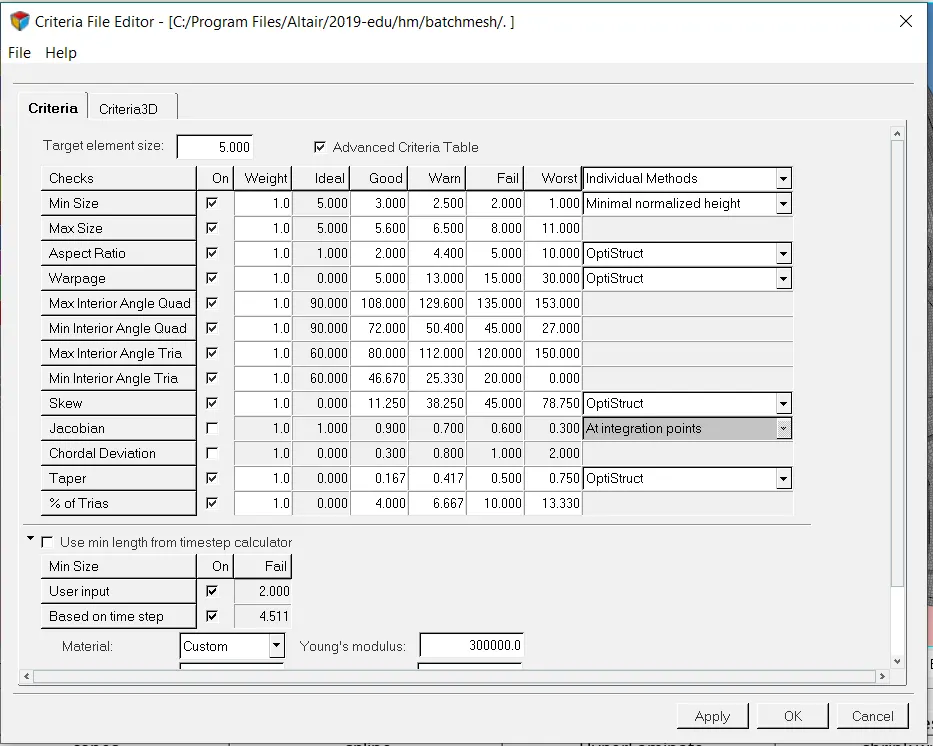
Also try to minimize the number of of violations in quality.
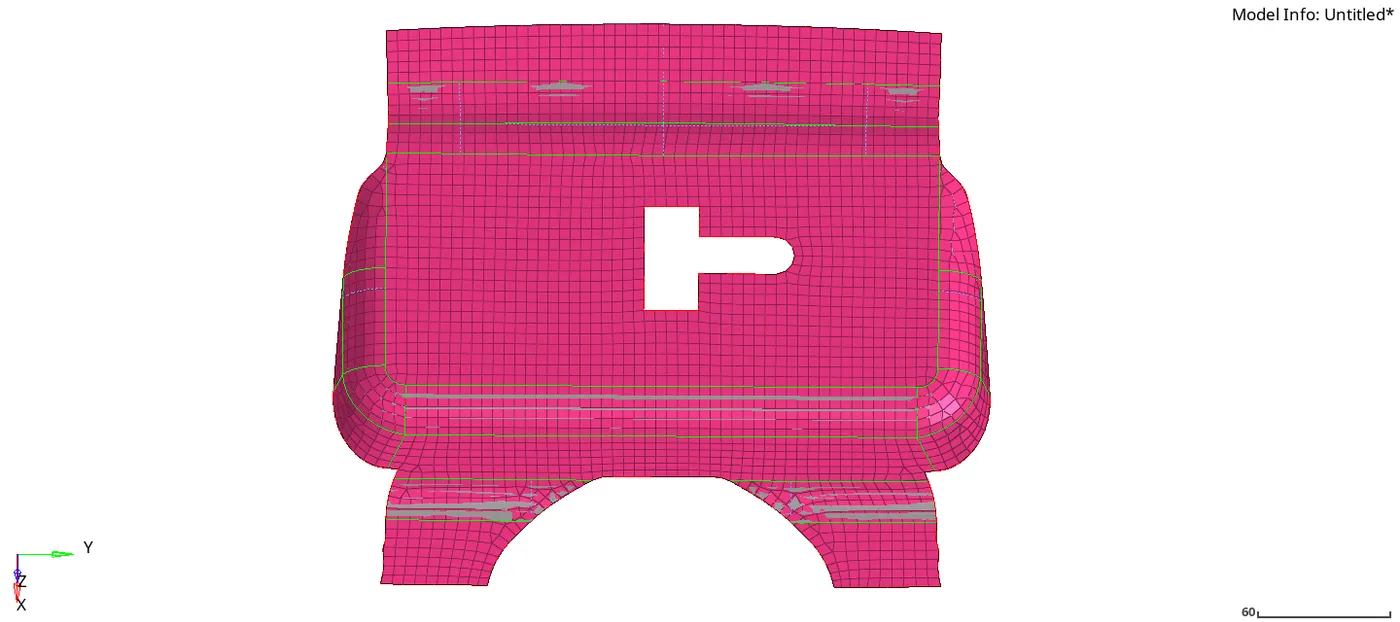
5. Mesh of the latch component is shown
6. Mesh of the hinge 1 component is shown.
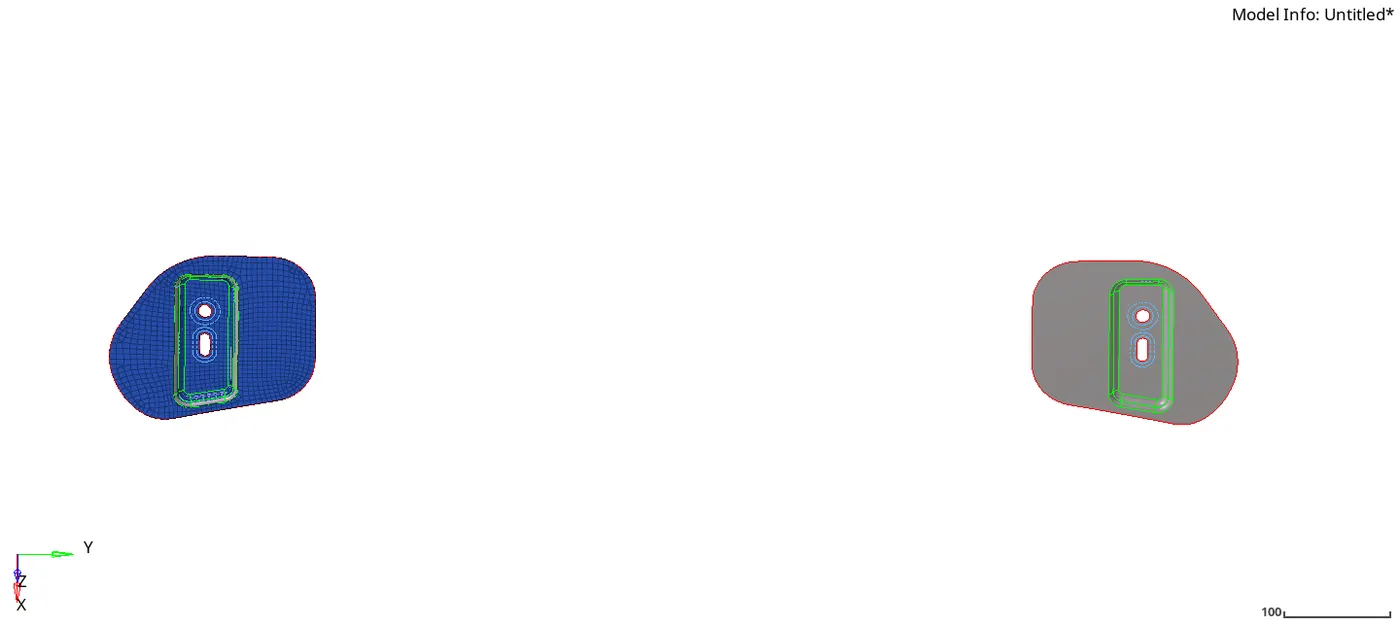
7. Since hinge 1 is symmetric to hinge 2 gemoetrically. Mesh of hinge 2 can be generated using reflect option.
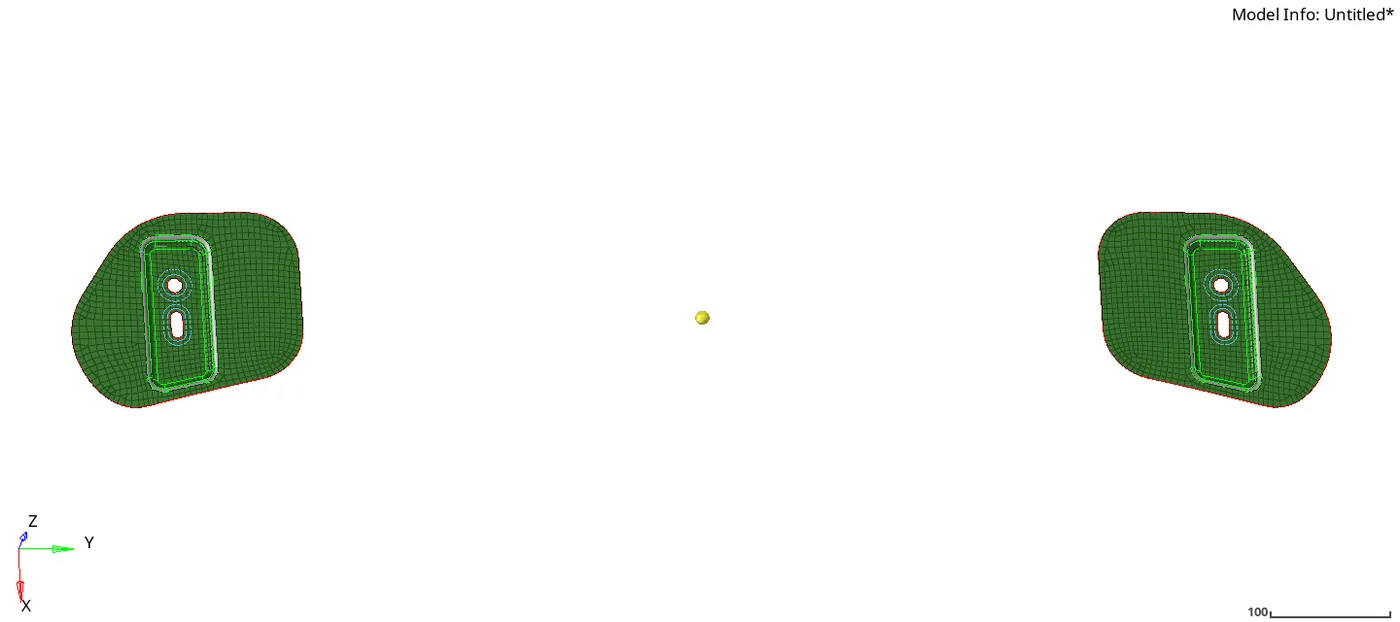
Tools > Reflect > Select the Hinge 1 lements > duplicate the elements > select y-axis > select base node > Reflect.
Create a temp node by using mid node command for selecig the Base.
8. Mesh of Outer body half is shown.
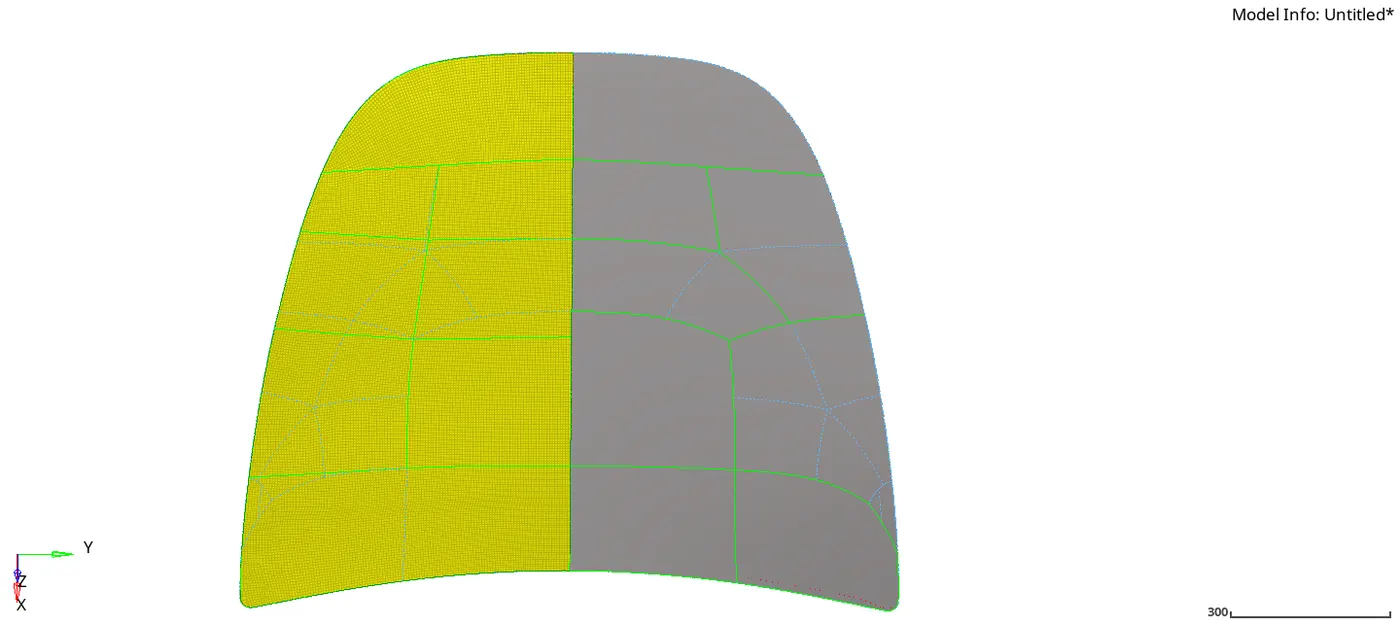
Split the surface into rectangular boxes for appropriate mesh flow and suppress the other edges. This operation can be done using the toggle edge command.
While meshing the outer body the hemming part of the body will fail for minimum element size criteria.
Change the option to keep the mesh from advanced mesh while meshing.
9. The other half mesh of the outer body can be created by performing reflect command.
The Outer body, Latch, Hinge1, Hinge2 are shown.
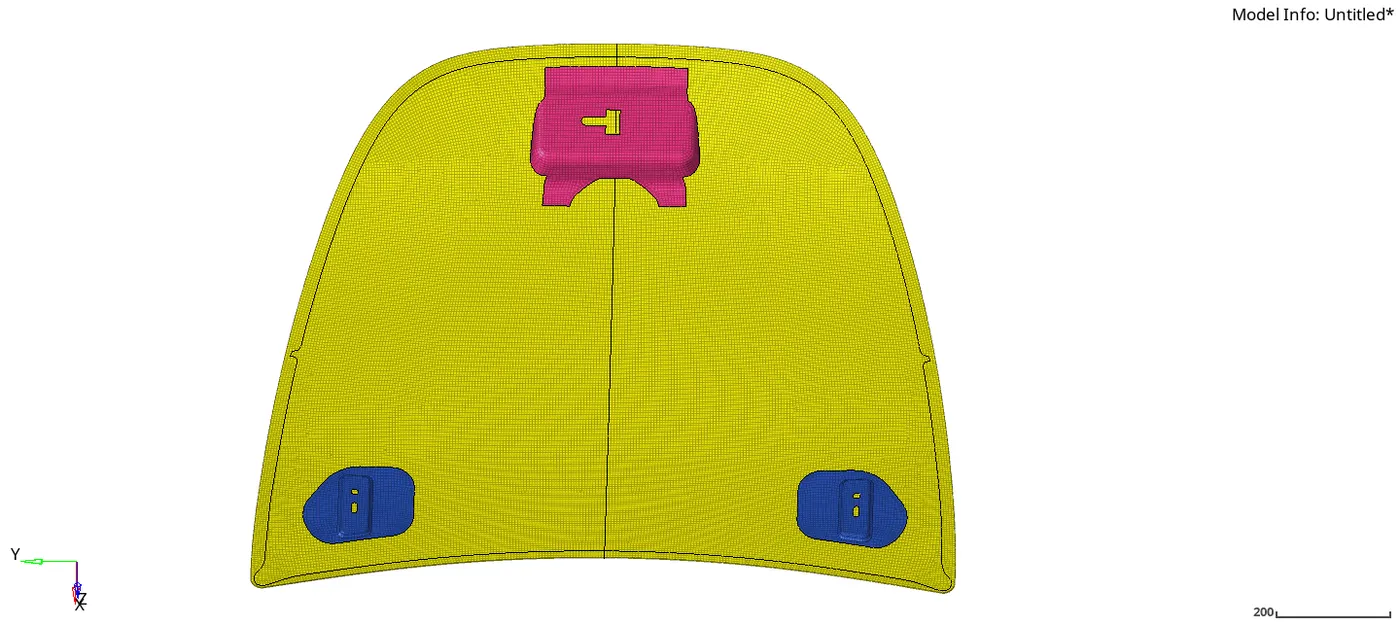
10. Mesh for Inner body half is shown.
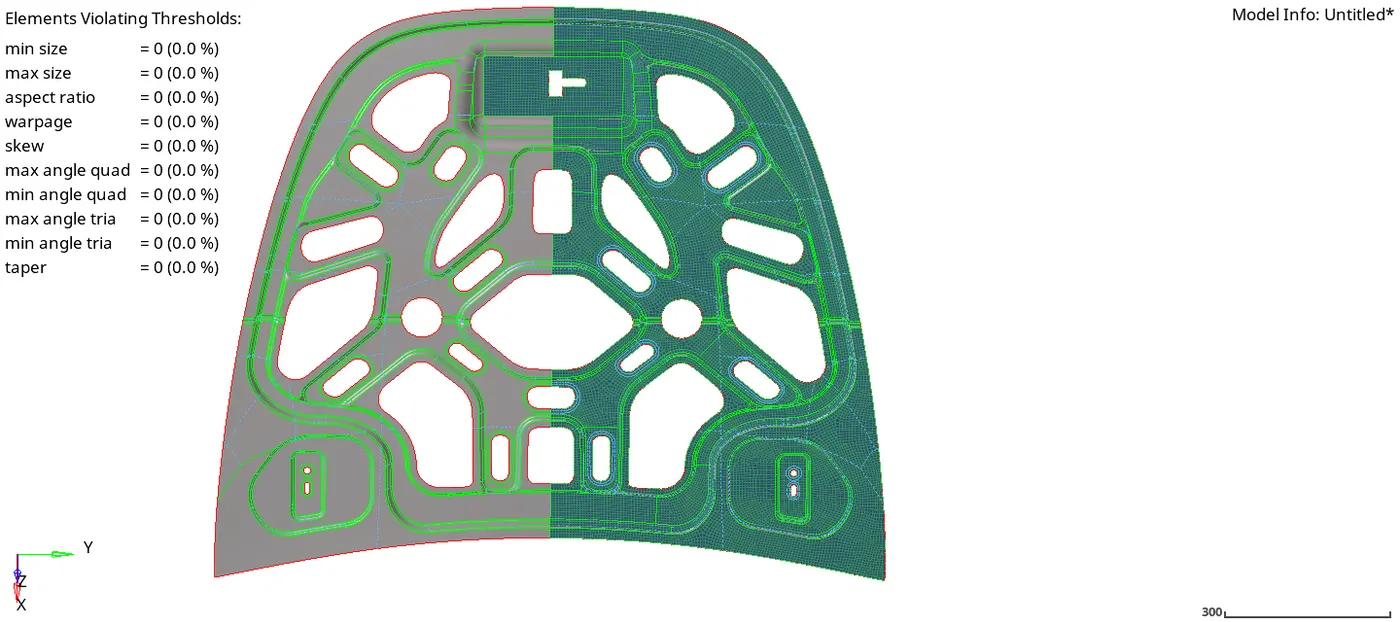
The other half can be reflected by using reflect command. Since the Latch portion in the inner body is not symmetric about X Axis, The The mesh of the face area has to be masked before reflecting.
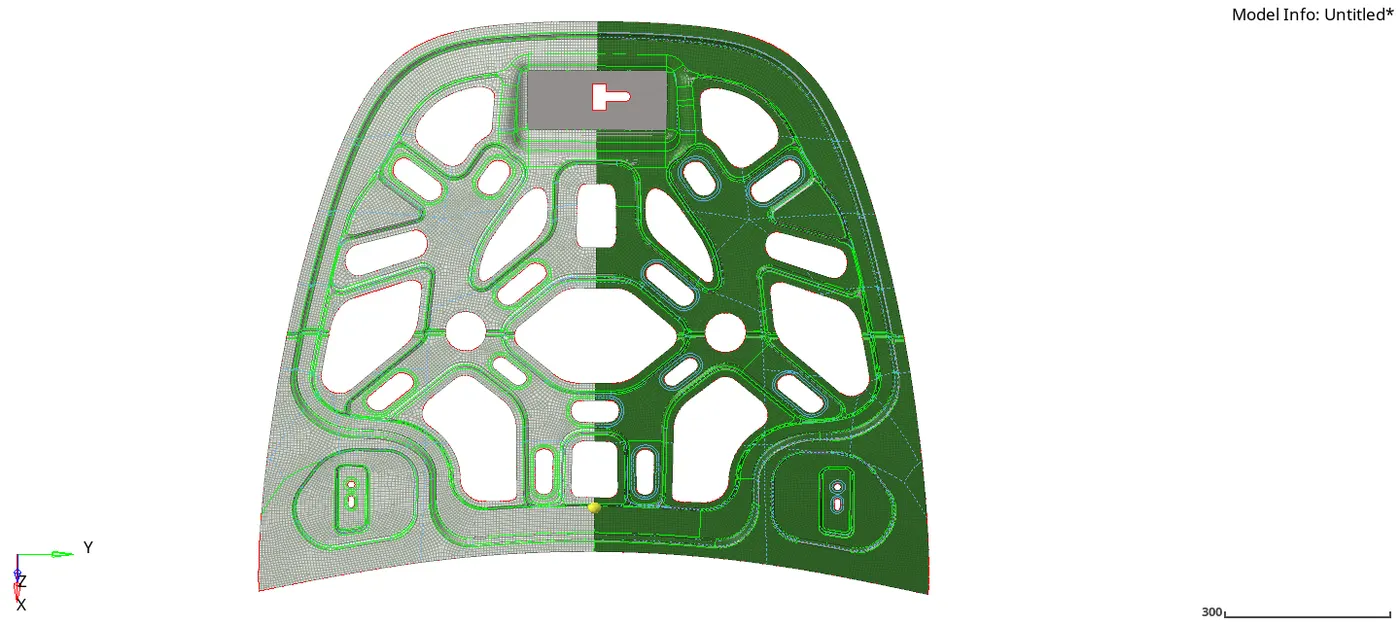
11. The overall mesh of the model components are shown.
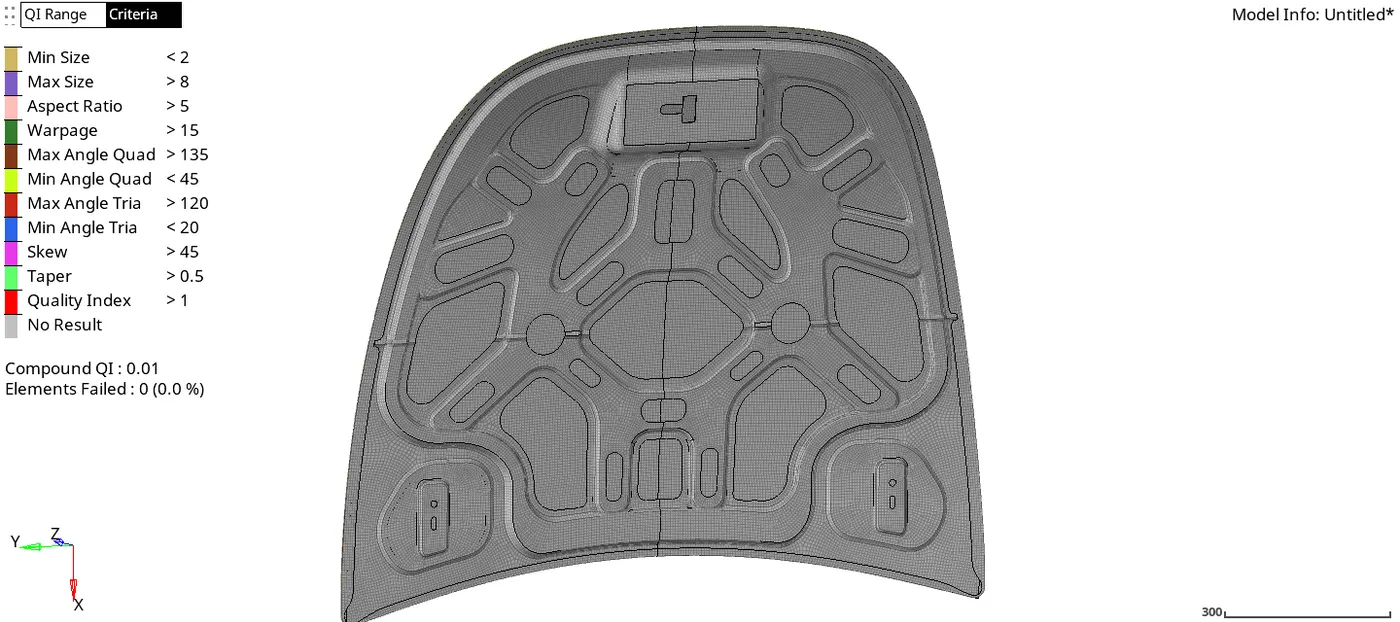
12. After meshing check for normals of each component.
Tools > Normals > Display > Vesctor Display > set magnitude to 10 > Display. The entire normals should be in one direction only.
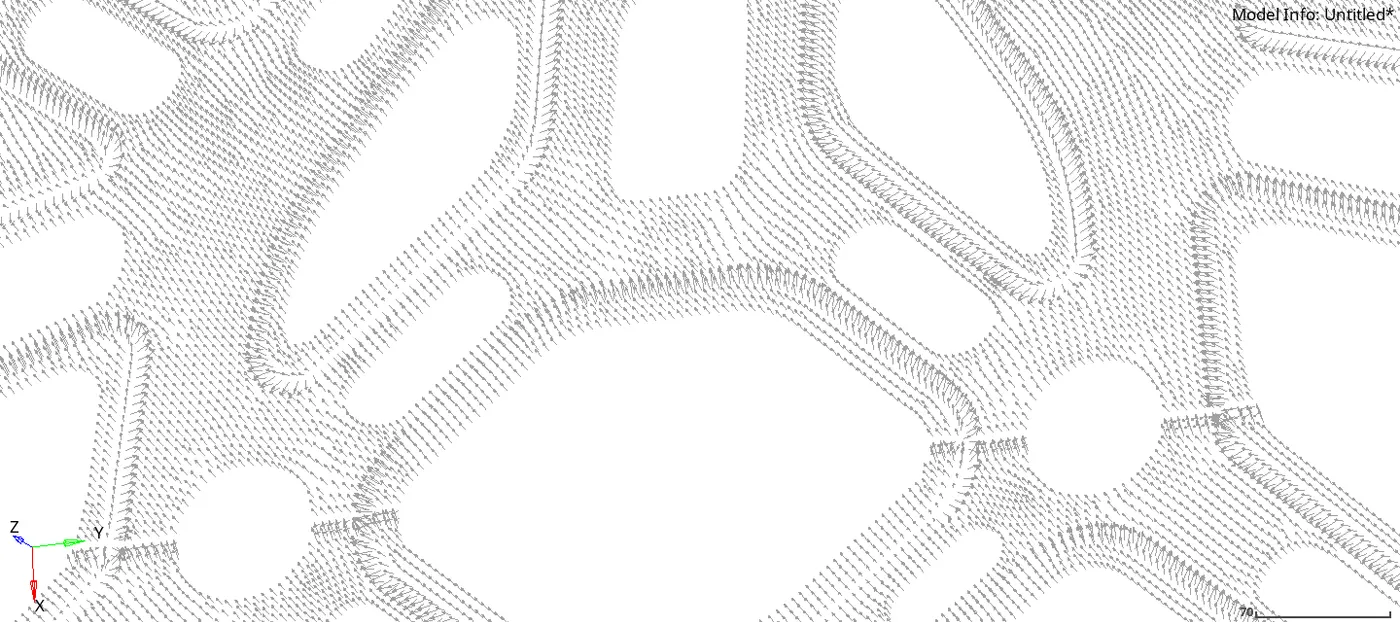
13. Check for Dependency.
Tools > dependency > Elements > select elements > All Displayed > Dependency.

14. Check for penetration.
Tools > Penetration > Elements > All > Check. check tab tree for results.
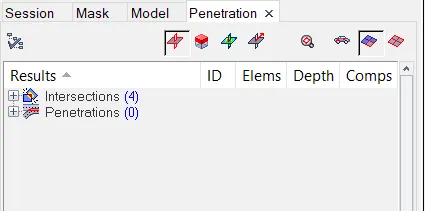
!5. Keep checking for Free Edges and Duplicates in the components. Also, keep checking for criteria qualification of every part before proceeding in the adjacent surfaces.
RESULT:
1. The hood model was meshed to qualify the required quality criteria.
2. The features of the components are capture properly in the mesh.
3. Mesh flow is organized.
OUTCOMES:
1. Learning Element Cleanup tools.
2. Learning to mesh complex geometry (capture surface features) and learn new tools in Hyperworks Software.
3. Setting and clearing the quality criteria of the model.
4. Learning to check for duplicates, Free edges, Normals, Dependency, and penetration.