Introduction to REVIT concepts
1)
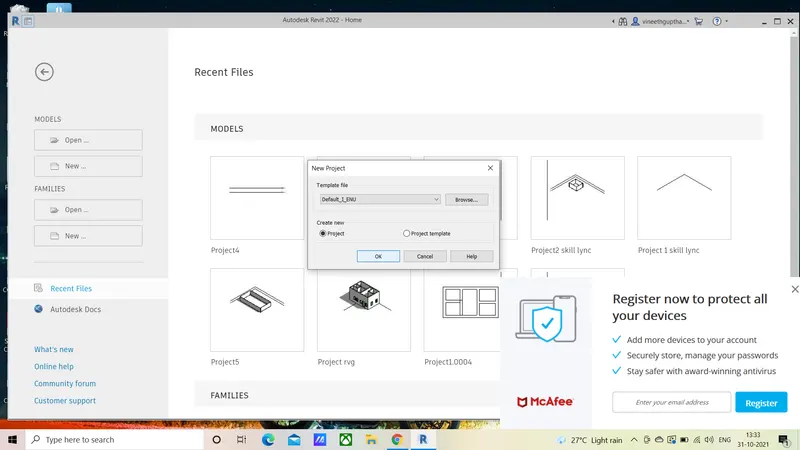
Aim: Create a new project and name it appropriately.
Procedure:
- Open the Revit software.
- Click on New, select the template.
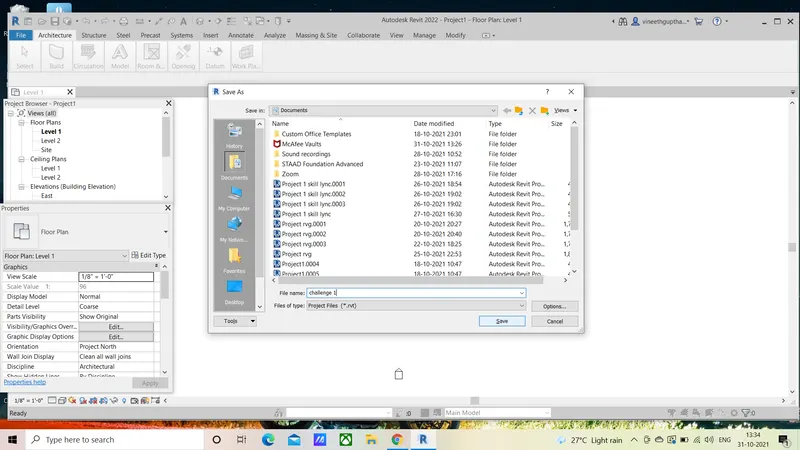
- And name the file,in this case challenge1.
Result: New file is created and named it as challenge1.
2)
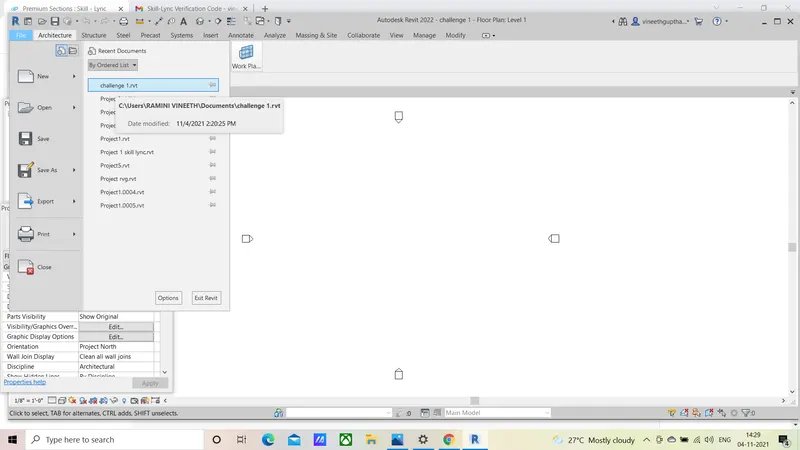
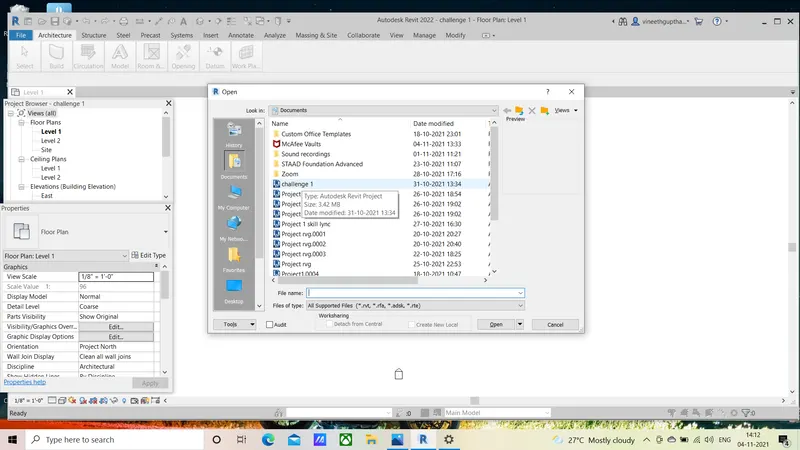
Aim: To save new project file and to open and close using icons from file toolbar.
Procedure:
- After naming save the project file,by clicking on save option.
- Now click on file toolbar.
- Then click on challenge 1 to open the project file.
Result: Project file is saved , and file is opened from toolbar.
3)
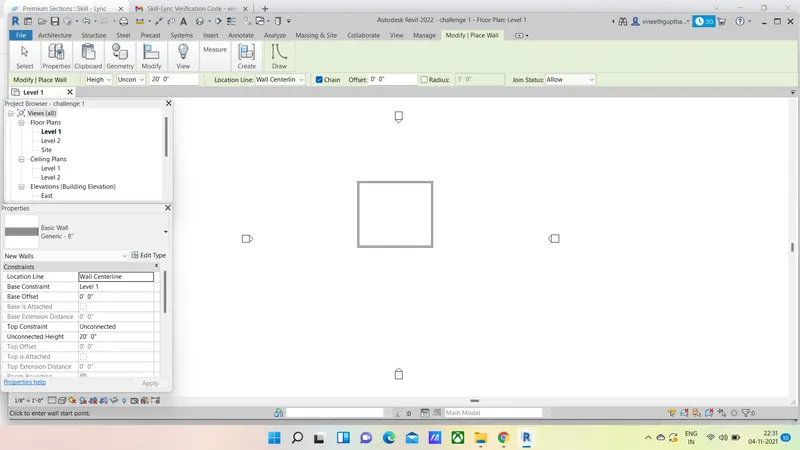
Aim: To Create a rectangular layout of walls of about 40’-0” X 35’-0”.
Procedure:
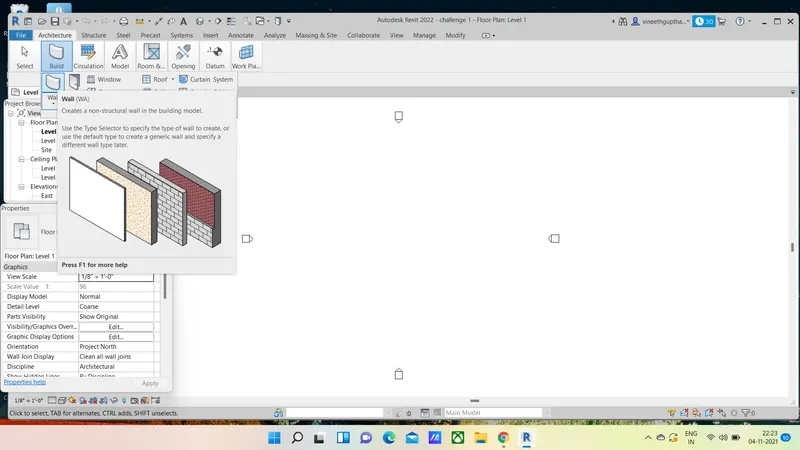
- Select the Architecture option from the toolbar.
- And then select Build,in build we have to select the wall tool.
- Draw the wall with the given dimensions.
Result: The wall is drawn with the given dimensions.
4)
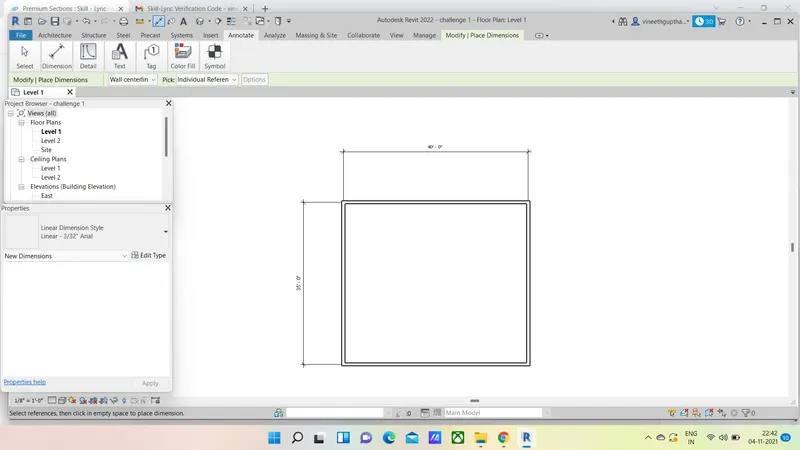
Aim:To add the dimensions to the layout of wall.
Procedure:
- Click on annotate toolbar ,select aligned tool.
- Using aligned tool select two edges of wall to the dimensions.
Result: Dimensions are established for the layout.
5)
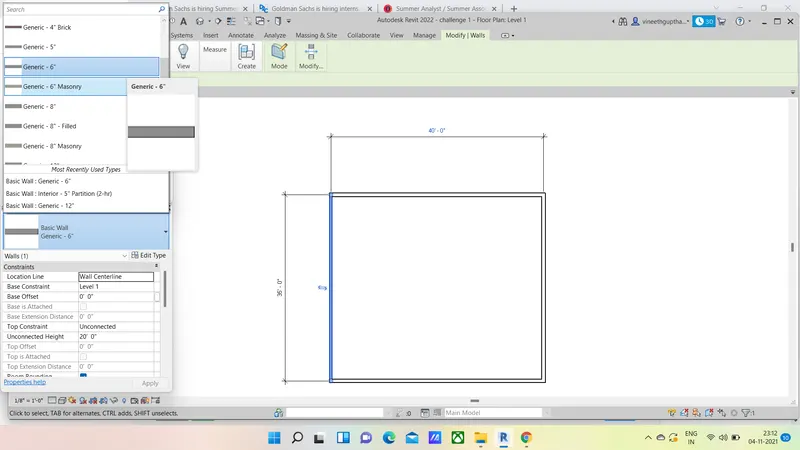
Aim : To use the property browser to switch the different types of walls.
Procedure:
- Select any side of wall from the drawn layout,automatically you will be directed to the modify wall tool.
- Click on the wall types and then select the desired wall type and click ok.
6)
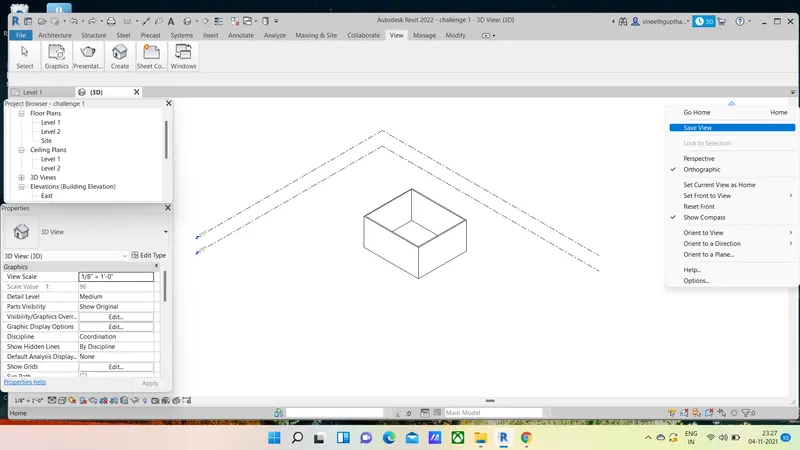
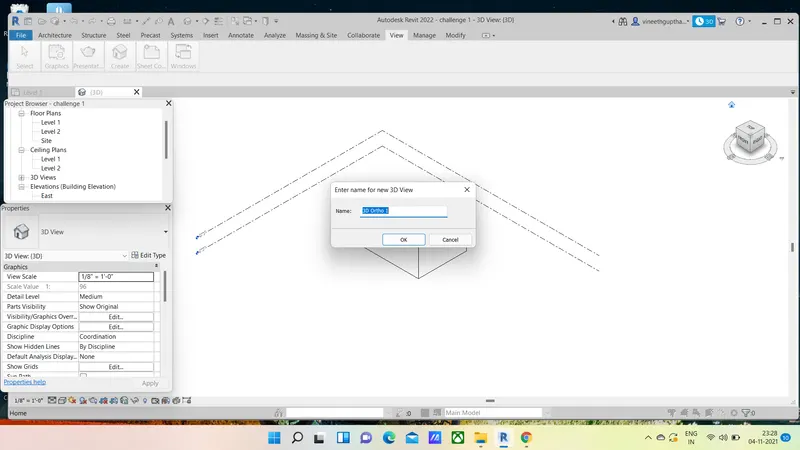
Aim: To create a 3D view from the view toolbar and save the view with appropriate name.
Procedure:
- We have drawn the layout of walls with the required dimensions.
- Now click on the 3D view toolbar,there by 2D view changes to 3D view.
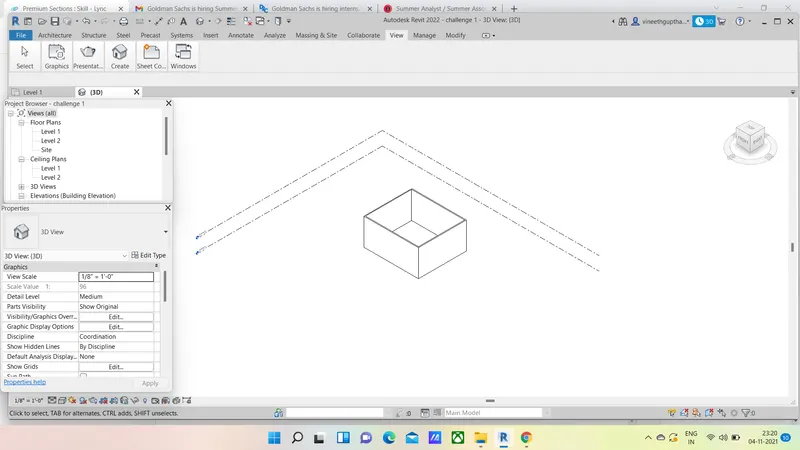
- Right Click on home button and then click on save and name it appropriately.
7)
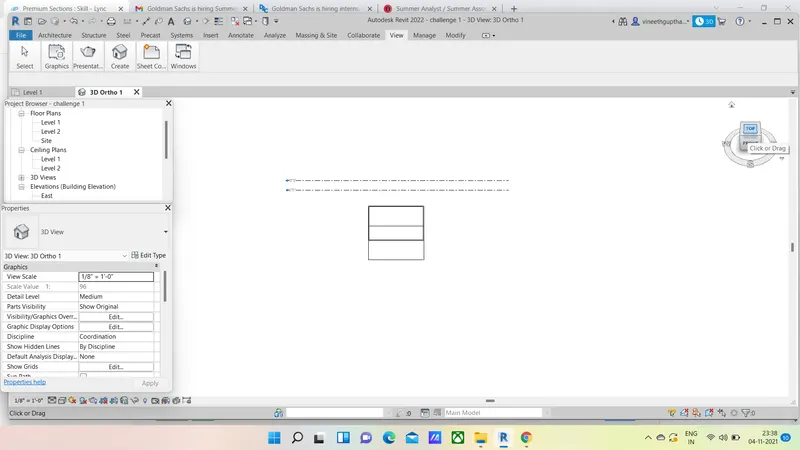
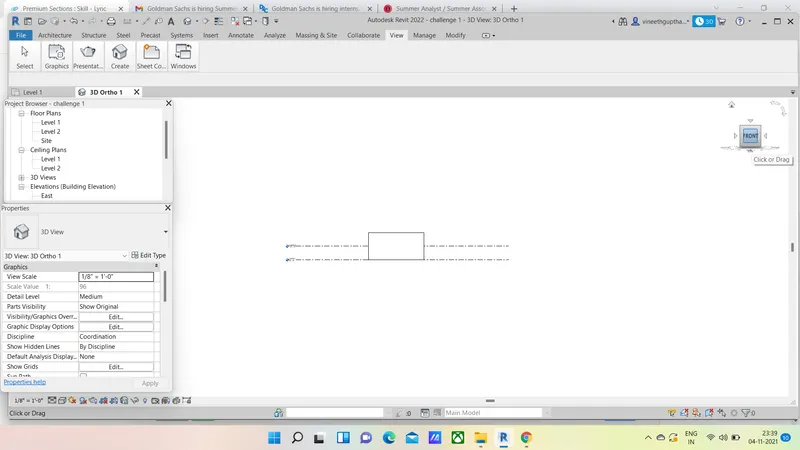
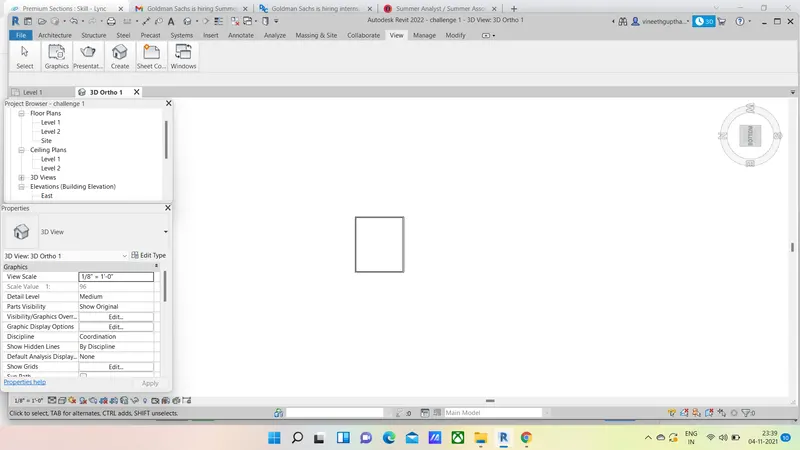
Aim: To navigate the 3D model using the view cube and orbit/pan through the layout created .
Procedure:
- We drawn the wall of required dimensions.
- Click on the cube which is appearing at top right and rotate the pan according to your required view.
8)
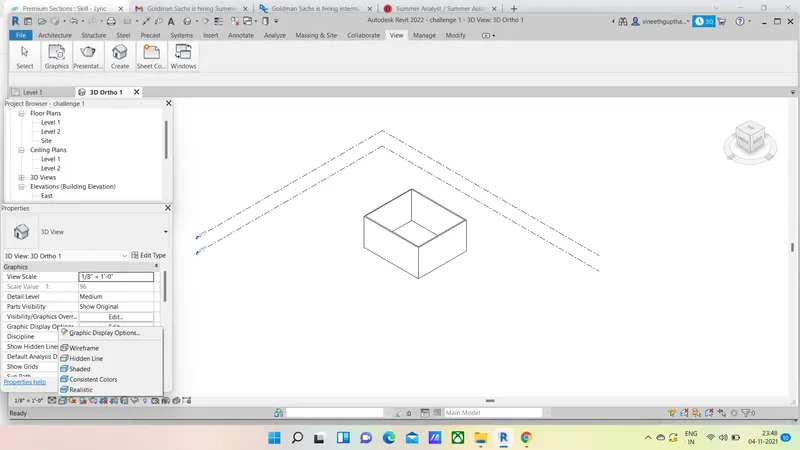
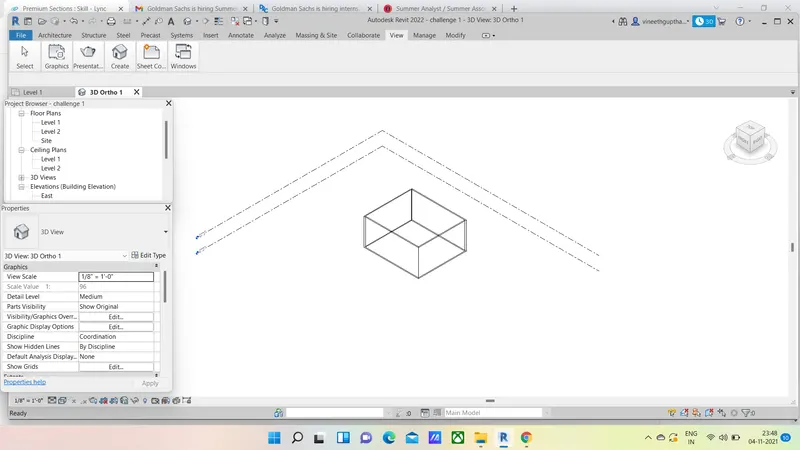
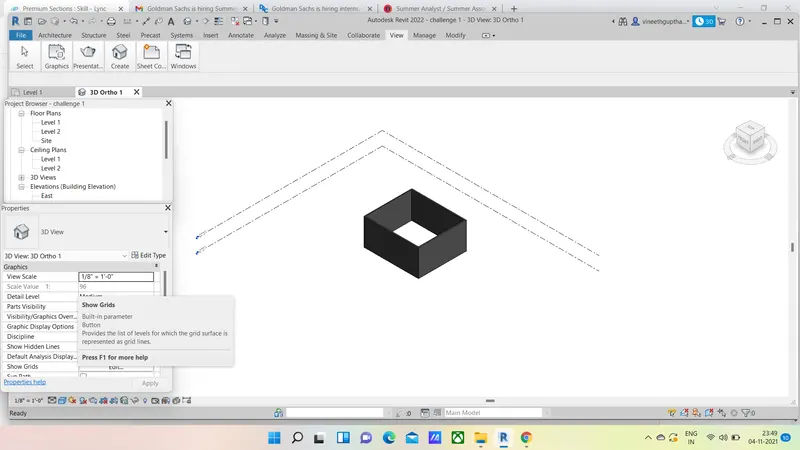
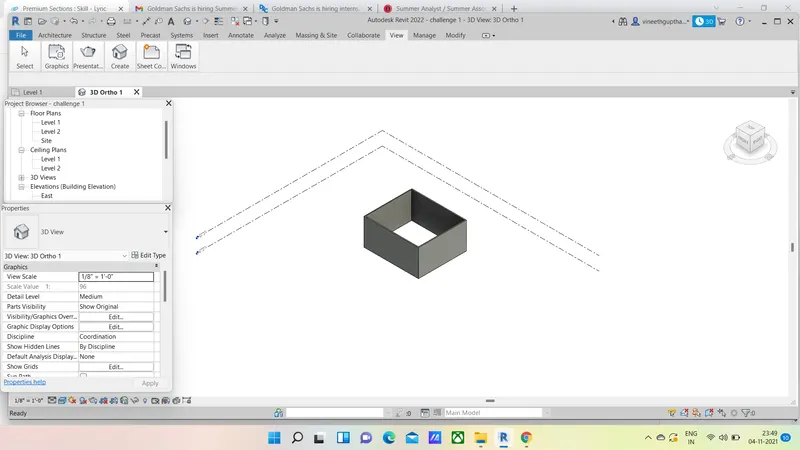
Aim: To switch the model to shaded,realistic,hidden lines options.
Procedure:
- We have drawn the layout of wall with required dimensions.
- Now select the option visual style tool which will be visible at bottom left.
- A dialog box appears , consisting of different visual options.
- Now we require to switch switch model using the options displayed in dialog box.
9)
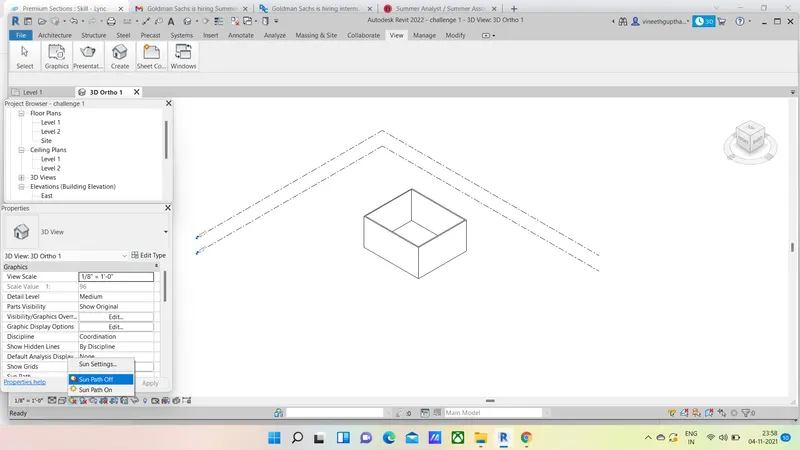
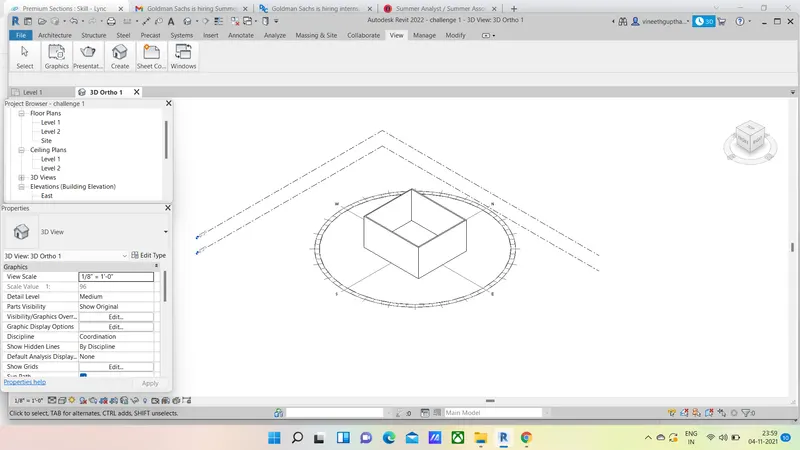
Aim: To turn on the sunlight on and off to view shadings in the created layout .
Procedure:
- Select the Sun settings tool which is at the left bottom .
- There we can see two options that is sun path ON and sun path OFF,click on required option.
10)
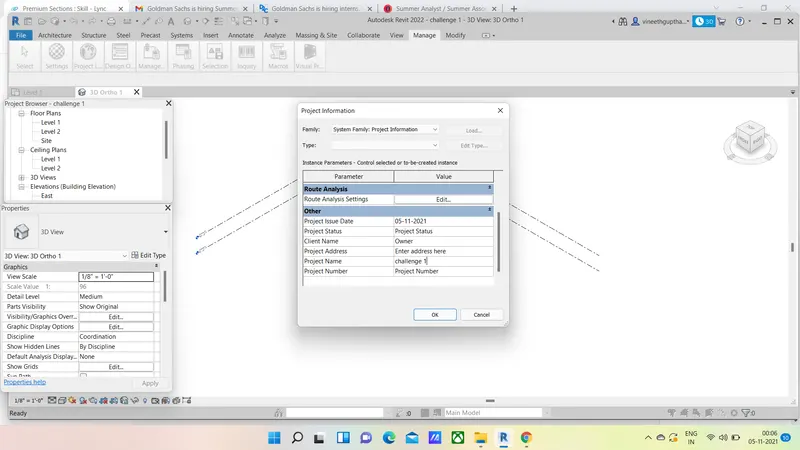
Aim: To project settings, project name and project issue date.
Procedure:
- Select the Manage toolbar.
- Click on the settings under manage toolbar.
- Under settings click project information.
- You will find a dialog box,in that enter project name and project issue date.
11) Analyse tool bar provides us to create a revit models,this tool bar provides us with the load combinations , boundary conditions ,load and cases adjustments and support systems. This toolbar verifies the analytical and physical model for the consistency and space separation,namingand tagging options available.
12)
- Link CAD : links CAD file to the present revit project.
- Link Revit: links one revit model to the other or the current revit project.
- Link IFC : links an IFC file to the current project for the information that is required for additional design work.
- Link Topography: links the existing topography to the present revit model.
- Link Image: it allows us to link an image for the processing revit model.
- Manage links : It manages the links such as CAD,and mark up the DWF files and all the BIM works that are related to present file.
- Link PDF : it allows us to link the pdf to the current project.
- DWF Markup: links the markup DWF files into present revit project so that we can see mark-ups in the corresponding sheets.
13)
We need collaborate tab in revit to link multiple revit models together and allowing team members to work in context.
Collaborate on a local or wide area network (LAN ) ,the model will be converted to a workshared central model.