3D Creation of Celing, Roof, Architectural plan, Structural plan, Sectional view, Elevation view and Camera specific view for a house plan using REVIT
AIM : To model a ceiling above walls at the first floor level from the architecture tab.
INTRODUCTION:
The creation of ceiling in revit is similar process as creation of floors and roof .
PROCEDURE:
- Open the file and click on architecture tab and click on ceiling.
- Then pick lines then click ok,ceiling will be created.
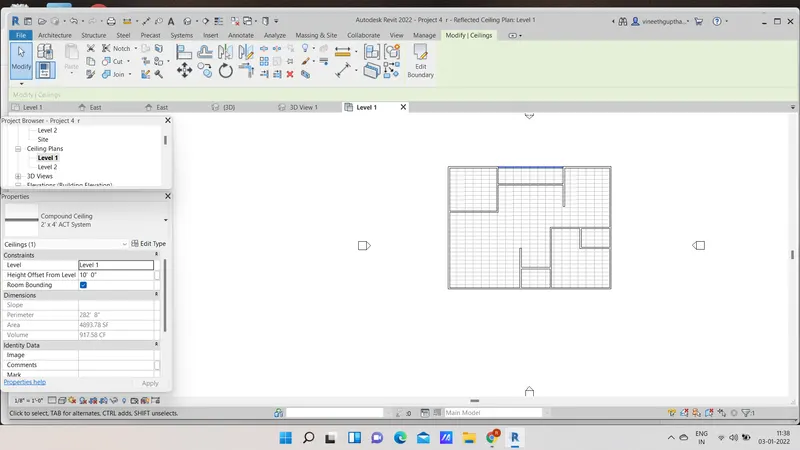
- Click on 3D view.
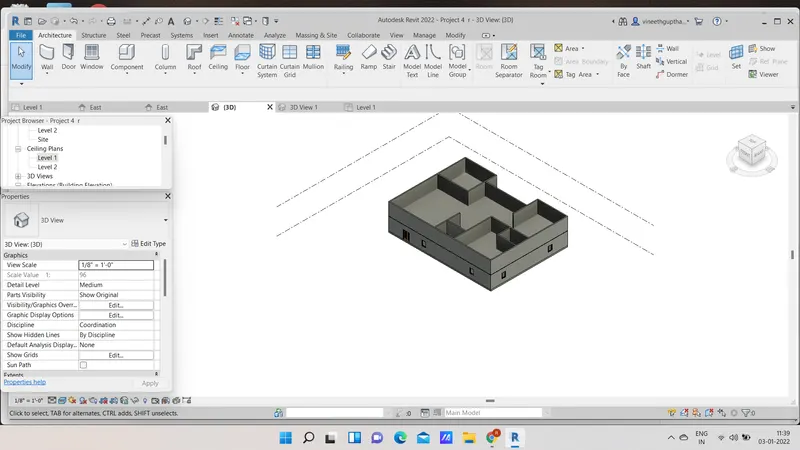
RESULT : Ceiling has been created from the architecture tab above the walls at the first floor level.
2)
AIM: To model a roof above the ceiling by selecting the foot prints of the ceiling.
PROCEDURE:
- click on the architecture tab and select the roof by foot print .
- Next pick lines and adjust the boundary and click ok.
- Then roof has been created as shown below.
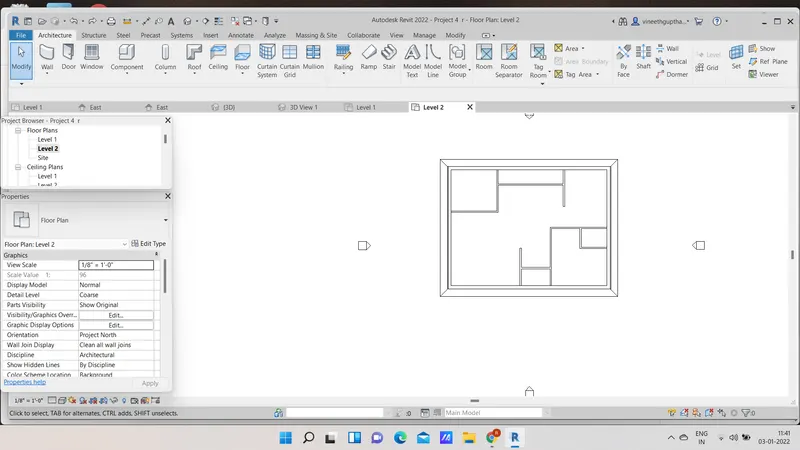
- For 3D view click on 3D view.
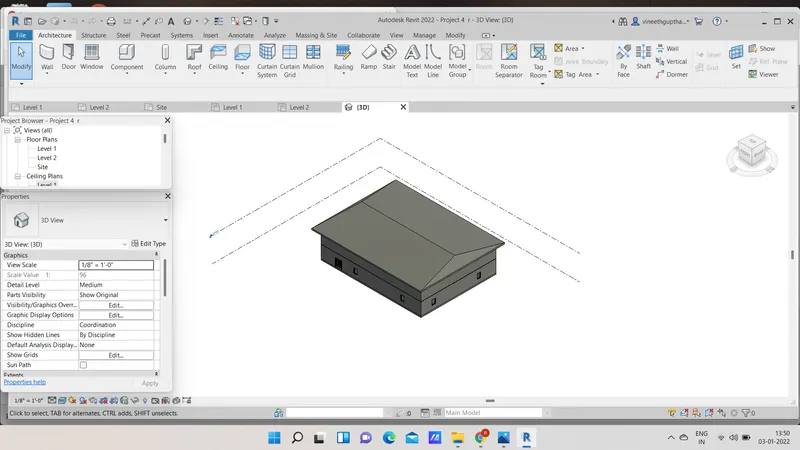
RESULT : The roof has been created successfully .
3)
AIM: To create plan views for ground floor level and first floor level including all the walls ,floors,components.And to separate them to architecture and structural plans.
PROCEDURE:
- First we draw Architectural plans of architectural plans of ground floor and first floor levels as shown below.
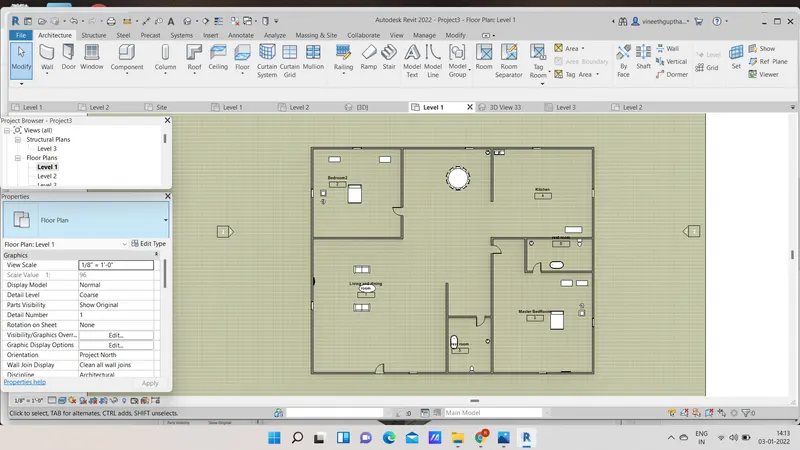
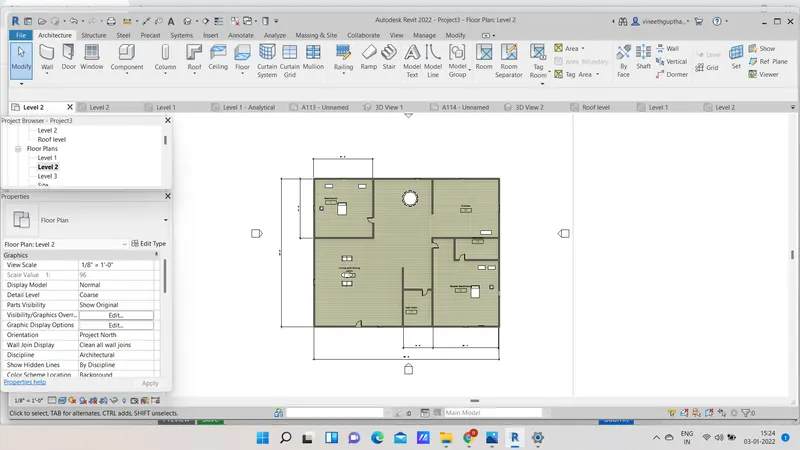
- Now we draw the structural plans of the ground and first floor as shown below.
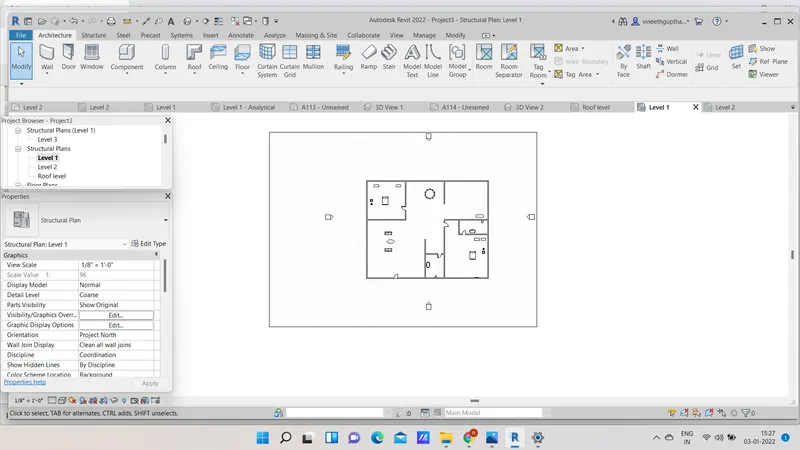
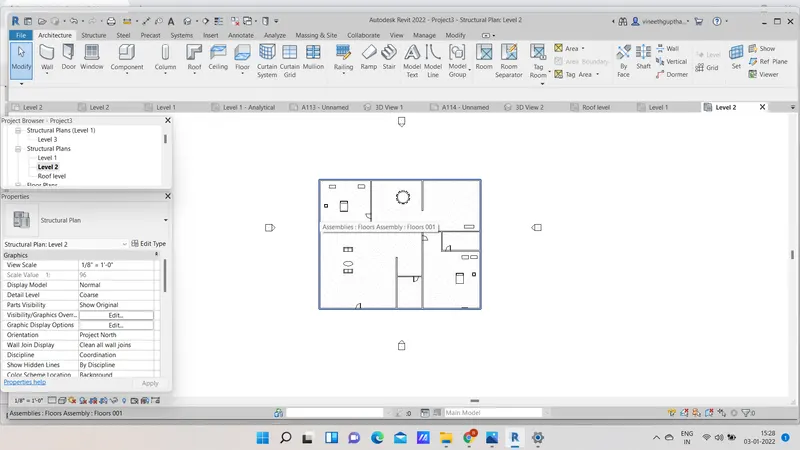
RESULT: All architectural and strucural plans are created successfully.
4)
AIM: To add dimensions to the walls,floors with reference to the longitudinal and transverse grids created in the project file.
PROCEDURE:
- Here we have to draw the longitudianal and transverse grids by seclecting architectural tab then grids .
- Then draw the grids to architectural floor plans as shown below.
- And add dimensions to the architectural floor plans usind annotate toolbar .
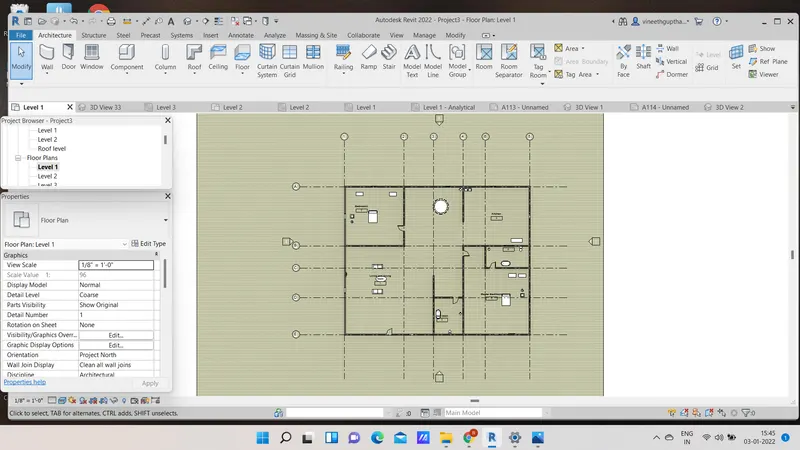
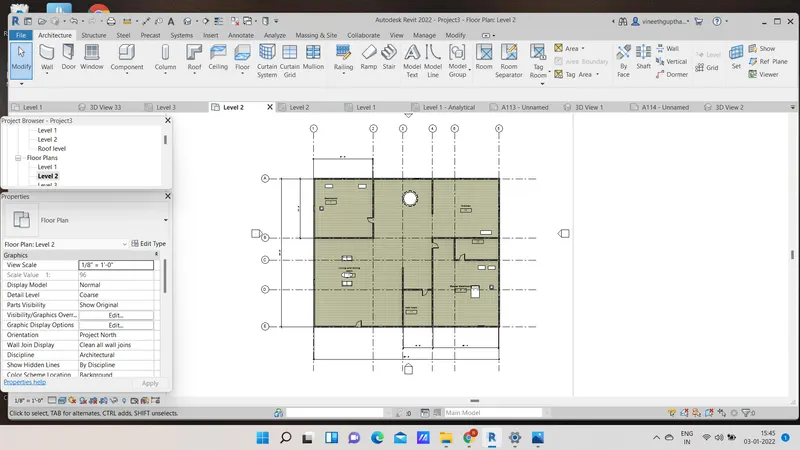
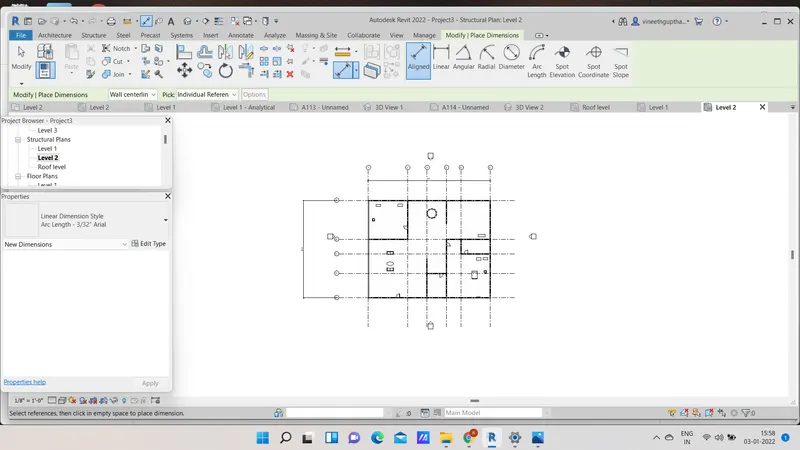
- Next we draw the longitudinal and transverse grids to the structural floor plans .
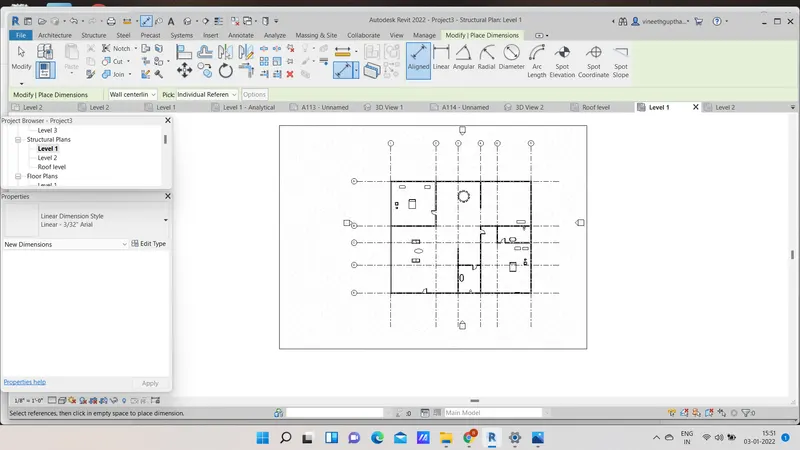
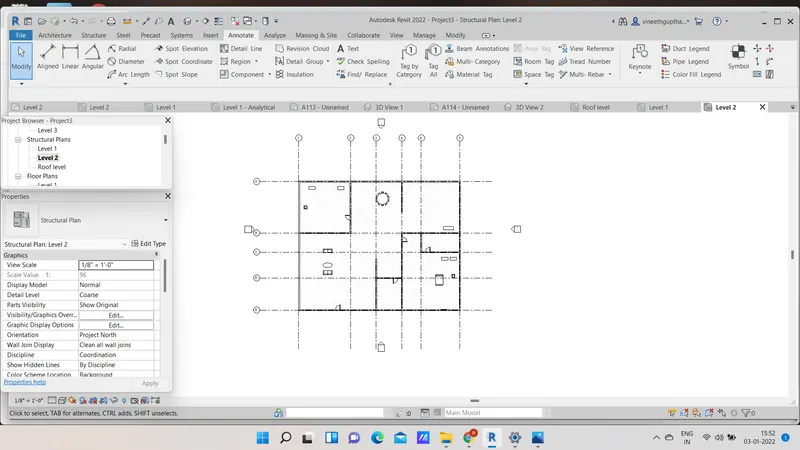
RESULT : The longitudinal and transverse grids are created for both architectural and structural floor plans.
And dimensions are added to the both plans.
5)
AIM: To create sheet template from the view tab and adjust the parameters on the sheets to add appropriate views.
PROCEDURE:
- Click on the view toolbar and then select sheet option.
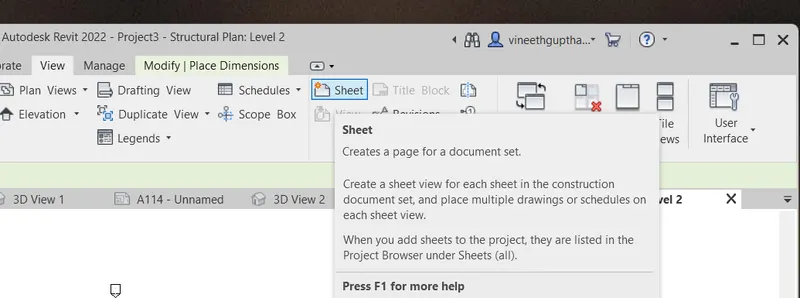
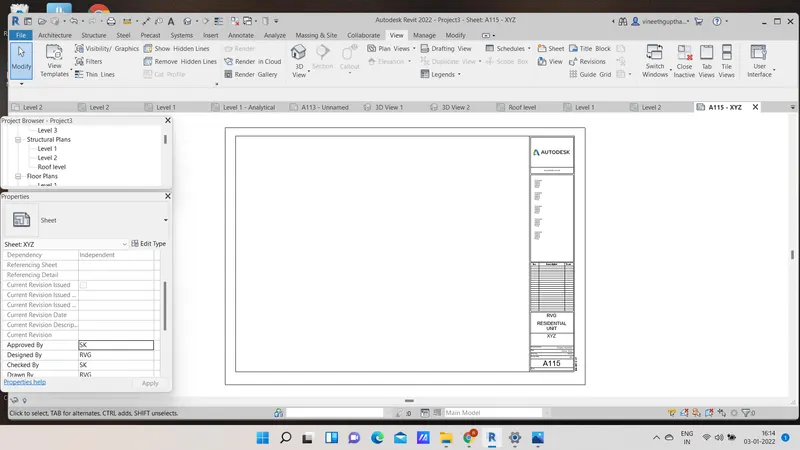
- After clicking on sheet the new tab will be visible on the screen,then select required sheet.
- Sheet template is displayed as shown below.And edit the project name and sheet number as shown below.
- Here we will add one floor plan in the sheet.
- after creating sheet click on view option which is under the view toolbar and select the required view to insert in the sheet.
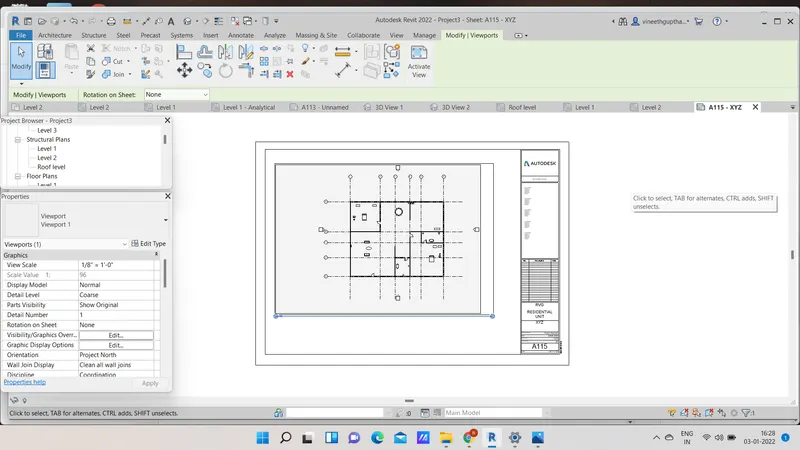
RESULT : I have created required sheet template from the view tab and adjusted the parameters on the sheet for addind appropriate views, and also i have created one view in the sheet template.
6)
AIM: To create the elevation views ,looking at my building from east,west,north,south using the elevation tab.
PROCEDURE:
- Click on view toolbar and then click on elevation as shown below.
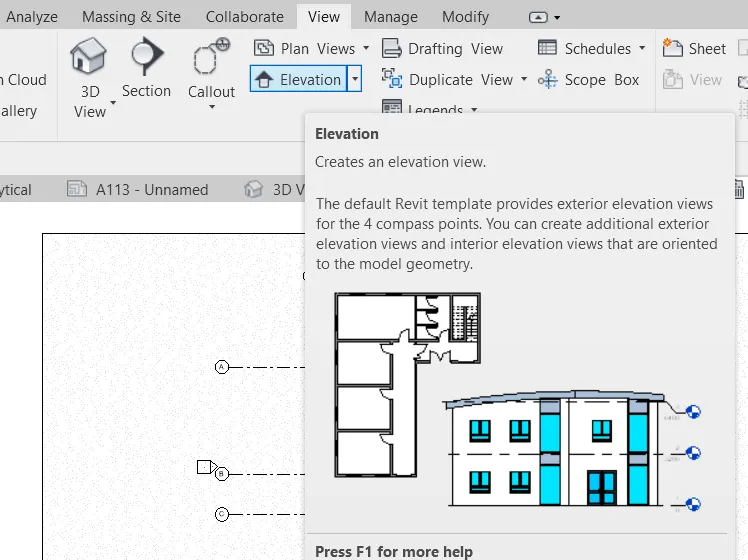
- Now select the elevation view in LEFT SIDE , RIGHT SIDE,BACK SIDE, FRONT SIDE respectively,the elevations created are shown below respectively.
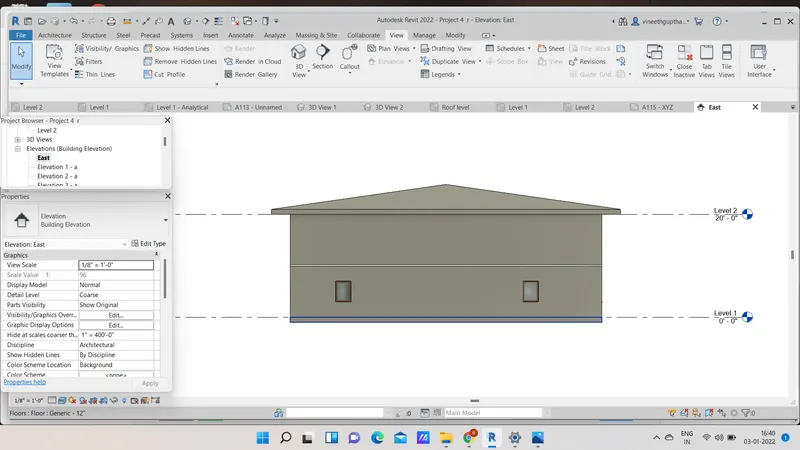
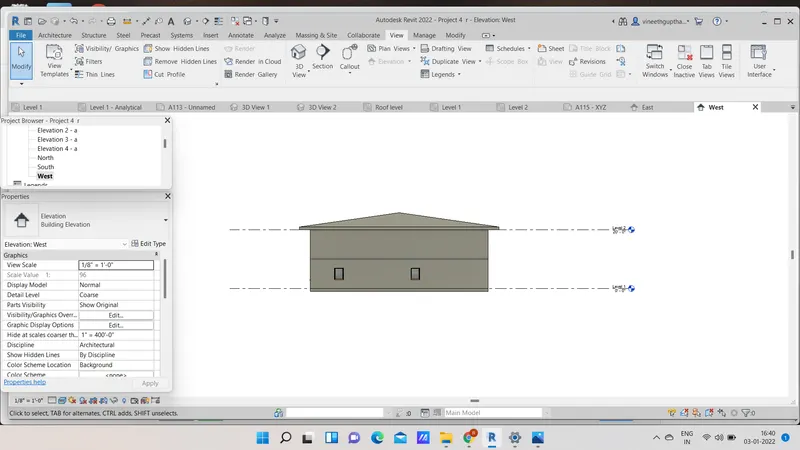
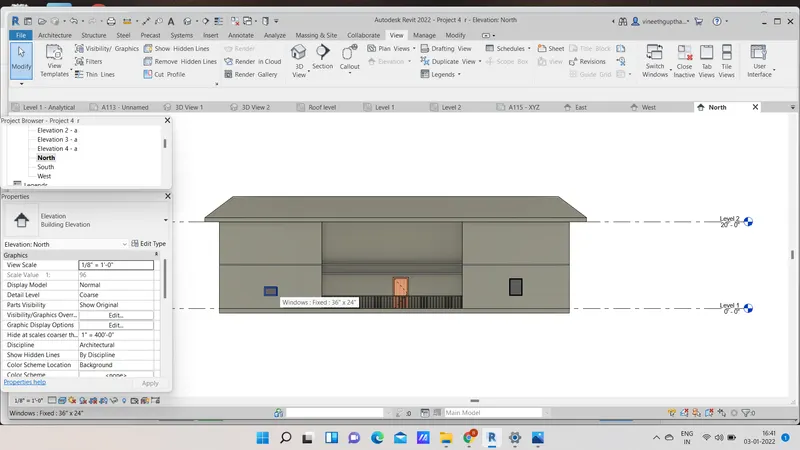
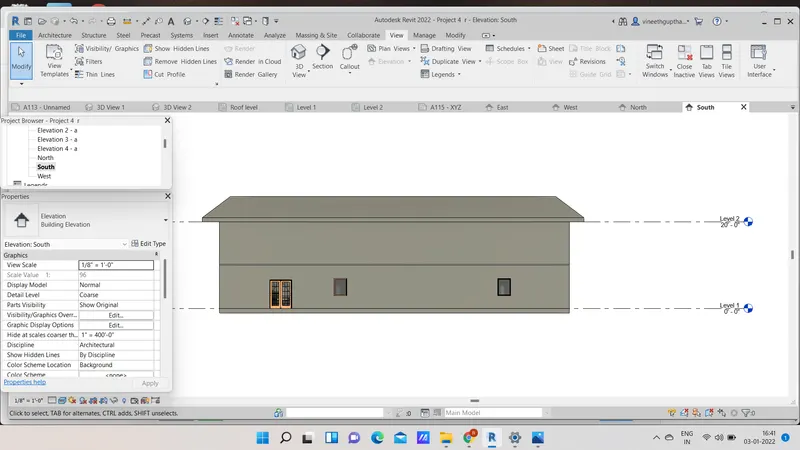
RESULT: The required elevation views are created.
7)
AIM: To produce section cut through each room either cutting across longitudinally or in a transverse direction.
PROCEDURE:
- Click on the view toolbar then select section.
- Now we living room section view.
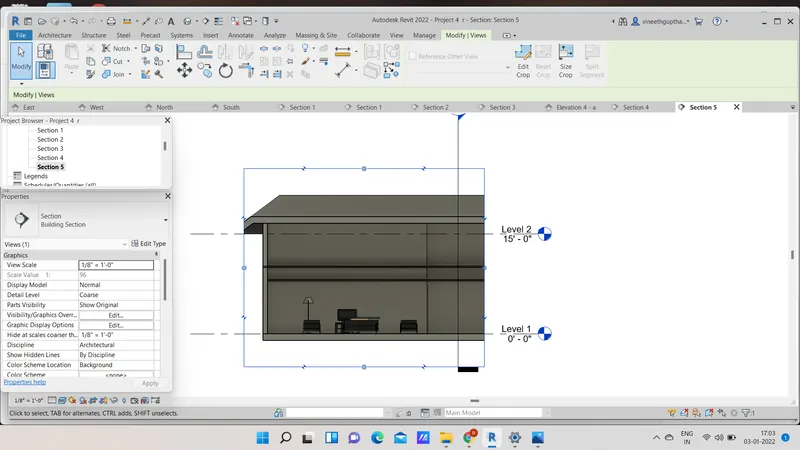
- Now we produce the section view of bedroom.
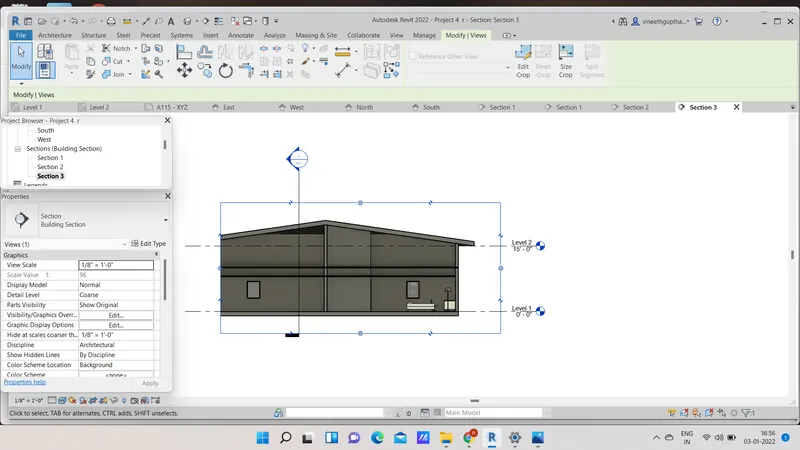
- Now we produce the section view of restroom.
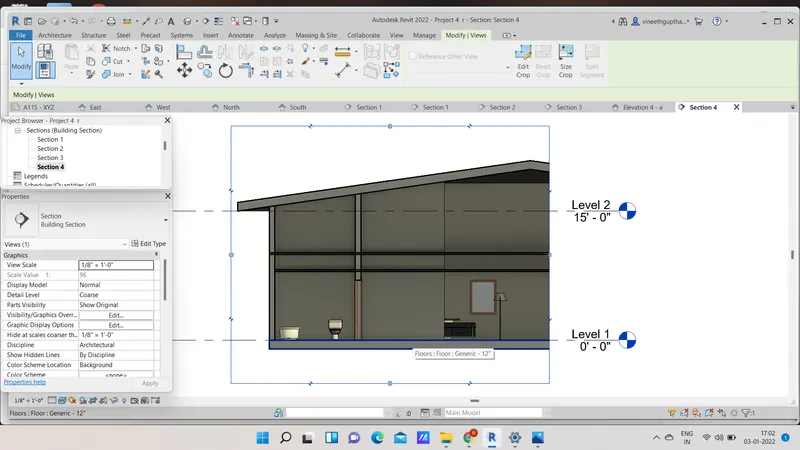
- Now we produce the section view of kitchen and dining area.
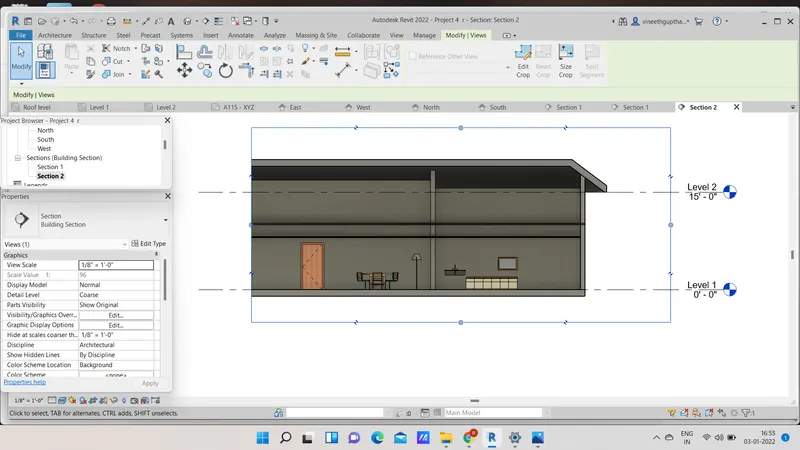
RESULT : Sectional views of respective rooms has been created.
8)
AIM: To classify the Views,Plan Views,Section Views and Elevation Views to either design or documentation category using project browser.
PROCEDURE:
- Now open the project browser ,we can see the views, section views ,elevation views ,plan views as shown below.
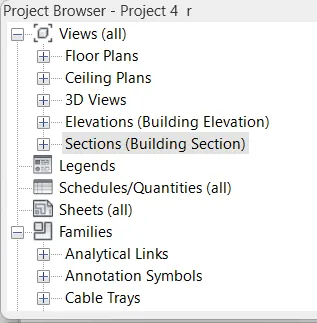
- First we insert the ground floor plan in the sheet template as shown below.
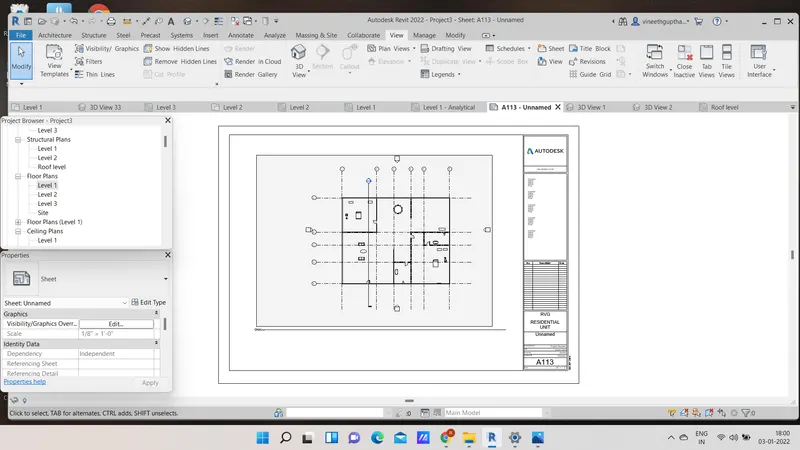
- Now we create the first floor plan in the sheet template as shown below.
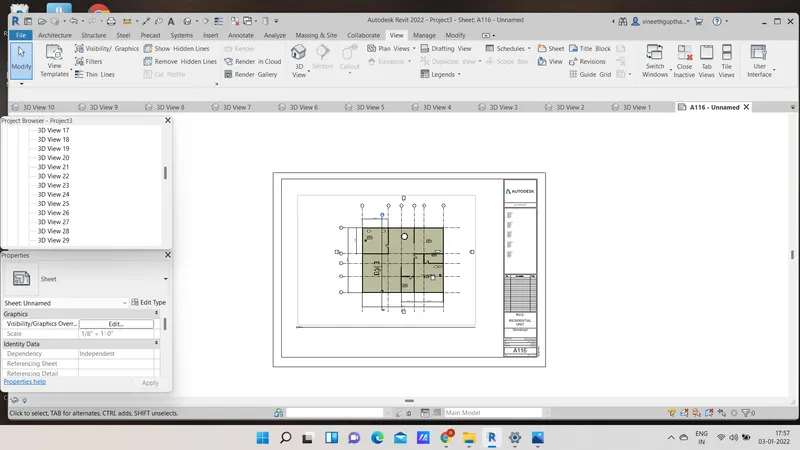
- Now we create the North elevation in the sheet template as shown below.
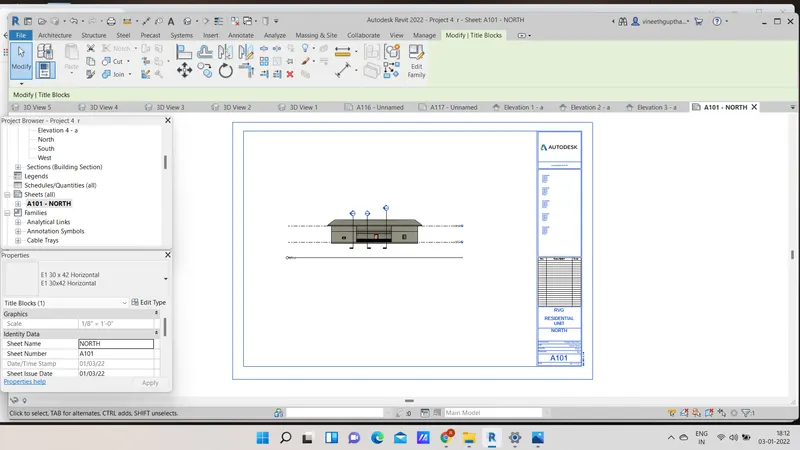
- Now we create the south elevation in the sheet template as shown below.
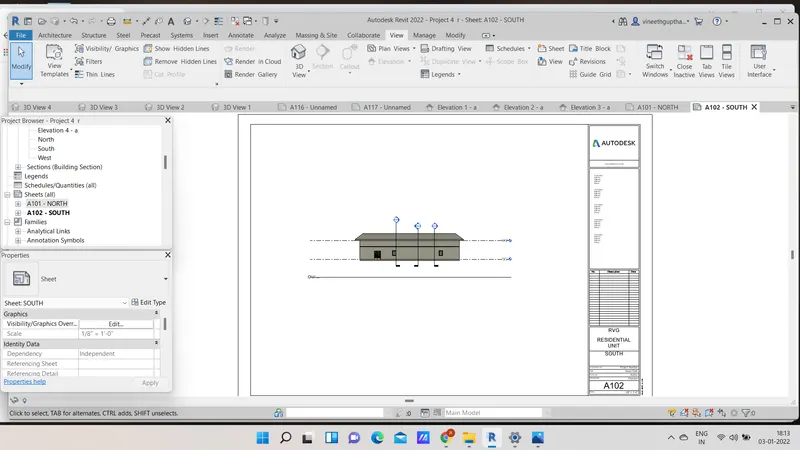
- Now we create the east elevation in the sheet template as shown below.
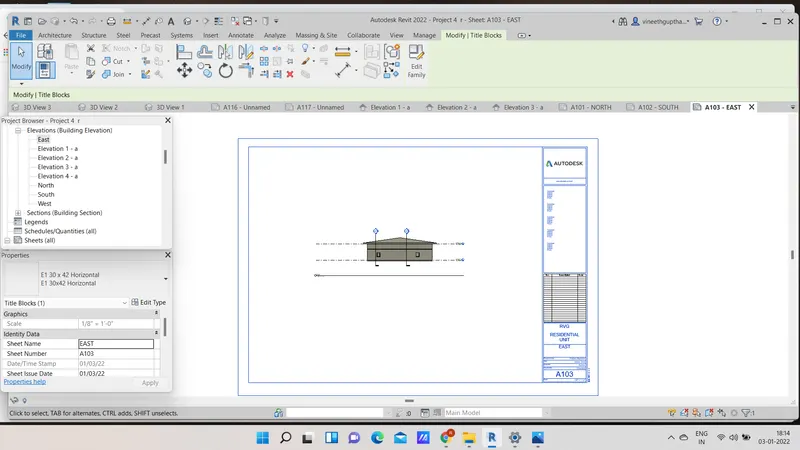
- Now we create the west elevation in the sheet template as shown below.
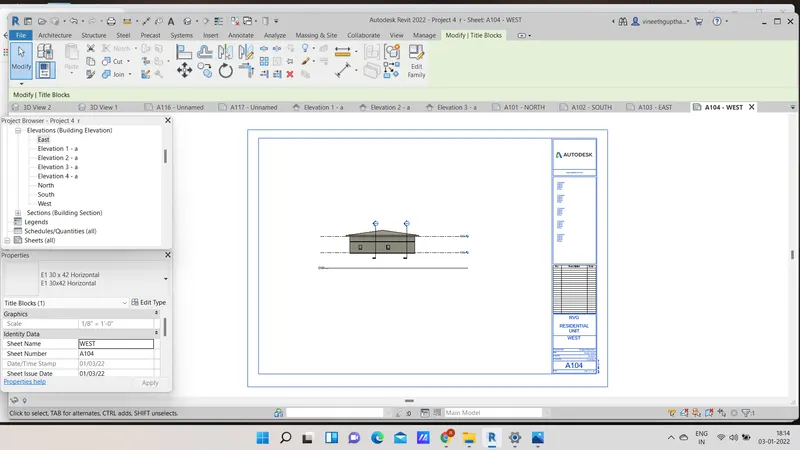
- Now we insert the section view of living room in the sheet template as shown below.
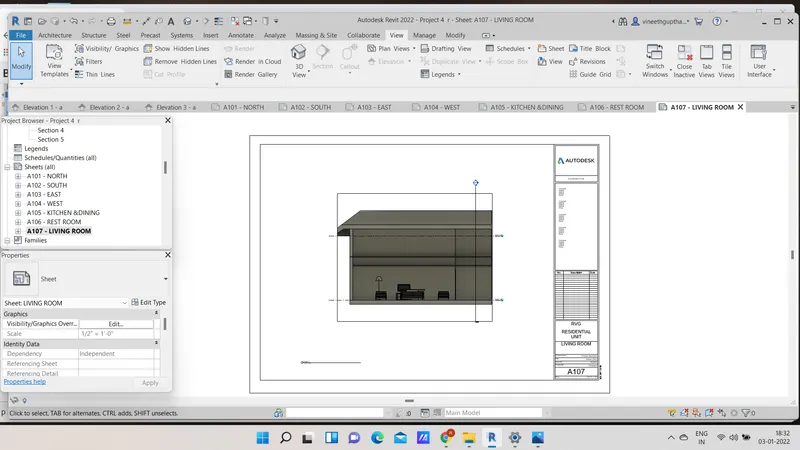
- Now we insert the section view of restroom in the sheet template as shown below.
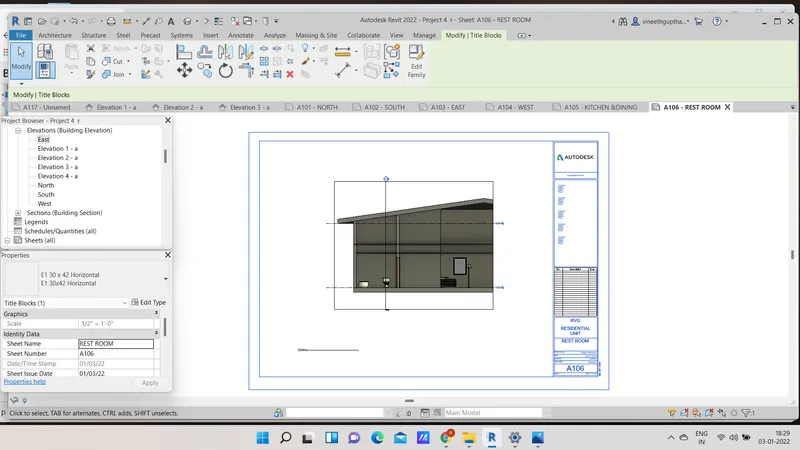
- Now we insert the section view of kitchen and dining area in the sheet template as shown below.
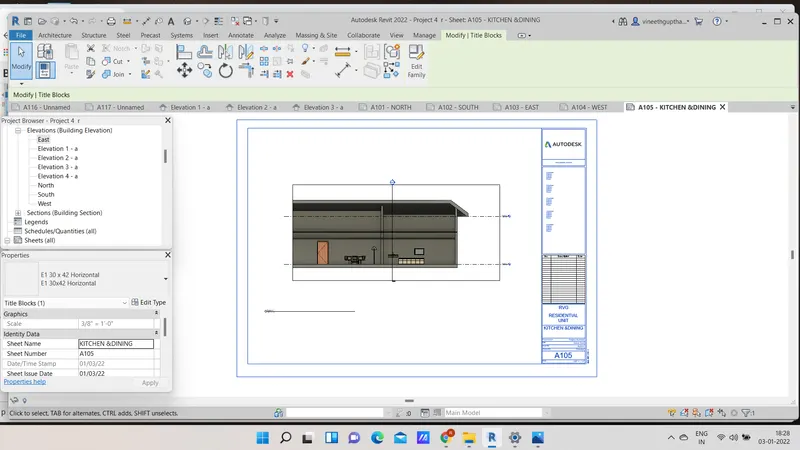
- Now we insert the section view of bed room in the sheet template as shown below.
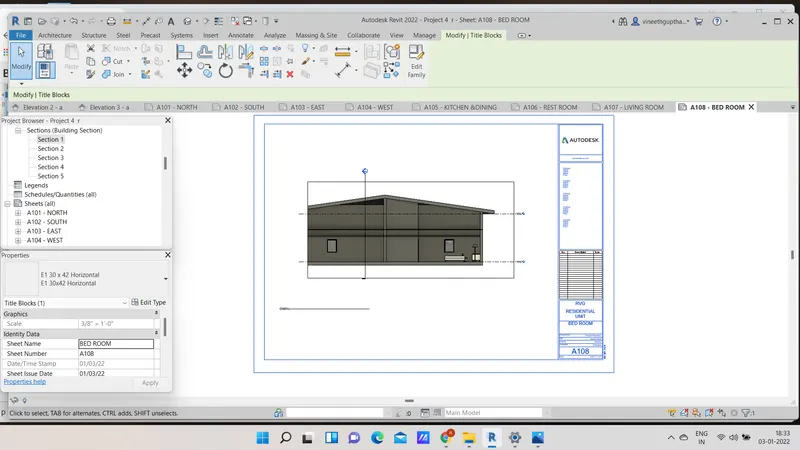
RESULT: Created multiple sheets and inserted required views for design or documentation using project browser.
9)
AIM: To create multiple sheets and produce the drawings in the sheets ,from the given drawing list.
PROCEDURE:
- First we create the Ground floor architectural plan in the sheet template A-101 as shown below.
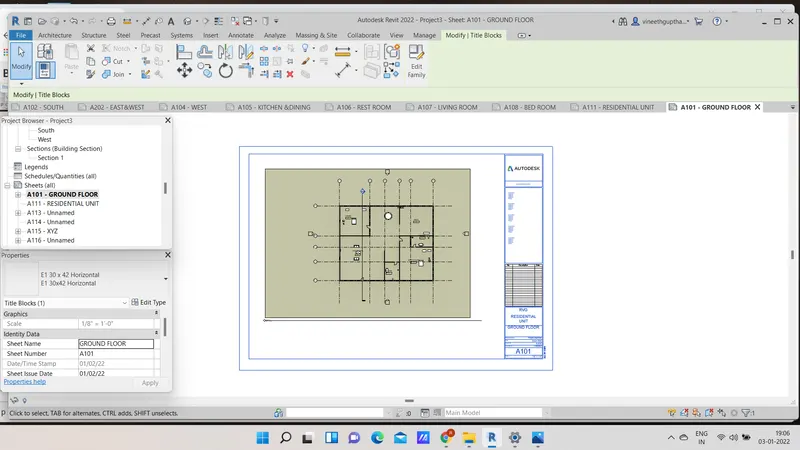
- Next we create the first floor architectural plan in the sheet template A-102 as shown below.
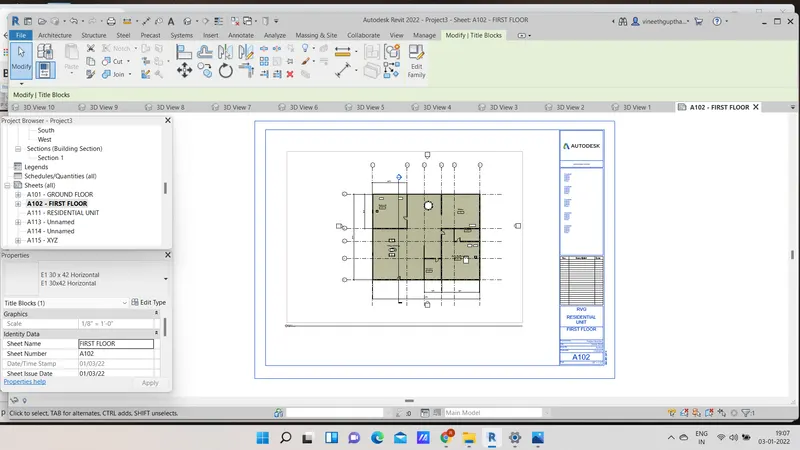
- Now we createthe roof plan in the sheet template A-103 as shown below.
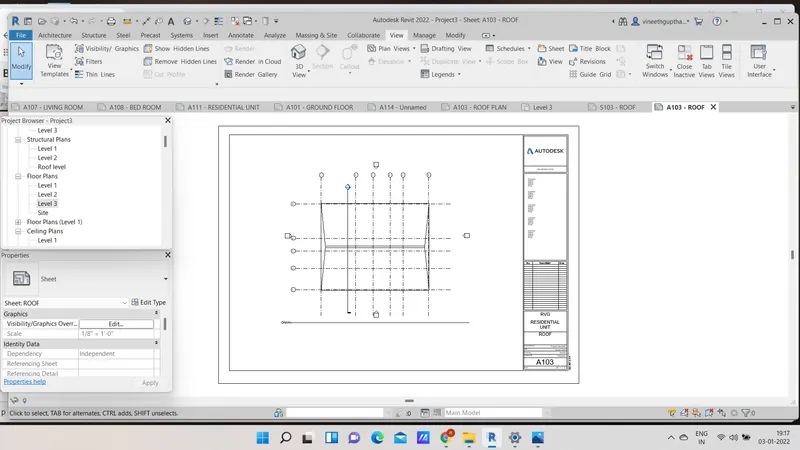
- Now we create the ground floor structural plan in the sheet template S-101 as shown below.
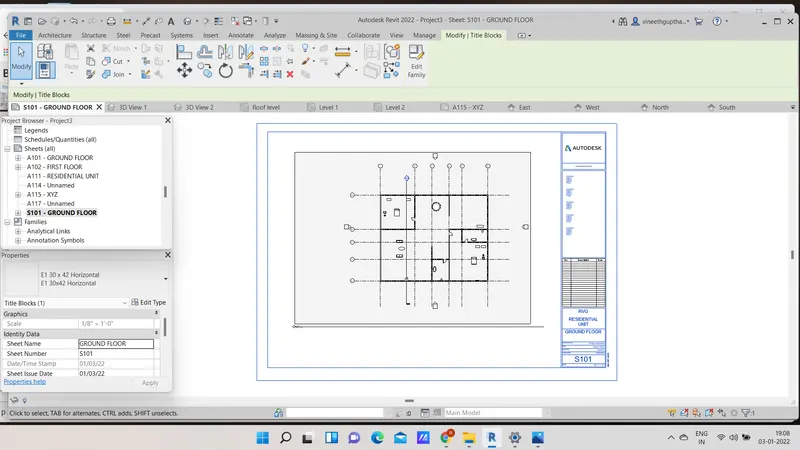
- Now we create the first floor structural plan in the sheet template S-102 as shown below.
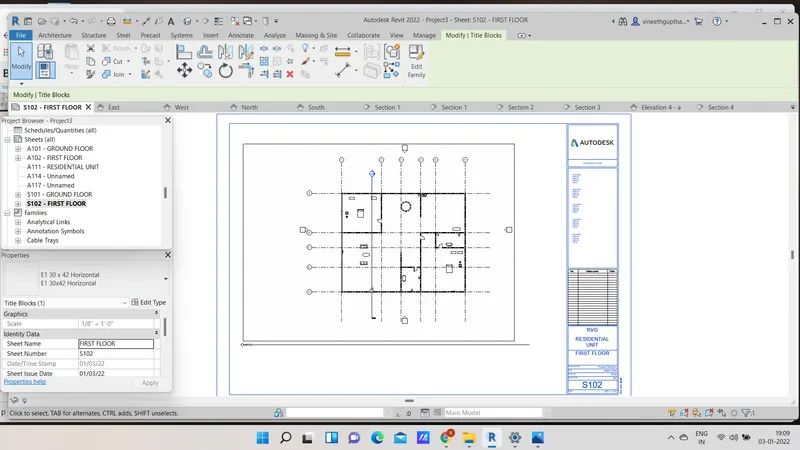
- Now we create the roof framing plan in the sheet template S-103 as shown below.
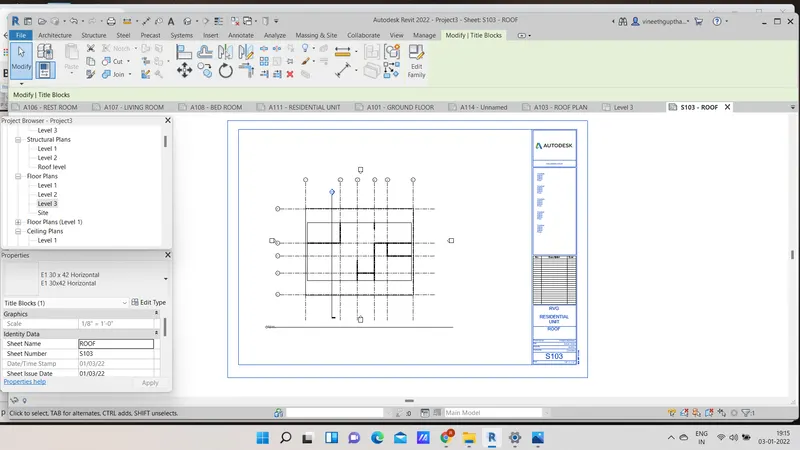
- Then we create the North and South Elevation views in the sheet template A-201 as shown below.
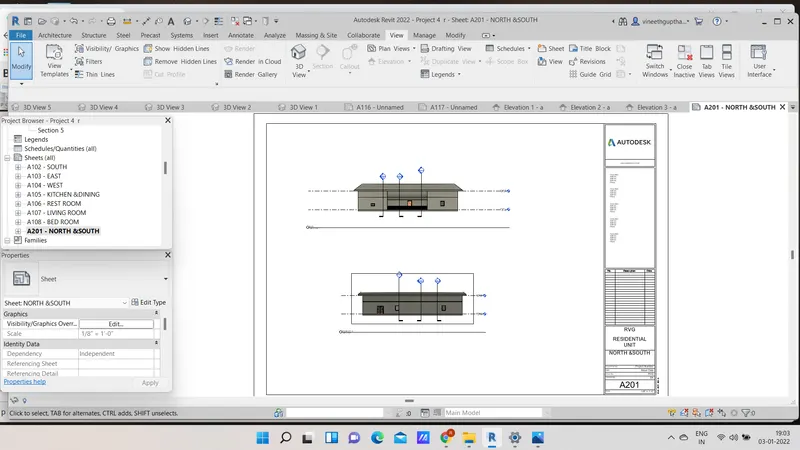
- Then we create the East and West Elevation views in the sheet template A-202 as shown below.
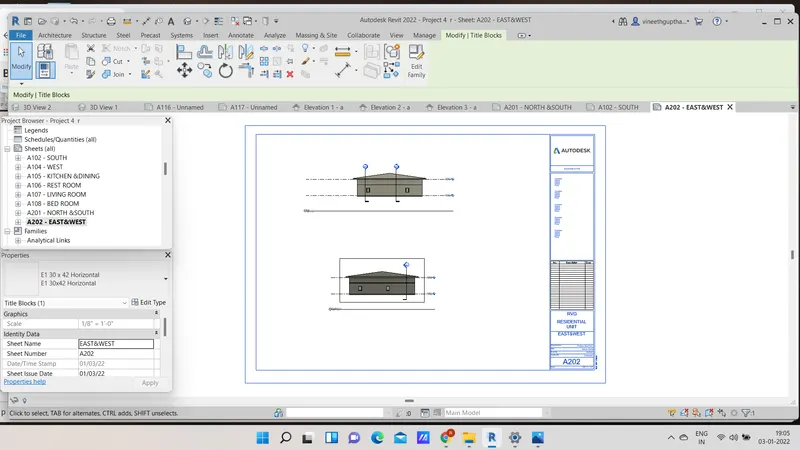
RESULT : Created multiple sheet templates and produced the required drawings in it.
10)
AIM: To create a camera specific view or a 3D view in each room and insert them in the sheet templates.
PROCEDURE:
- First we create a sheet and edit the require things such as project name ,sheet name etc..
- Now click on 3D view icon which is on the top and then click on the camera view as shown below.
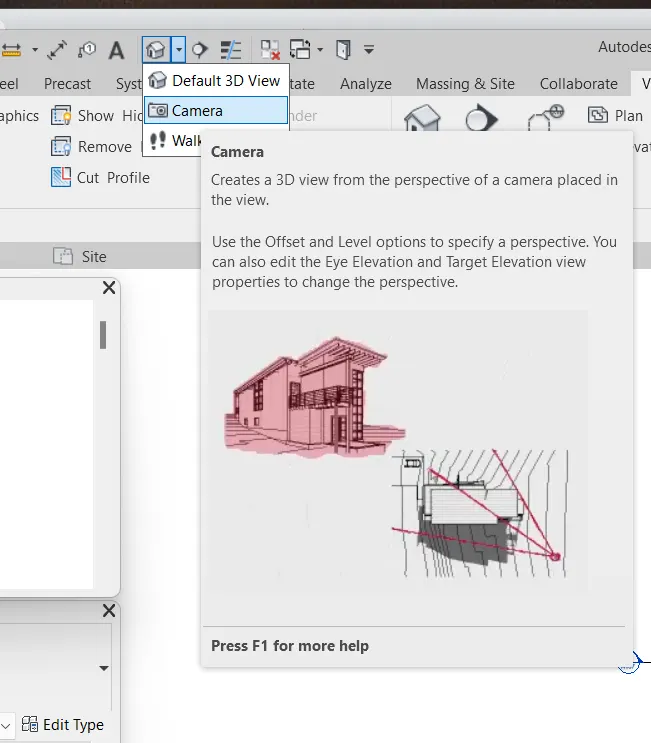
- Now place the camera in each room and save those views with respective names.
- First we take the camera view of bedroom and produce it in the sheet template A-501.
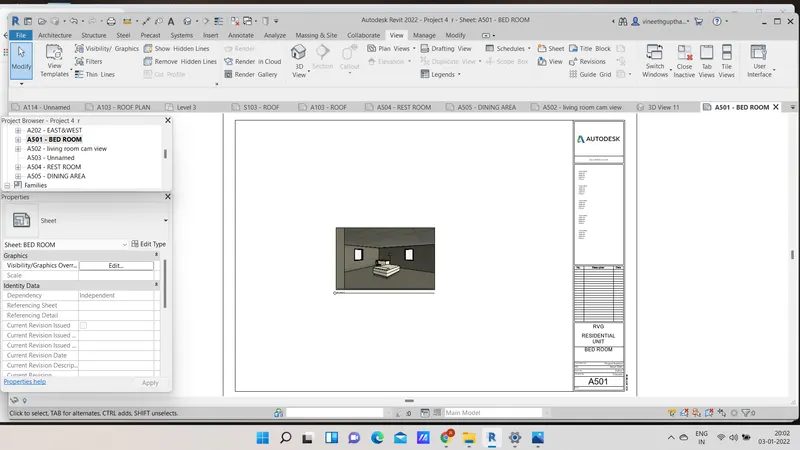
- next we take the camera view of living room and produce it in the sheet template A-502.
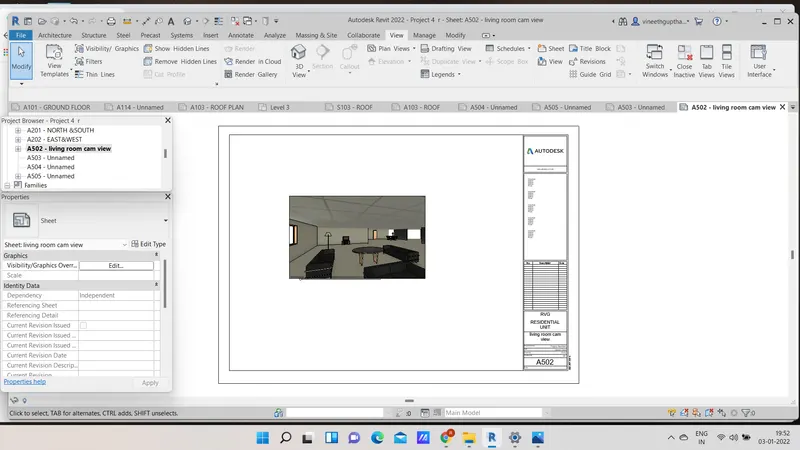
- next we take the camera view of kitchen and produce it in the sheet template A-503.
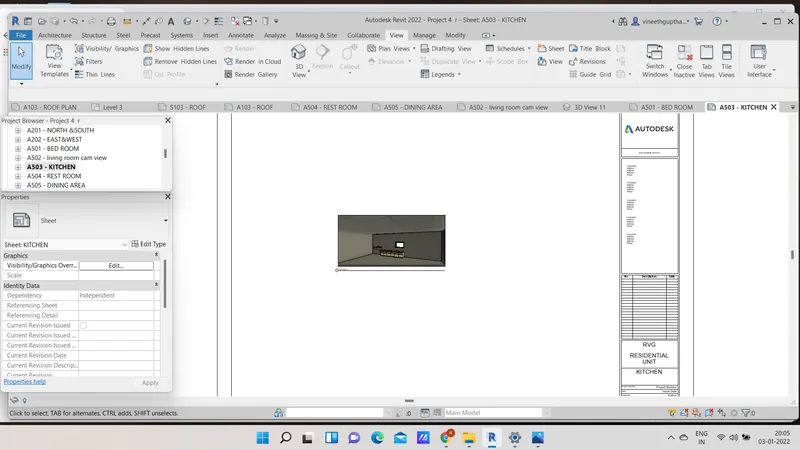
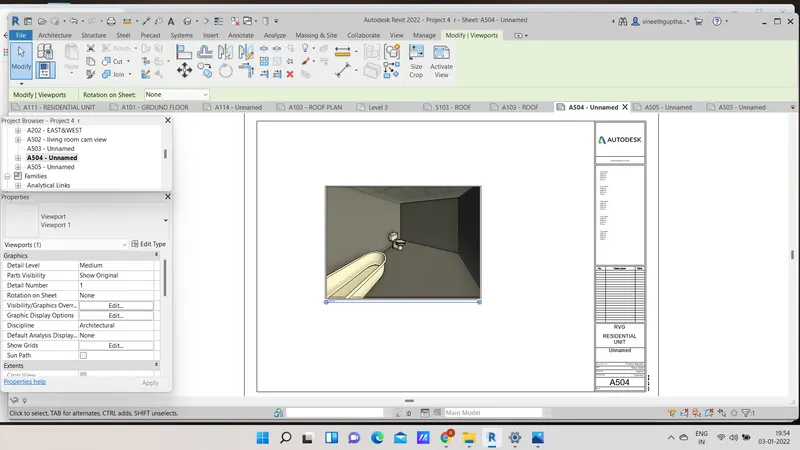
- next we take camera view of restroom and produce it in the sheet template A-504.
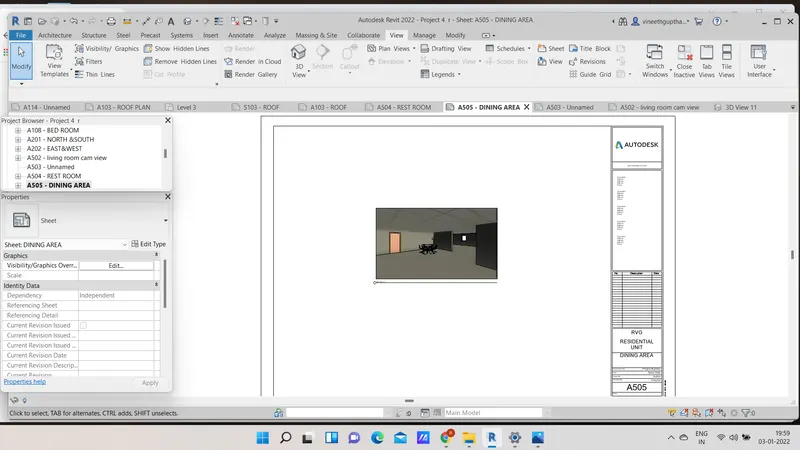
- next we take the camera view of dining room and produce it the sheet template A-505.
RESULT : Required camera views are produced in respective sheet templates separately.