Introduction to REVIT concepts
Solution.1)
Aim: To create a new project (Structural / Architectural / Construction template) and name the project appropriately.
Procedure:
- Open Revit Software either by double clicking the Icon on Desktop or By searching it in Start Menu.
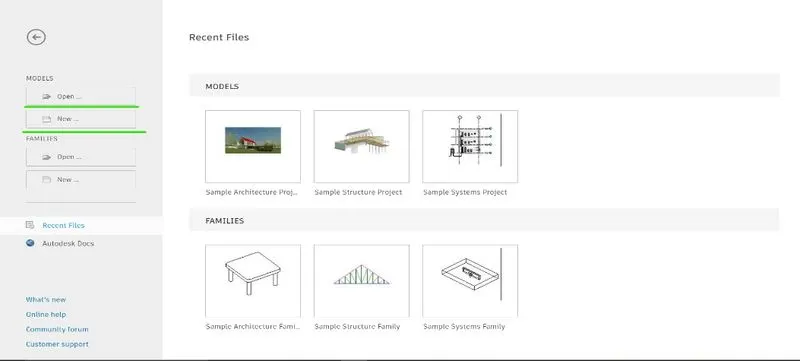
- On the first screen visible after opening Revit, there will be ‘New’ Option on the left side panel. Click on the ‘New’ Option under Model Category for creating a new project.
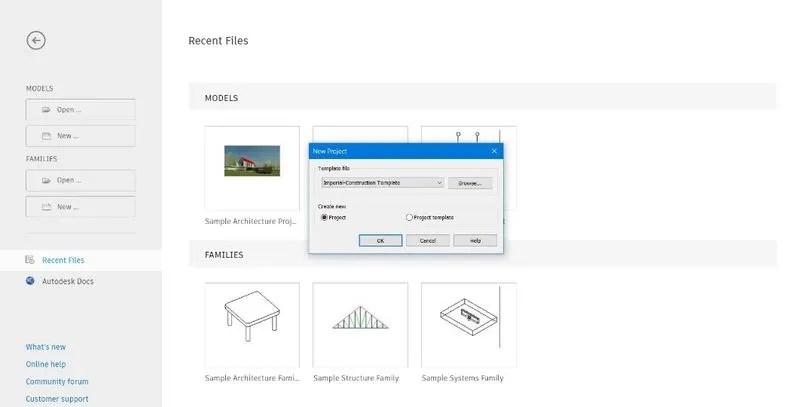
- A new dialog box will appear on the screen as shown in figure below.
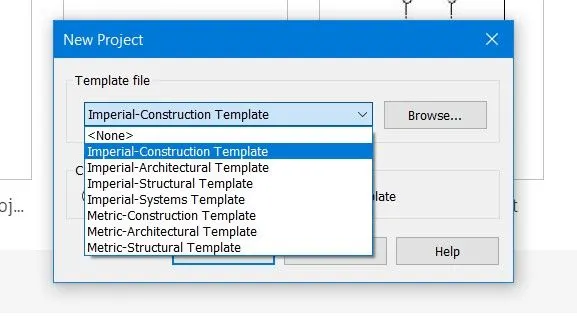
- Select the Template option as per your requirement from the dialog box.
- After selecting, click on ‘OK’.
- Following Screen will appear.
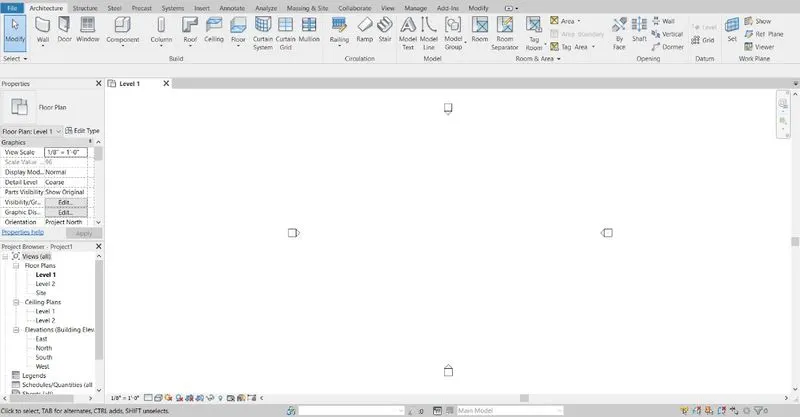
- On the left most top corner, click on the Save Icon or Press Ctrl + S, to save the project file by assigning appropriate name.
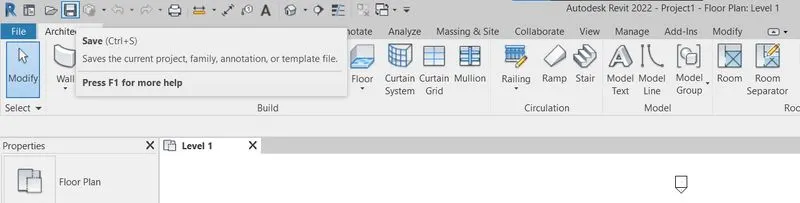
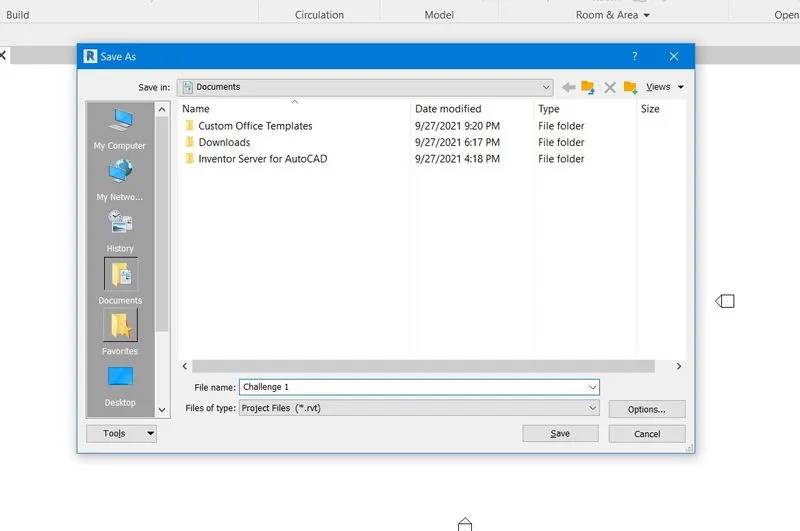
- Now, the project file has been saved in our local system, and the file name is visible at the top most center of the Revit Software, as shown figure below.

Solution.2)
Aim: To save the project file, open and close project using icons from the toolbar.
Procedure:
- On the left most top corner, click on the Save Icon or Press Ctrl + S, to save the project file by assigning appropriate name.
- Now, the project file has been saved in our local system.
- Now, to open a new existing file, go to the 'File' Option on the top left corner, and click on the open option.
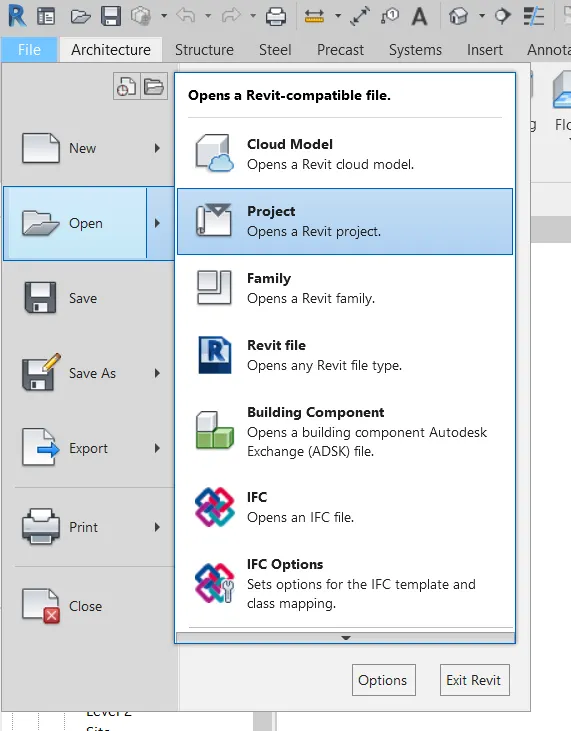
- A new dialog box will appear, Select the desired file to be opened from the system.
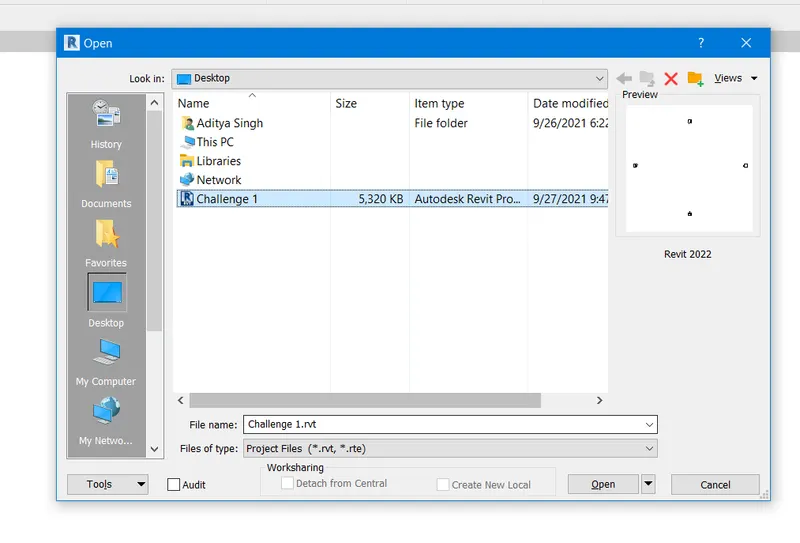
- The selected file will get open.
- Now to close the file from the option in File tab, click on the 'File' Option, and select 'Close' Option.
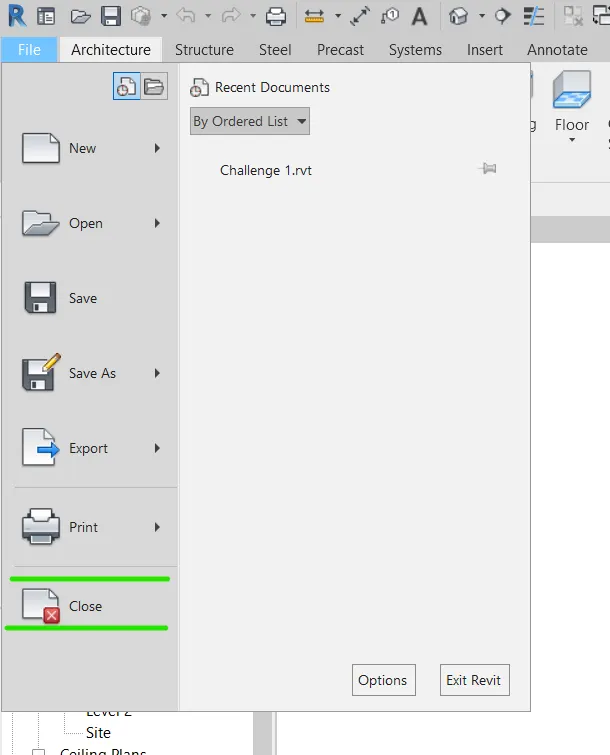
- Here after, the opened project file will be closed.
Solution.3)
Aim: To draw a layout of wall from Architectural/Structural Toolbar of dimensions 40'-00" x 35'-00".
Procedure:
- In the Architectural and Structural Toolbar, there is icon of Wall as shown in figure.
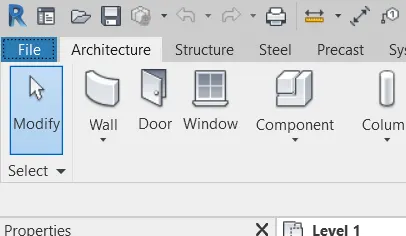
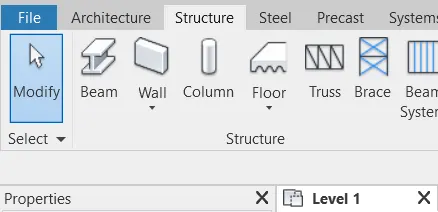
- Let us use the Wall option from Architectural Toolbar.
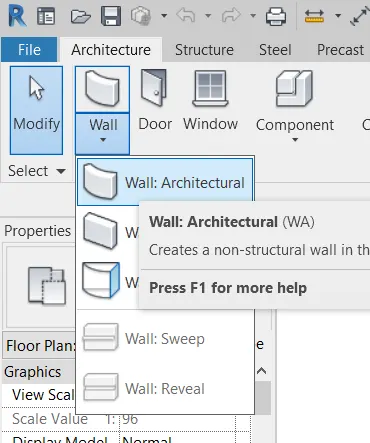
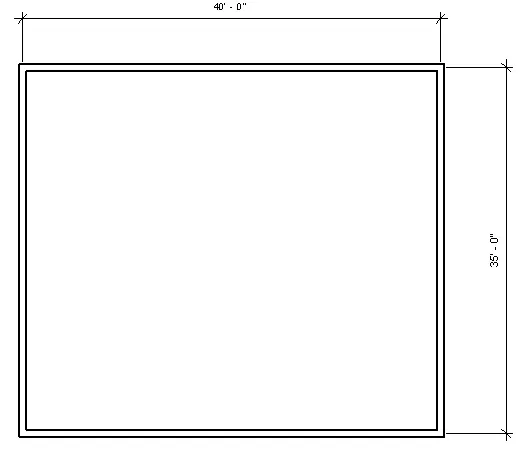
- Select the Wall option and draw vertical and horizontal walls forming a layout of 40'x 35'.
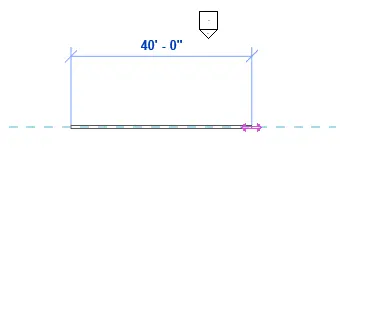
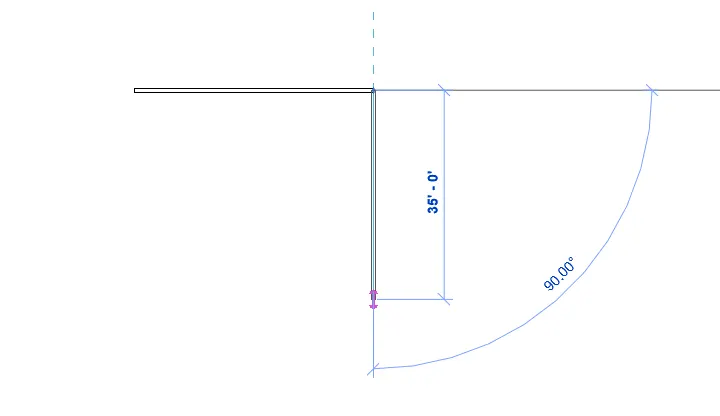
- Completing the layout we get the final layout drawing as shown in figure.
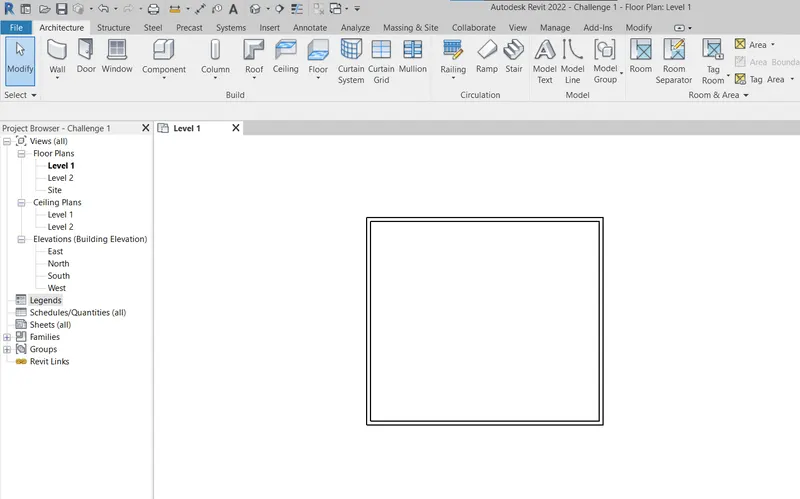
Solution.4)
Aim: To add dimensions to the drawn layout.
Procedure:
- Go to the Annotate Toolbar and select the linear dimensioning option since all measurable dimensions in our case are either needed to be measured horizontal or Vertical.
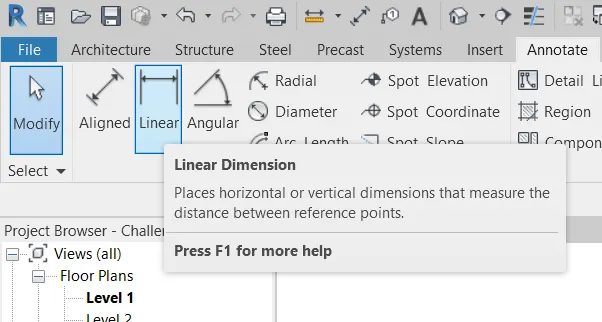
- Add the dimensions to drawn layout and the final output after dimensioning will be as shown in figure.
Solution.5)
Aim: Using properties browser, to switch to different wall types.
Procedure:
- Select the wall by clicking on it, whose wall type we want to change.
- On the left top side, click on the property tab, a new small window will be open in the left panel.
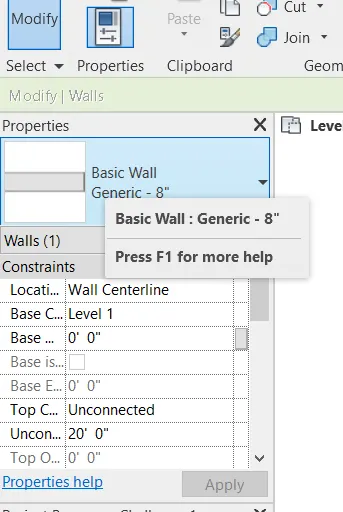
- Click on the selected item named as Generic-8" option as shown in above fihure and select the type of wall from the drop down.
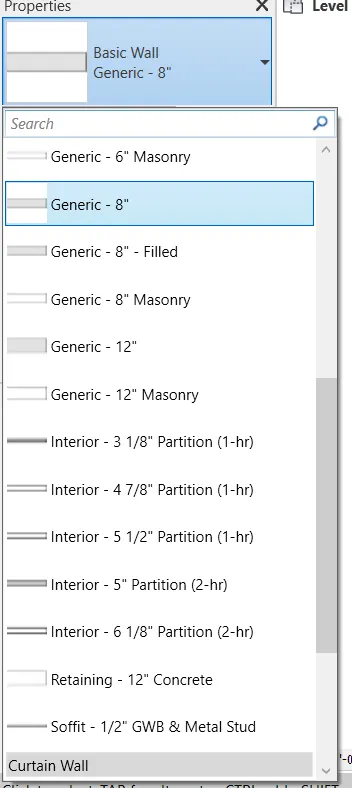
- Let us select the Masonry One.
- Now the type of wall is changed.
Solution.6)
Aim: To obtain the 3D view of the Design Layout and the save the 3D view with appropriate name.
Procedure:
- Go to 'View' Tab. Under View tab there is 3D view option. Click on the option to obtain the 3D view of the design layout.
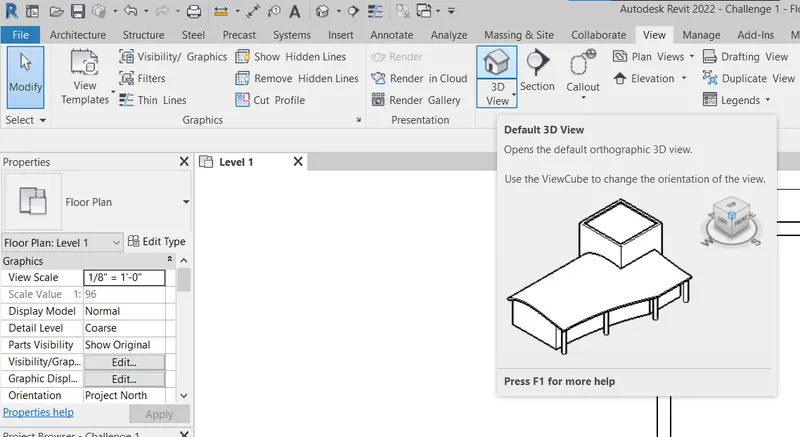
- The Design Layout of walls will be available in 3D on the screen, with a new window named as 3D.
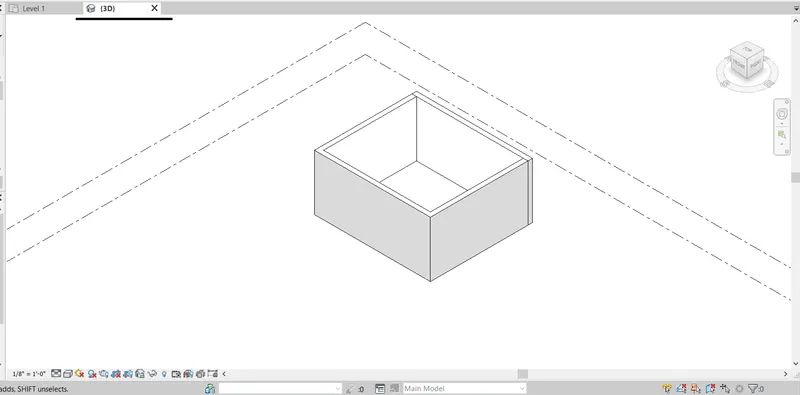
- Press Ctrl + S to save the View.
Solution.7)
Aim: To navigate through the 3D model using the View Cube. Also orbit/pan through the model layout created.
Procedure:
- There is 3D View cube avaibable on the right side of the working space, to navigate through the 3D model.
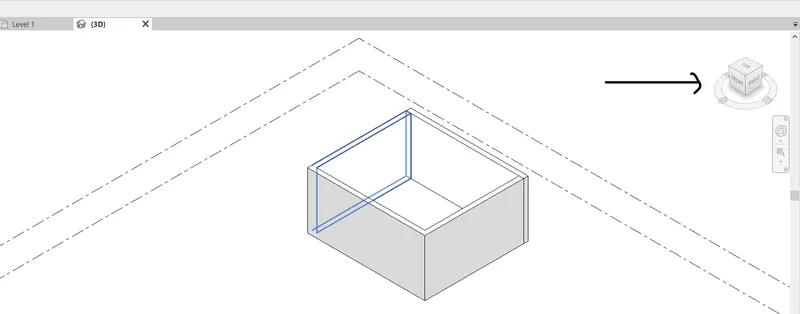
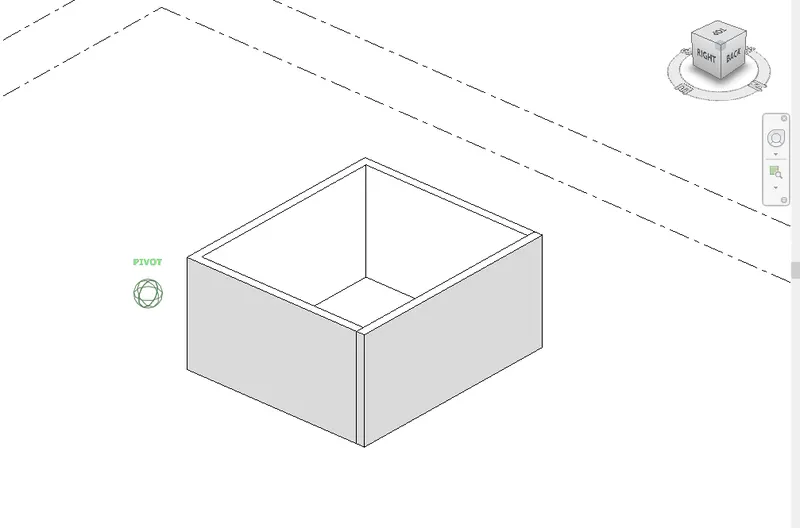
- Below the view cube there is anther tool called as Full Navgation tool.
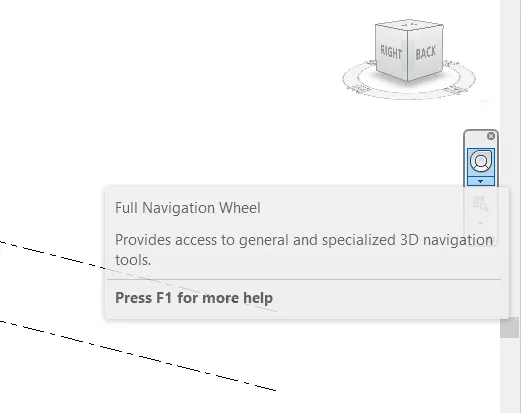
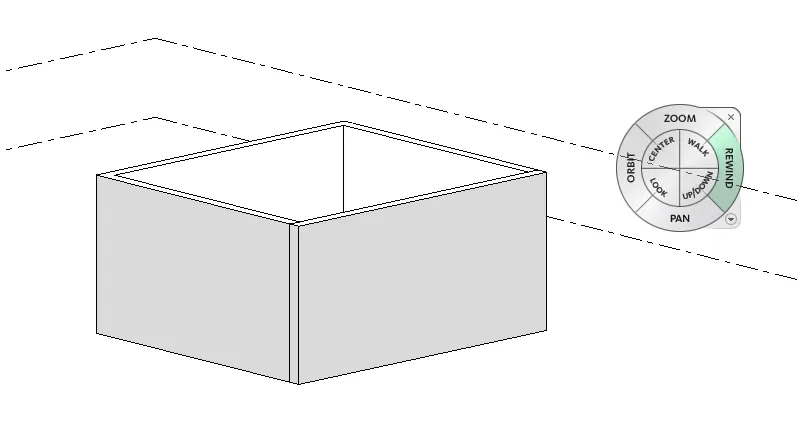
- Use the Pan option the Move the 3D view and Orbit option to orbit around the pivot point.
Solution.8)
Aim: To use the visibility settings to switch model between Shaded, Realistic, Hidden Lines Option.
Procedure:
- At the bottom toolbar bar, there is the Visibiity option available to change as shown in figure.
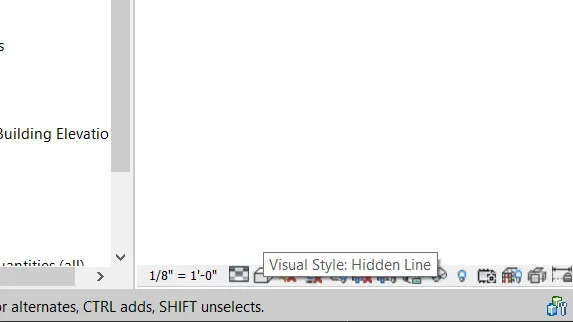
- Click on the Visual Style Option to see the different visual styles available.
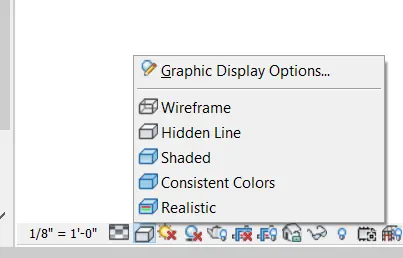
- We can choose any option as per ourrr requirement. Let us select the Realistic Option to see the changes in 3D View.
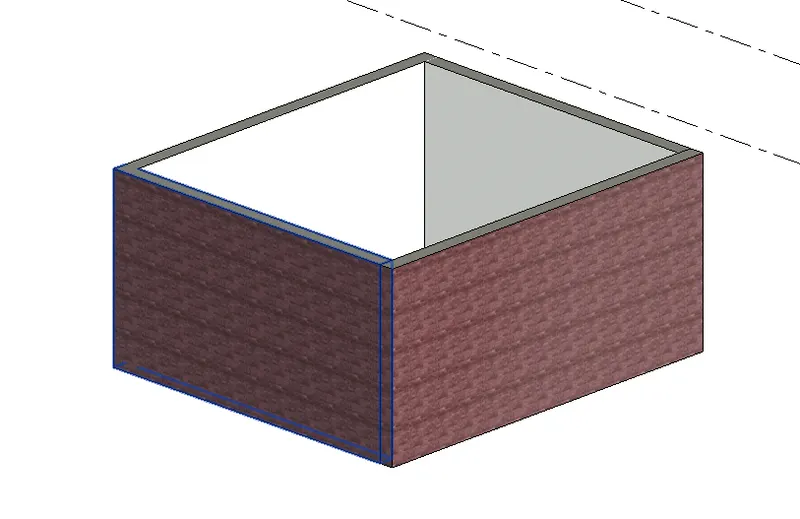
Solution.9)
Aim: To set the sun path on and off to view the shadings in the layout created.
Procedure:
- At the bottom toolbar, on the right side of the Visual Style option, we have the option to set the Sun path on and off.
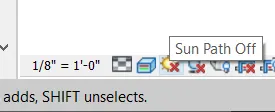
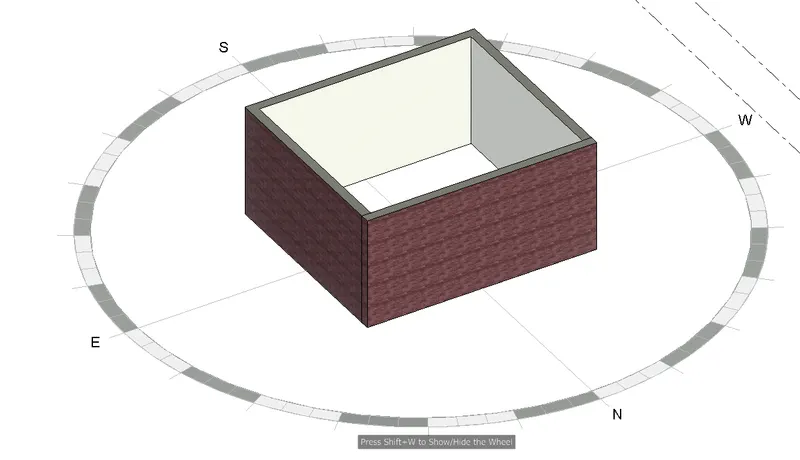
- Select the option to turn on the Sun path option.And see the Yellowish shade on the Interior of the wall, facing East Direction.
Solution.10)
Aim: To enter the Project Settings and edit or alter the Project Name, Project Issue Date.
Procedure:
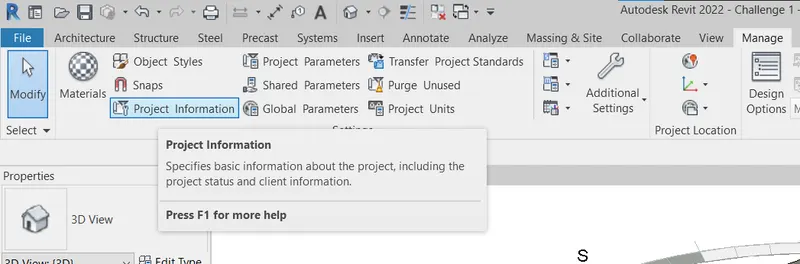
- Go to the Manage Toolbar, under this tab go to Project Information tab and click on it to Enter the Project Settings and alter the different Parameters.
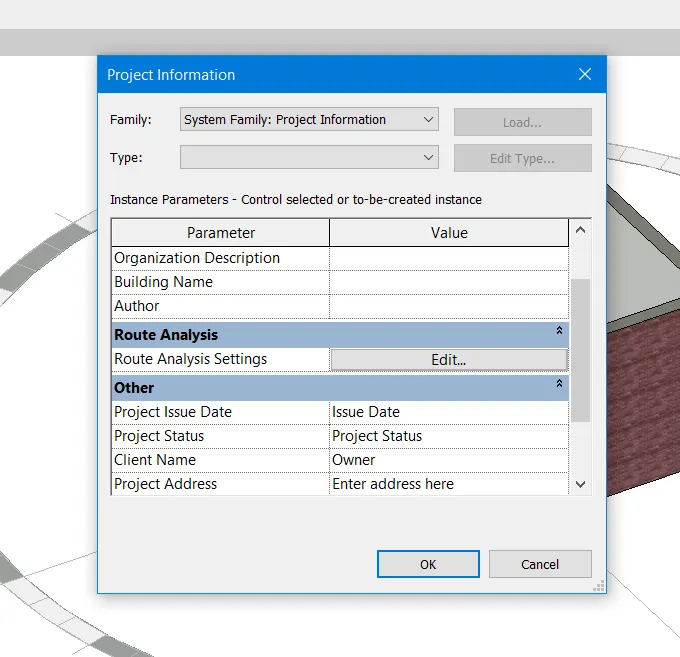
- Enter the details as per the Requirement and data and Click on OK.
Solution.11) Analyze Toolbar is used to do the Structural Analysis of the Structure. Analysis tools under the Analyze Toolbar helps to take the descision regarding our structure after analyzing it thorugh various load combinations, and applying Boundary Conditions. It also generates Structural Report based on the analysis done.
It is very beneficial, in designing and modelling of the structure, as not all architectural structure may be possible with given boundary conditions, so it helps to create a structure wich can withstand loads combination that it is going to face further in its life time.
Solution. 12) These are the following Links that Revit Supports to be linked to the Model:
- Link Revit
- Link IFC
- Link CAD
- Link Topography
- Link Marked-up DEF file
- Link Point Cloud file
- Links NWD or NWC file: Links loads combination file
- Links PDF and Images.
Solution.13) Collaborate tab is one of the important feature of Revit that helps to complete the project very efficiently. Using this tool, people working on different task on the same project can work simultaneously. Civil Engineers, Mechanical, Electrical and Architecture peolpe can work on the same project simultaneously without depending on others work.Hence, this feature saves time and make the work (modelling) more efficient.