Creating Walls, Partition walls and Floors for a residential layout using REVIT
Solution.1:
Aim: To create a floor using options from the Architecture tab and modify the properties like floor material and floor thickness.
Procedure:
- Open the floor plan that we created last week.
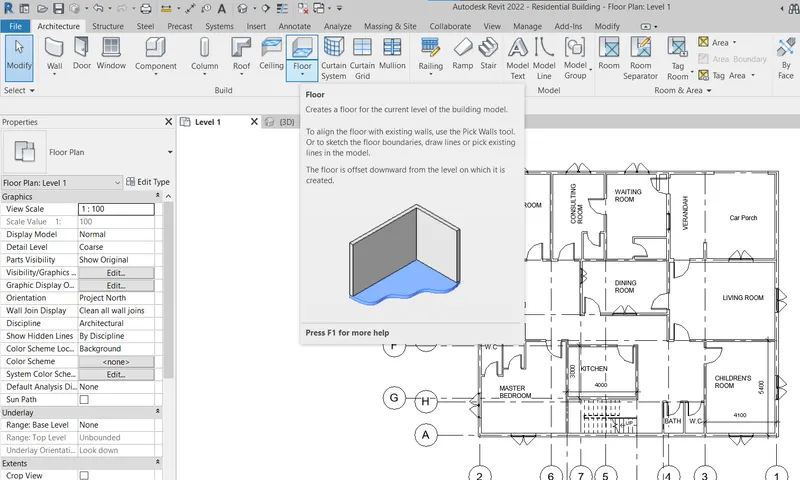
- Go to Architecture Menu, then select the floor option from there.
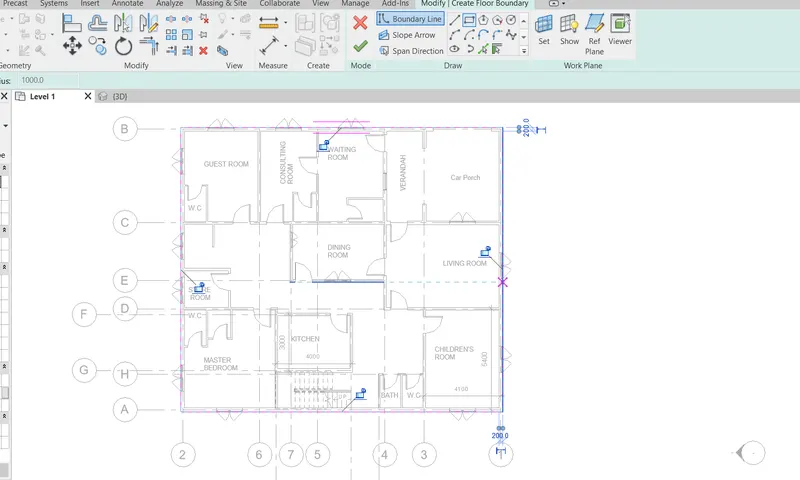
- Select the Walls boundary till where we want to make our floor, then click on the green tick after selecting the area.
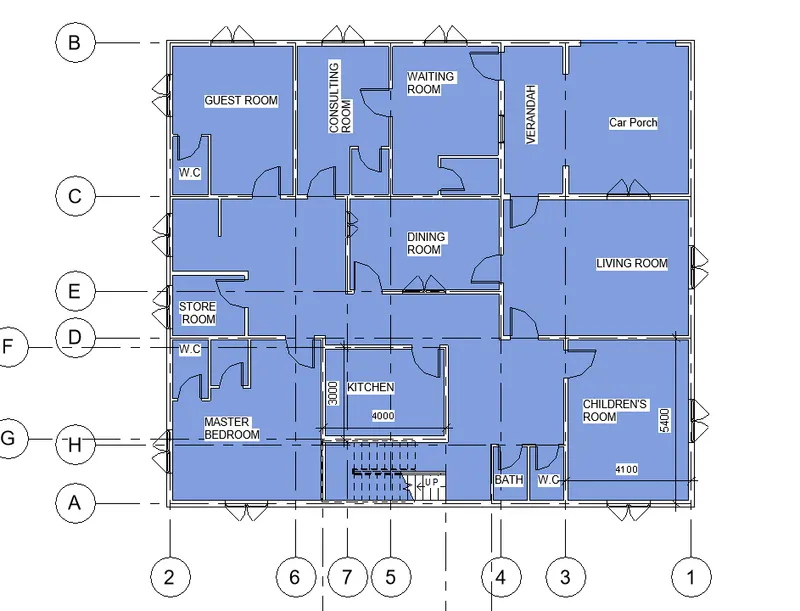
- Now the floor will be made, and we can go to the properties tab on the left side to change the different parameters of the floor like floor thickness and material of the floor after selecting the floor from any of the elevation views.
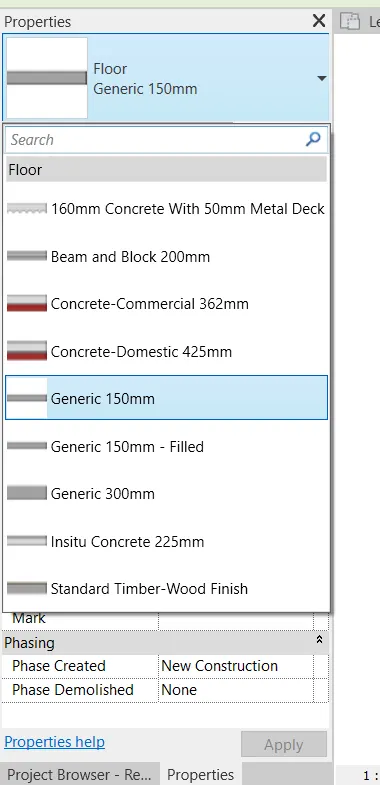
- Let us select a Generic Floor of 150 mm thickness.
- The required floor is constructed.
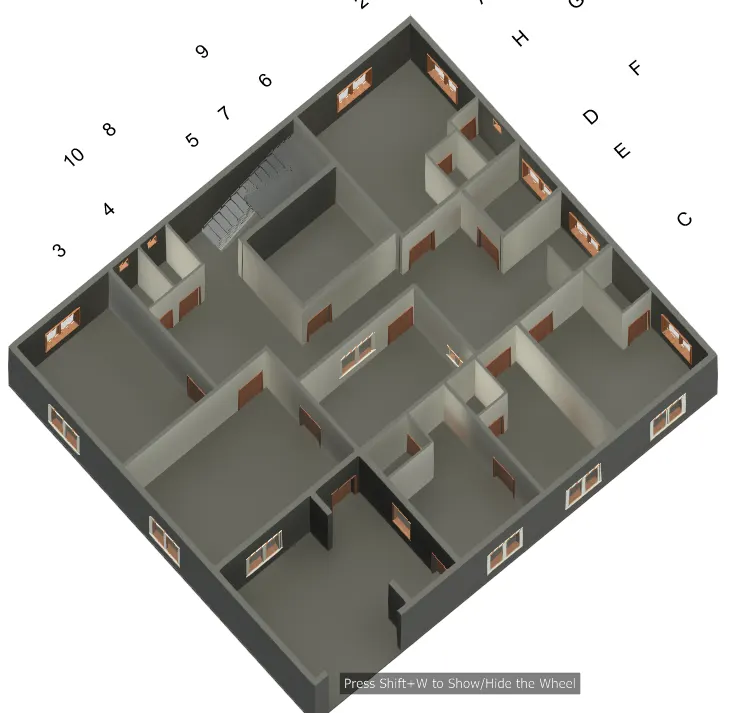
Result: The required floor plan is made with desired thickness and material.
Solution.2:
Aim: To choose the desired property parameter of the wall like thickness, material. Also, constrain the walls to certain levels
Procedure:
- Select the required walls in the plan to change its property from the Property tab, like thickness, type and material of the wall.
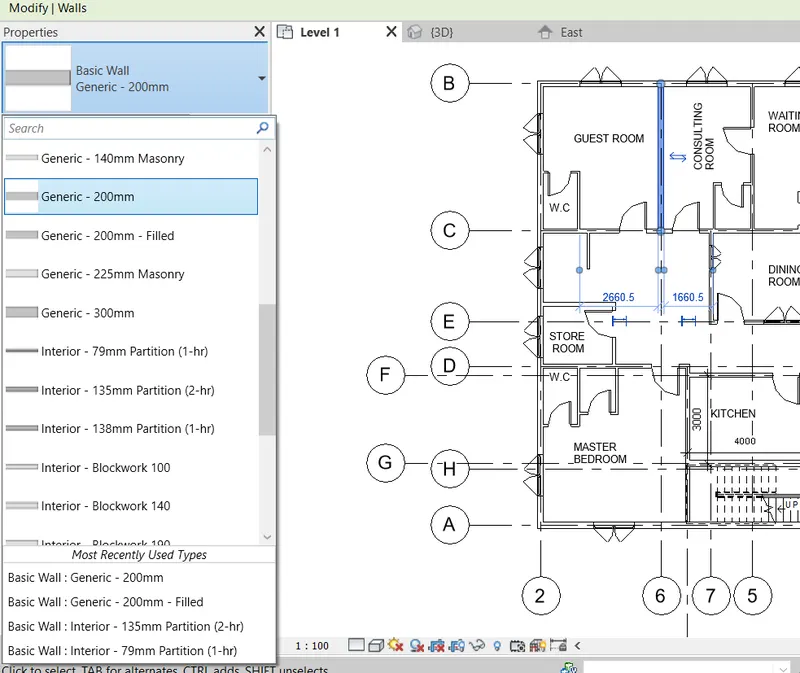
- For inner walls, let us select the Interior - 135 mm wall. Do for all the inner walls.
- Switch to an elevation view and check for every wall, whether they are constrained or not.
- Now check the walls constrained in the Property tab itself as shown in the figure.
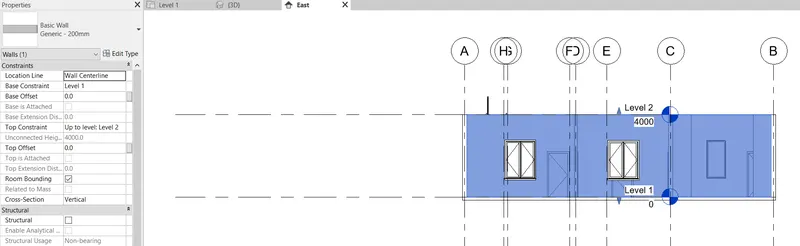
- We can see that walls are constrained to the top and bottom levels.
Result: The desired properties of the walls have been achieved.
a) It will be very good practice to create walls that are connected to the particular levels. It helps in changing the height of the wall just by changing the level height rather than changing it individually for each wall.
b) It's better to connect the walls by height as we rarely change the depth of the wall, but we need to change the level height most often.
Solution.3)
Aim:
Procedure:
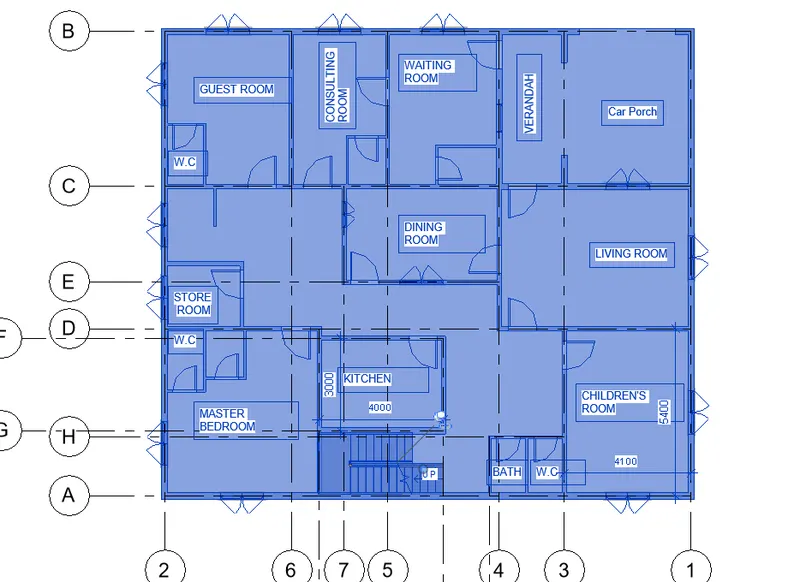
- Select the ground floor layout by dragging with a mouse. Copy the plan by using the option "Copy to Clipboard".
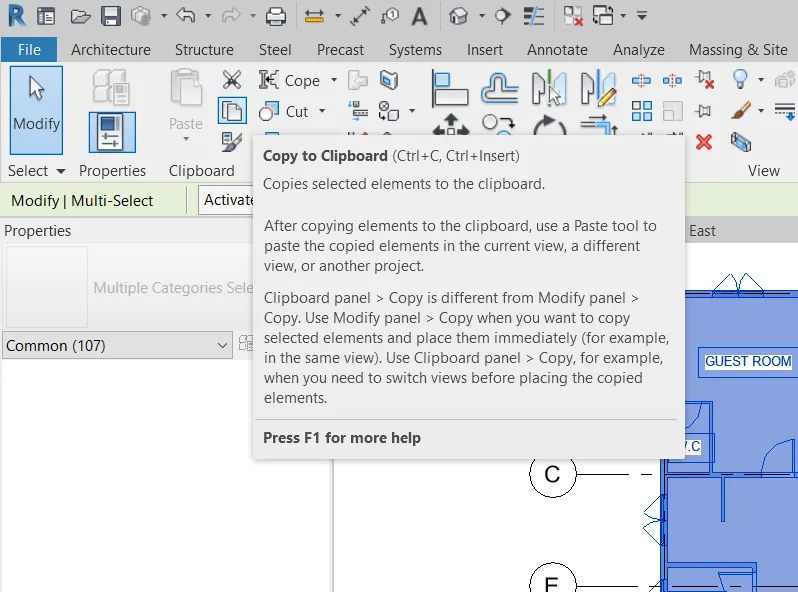
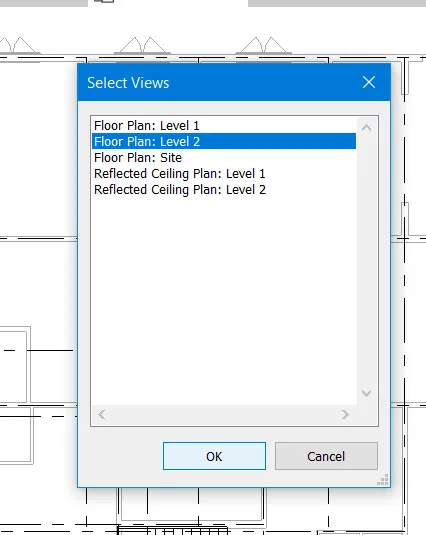
- Open the Level 2 View, and under the modify tab, paste the copied elements by selecting the appropriate Level( here Level 2).
- Copied Layout plan will be pasted with all the selected elements.
- Go to the 3D view to see the changes.
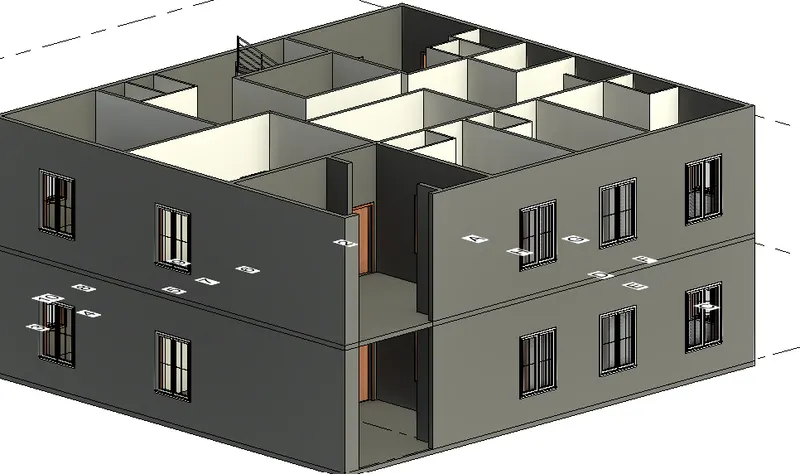
Result: The floor layout has been copied and pasted successfully to a different level.
Solution.4)
Aim: To create partition walls in the main floor plan to create different rooms.
Procedure:
- Use the wall option to draw different rooms in the floor plan as per your requirement.
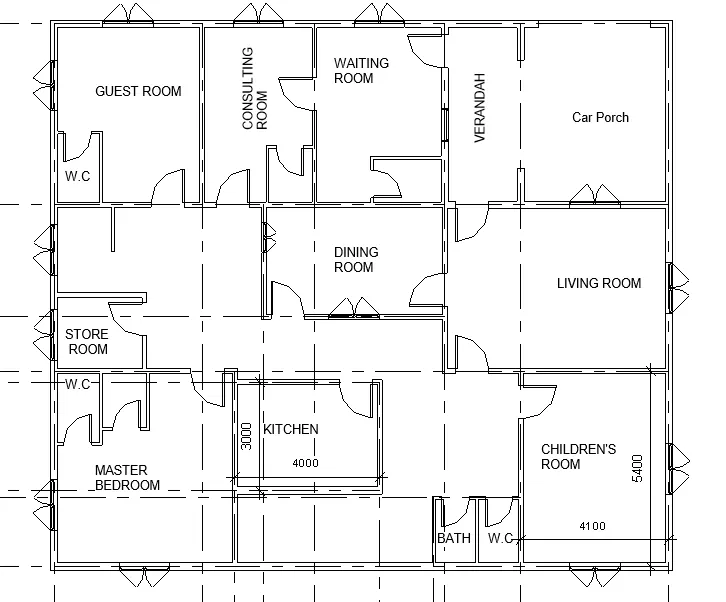
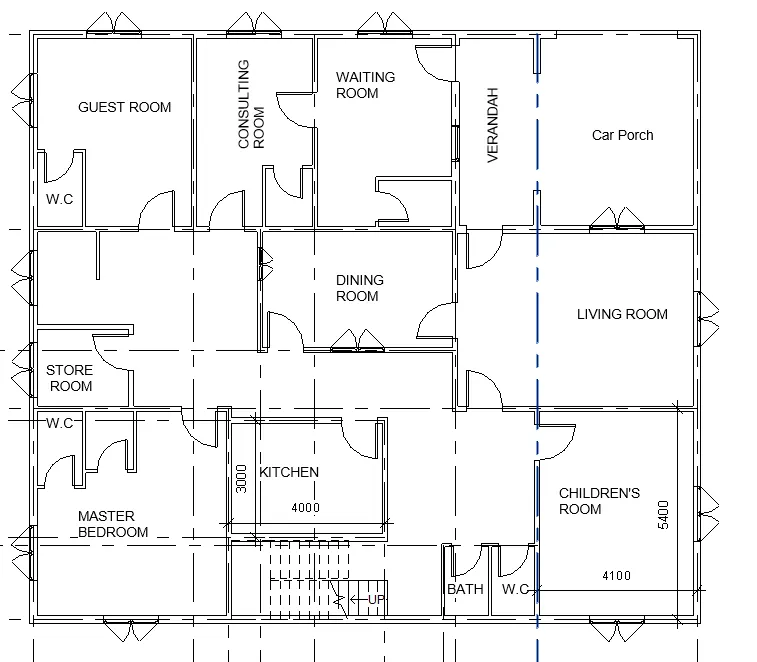
- Let us make a Living Room, Bed Room, Children's Room, Dining Room, Kitchen, Guest Room, Waiting Room, and Consulting Room, etc.
- Now after creating the partition walls using appropriate wall size,type, material. We will have our plan look like this.
- Similarly, one can do it for Level 2 or First Floor.
Result: All the desired rooms are made and proper partitioning has been provided.
Solution.5)
Aim: To place different elements in our plan like bed, chair, sofa, kitchen items, lighting, etc.
Procedure:
- Open your plan.
- Go to the insert menu, and Select the Load Family option.

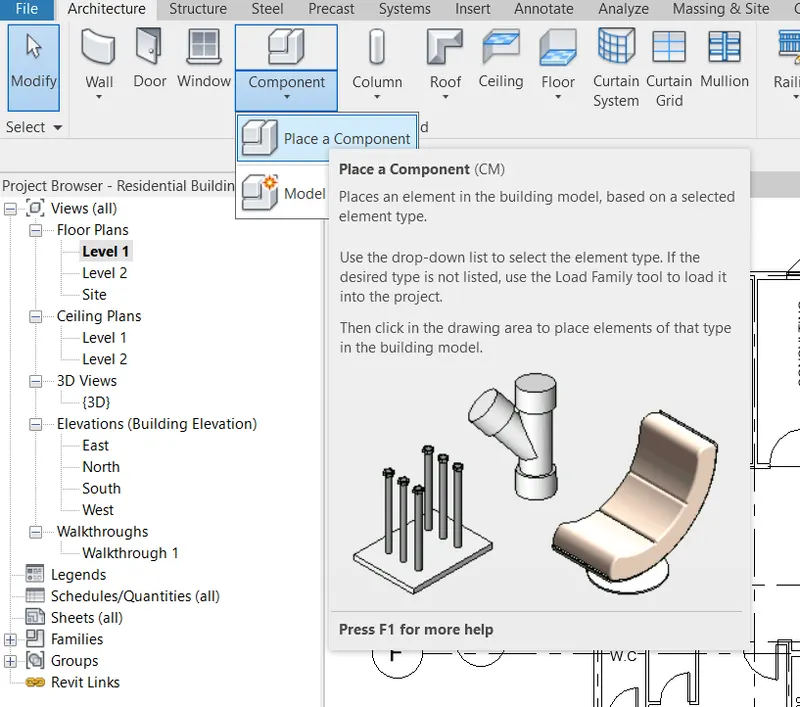
- Go to Architecture Tab, and select place component at the desired location in your plan.
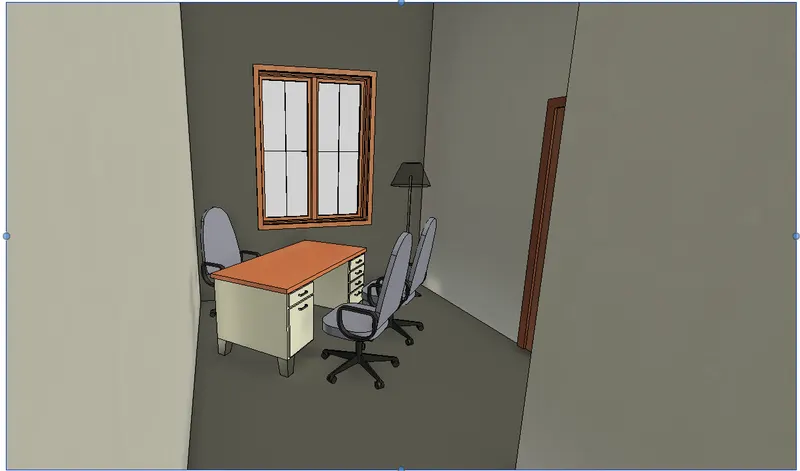
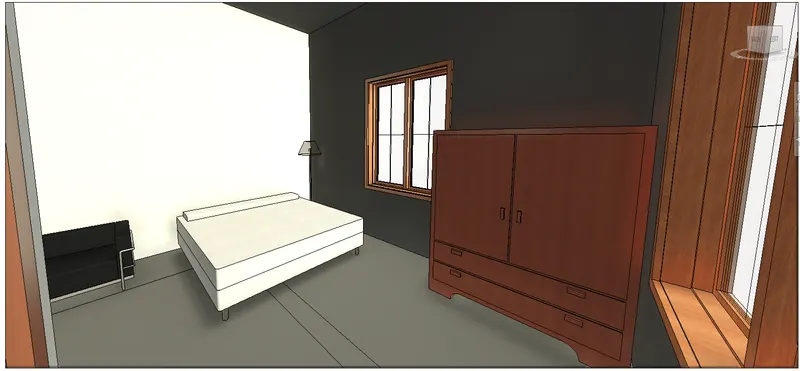
- After putting all the elements in the right position view them in 3D to make amendments, if any.
- Our final view will be like this.
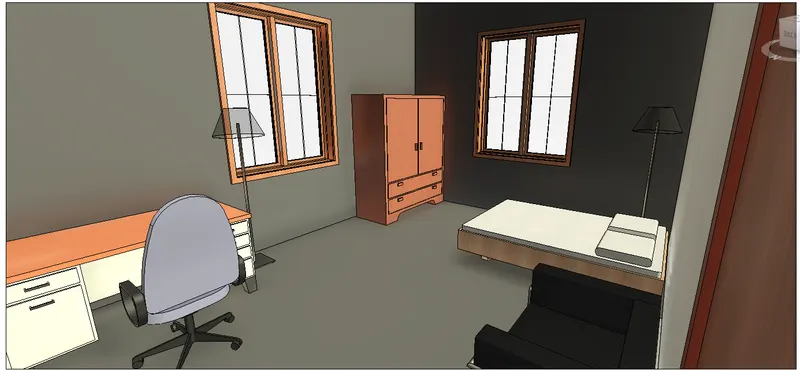
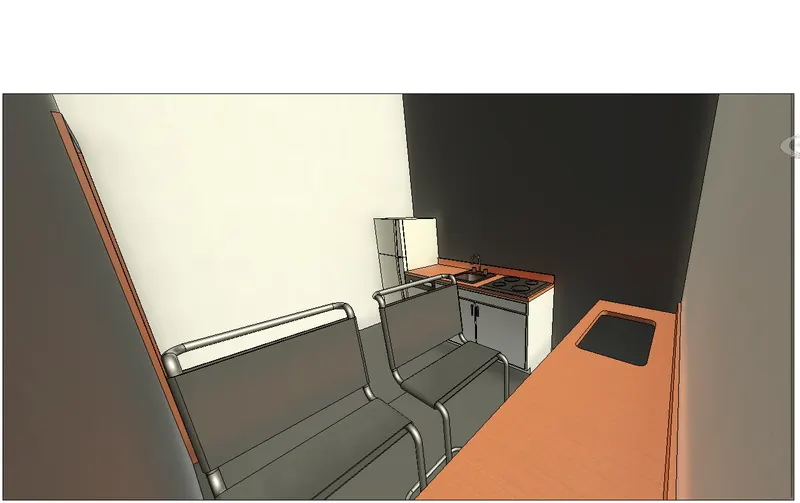
Result: All the desired element has been added to their respective places as per the requirements.