Introduction to REVIT concepts
- From the file menu, create a new project (Structural / Architectural / Construction template) and name the project appropriately.
AIM: To create a new project with an architectural template from the file menu.
Tools used:
- Revit software
- File menu
Procedure:
- First open Revit software and create a new project using File menu.
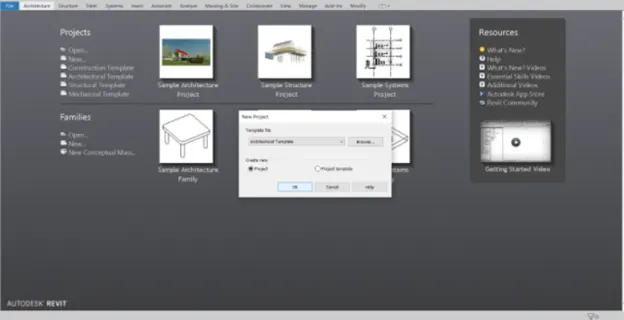
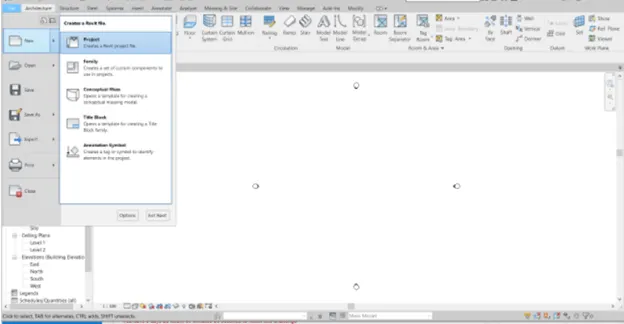
- Now click on the project in the menu.
3. Now choose the architectural template in the template file and click on ok.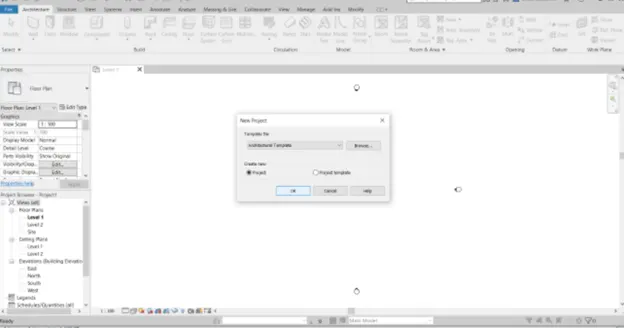
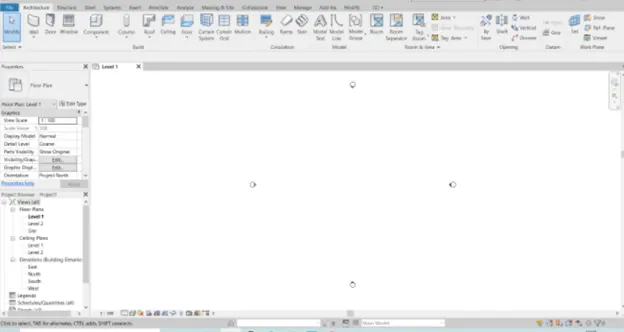
Result: A new file of the architectural template had been created using the file menu.
2. Save the new project file. Close and open using icons from the file toolbar.
AIM: To save the new project file created, close, and open using icons from the File menu.
Tools used:
- File menu
- Save
- Open
- close
Procedure:
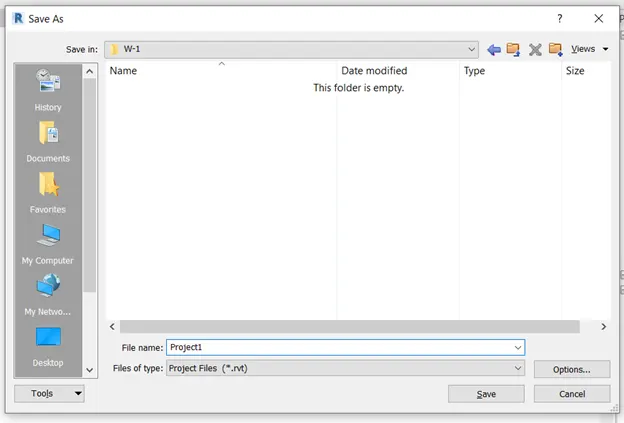
- Click on save in the file menu to save the project and save it at the appropriate location and name.
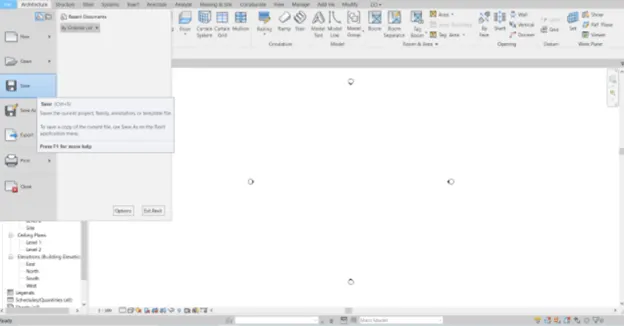
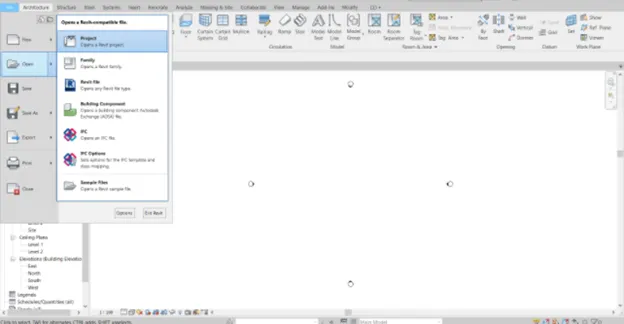
- To open the file, click open in the file menu go to the saved location and select the file to be opened.
- To close the opened file, click on the close option in the File menu.
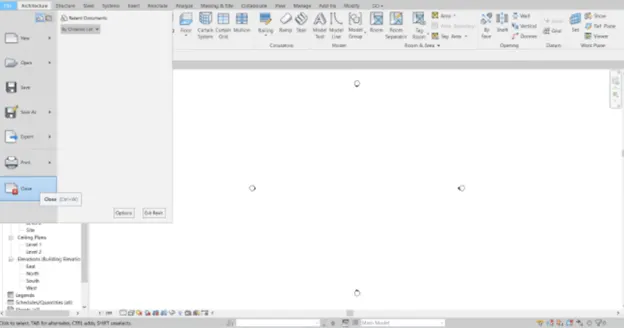
Result: The project files are saved opened and closed successfully.
3. From the architecture/ structure toolbar familiarize with options to draw a wall. Create a rectangular layout of walls of about 40’-0” X 35’-0”
AIM: to draw a wall using an architectural toolbar and to create a rectangular layout of walls about
40’ X 35’.
Tools used:
- Wall tool
- 3D view.
Procedure:
- Open the wall tool in the Architecture tab and choose the type of wall to draw.
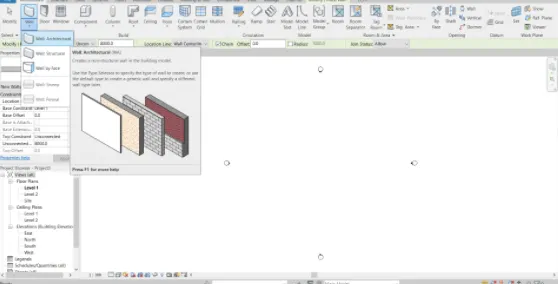
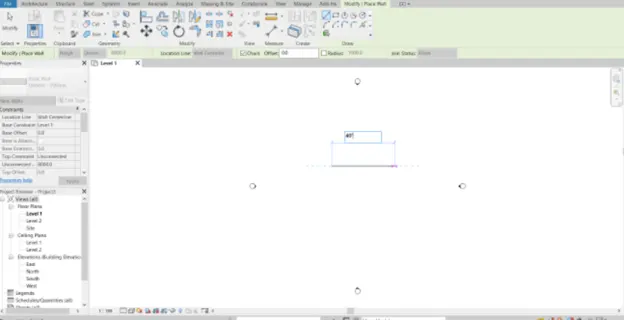
- Then select the first point to start the wall drawing in the drawing area, then type 40’ in the edit box then the 40’ wall will be created.
3. Proceed with a wall of 35’ perpendicular to the first wall and complete the rectangular wall layout.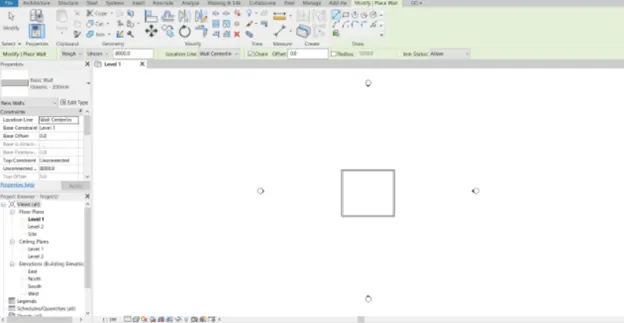
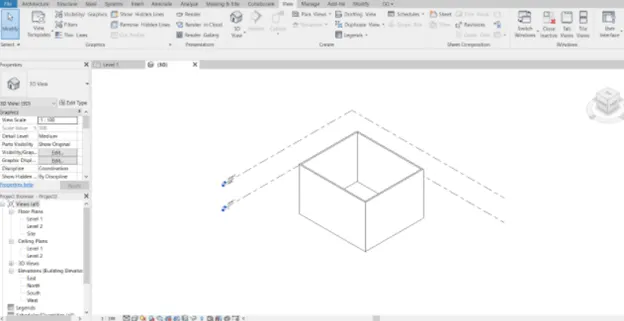
Result: The rectangular wall layout of 40’ X 35’ is created using the architectural wall. The 3D view of the layout is below.
4. From the Annotate toolbar use the aligned option to add dimensions to the layout.
AIM: To add dimensions to the layout using aligned dimensions from the annotate toolbar.
Tools used:
- Annotate tab
- Aligned Dimension
Procedure:
- In the above project of rectangular wall, layout add aligned dimensions to it.
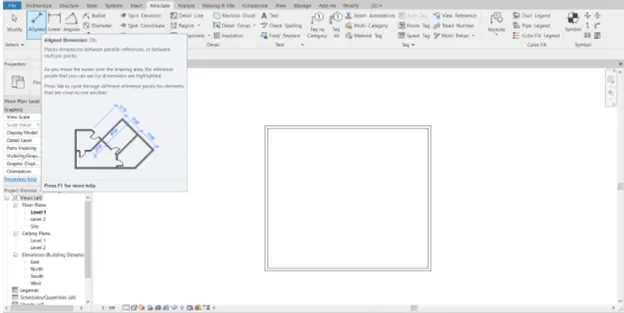
- Now, select the lines between which we need to get dimensions and click enter to get dimensions.
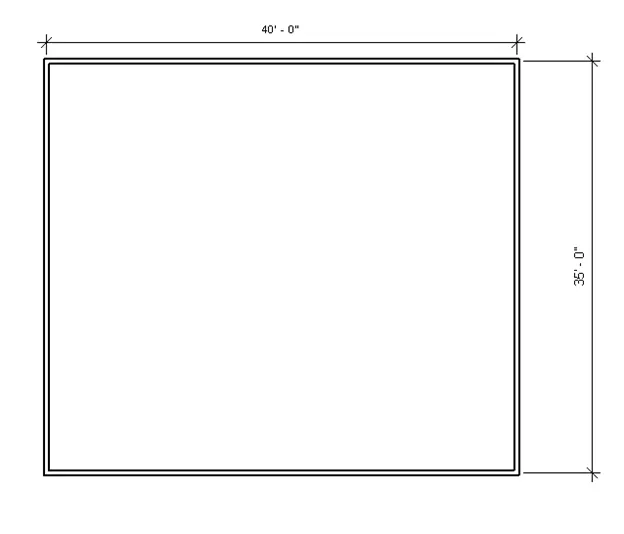
Result: By this, we had added the aligned dimensions to the layout.
5. Use the properties browser to switch to different wall types.
AIM: To switch to different wall types using properties palette.
Tools used: properties and type selector.
Procedure:
- Open the previous file and select a wall and click on the drop-down in properties type selector.
- Chose the required type of wall and click on enter.
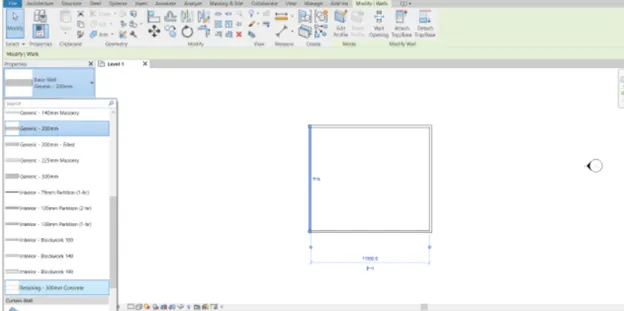
Result: The required change of wall type is done successfully.
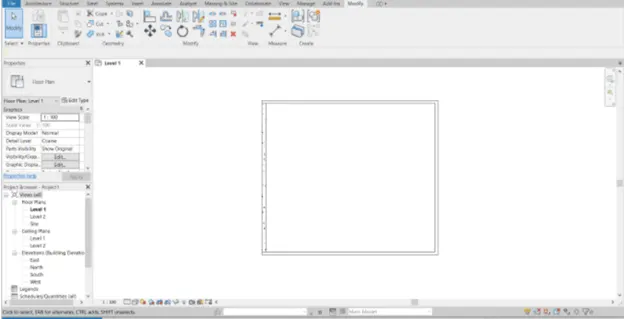
6. Create a 3D view from the view toolbar and save the view with the appropriate name.
Aim: To create a 3D view from the view toolbar and save the view with the appropriate name.
Tools used: 3D view in the view tab.
Procedure:
- Open the file which is created previously.
- In the view tab and click on 3D view and click enter.
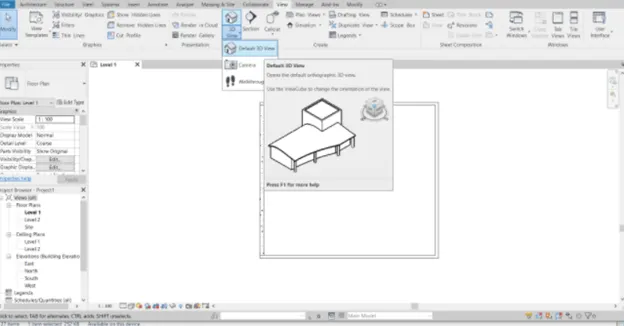
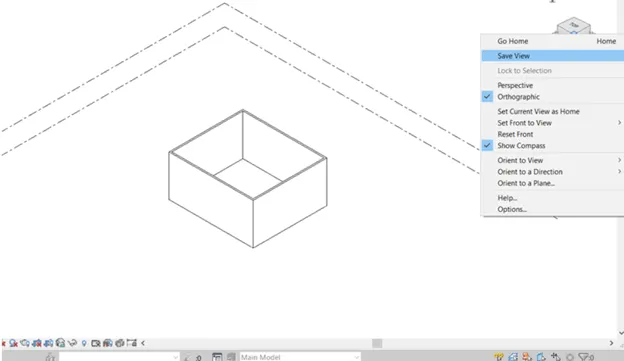
3. In the 3D view right-click on view cube and change the name as required.
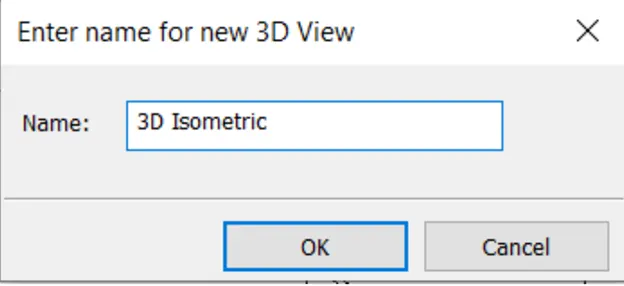
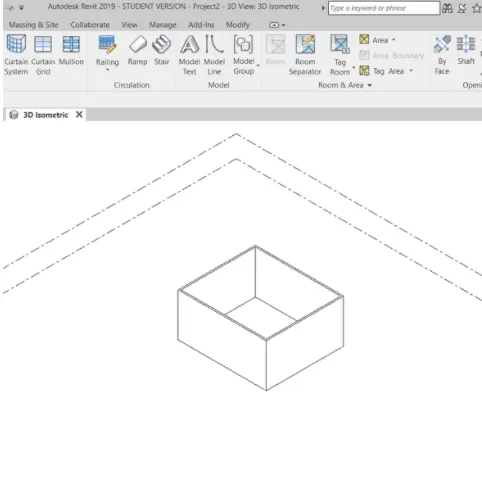
Result: The 3D view is created with an appropriate name, as shown below.
7. Navigate through the 3D model using the view cube. Orbit/pan through the model layout created.
AIM: To navigate through 3D view using view cube, orbit/pan throughout the model.
Tools used: 3D view, View cube
Procedure:
- Open 3D view of previously created file, move the cursor to view cube then hold the cube with curser, then rotate the view in different directions.
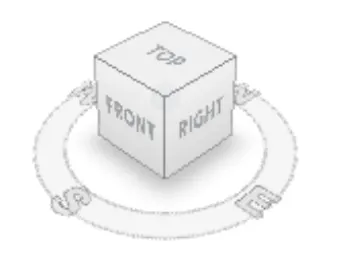
2. Use the view cube to rotate the 3D model by holding the view cube with the curser.
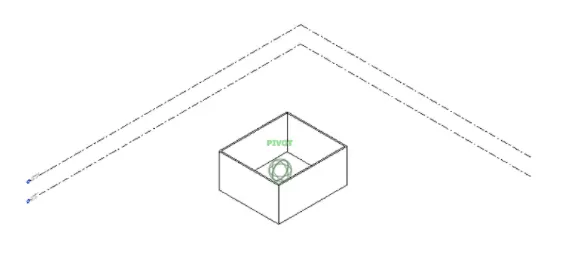
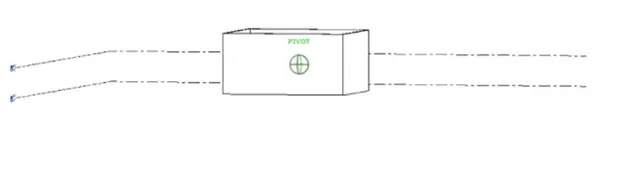
3. Open the 3D wheel at the right side of the screen as shown below,
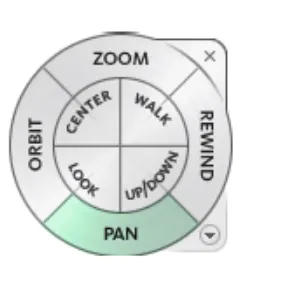
4. After opening the steering wheel we need to select the pan option then hold and move the 3D view to different positions.
Result: The 3D model is navigated using the view cube, orbit, and pan by holding the curser.
8. Use the visibility settings option below to switch the model to shaded, realistic, hidden lines options.
AIM: To use visibility settings option to switch model to different views like a shaded or realistic or hidden line.
Tools used: 3D view, Visual style option
Procedure:
- Open 3D view of the previous file.
- At bottom of Interface, there is a bar called view control bar in that the visual styles option will be there.
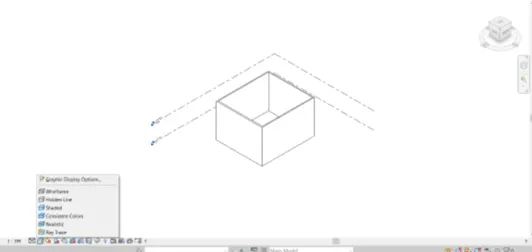
- There you can select the type of view to be visualized.
Results: The following views are created
Realistic view
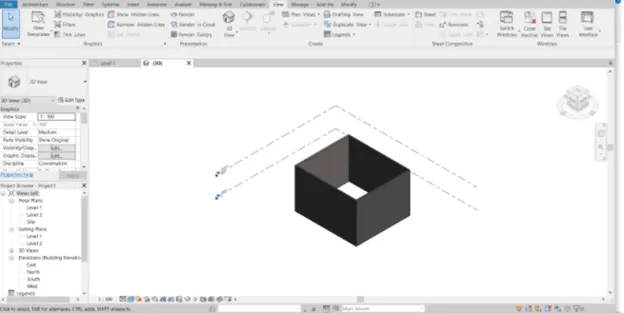
Shaded view
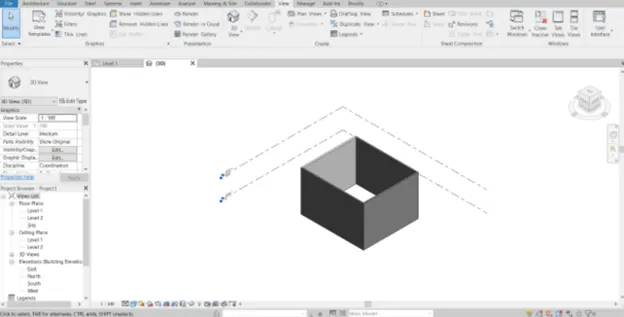
Hidden lines view
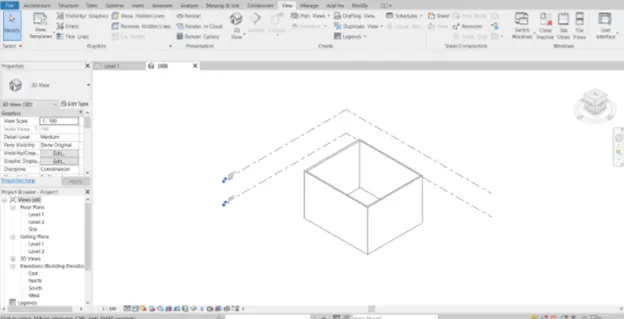
9. Turn the sun path on and off to view shadings in the layout created.
AIM: To turn the sun path on and off to view shadings in the layout.
Tools used: View control bar, sun path.
Procedure:
- Click on the sun path icon at the bottom of the interface and click on sun path on.
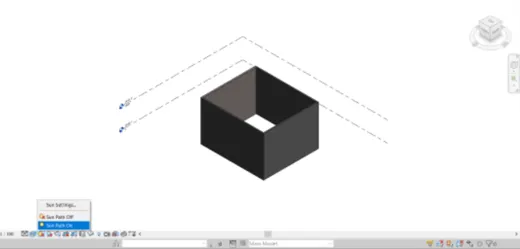
- Then the sun pat will appear on the screen.
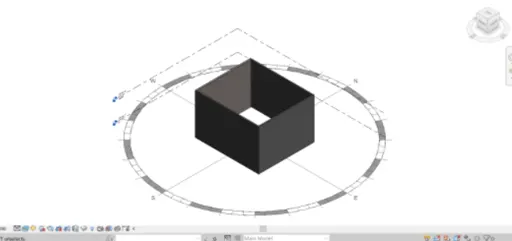
3. Similarly, to switch off the sun path click on sun path off.
Result: By proceeding with the above procedure, we can create a sun path to the model.
10. Use the Manage toolbar to enter project settings, project name, and project issue date (choose according to your convenience).
AIM: To use the manage toolbar to enter project settings, project name, and project issue date.
Tools used: Manage toolbar, project information tool
Procedure:
- Click on the manage toolbar and click on the project information tool icon under the settings panel.
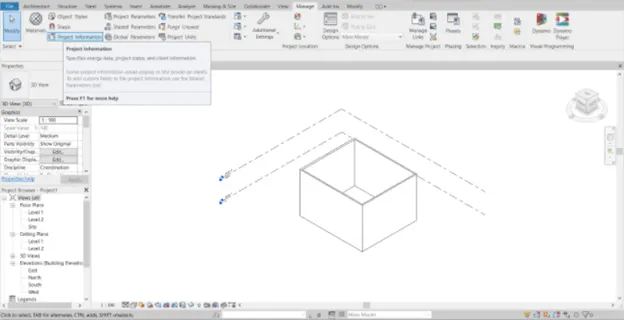
- Then a dialogue box will open and enter the name, issue date, etc., and click on ok.
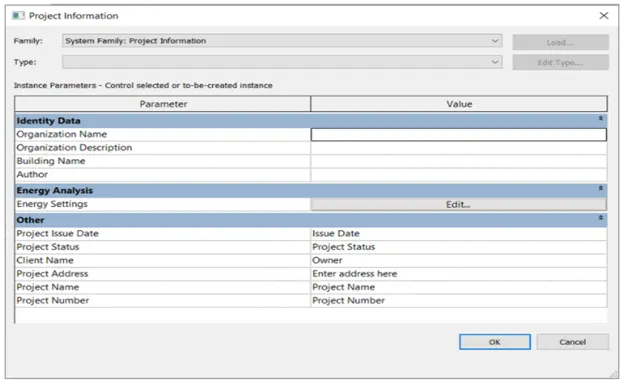
Result: By using the manage tab we had entered Project information like project name, issue date, etc.,
11. What is the Analyze toolbar used in Revit? How it is beneficial for design and modeling.
Ans: Analyze toolbar is helpful to do an analysis of the structural building. The boundary conditions help enable you to define point line and area boundary conditions in the analytical model. And to do energy analysis also to the structure.

We can add and edit the loads and load cases according to the considerations. We can combine load cases into combinations using the load combinations icon. The main purpose of the Revit to be used as an analysis is to evaluate the sustainability of the building that we model. So Revit offers a feature like creating the energy model of our project and then the energy analytical model.
12. What are the links that Revit supports to be linked to the model?
ANS: The links that support to link in the Revit are:

Link Revit, Link IFC, Link CAD, Link Image, Insert PDF, etc.,
Link Revit: This option allows to link another Revit model to the central model.
Link IFC: To link IFC file to the current model to get additional information to design work.
Link CAD: To link the 2D CAD file to the current model for reference to create a 3D model.
13. Why do you need the Collaborate tab in Revit? How it supports modeling and its efficiency.
ANS: Understanding the importance of real-time coordination between MEP engineers, architects, and construction managers means taking advantage of software tools that exist on the market today. Luckily Revit has been designed with collaboration in mind, by including powerful and efficient tools that make communication between disciplines understandable and easy.
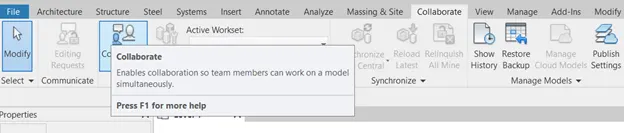
Revit provides several different ways to collaborate with team members who are also doing the work on the same project.
- You can link multiple Revit models together, allowing team members to work in context.
- Through work-sharing users on the same LAN can work together in the same Revit model.
- When users are not in the same geographic location use Revit cloud work sharing.