Introduction to REVIT concepts
1) From the file menu, create a new project (Structural / Architectural / Construction template ) and name the project appropriately
Procedure:-
- open the revit application.
- Now go to the file menu.
- Now select the (New > Project)
- Now select the templet (Architectural/structural)
- then select create new project.
- hence new project is created.
-------------------------------------------------------------------------------------------------------------------------------------
2) Save the new project file. Close and open using icons from file toolbar
Procedure:-
- Go to the file menu
- Then select Save then enter the name of the file you want to give.
- then press save button on the opened window.
- Hence the file is saved.
-----------------------------------------------------------------------------------------------------------------------------------
3) From the architecture/ structure toolbar familiarize with options to draw a wall. Create a rectangular layout of walls of about 40’-0” X 35’-0".
Procedure:-
- Select Architectural/Structural wall tool from the tool bar.
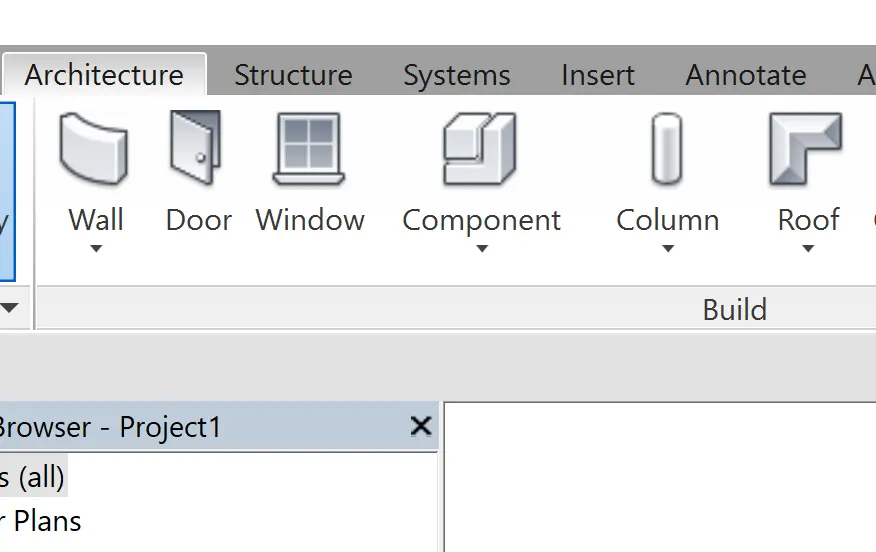
- Now after selecting the wall option (Modify/ Place wall) option will appear.
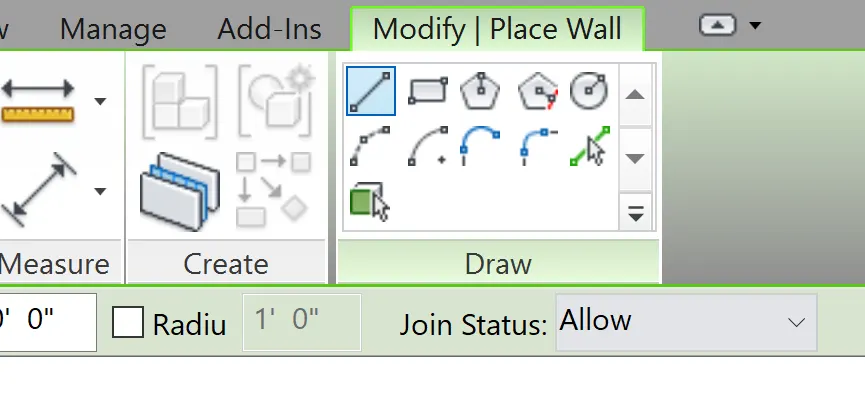
- Now line option is selected so now draw using line option
- Now for the wall of 40' x 35' put the line in the positive X direction and enter the length of the wall as 40'.
- Now put the line in the negative Y direction and enter the length of the wall as 35'.
- Now put the line in the negative X direction and enter the length of the wall as 40'.
- Now put the line in the positive Y direction and enter the length of the wall as 35'.
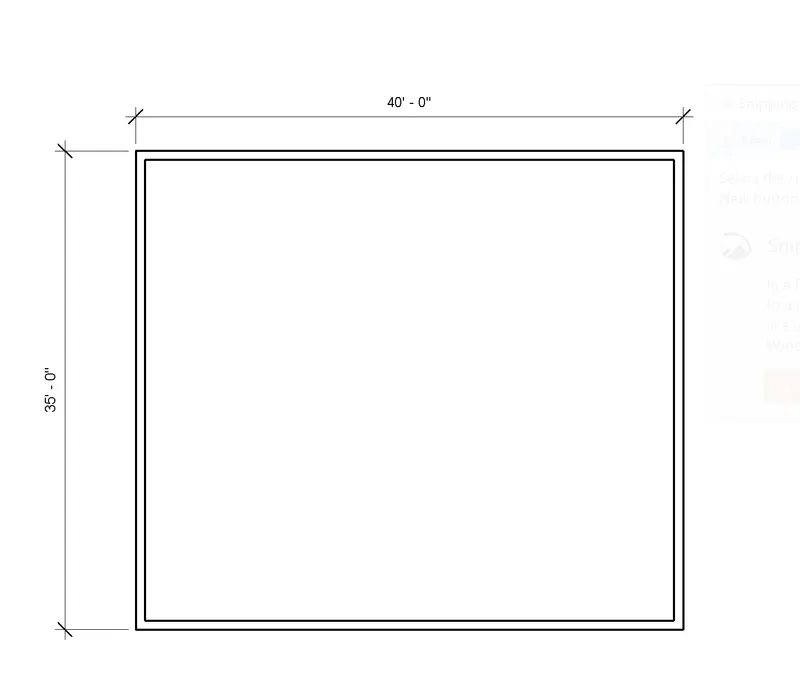
- hence the rectangular layout of the wall is created of size 40' X 35'.
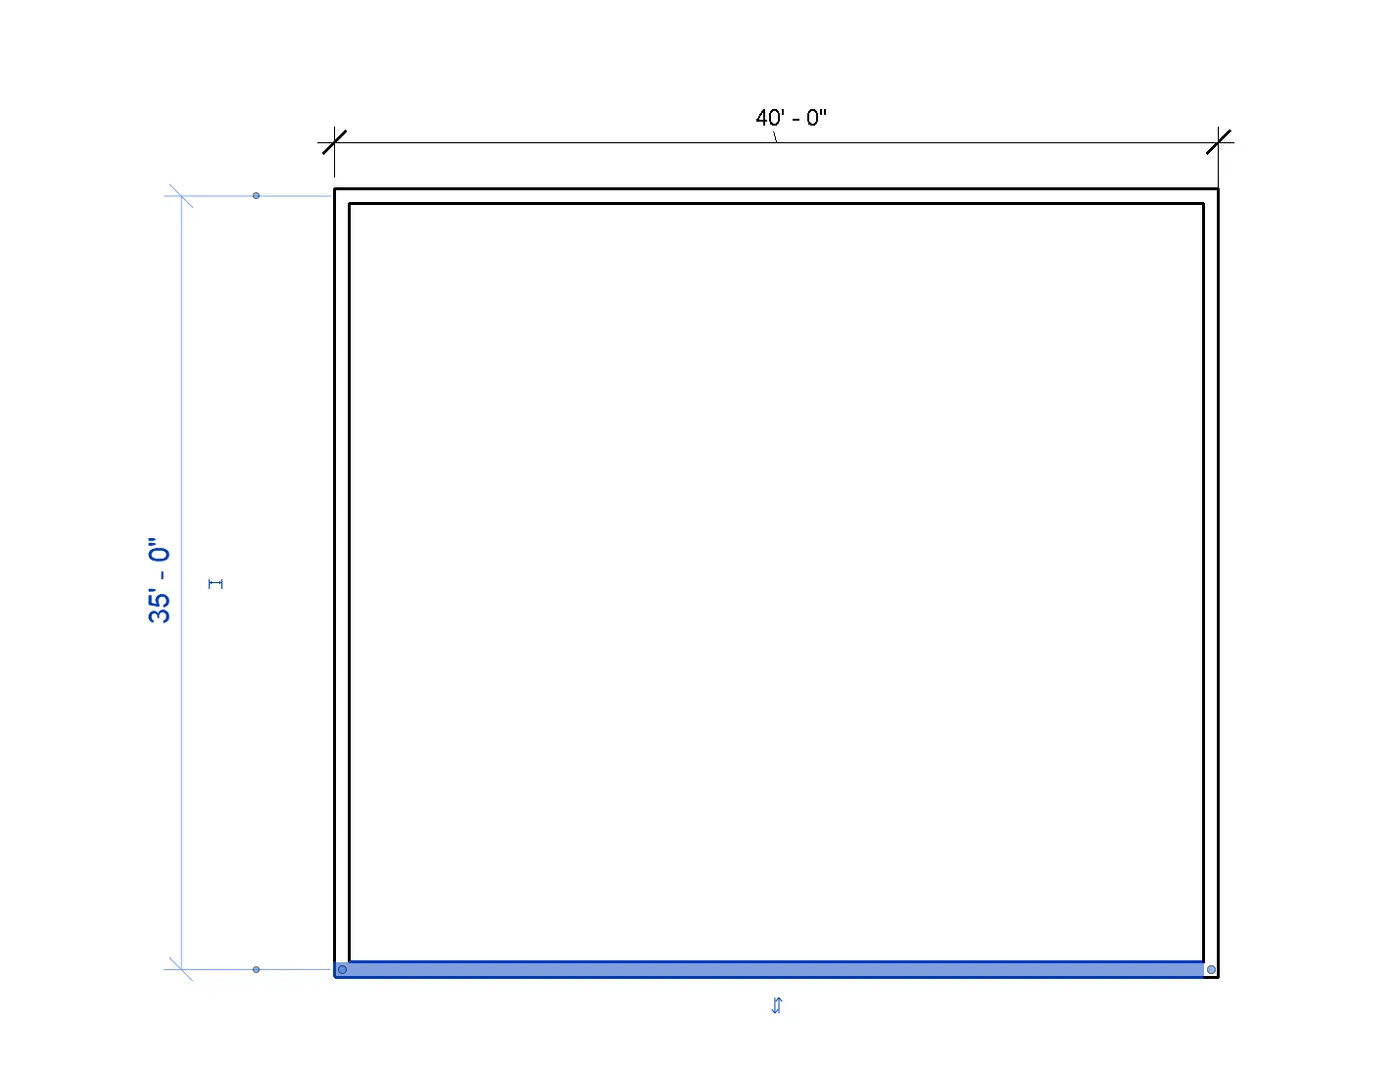
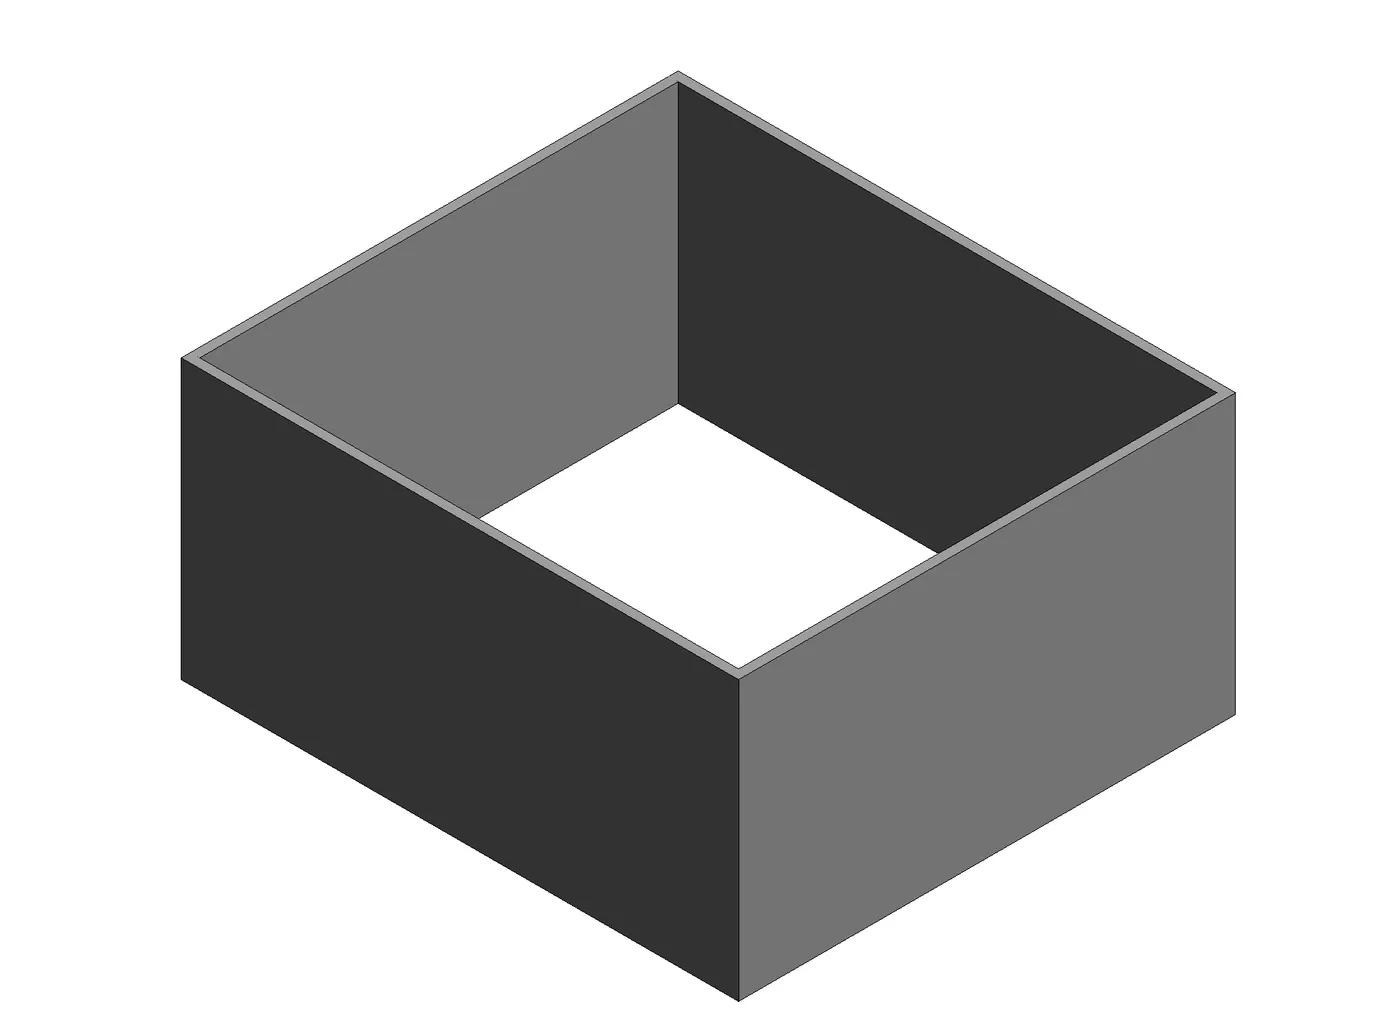
-------------------------------------------------------------------------------------------------------------------------------
4) From the Annotate toolbar use the aligned option to add dimensions to the layout
Procedure:-
- First take a layout to be annoted.
- Now go to the annotate toolbar and select aligned option for the dimension.
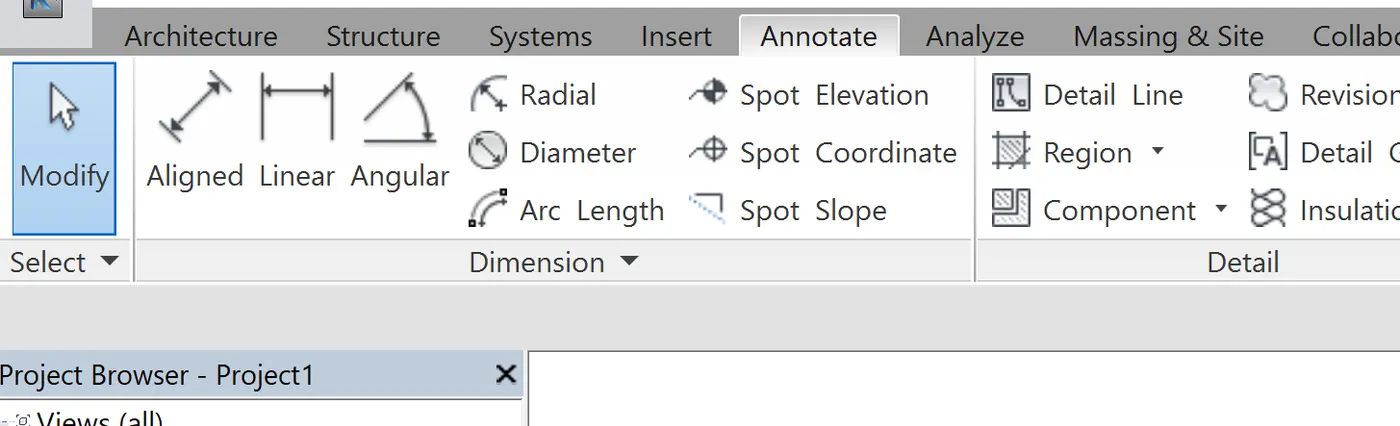
- Now select the aligned option then select the wall faces to show the dimensions from face to face.
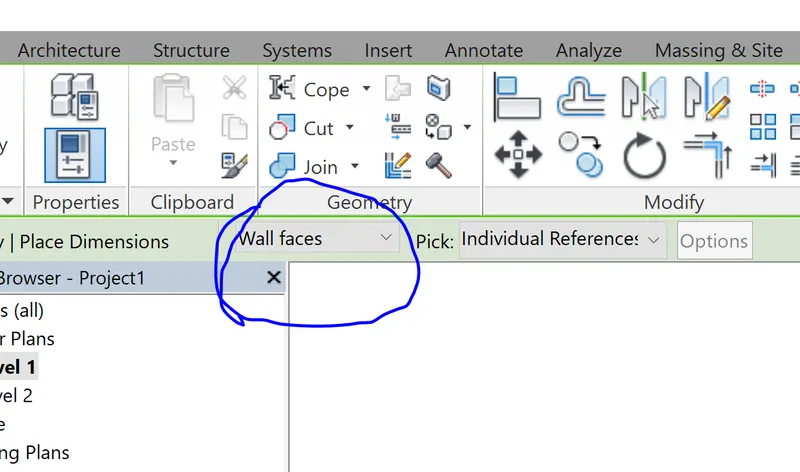
- Now select the two faces of the wall between which dimwnsion is to be found
- hence the aligned dimension is found.
---------------------------------------------------------------------------------------------------------------------------------
5) Use the properties browser to switch to different wall types
Procedure:-
- For the switching of the wall type properties browser is used.
- so click on the wall of which the type is to be changed.
- When the wall is selected in the properties wall types are shown.
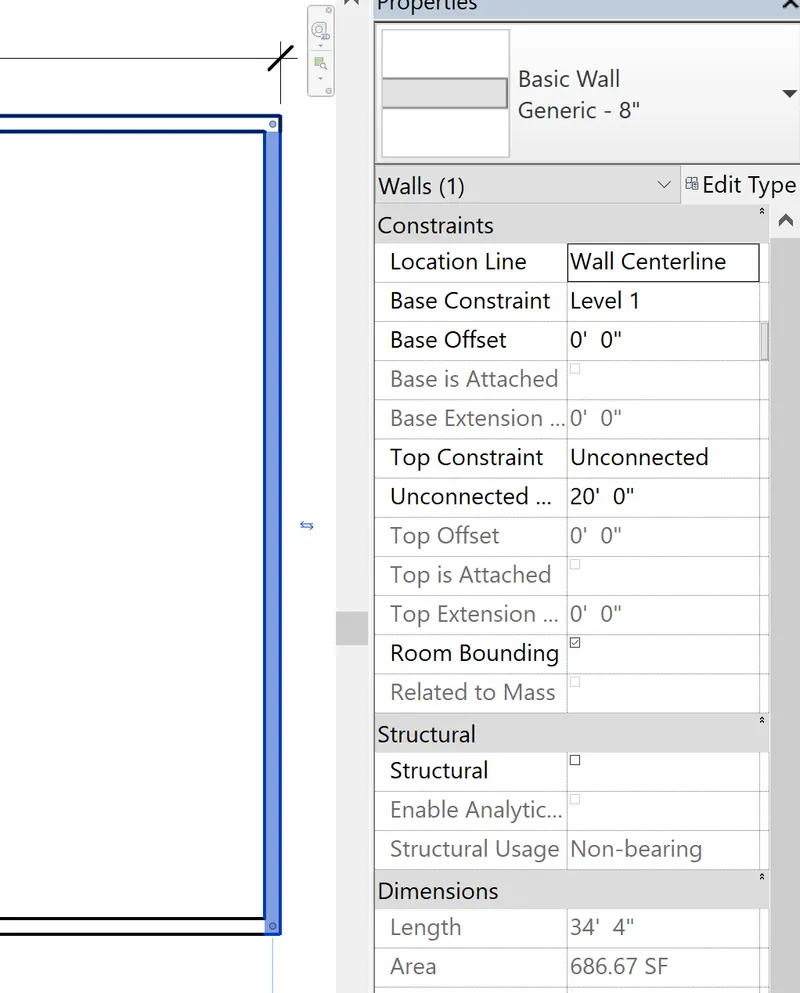
- Now select any wall type of requirement and the wall type will be changed.
-----------------------------------------------------------------------------------------------------------------------------------
6) Create a 3D view from the view toolbar and save the view with the appropriate name
Procedure:-
- For the 3D view go to the view toolbar.
- In the view tool bar 3D view icon is shown press that icon and 3D view will appear.
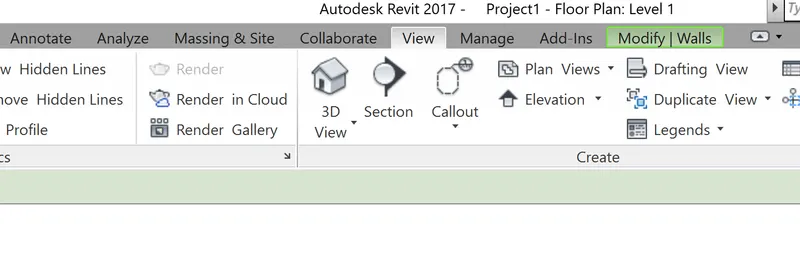
- Now after 3d view is generated save the drawing.
---------------------------------------------------------------------------------------------------------------------------------
7) Navigate through the 3D model using the view cube. Orbit/pan through the model layout created
Procedure:-
- For using the navigate tool go to the 3D view option.
- Then select the orbit tool from the navigation button which is usually in the top right of the workplane.
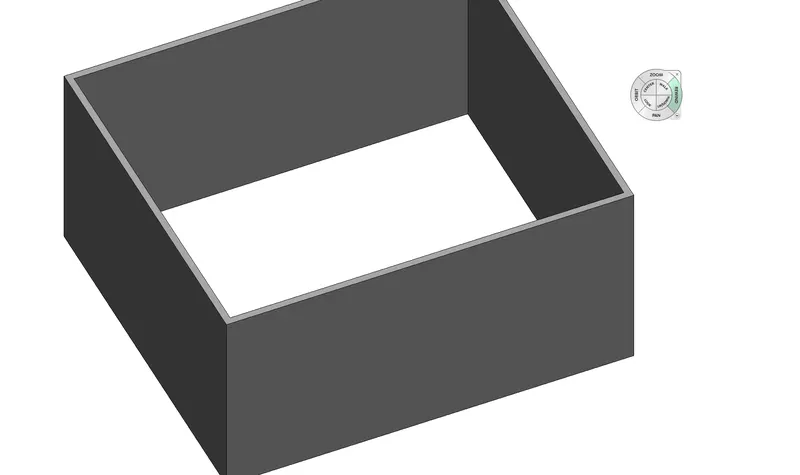
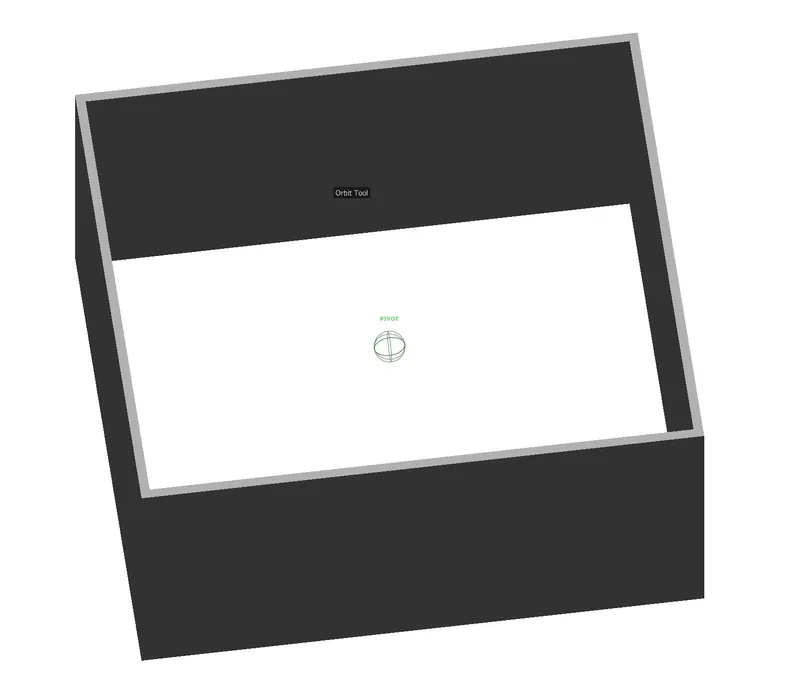
- Then select the pan option from navigation tool to pan the drawing.
--------------------------------------------------------------------------------------------------------------------------------
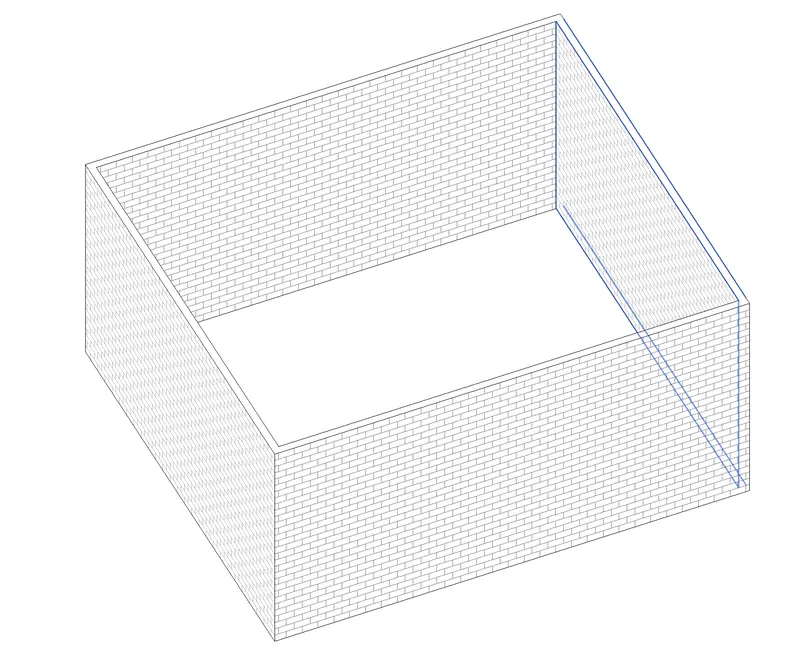
8) Use the visibility settings option below to switch model to shaded, realistic, hidden lines options
Procedure:-
- Visibility setting is used to change the visibility of the 3d object.
- it can be shaded , realistic , wireframe, hiddenline etc.
- to change the visibility at the bottom line Visual styles option is given.
- Different visiual styles are as shown.
- Shaded.
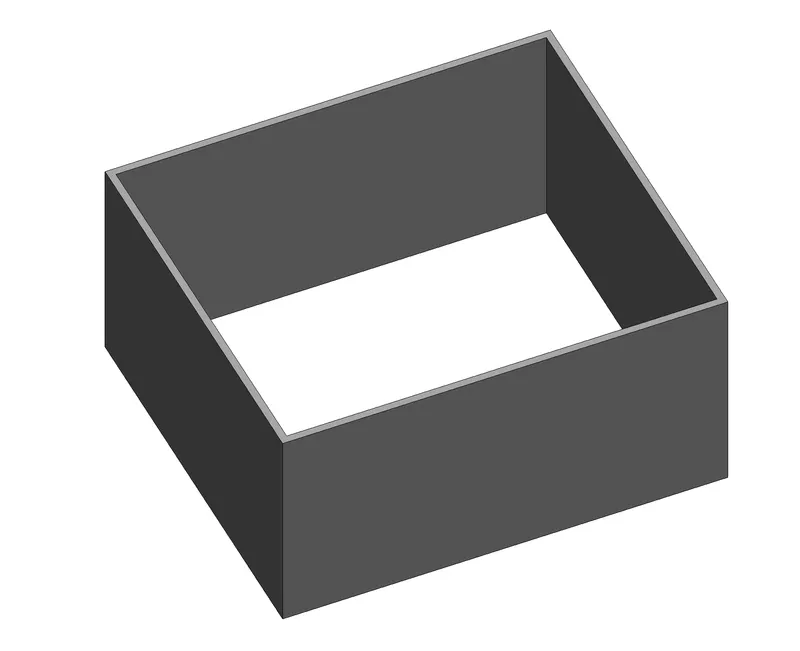
- Realistic.
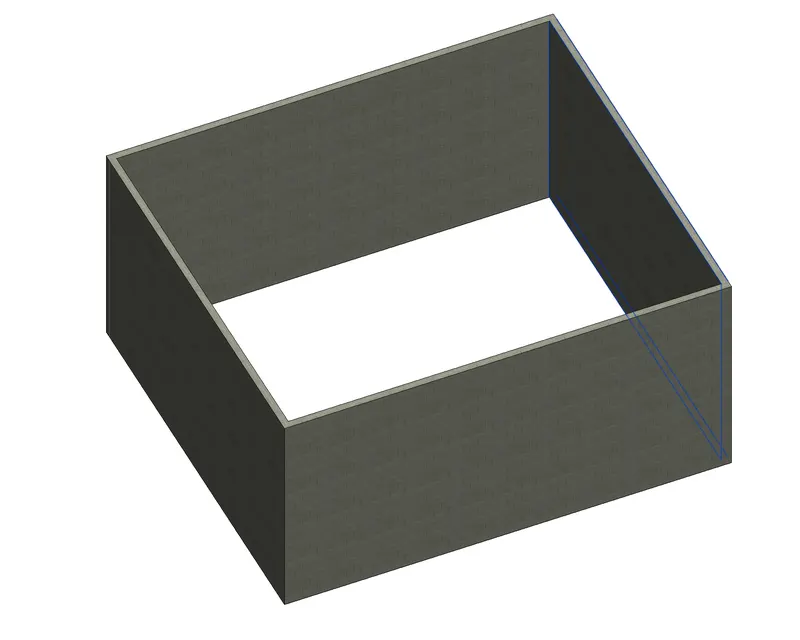
- Hidden lines.
----------------------------------------------------------------------------------------------------------------------------------
9) Turn the sun path on and off to view shadings in the layout created
Procedure:-
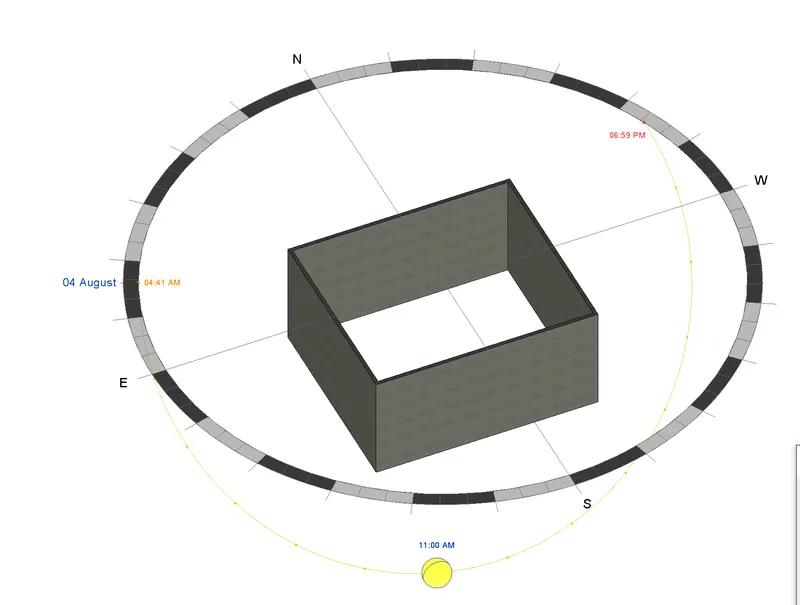
- To turn the sunpath on and off there is a option called sunpath at the botom of the work plane.
- Sunpath can be done on and off by that option.
- The sunpath for the current location ois shown in the example.
- It shows the current position of the sun to the buildingat the given location.
- It also shows the shadows created due to the sun at the desired location.
-------------------------------------------------------------------------------------------------------------------------------
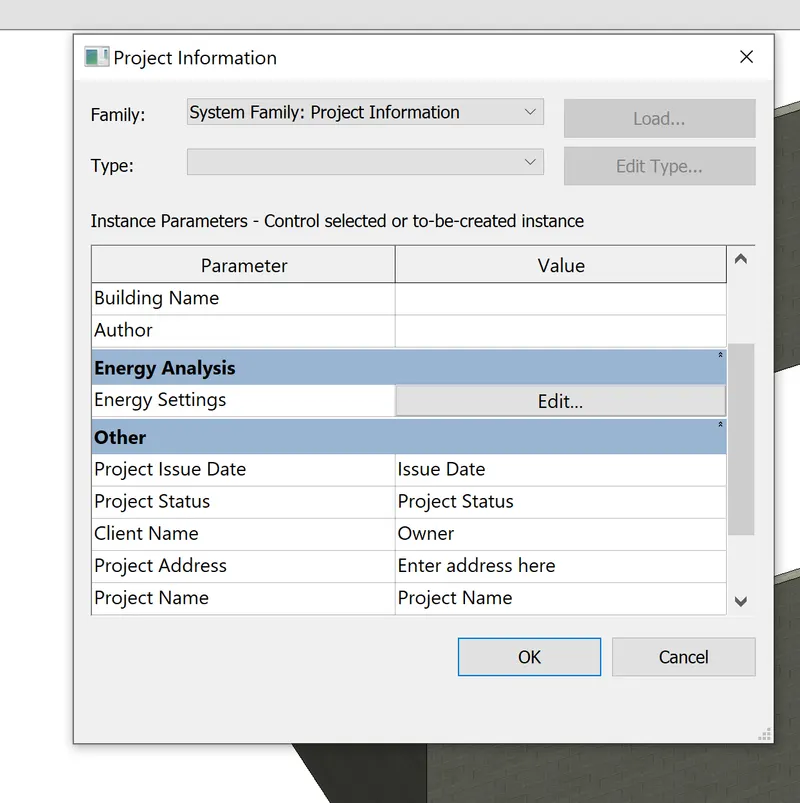
10) Use the Manage toolbar to enter project settings, project name, and project issue date
Procedure:-
- For the above programe go to manage toolbar and select "Project information".
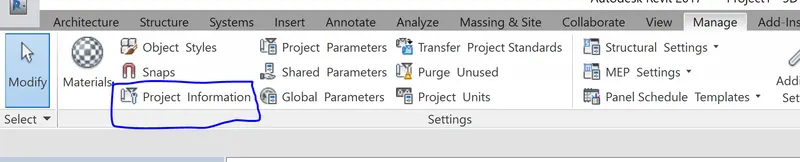
- Now click on the project information and then the dialogue box will appear in which the all the important data like project settings, project name, and project issue date are entered.
------------------------------------------------------------------------------------------------------------------------------------
11) What is the Analyze toolbar used in Revit? How it is beneficial for design and modeling
- Analyse tab in revit is used for detailed analysis of the structures/layouts.
- It is beneficial for design and analysis as it is done in the real time it saves the time and it is software base analysis of the original design and shape so it is also cost effective .

----------------------------------------------------------------------------------------------------------------------------------
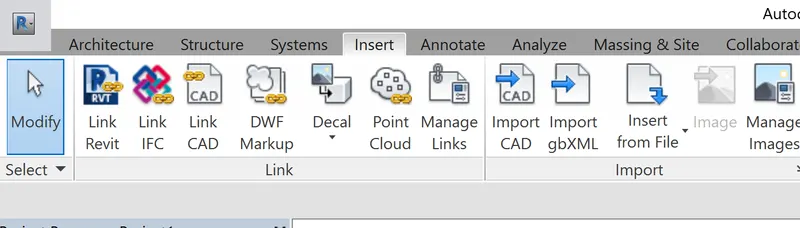
12) What are the links that Revit supports to be linked to the model?
- Revit supports the following links.
- Link revit.
- Link CAD
- Link IFC
- Topography
- Images for decal texture. etc.
-------------------------------------------------------------------------------------------------------------------------------
13) Why do you need the Collaborate tab in Revit? How it supports modeling and its efficiency
- With the help of the collaborate tab we can use revit in the multiple devices at the same time working on the same project
- If in one change is done all the devices will receive the changes as this is helpfull for the big projects and furthur communication is not needed.
- It also shows the history and the records of the changes done and by which operator.
