Introduction to REVIT concepts
1.) AIM :From the file menu, create a new project (Structural / Architectural / Construction template ) and name the project appropriately.
INTRODUCTION : we are using REVIT software and screenshots of every procedure to getting our aim.
PROCEDURE :
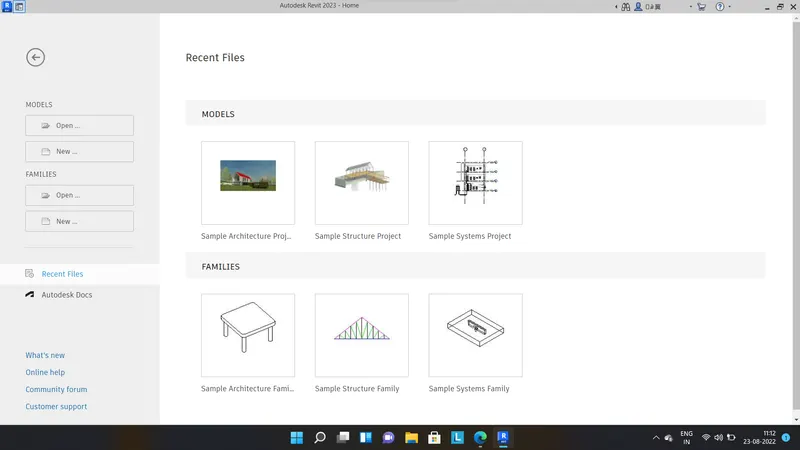
- first open revit software,then open first user interface.
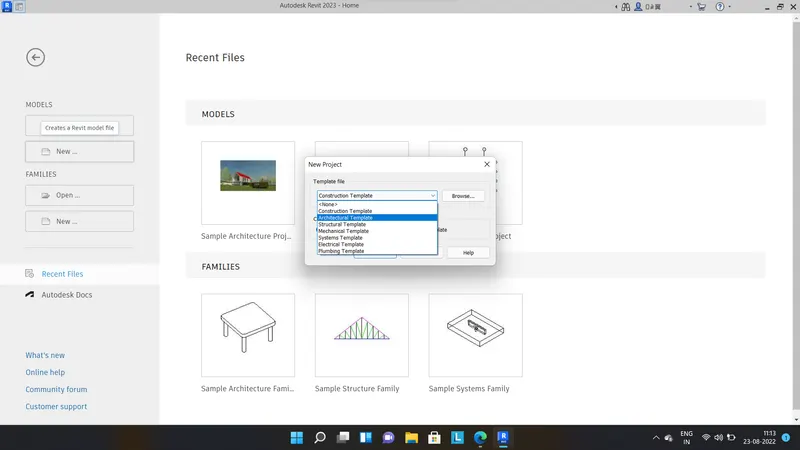
- then open new tab ,and choose architectural template
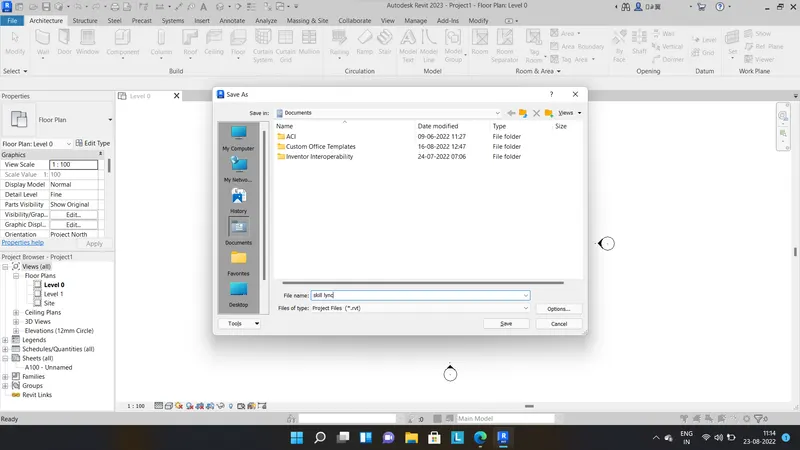
- then go to file menu,save file and choose destination file location and name it and save it.
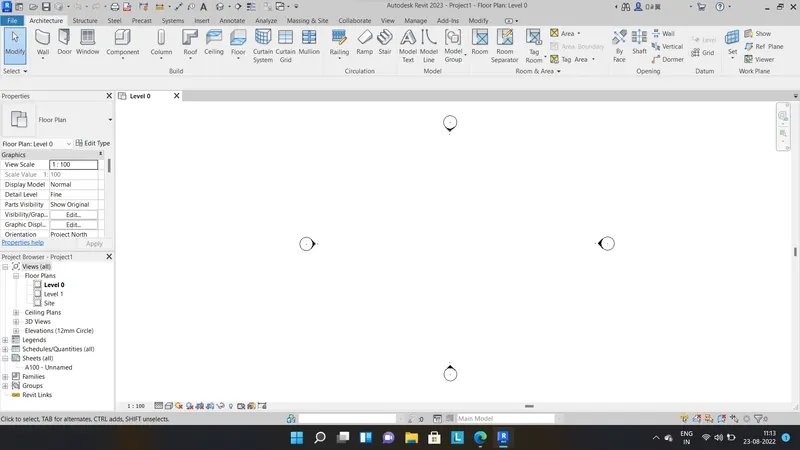
Result :
======================xx===================
2.) AIM : Save the new project file. Close and open using icons from file toolbar.
INTRODUCTION : we are using REVIT software and screenshots of every procedure to getting our aim.
PROCEDURE :
- first open revit software and create new file and name it
then go to file and choose close option
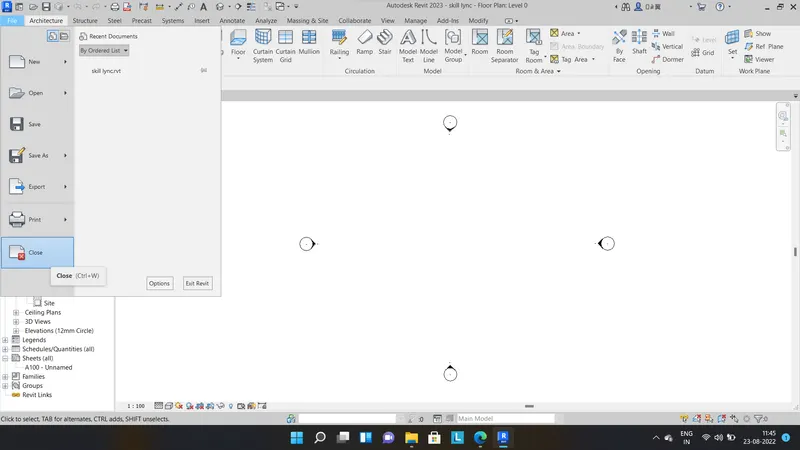
after that go to open option and choose the file you want to open.
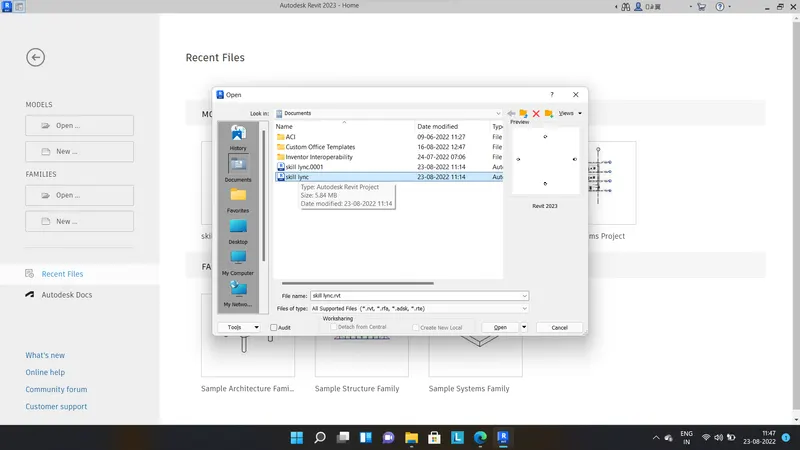
RESULT :
==================xxxxx====================
3.)AIM : From the architecture/ structure toolbar familiarize with options to draw a wall. Create a rectangular layout of walls of about 40’-0” X 35’-0”
INTRODUCTION : we are using REVIT software and screenshots of every procedure to getting our aim.
PROCEDURE :
- first create new file and set the unit in feet/inches
- after that go to wall option and choose which wall u want to choose
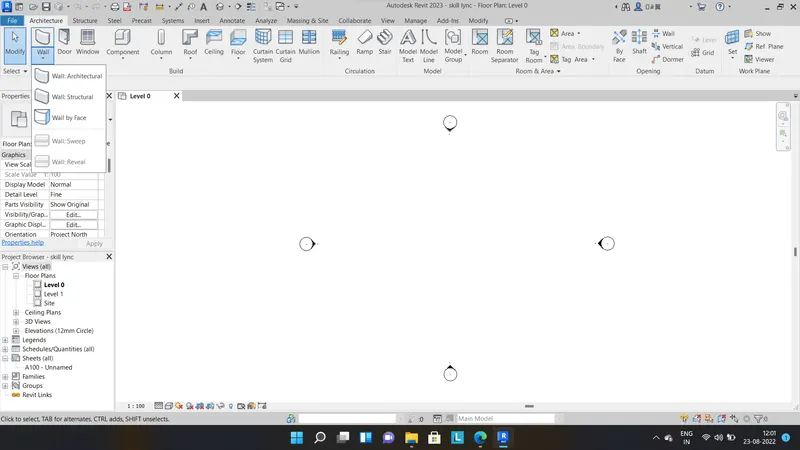
- draw wall 40'x30'
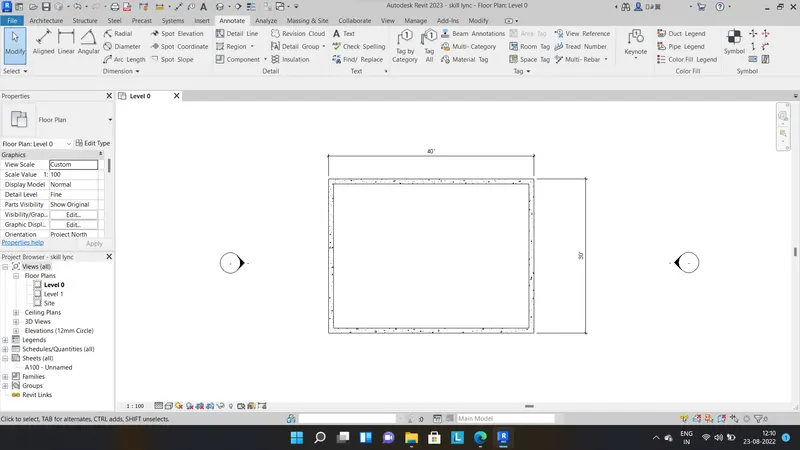
RESULT :
4.) AIM : From the Annotate toolbar use the aligned option to add dimensions to the layout
INTRODUCTION : we are using REVIT software and screenshots of every procedure to getting our aim.
PROCEDURE :
- first create small layout
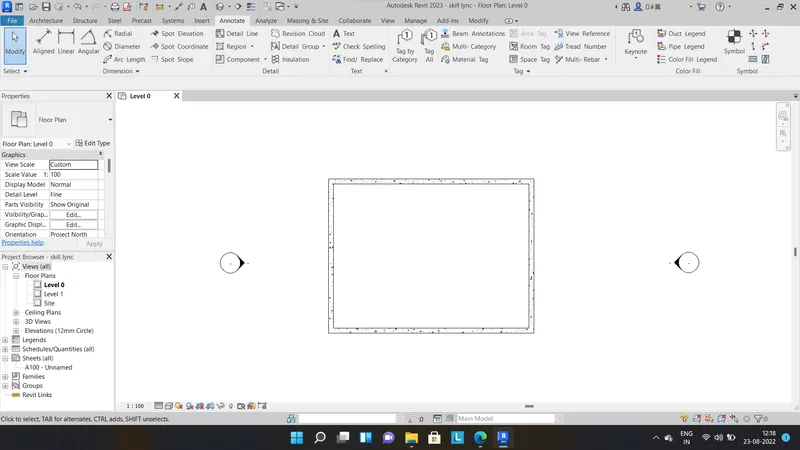
- then go to annotate tab and choose aligned tool bar and add dimensions to rectangular layout
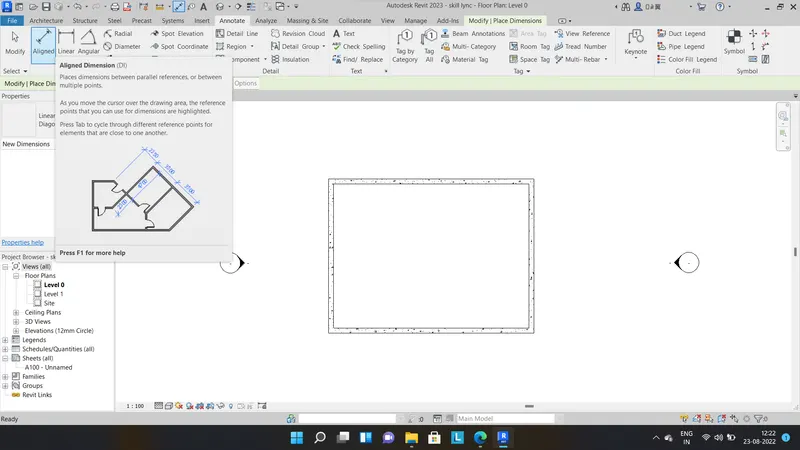
RESULT:
5. ) AIM : Use the properties browser to switch to different wall types.
INTODUCTION :we are using REVIT software and screenshots of every procedure to getting our aim.
PROCEDURE :
- first create rectangular wall and select one of the created wall.
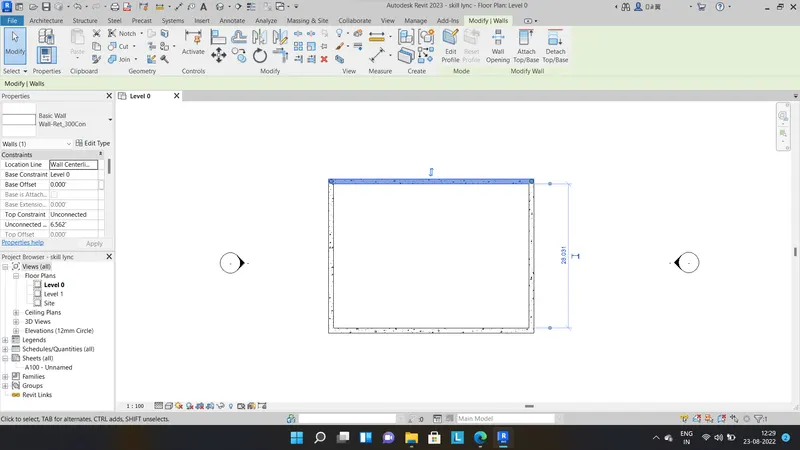
- now go to properties broser to choose the the types of wall.
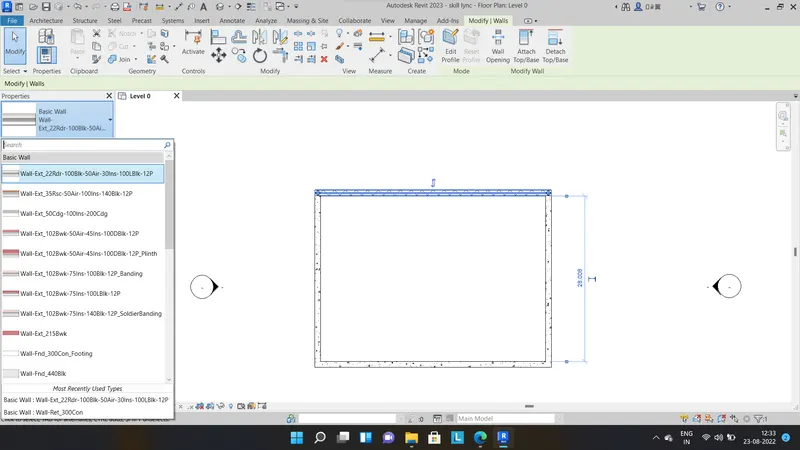
RESULT :
6. )AIM : Create a 3D view from the view toolbar and save the view with the appropriate name
INTODUCTION :we are using REVIT software and screenshots of every procedure to getting our aim.
PROCEDURE :
- first create rectangular layout
- after that go to view toolbar and go to 3D view
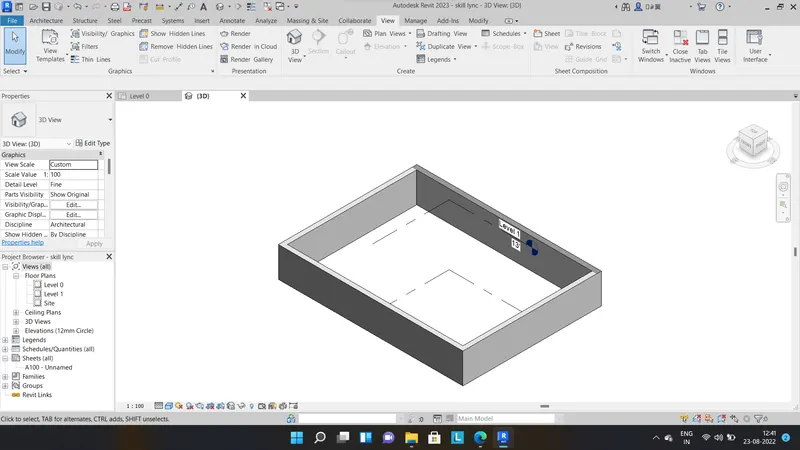
- now save this view. for that right click on mouse and click on save view and name it.
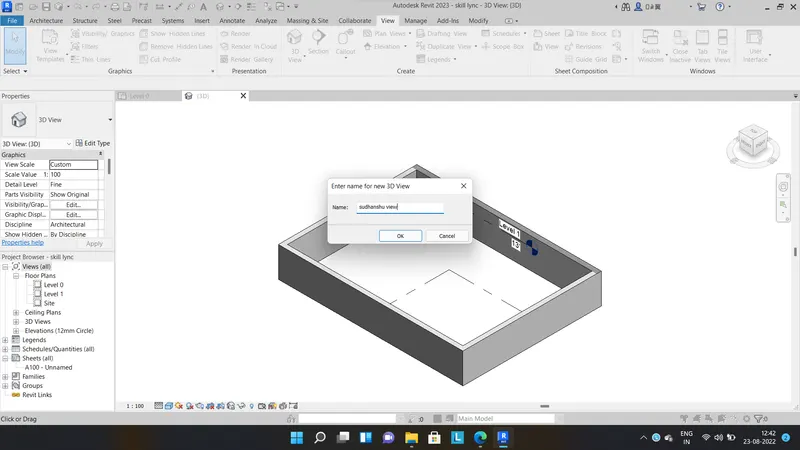
RESULT : here is saved view.
7.)AIM : Navigate through the 3D model using the view cube. Orbit/pan through the model layout created.
INTRODUCTION :we are using REVIT software and screenshots of every procedure to getting our aim.
PROCEDURE :
- first create 3D model
- now navigate the 3D model using view cube. with the use of view cube , we can view different elevation such as front,back,left,right and bottom and different isomatric view
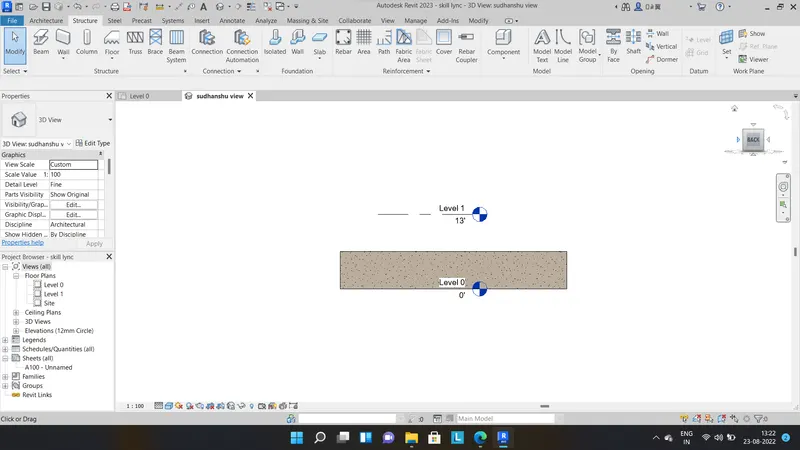
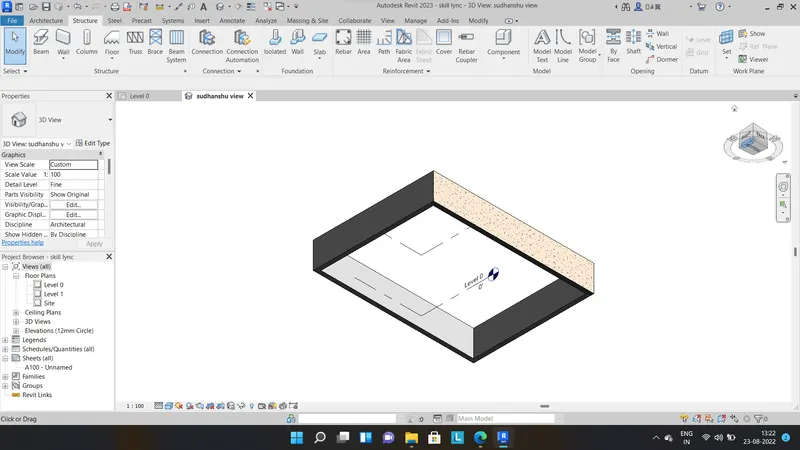
- now orbit the 3D view using orbit navagation bar and pan the 3D view using navagation bar
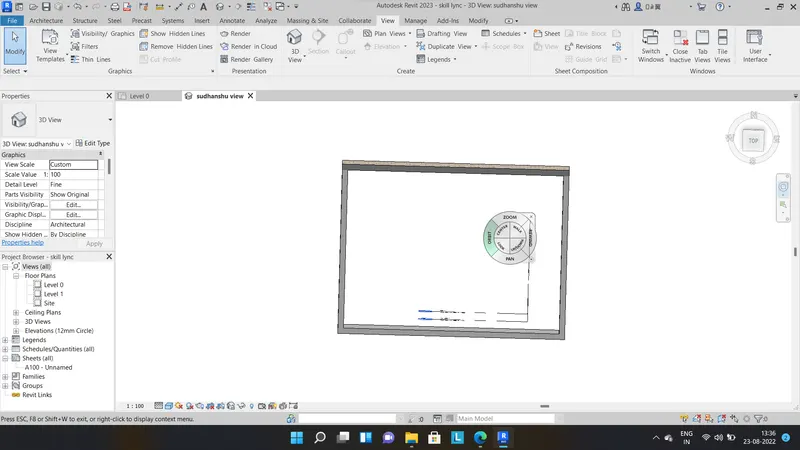
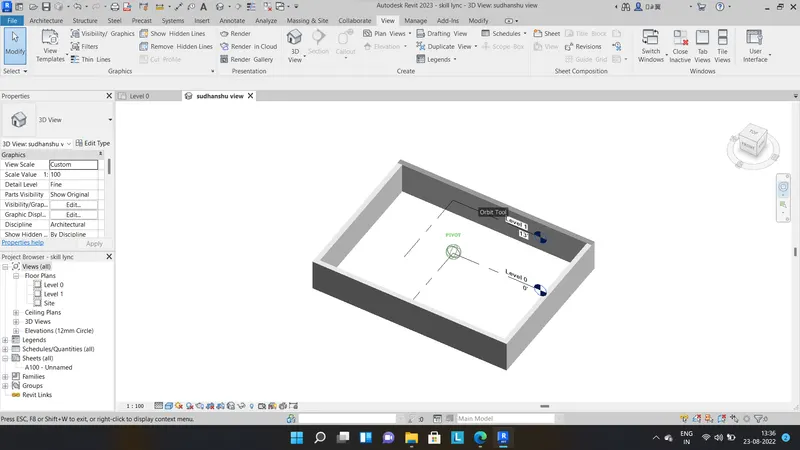
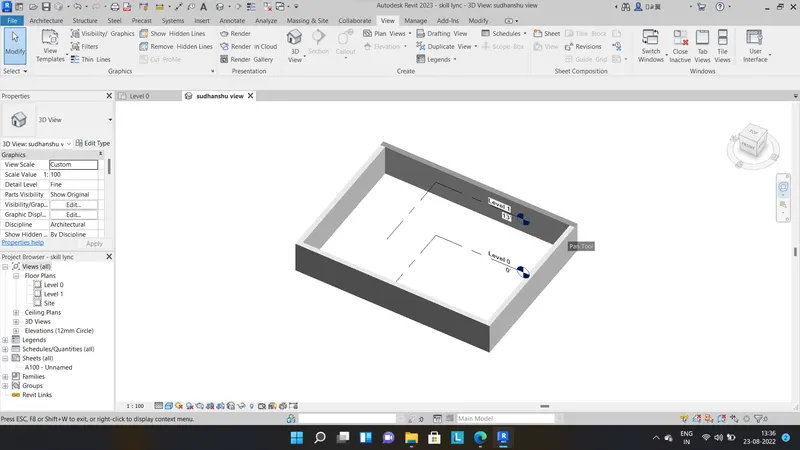
RESULT :
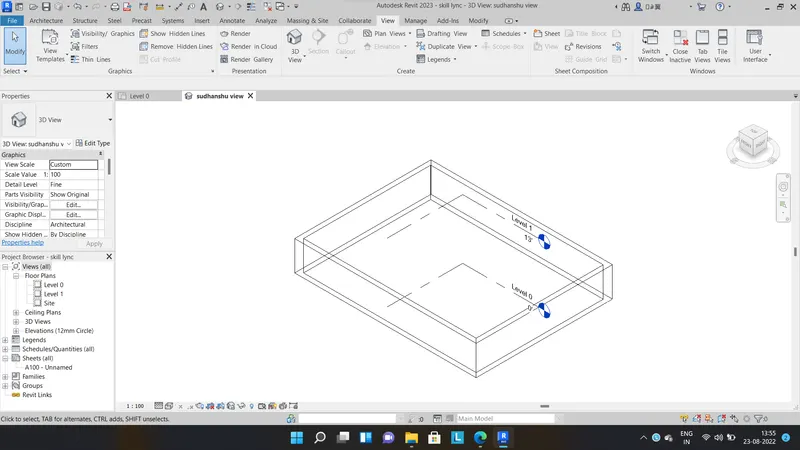
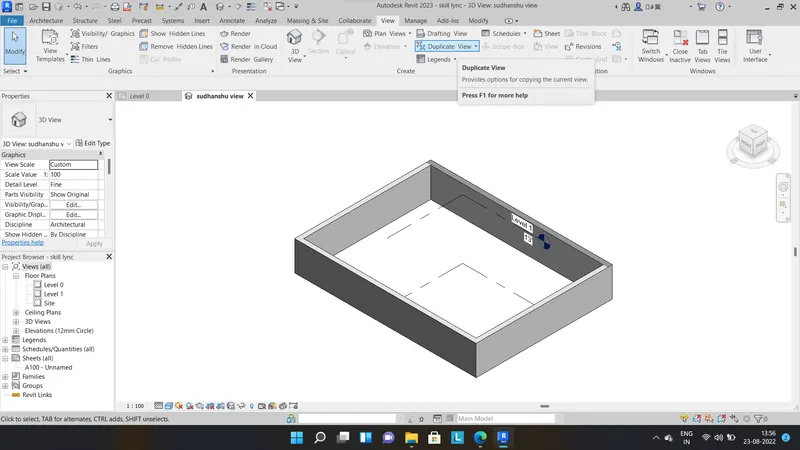
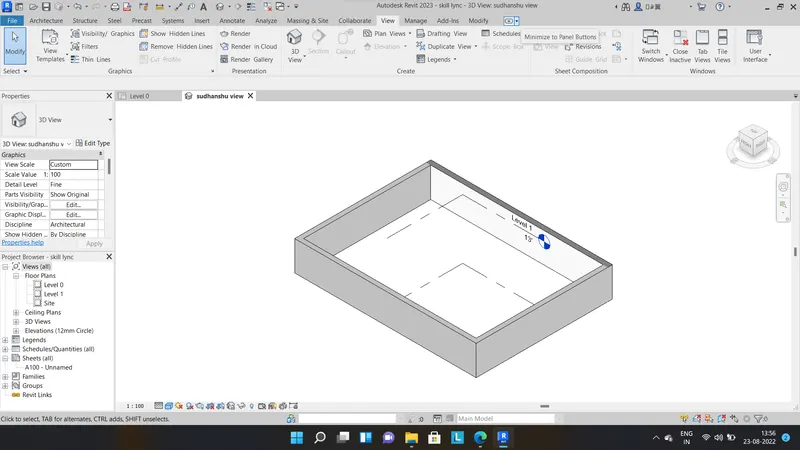
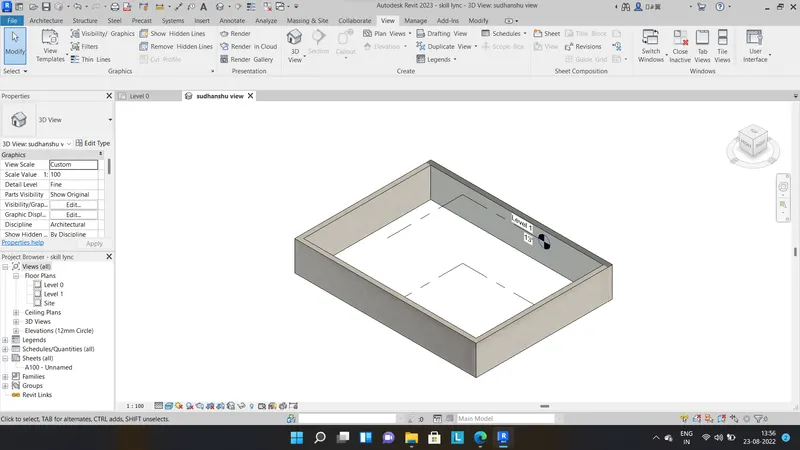
8.)AIM :Use the visibility settings option below to switch model to shaded, realistic, hidden lines options
INTRODUCTION :we are using REVIT software and screenshots of every procedure to getting our aim.
PROCEDURE :
- first create 3D model and then go to visibility setting option to show different types of moel such as shaded, relastic ,wireframe and hidden lines.
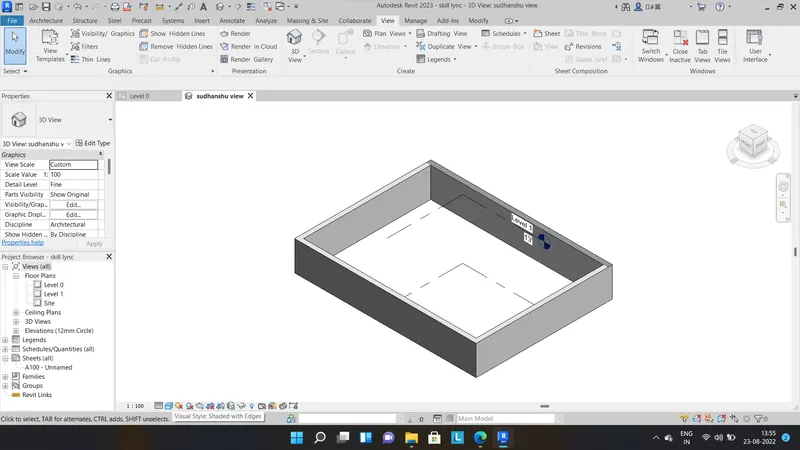
wireframe model
- shaded model
- colour consistency
- realistic model
RESULT :
9.)AIM : Turn the sun path on and off to view shadings in the layout created.
INTRODUCTION : we are using REVIT software and screenshots of every procedure to getting our aim.
PROCEDURE :
- first create 3D model
- now go to sun path option
now choose sun path on
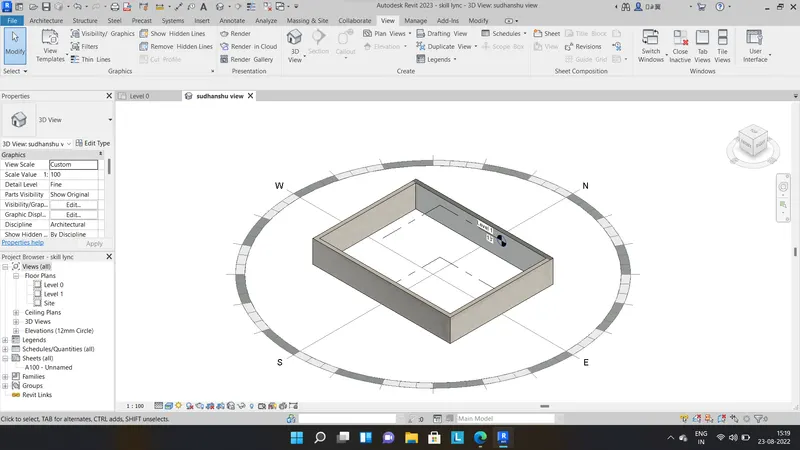
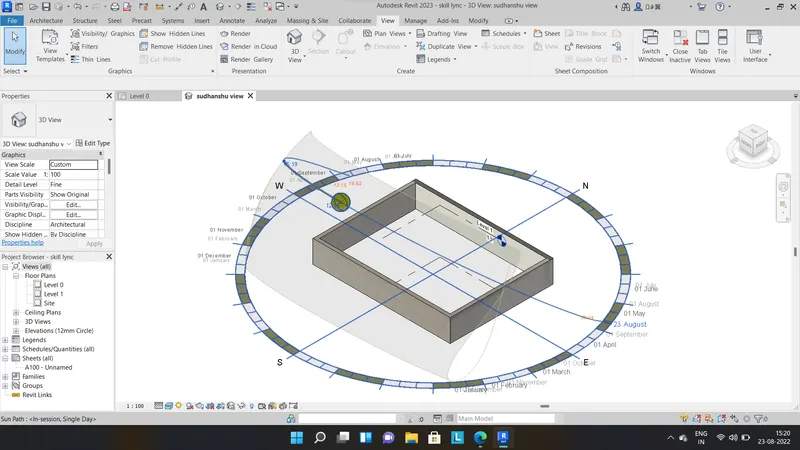
RESULT : sun path on sunpath off
10.) AIM : Use the Manage toolbar to enter project settings, project name, and project issue date (choose according to your convenience).
INTRODUCTION : we are using REVIT software and screenshots of every procedure to getting our aim.
PROCEDURE :
- open REVIT and create 3D model and go to manage tool bar and go to project information
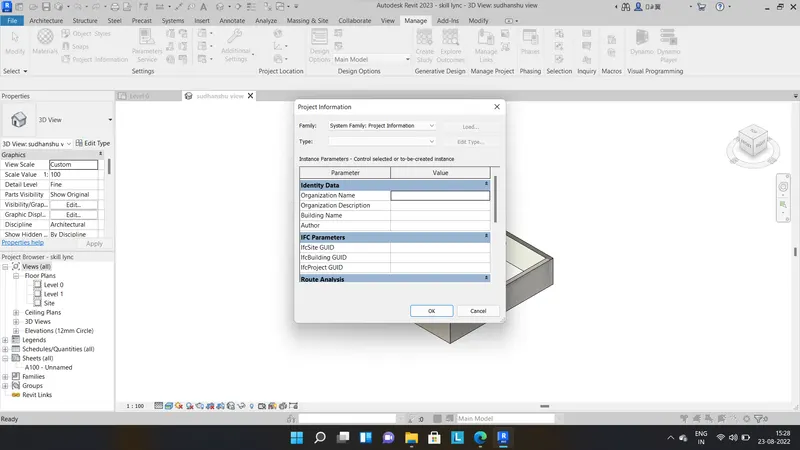
- now edit the information that what you have to change
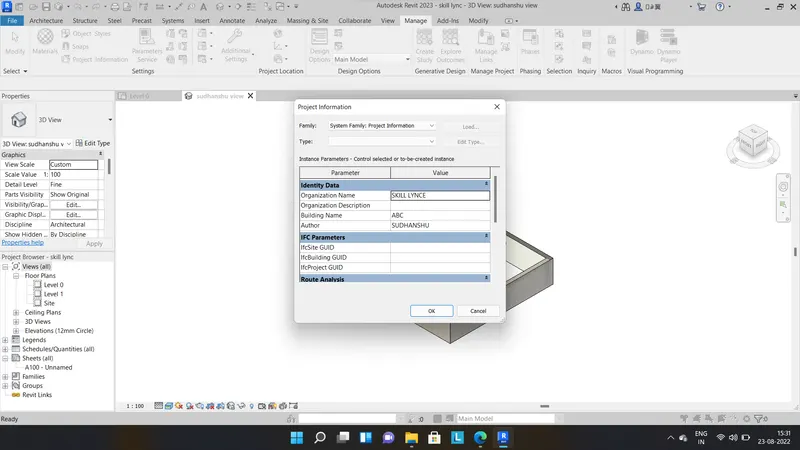
RESULT:
=========xxx========
11.) The analyzer toolbar is used in revit to analyze the structure of model in revit.There are many options in revit such as model strutural analyzer,spaces and zones.
12) You can link architectural models, structural models, and MEP models in revit.
13.) Collaborate tab in Revit enables work sharing. Through collaborate tab, we can work with structural,architectural,electrical model at one workplace.
It helps in
1. work together
2. cloud sharing
3. work sharing
4. central model
=========xxxxx==========
THANK YOU.