Introduction to REVIT concepts
1)
AIM- create a new project From the file menu and name the project appropriately
PROCEDURE-
- open the revit software
- below models click on option new select architecture press ok
- go to file
- go to save
- select the path and give the name to save the file
RESULT
Saved file can been seen in the floder where it is saved
2)
AIM-Save the new project file. Close and open using icons from file toolbar
PROCEDURE-
- Go to file and save the file
- from file option we can close the file
- go to file than open after that select the saved file and open that file
RESULT
saved file will get opened
3)
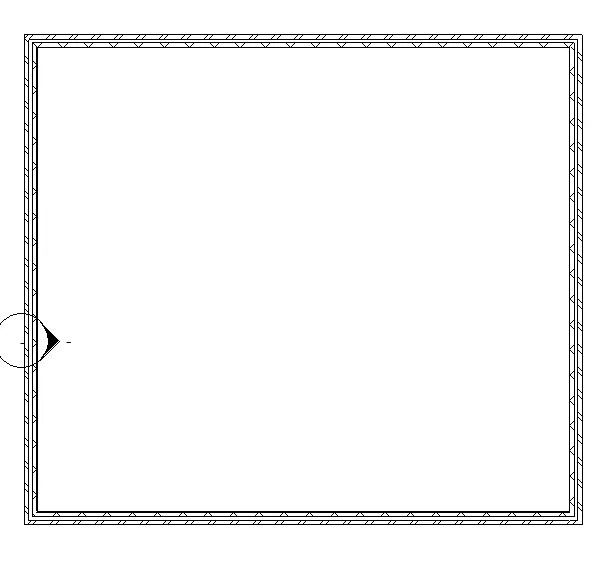
AIM- From the architecture/ structure toolbar familiarize with options to draw a wall. Create a rectangular layout of walls of about 40’-0” X 35’-0”
PROCEDURE
- Go to architecture
- select wall
- give starting point of wall
- draw the rectangular room of dimension 40'x 35'
RESULT
4)
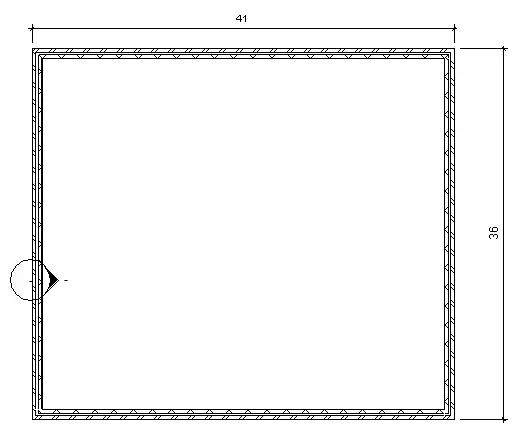
AIM-From the Annotate toolbar use the aligned option to add dimensions to the layout
PROCEDURE
- go to annotation tool bar
- select align dimension
- give the dimension
RESULT
5)
AIM-Use the properties browser to switch to different wall types
PROCEDURE-
- SELECT THE WALL
- go to property browser and change the wall type
RESULT
wall property will get change
6)
AIM-Create a 3D view from the view toolbar and save the view with the appropriate name
PROCEDURE-
- In view there is 3d view option click on that
- right click on the view cube present on the top right corner
- you get an option to save the view
RESULT
various views of the 3d fig can be saved
7)
AIM-Navigate through the 3D model using the view cube. Orbit/pan through the model layout created
PROCEDURE
- on navigation bar click on full navigation wheel
RESULT
We can navigate easily using navigation wheel
8)
AIM-Use the visibility settings option below to switch model to shaded, realistic, hidden lines options
PROCEDURE
- go to visual style and change the visual settings
RESULT
various visual images can be obtain
9)
AIM-Turn the sun path on and off to view shadings in the layout created
PROCEDURE
- Beside visual style there is sun path option to turn on and off
RESULT
we can decide the orientation of the building and make energy efficient building
10)
AIM-Use the Manage toolbar to enter project settings, project name, and project issue date
PROCEDURE
- GO TO MANAGE
- GO TO project information
- update project information
RESULT
project information can be updated
11) Analysis tool bar is used to perform structural analysis of the building for various loading conditions. it is benificial in design and modelling because with the help of this we can design building which are safe coresponding to various loading condition
12) revit support the following link
- link revit
- link IFC
- link CAD
- link topography
- DWF Markup
- point cloud
- coordination model
13) collaboration helps to combine two models which are created separately by the team members so using collaboration both the models can be combine. with this efficiency gets increased because many people can work together in asingle project which ultimately reduces the time for the completion fo the project