Introduction to REVIT concepts
QUE 1) : From the file menu, create a new project (Structural / Architectural / Construction template ) and name the project appropriately.
ANS 1-
AIM- to create new project file for (structural/architectural/construction) from the file menu.
PROSEDURE:
- first open revit software.
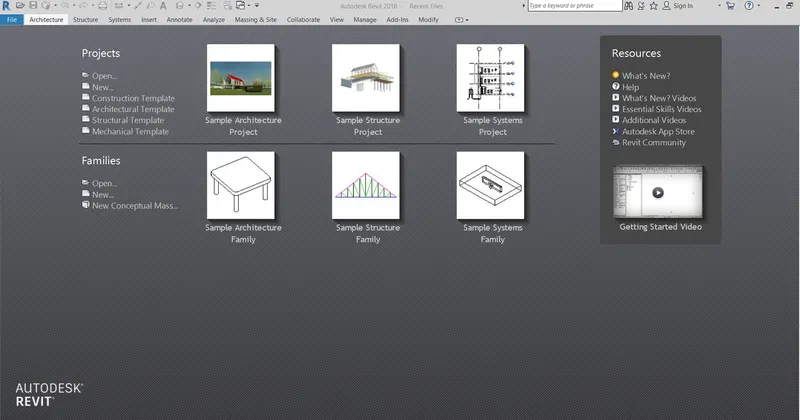
- now from the left side menu select "new"
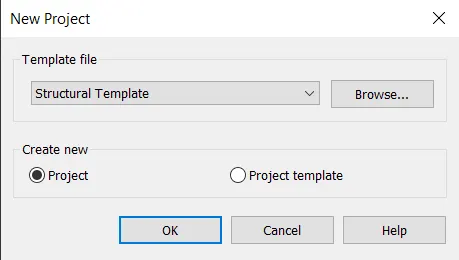
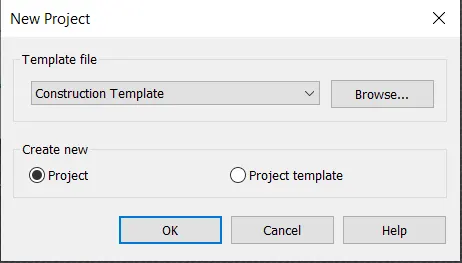
- now select template file "structural template"
- click ok.
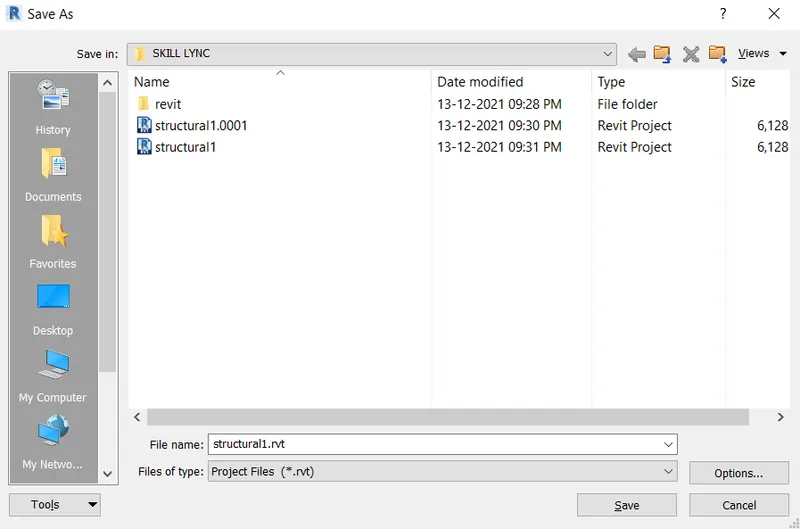
- now using save as option save this file as structural1 file.
- same as above method we have to create onther two files for architectural and construction.
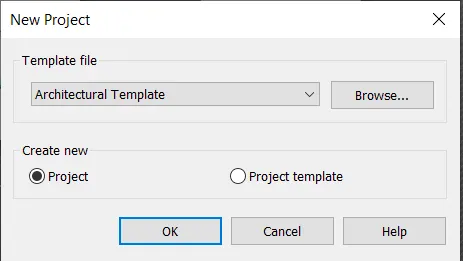
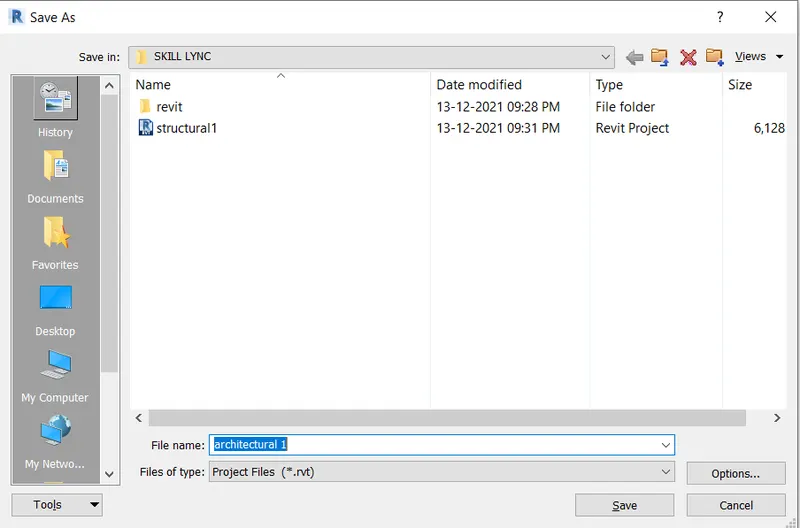
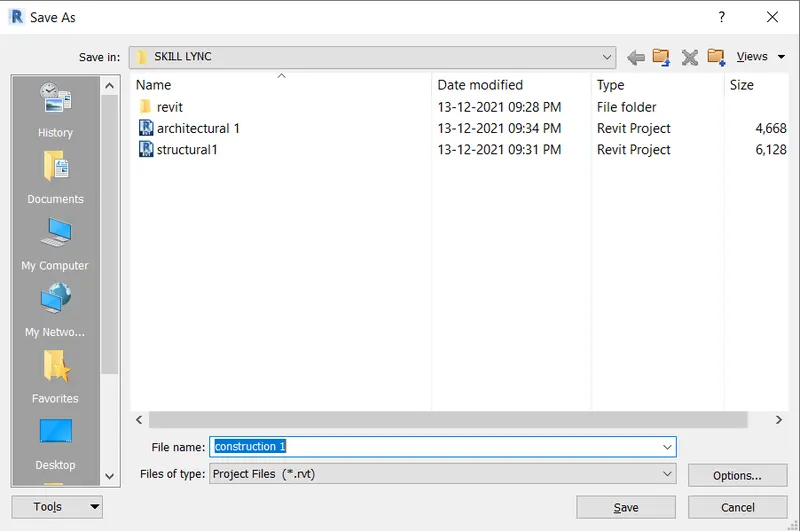
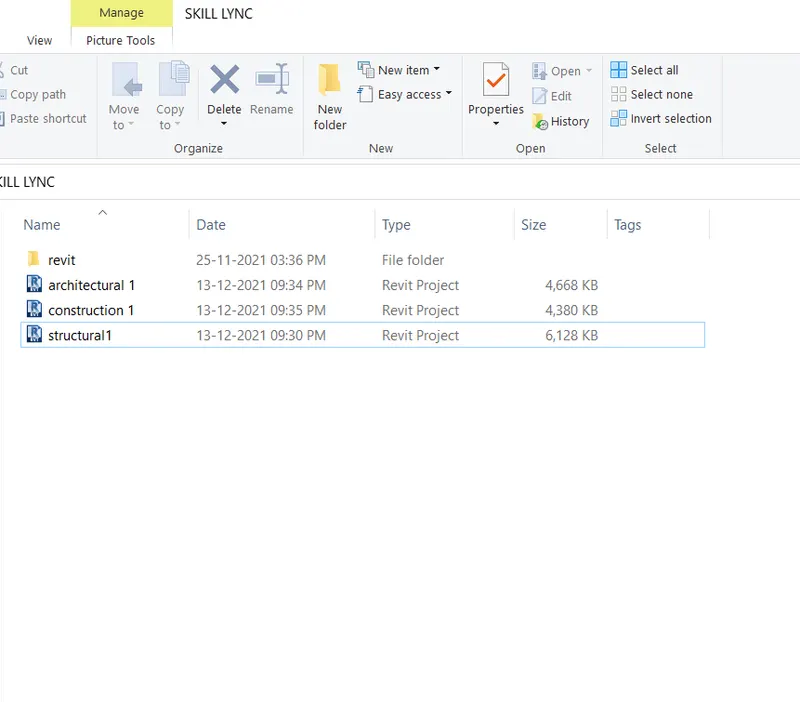
- after that we can open those file from our pc.
RESULT:
QUE 2) : Save the new project file. Close and open using icons from file toolbar.
ANS 2-
AIM- to create new project file and open it from file toolbar.
PROSEDURE:
- first open revit software.
- create new file .
- i created mannualy drawing and named as project4.
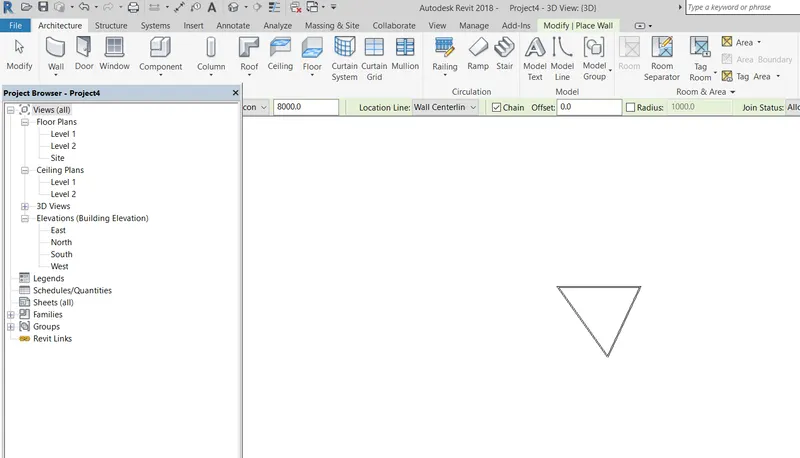
- now save this file and name as project4
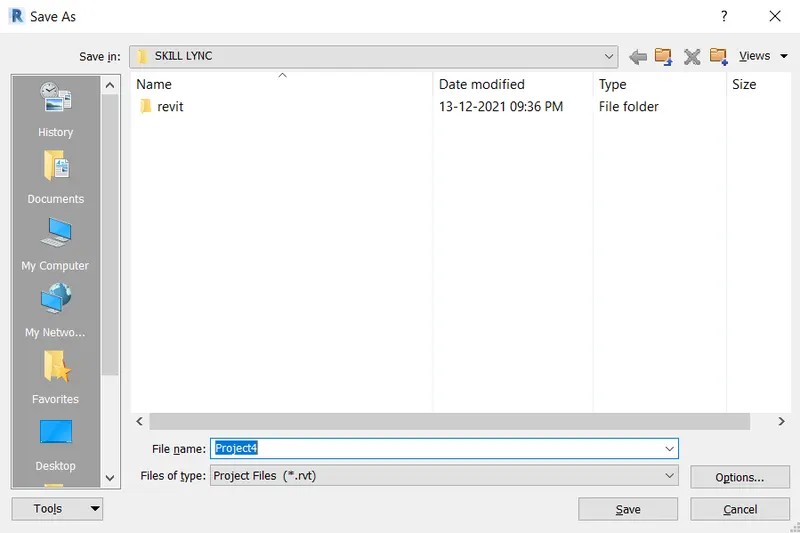
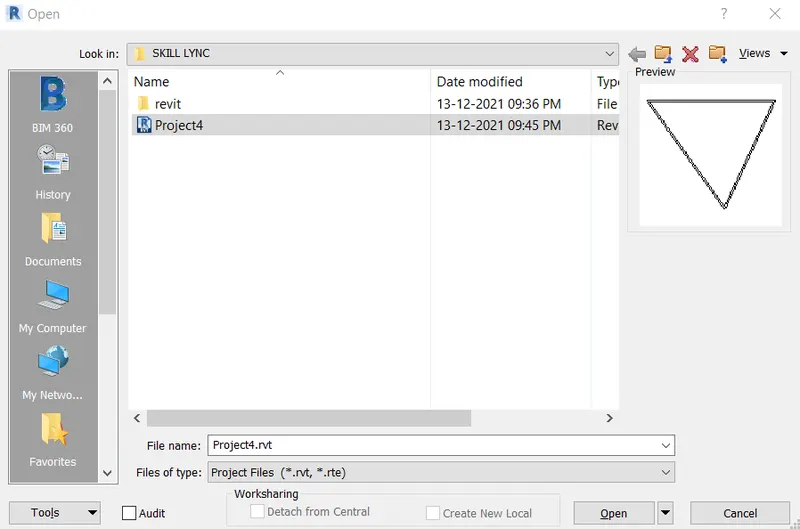
- now from the file toolbar on left side upper click on that .
- select open option.
- select project4 and open it.
RESULT:-
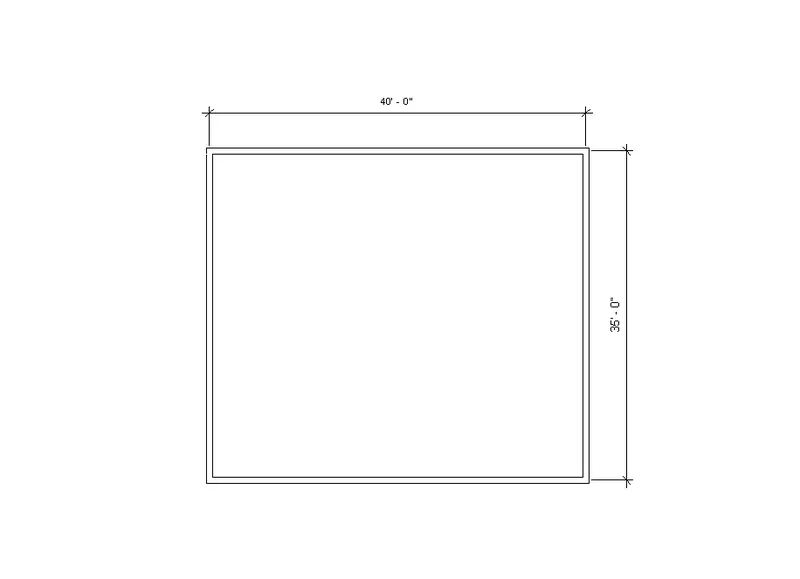
QUE 3) : From the architecture/ structure toolbar familiarize with options to draw a wall. Create a rectangular layout of walls of about 40’-0” X 35’-0”
ANS 3-
AIM- to create wall with given dimension.
PROSEDURE:
- first open revit software.
- after that select architecture from the toolbar on top.
- select wall option in architecture .
- now create wall of given dimension of 40'x35'.
- same as above method create structural wall with same dimension.
RESULT:-
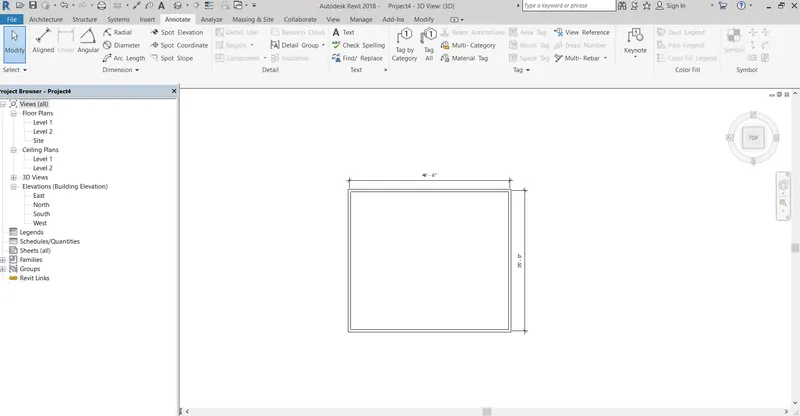
QUE 4) : From the Annotate toolbar use the aligned option to add dimensions to the layout
ANS 4-
AIM- to measure dimension using annotate toolbar to the layout.
PROSEDURE:
- first open revit software.
- now open the last layout of que3.
- now on the upper side select annotate toolbar.

- now measure the dimension using aligend option.
RESULT:
QUE 5) : Use the properties browser to switch to different wall types.
ANS 5-
AIM- to switch different wall type using properties browser.
PROSEDURE:
- first open revit software.
- now open layout of que3.
- on the left side of screen their is option of projet browser.
- in the project browser one option is family . open it.
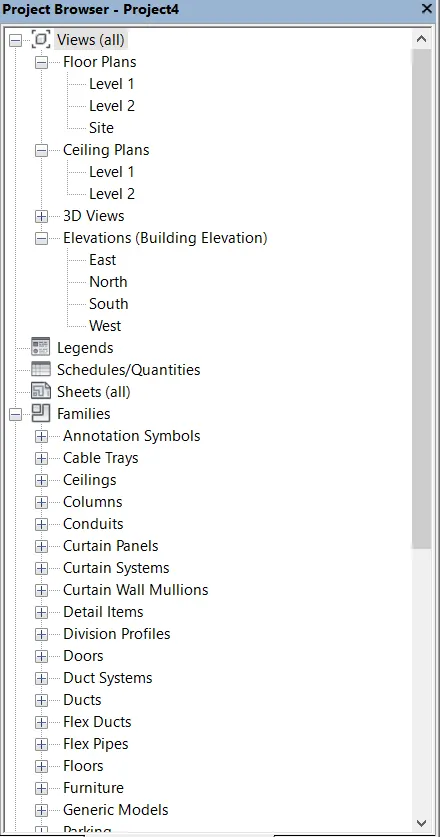
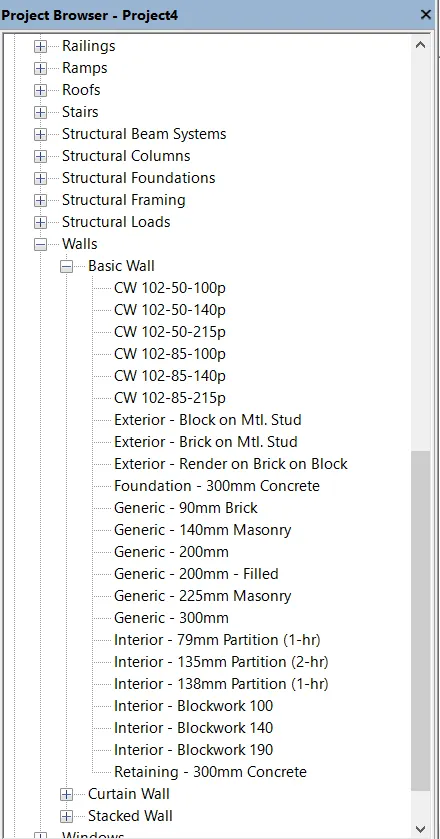
- in the family option one option is walls . open it.
- now you may change walls types.
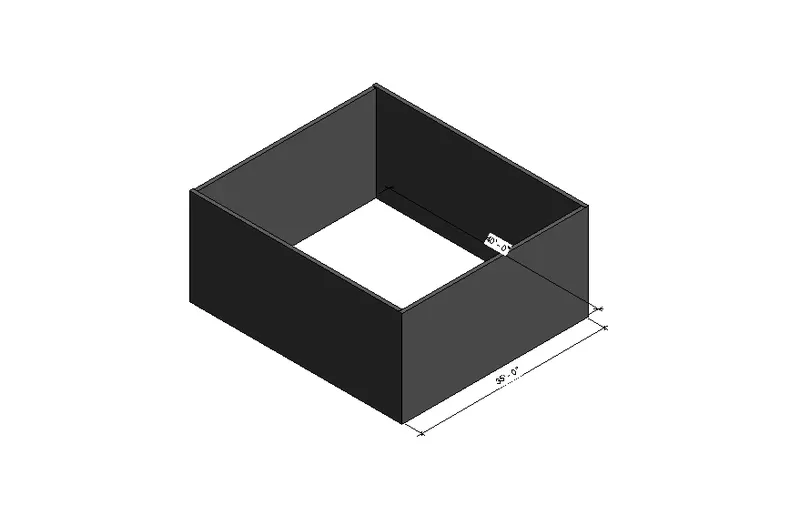
QUE 6) : Create a 3D view from the view toolbar and save the view with the appropriate name.
ANS 6-
AIM- to create a 3d view from the toolbar .
PROSEDURE:
- first open revit software.
- now open layout of que3.
- from the top toolbar select view option.

- now select 3d view option using ths optio you can view your model in 3d view.
QUE 7) : Navigate through the 3D model using the view cube. Orbit/pan through the model layout created.
ANS 7-
AIM- to navigate through the 3d model using view cub .
PROSEDURE:
- first open revit software.
- open any 3d model in revit.
- now on the left side bar you can see view cube option.
- using this view cube you can change different views.
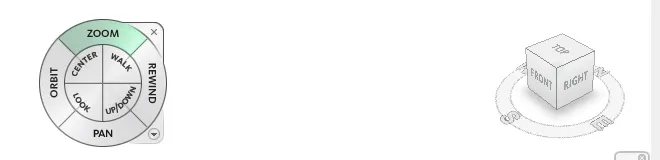
QUE 8) : Use the visibility settings option below to switch model to shaded, realistic, hidden lines options
ANS 8-
AIM- to change visibility settings option below to swith model .
PROSEDURE:
- first open revit software.
- open any layout.
- in the bottom of screen you can see this type of bar.

- second option is for view change option.
- you can change to the shaded, realistic, hidden lines options.
QUE 9) : Turn the sun path on and off to view shadings in the layout created
ANS 9-
AIM- to change visibility settings option below to swith model .
PROSEDURE:
- first open revit software.
- open any of 3d model.
- as per last que in the bottom of screen we can see option of sun on/off.
- using that we can turn on/off sun.
- for the shaded option we have to set sun direction and timing.
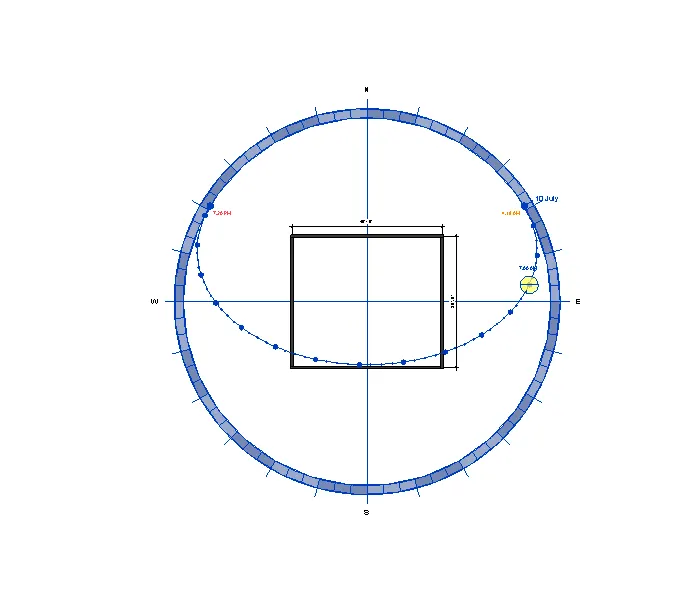
- after that we can easily see shaded view of our model.
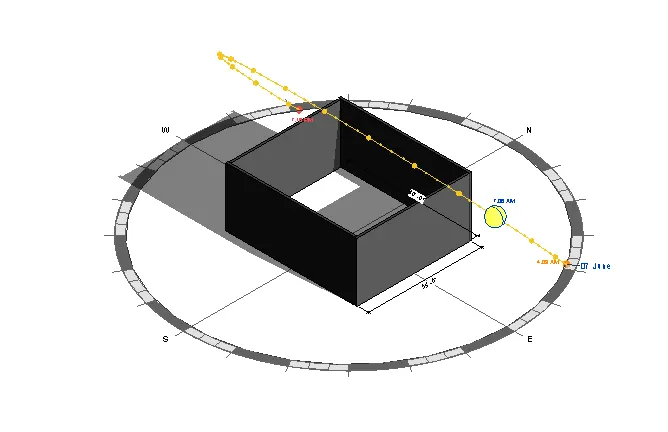
QUE 9) : Turn the sun path on and off to view shadings in the layout created
ANS 9-
AIM- to change visibility settings option below to swith model .
PROSEDURE:
- first open revit software.
- open any of 3d model.
- as per last que in the bottom of screen we can see option of sun on/off.
- using that we can turn on/off sun.
- for the shaded option we have to set sun direction and timing.
- after that we can easily see shaded view of our model.
QUE 10) : Use the Manage toolbar to enter project settings, project name, and project issue date (choose according to your convenience).
ANS 10-
AIM- to use the manage toolbar to the enter project details .
PROSEDURE:
- first open revit software.
- open manage toolbar from the top of screen.
- now one box will be open in front of screen with different box and details.
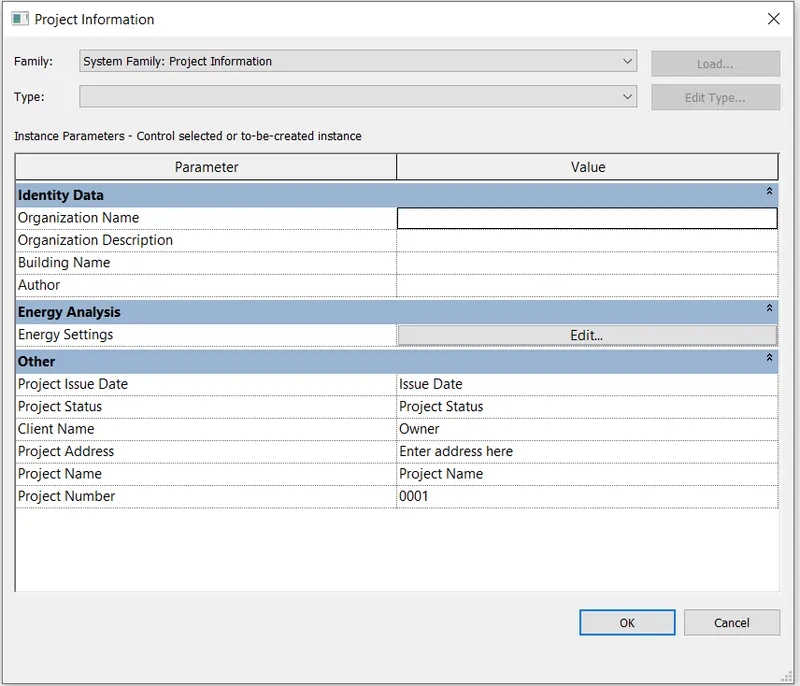
- using this box we can add some information .
QUE 11) : What is the Analyze toolbar used in Revit? How it is beneficial for design and modeling
ANS 11-
AIM- to saw usage of analyze toolbar .
- analyze toolbar is used for analysis of different structure.
- it is used for different load case like dead load ,live load ,wind load ,load combination.

QUE 12) : What are the links that Revit supports to be linked to the model?
ANS 12-
- in the revit we can links different file format like cad , IFC and also import them.

QUE 13) : Why do you need the Collaborate tab in Revit? How it supports modeling and its efficiency
ANS 13-
- revit helps links multiple revit models together.
- user can work together using server network in same model.
- revit cloud work sharing helps in modeling with efficiency.