Hood design-Week 2
Aim: To design Hood Outer Panel, Inner Panel, and the necessary reinforcements by following the Master Section.
Solution:
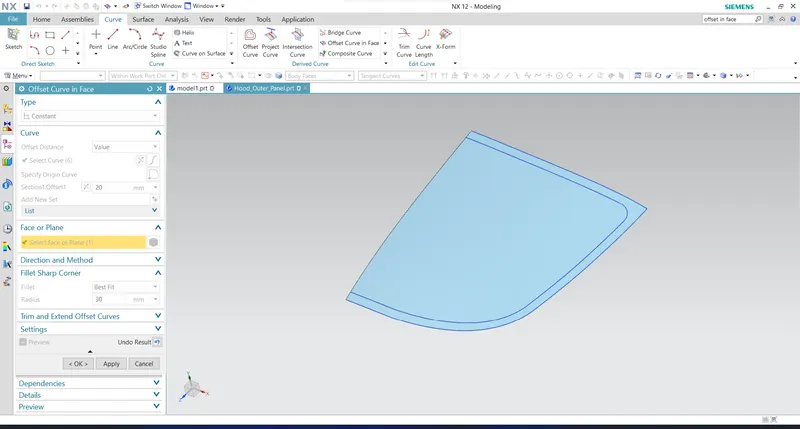
Create the 'offset curve in face' for a distance of 20 mm as shown in the picture. Use fillet sharp corners to ensure that sharp corners are replaced by the best-fit fillets (30 mm). Trim the working surface with this offset curve to create the outer flange.
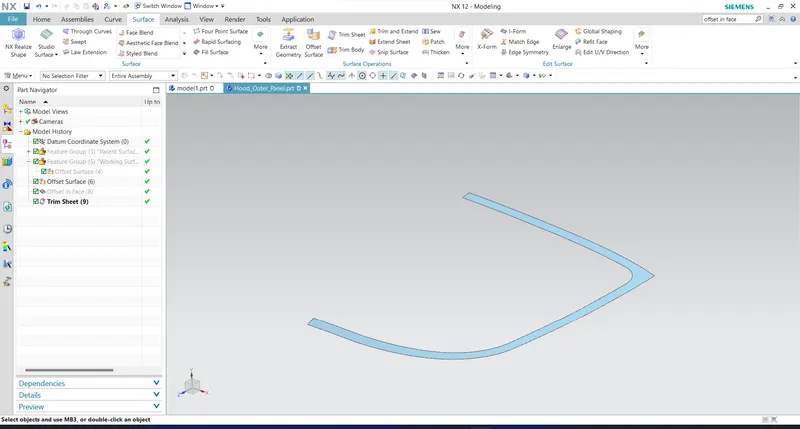
Again, offset the working surface to the length of 4 mm same as the previous direction and create the offset curve in the face in the distance of 40 mm as mentioned in the master section. Now trim the offset surface with this curve.
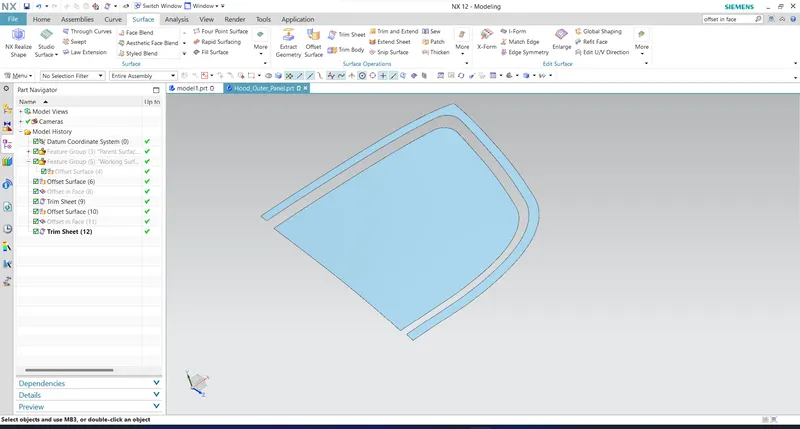
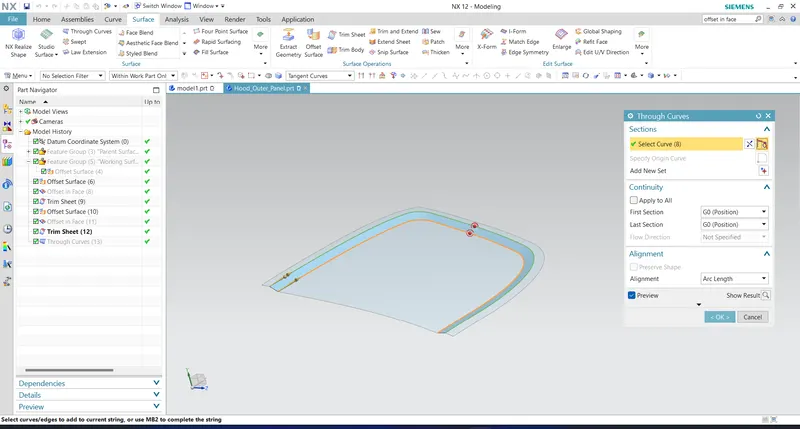
Join both the surface using through curves
Also, do the same thing for the other offset to a distance of 25 mm. Create the curve in the face to a distance of 55 mm and trim the offset with it. Now create the law extension surface by using the edge of this newly created surface.
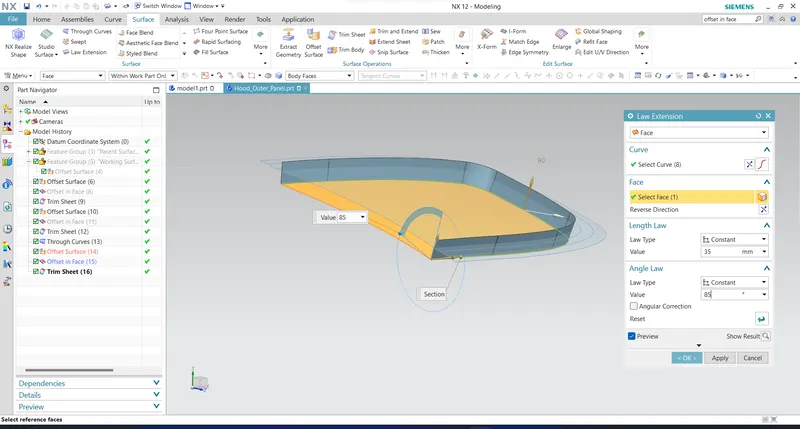
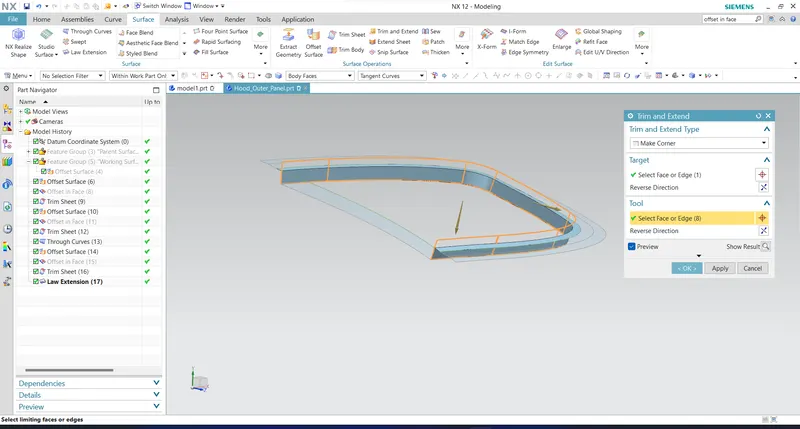
Use to trim and extend to get the exact panel shape
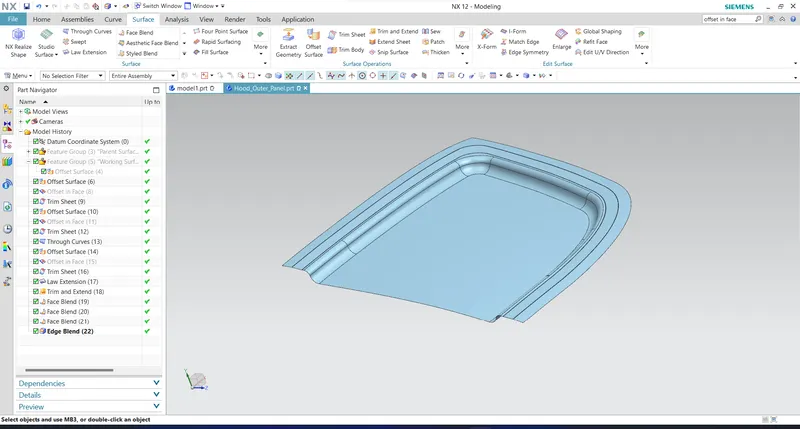
Use face blend and edge blend to create the smooth corners
To create the emboss, offset the curve in the face to 15 mm and use the emboss feature to create the emboss shown
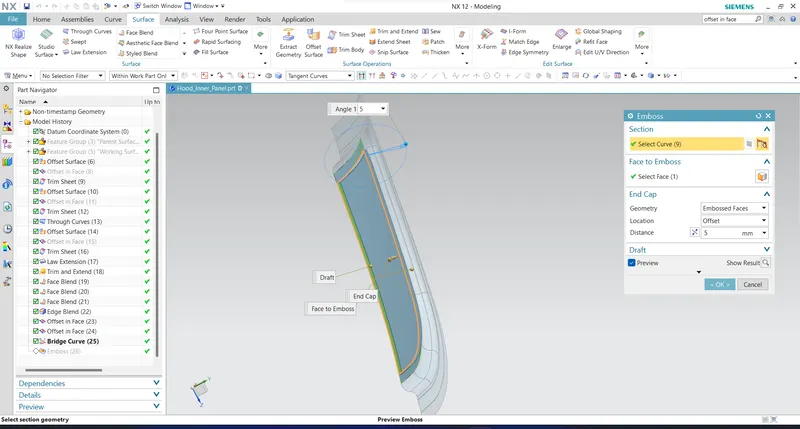
Also, create the embosses on the inner panel.
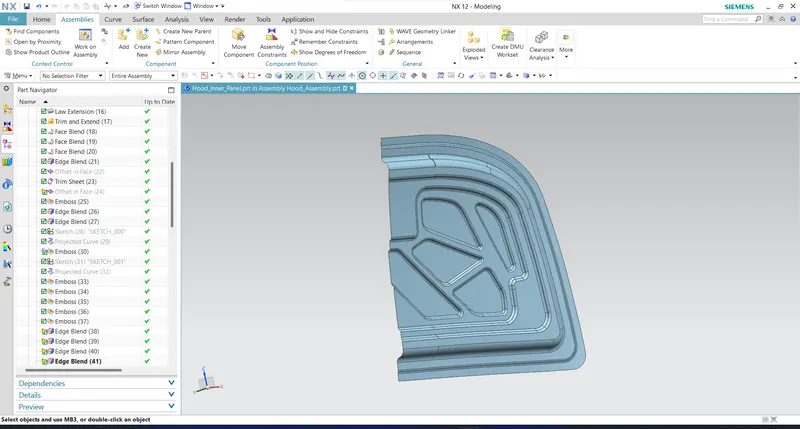
Cut the profiles on the embosses using the trim surface option
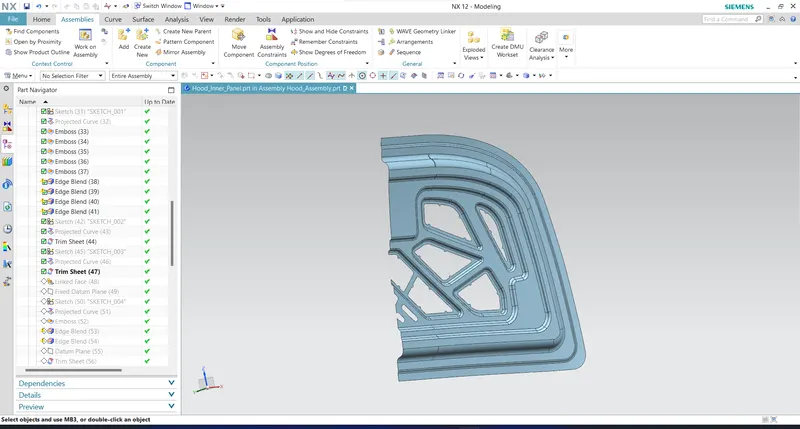
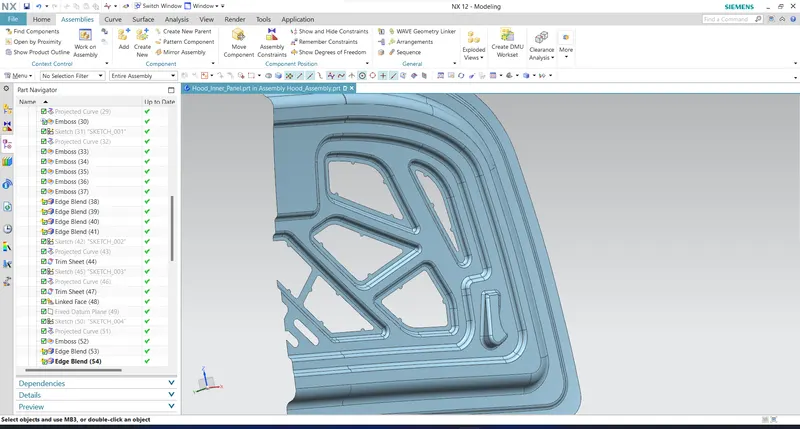
Using the wave geometry linker, import the face of the hinge from the assembly workbench to the inner panel part file and create the emboss for that, all sharp edges are blended.
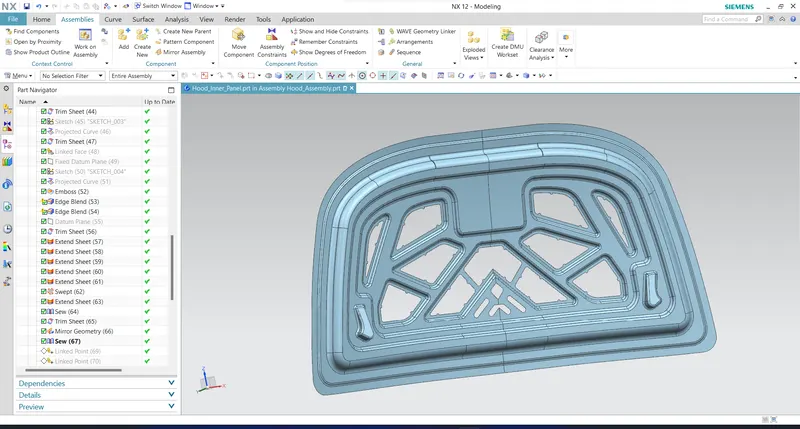
Mirror the sheet and sew them together
To locate the position of the striker, use the circular trajectory formed by the point between the axes of the hinge
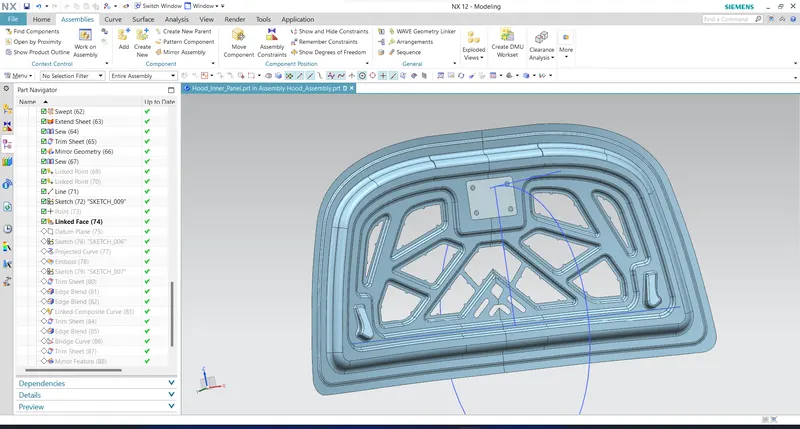
Using the wave geometry linker, extract the face of the striker and with reference to creating the emboss on the inner panel.
The circle is drawn in the middle of the hinge axis. The striker pin axis is required to lie on that circle and is its needs to be perpendicular to the circle segment.
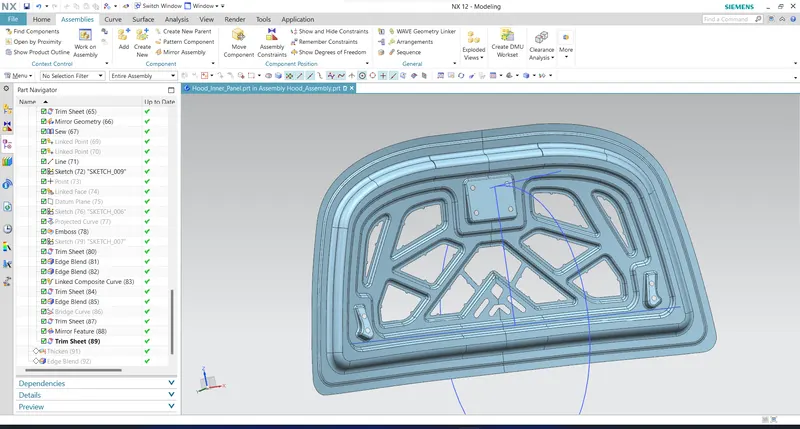
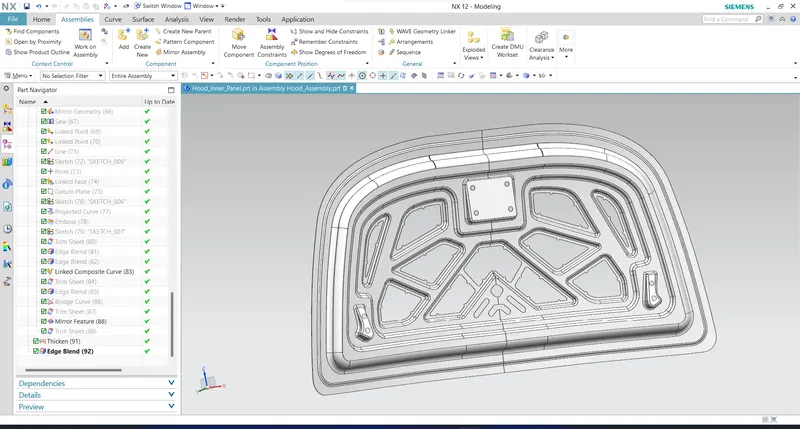
Thicken the sheet to 0.75 mm inner side and apply the required edge blends
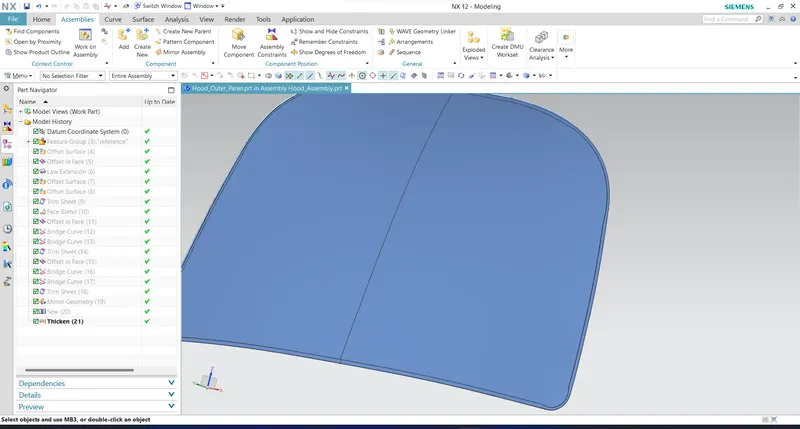
Also, create the hem region on the outer panel and thicken it to 0.75 mm
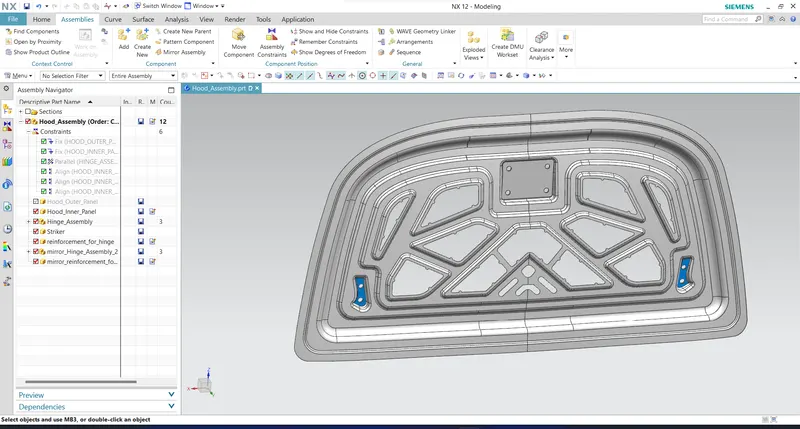
Mirror the hinge assembly and align them with the inner panel. Also, the striker is positioned.
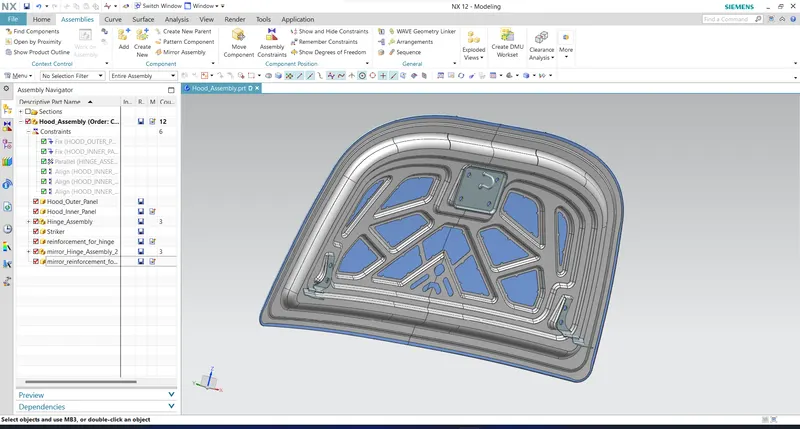
Create the reinforcements with the thickness of 1.5 mm at the hinge points to increase the strength of the certain region
Hemming cross-section
As mentioned, the distance between the inner panel and outer panel is maintained at 0.2 mm on both sides.
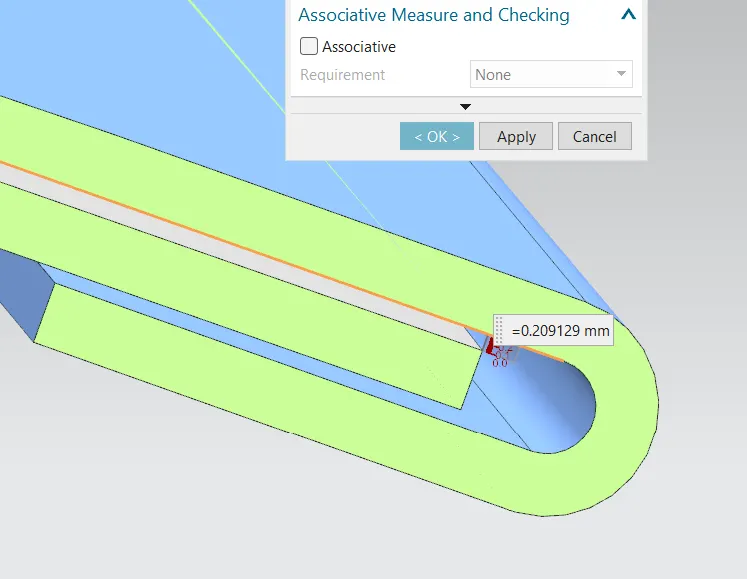
Edge relief for hemming
Edge reliefs are given at the corners of the hemming sheet to provide relaxation edges. This facilitates the proper interaction of tools with the work.
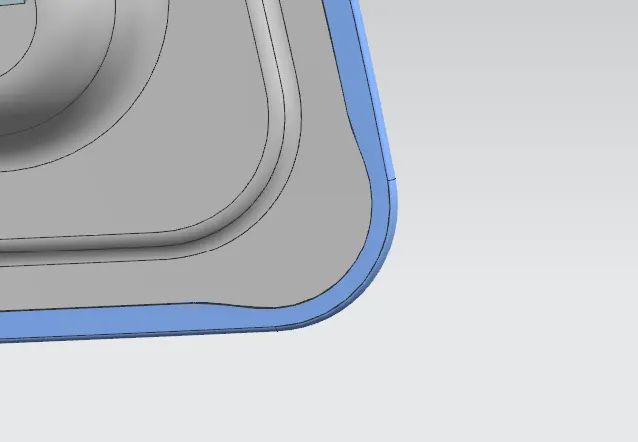
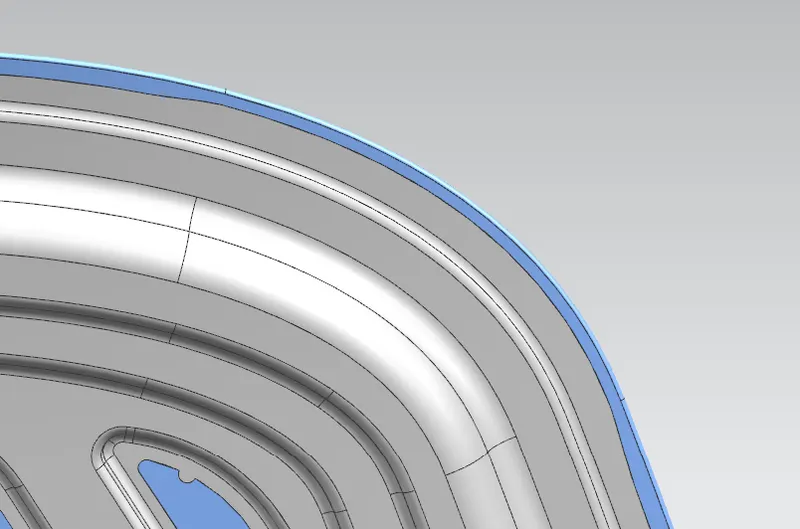
Also, all edge blends are created with a minimum of 3 mm + the thickness of the sheet which is 3.75 mm
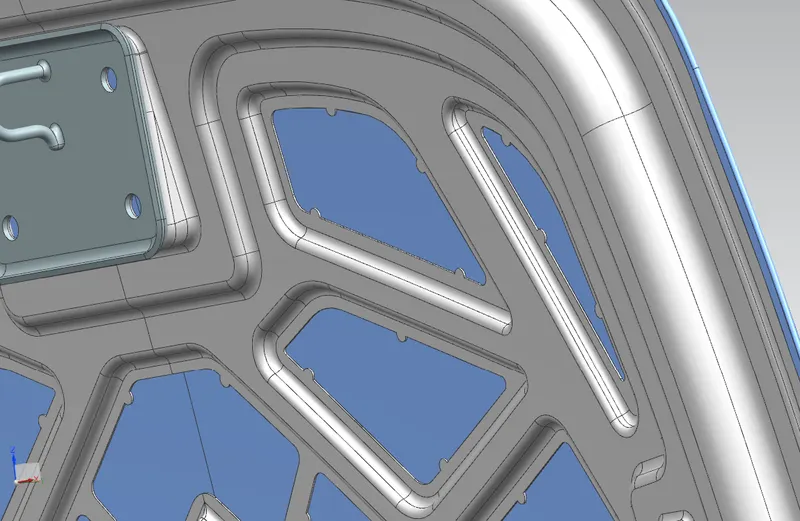
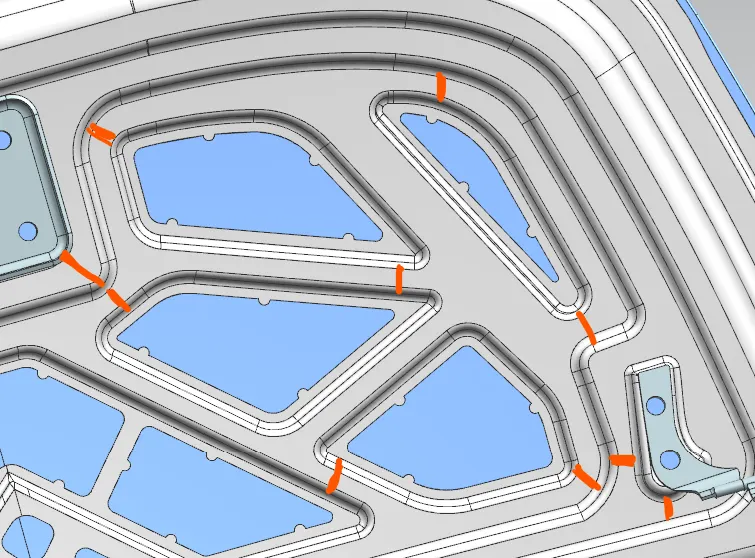
Between the embossed faces, the flat surface is maintained for a distance of at least 6 mm in all marked areas in the below picture. If this distance is less than 6 mm, this may produce a high-stress concentration in that area and leads to the failure of the part.
Also, the draft is given to all embossed faces to a minimum of 7 degrees.
Mastic seal :
The mastic sealants can be used for weatherproofing, draught stripping, etc. The mastic sealant is applied in this assembly between the inner panel and out panel such that the vibration caused is eliminated and reduces the noise and harness (NVH).
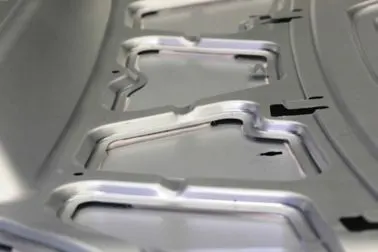
For applied mastic sealant, the distance required between the inner panel and outer panel is 5 mm.
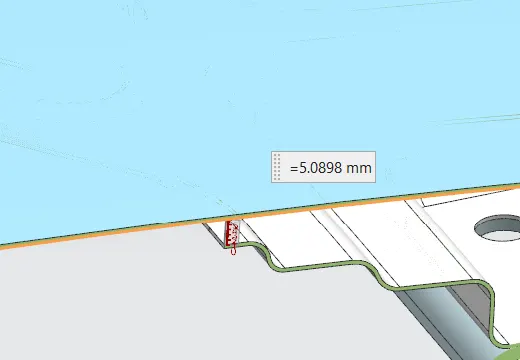
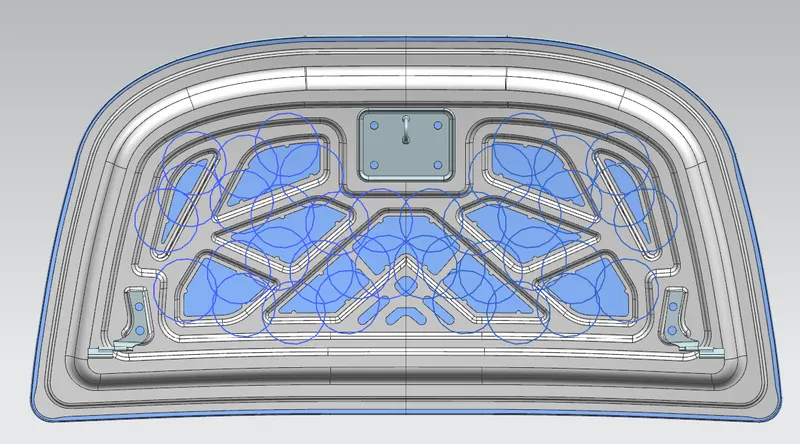
Mastic points are created to apply the sealant. The mastic sealant is effective up to 80 diameter from the point of application
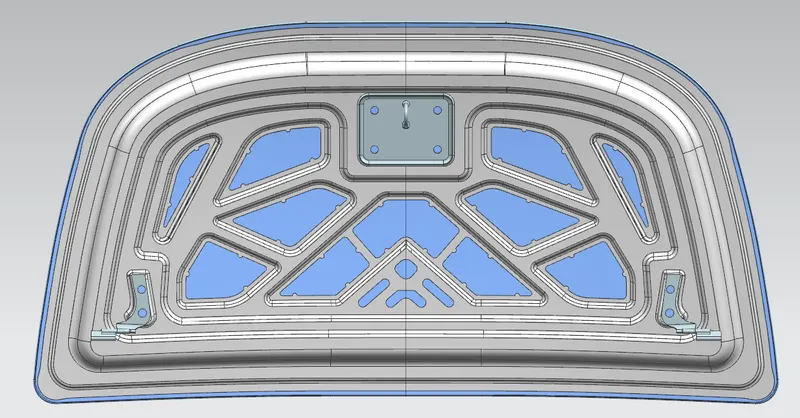
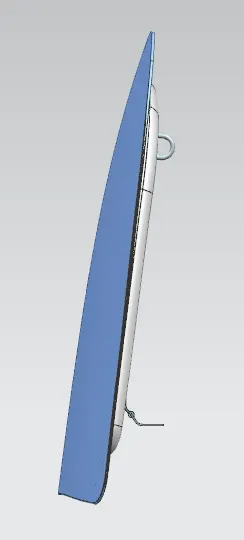
Views :
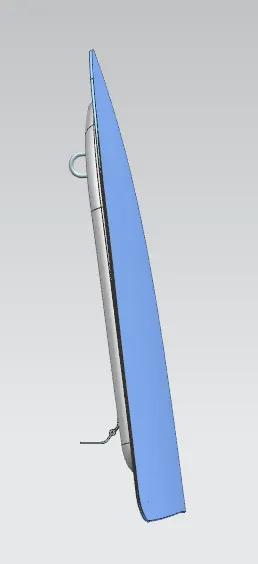
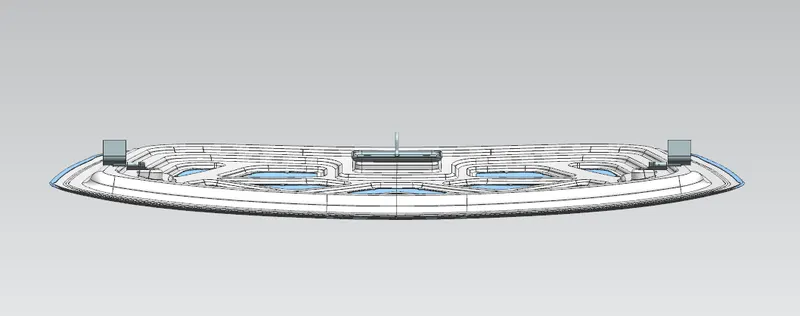
Conclusion:
Finally, in this project, we have created the inner panel and outer panel of the car hood with reference to the given Class A surface of the outer panel of the hood. Both the panels are assembled with the help of hemming. Also, assembly of the relative components such as hinges, striker, and reinforcements is made.