Hood design-Week 2
CAR HOOD DESIGN AND ASSEMBLY.
Aim:
Design Hood Outer Panel, Inner Panel and the necessary reinforcements by following the Master Section mentioned with the Design parameters.
Introduction:
- Hood:
A car hood also referred to as a bonnet in some other countries is the hinged cover that rests over the engine of a front-engine vehicle. Its purpose is to provide access to the engine for repair and maintenance. Car hoods are typically constructed from steel and sometimes from aluminum.
A car hood panel is one of the most important components of the BIW (body in white), it is considered as the closure sheet-metal component. A hood panel consists of two panels that are hemmed together to form the automotive hood assembly. The below image shows some major components of the car hood assembly.
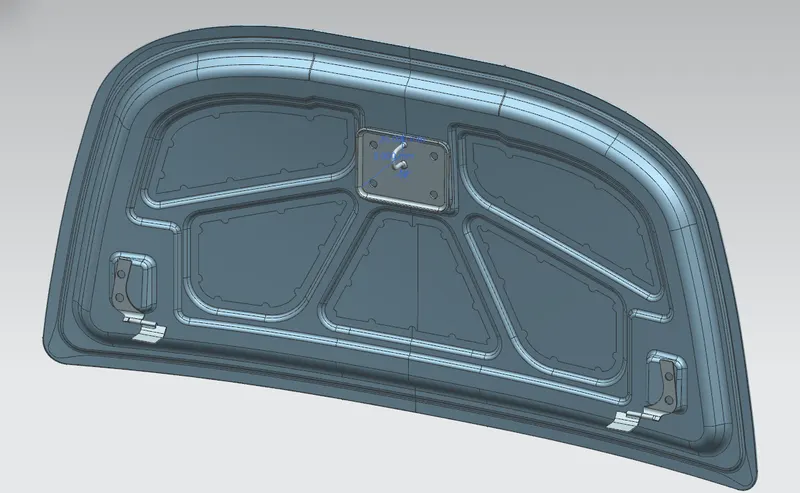
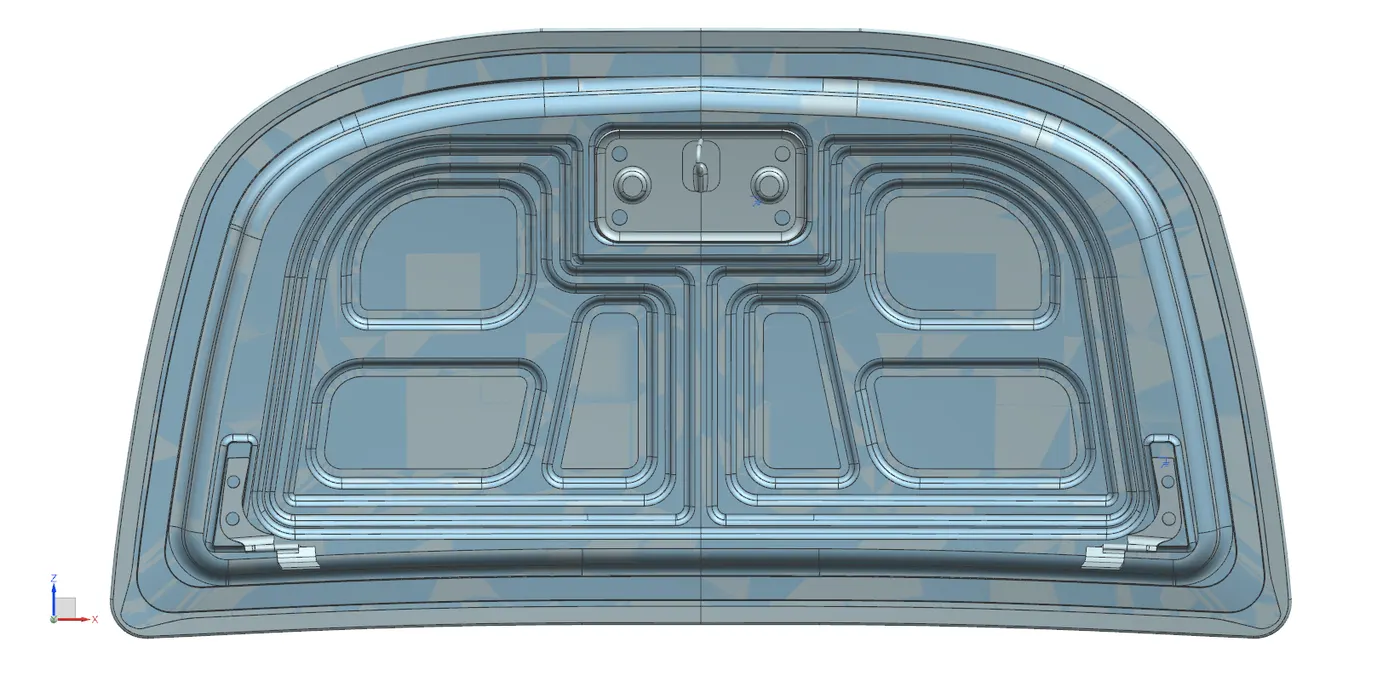
Inner panel:
The inner panel supports the outer panel. it consists of embosses & holes. Embosses provide stiffness as well as it dissipates energy towards reinforcement.
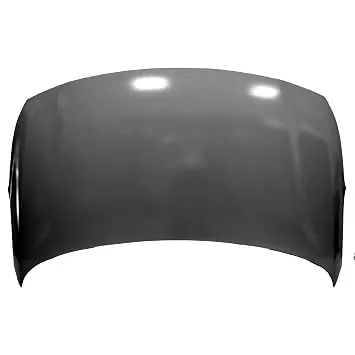
Outer panel:-
Outer panel is a outside cover for engine and its a used to make a car looks good.
Reinforcements:-
Reinforcements are used to provide more strength to the assembly.
1. Latch & striker
2. Hinge
LATCH & STRIKER:-
Latch & striker is used for locking the hood with the car. it's usually placed on the space provided on the inner panel.
HINGE:-
Hinges are used to connect the hood & cowl panel of an automobile. it enable the opening & closing operation of the hood. the hinge should be made strong enough to to handle the weight of the hood and also to handle the force action on it during the collision.
Hood are typically made out of steel or aluminum, although aftermarket manufacturers may manufacture hoods out of fiberglass, carbon fiber, or dry carbon.
The hood release is a small lever, which is usually mounted under the dash. It is connected to the hood latch by a cable. The hood latch has a safety feature, which requires a second latch to be released before the hood will open. This is to prevent accidental opening while driving.
Date for Designing:
Hood Thickness Information
- Outer Panel Thickness = 0.75mm
- Inner Panel Thickness = 0.75mm
- Reinforcement Thickness = 1.5mm
Master Section:
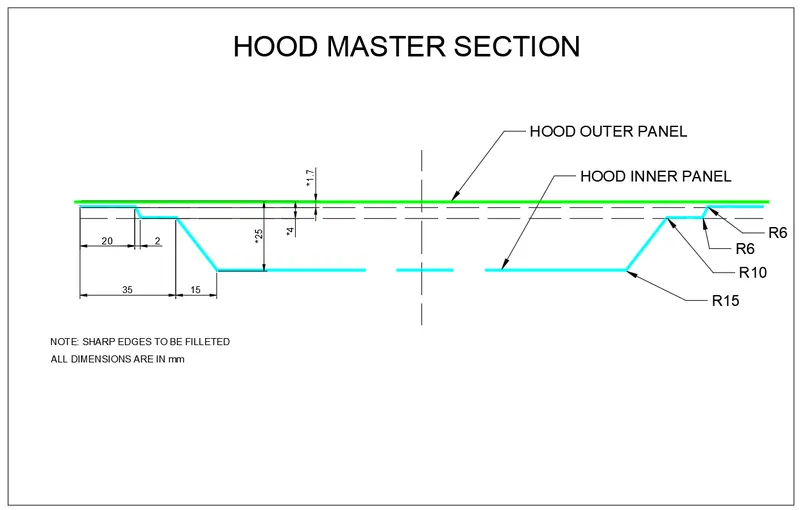
Above mastersection is used as reference for the design of inner panel of the hood. First trim the given surface into half and offset to 0mm and save it as working surface in feature tree.
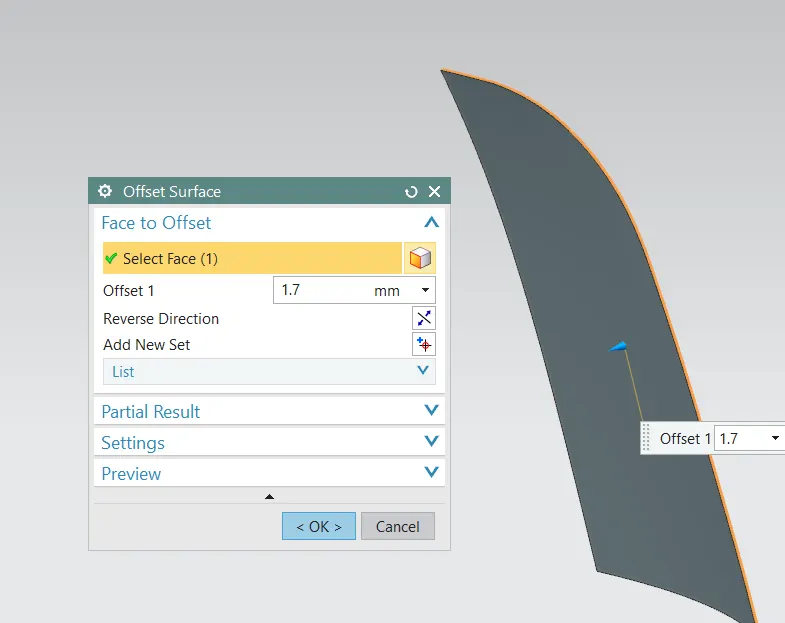
Off set the working surface to 1.7mm.
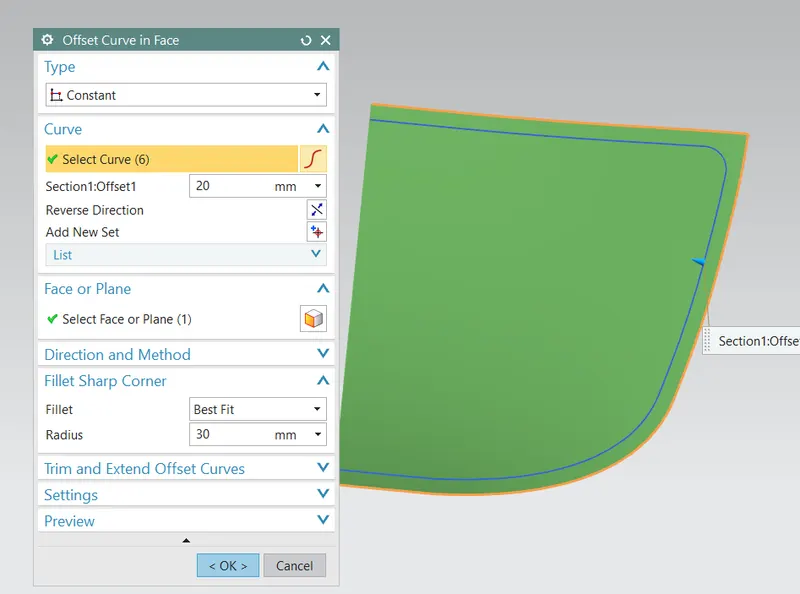
Offset the outer curve of the surface to 20mm with the edges being rounded to 30mm.
Trim the sheet with the curve as the boundary and the surface as the target body.
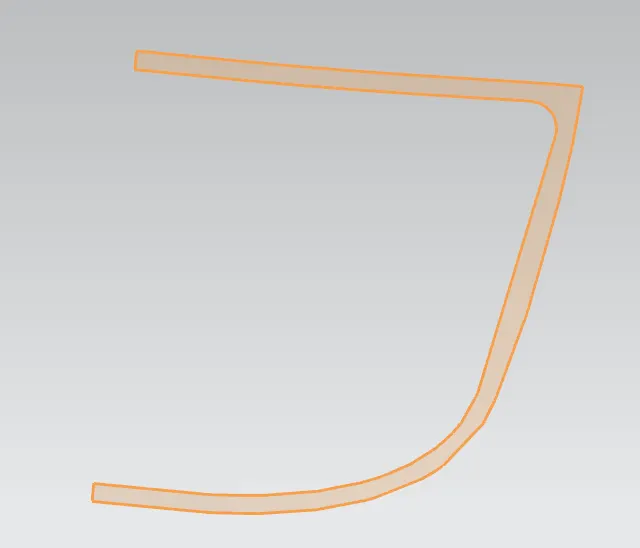
Similary offset the working surface again anda then off the curve and trim it. Here the trimmed surface should be the outer side.
Now we have to connect both the surface by using  in the surface panel.
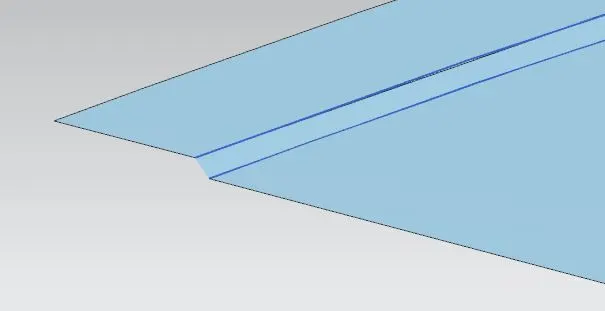
The law extension command can also used to combine upper edge and the offseted surface.
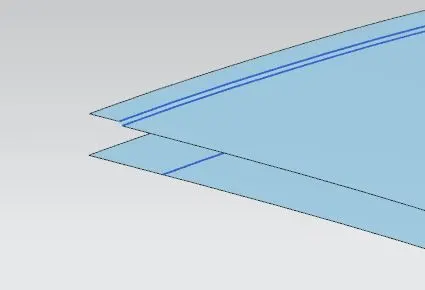
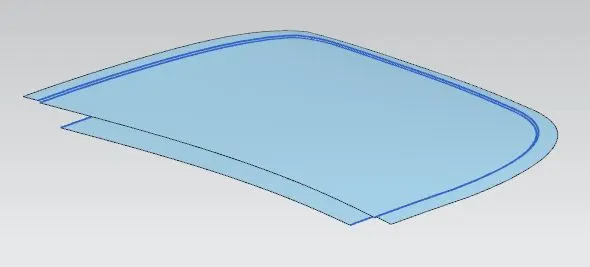
Create surface by law extension command with 5 degrees draft outwards.
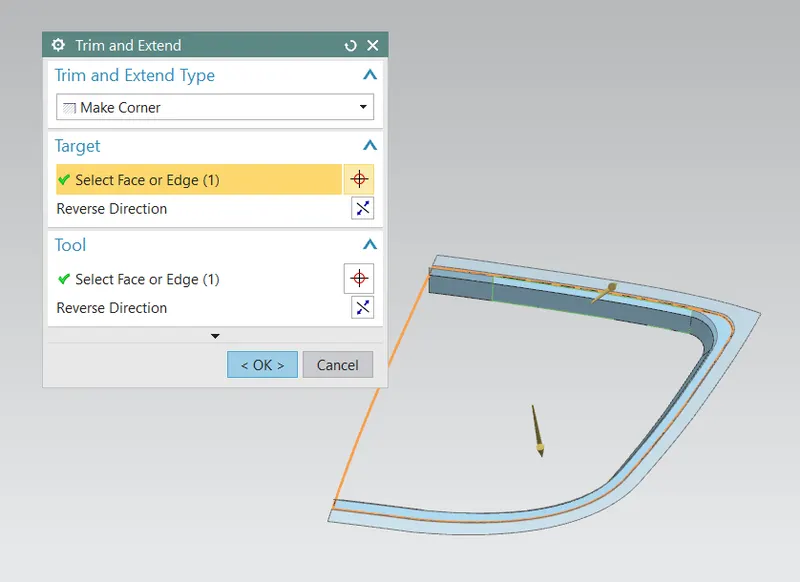
Once the basic structure of the inner panel is created according to the master section, now the embossed features has to be created.
Draw a sketch as shown below on the XY plane and project the sketch on to the inner panel.
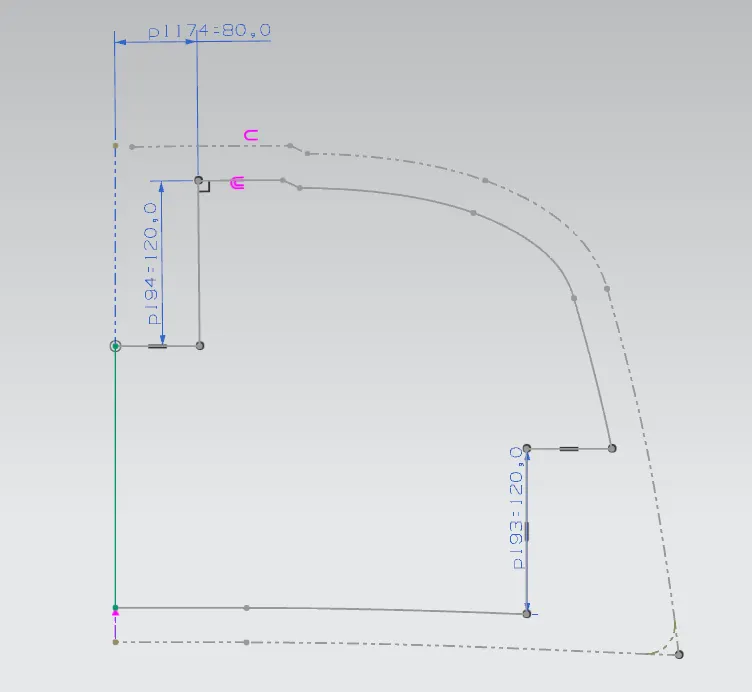
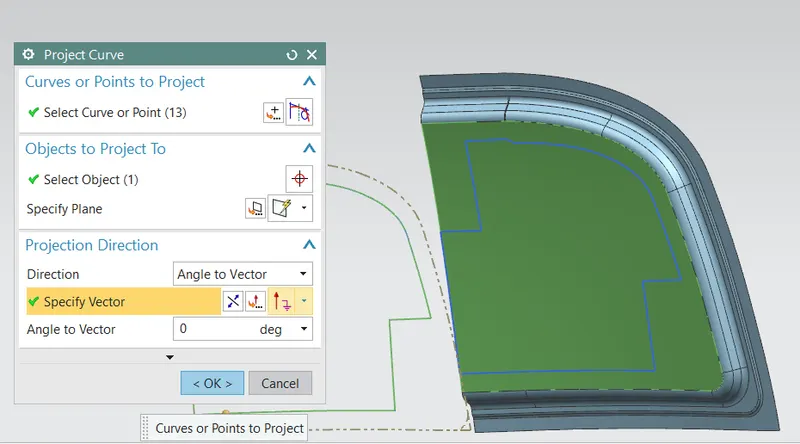
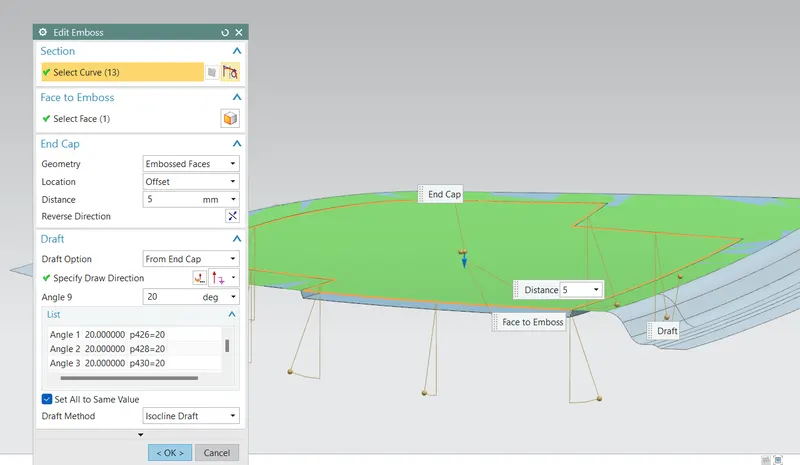
Emboss are the projections made on sheet metal using deep drawing techniques. the operation is carried out the mostly for the purpose of stiffening flat surface and design in the inner panel. the major function of embossing is to dissipate the force acting on the hood during the collision of the car toward the hinges as early as possible. It helps to reduce the impact of the force on the passenger sitting inside.
Deep Drawing:
Deep drawing is a sheet metal forming process in which a sheet metal blank is radially drawn into a forming die by the mechanical action of a punch. It is thus a shape transformation process with material retention. The process is considered "deep" drawing when the depth of the drawn part exceeds its diameter.
Click Menu > Insert > Design feature > Emboss.
Select the surface and the curve to be embossed.
Again create a below sketch on XY plane and project it.
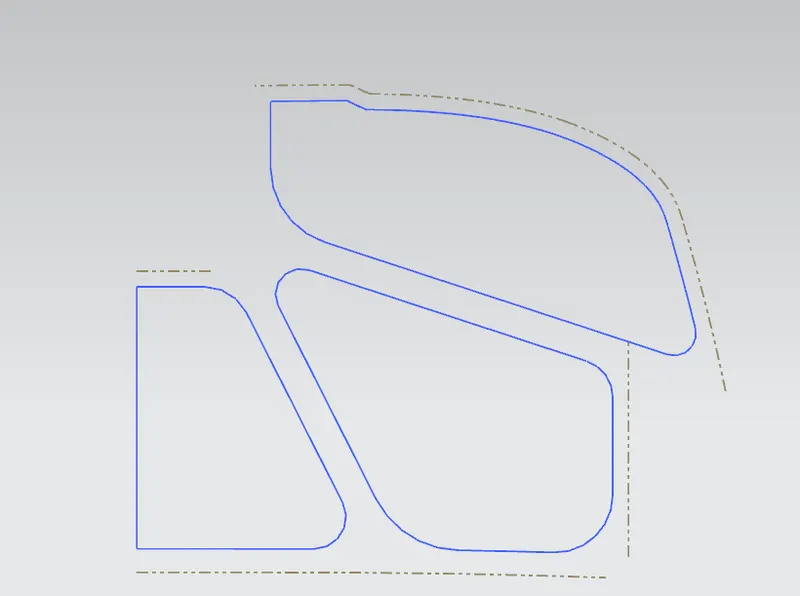
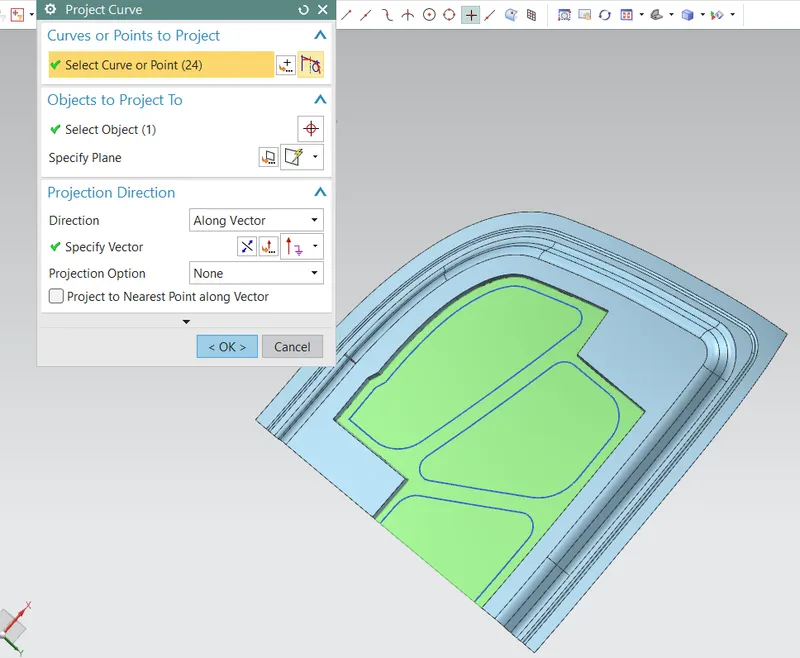
Emboss the surface again with respect to the above sketches one by one.
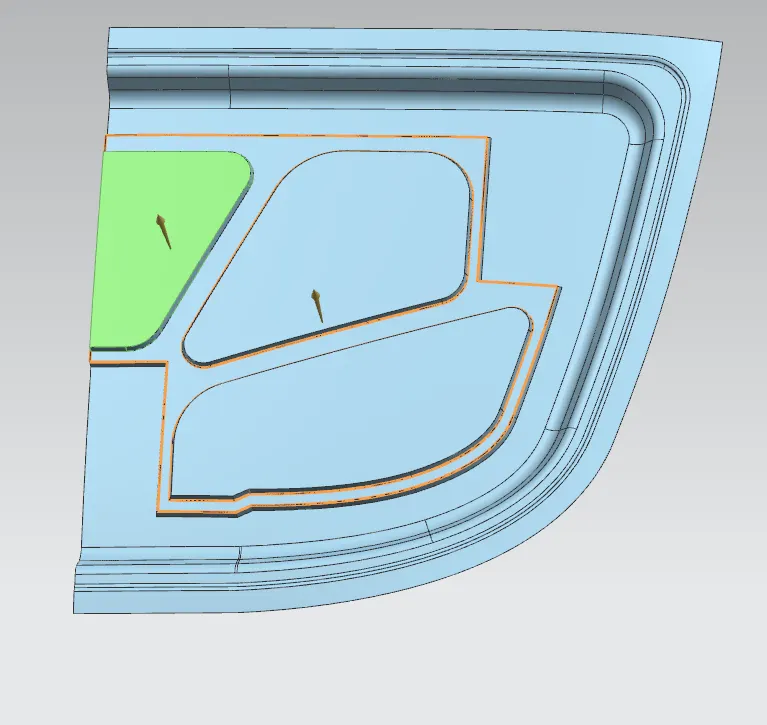
Now blend the sharp corner edges for about 5mm.
Now create the sketch for the Mastic Data.
Mastic sealant:-
The Mastic sealant or mastic points is a elastic compound that behaves like a rubber. it is applied between Hood's outer panel and inner panel. it have an influence area of about 80mm
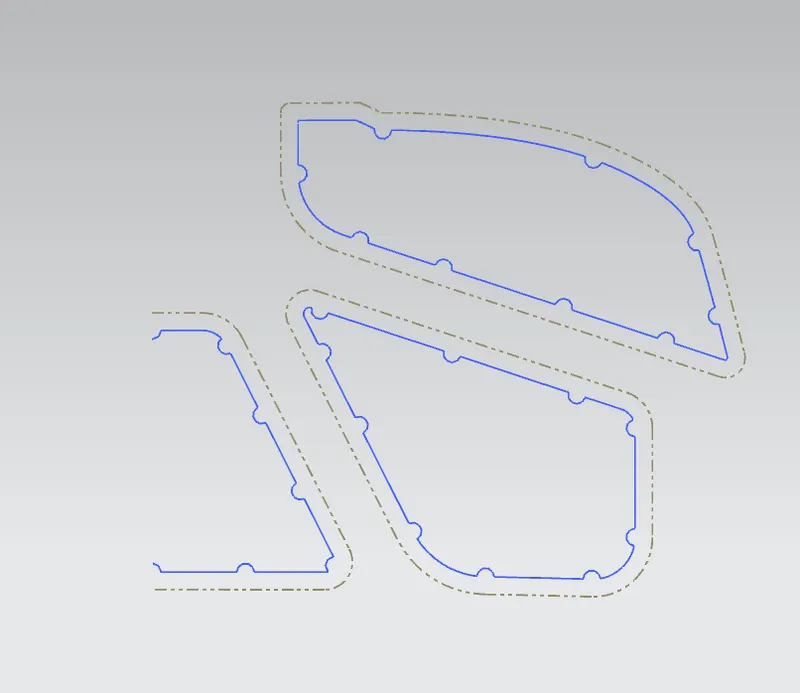
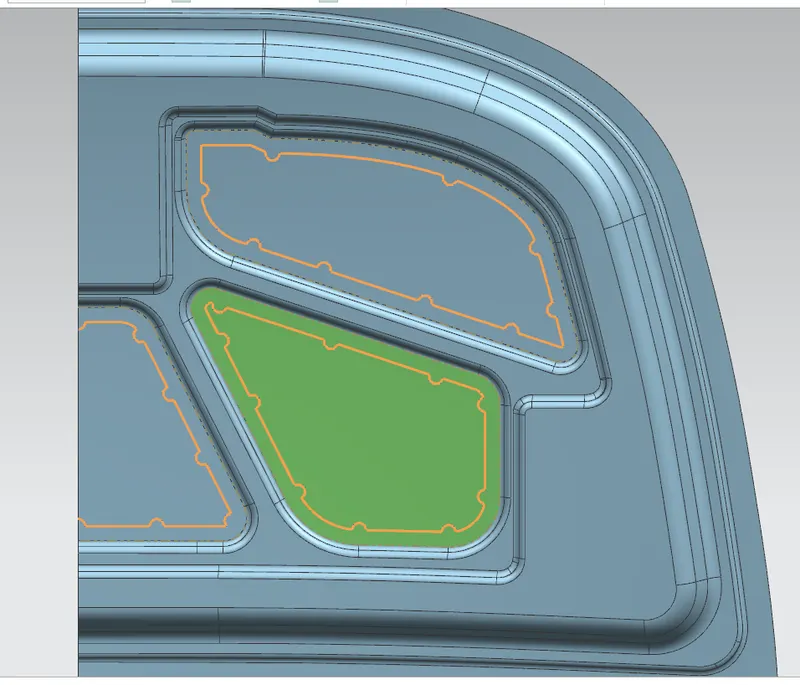
Trim the above surface.
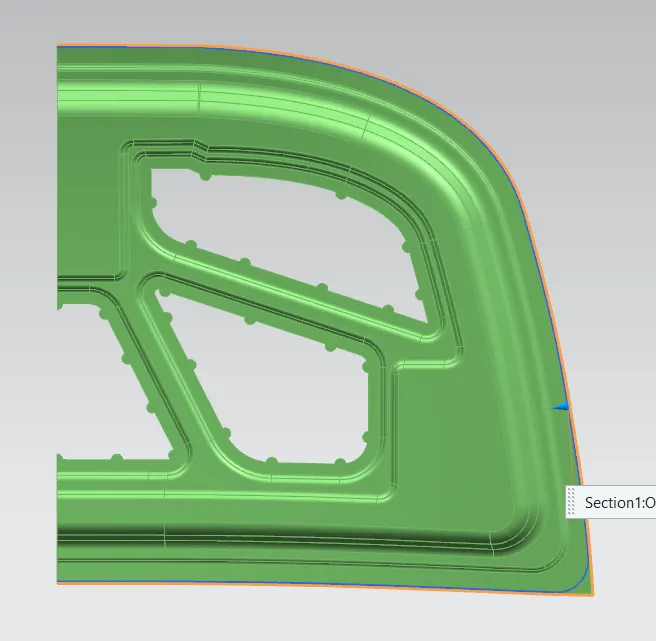 .
.
Now extend and trim the edge with respect to the perpendicular plane. Mirror the surface and sew it together to closed the gaps and join them with eat other.
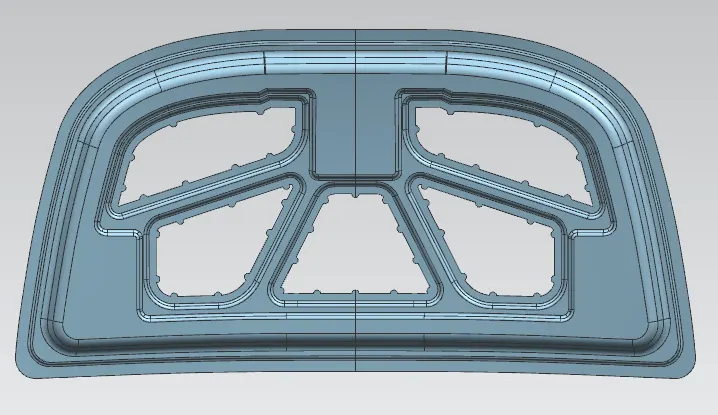
Now we have to create the section for the fitment of the hinge assembly and striker. Oopen a new assembly sheet and impor thte hood inner panel, Hinge assembly and Striker.
Adjust the Hinge assembly using move component caommand at the proper location to sketch the required fitment on the inner panel.
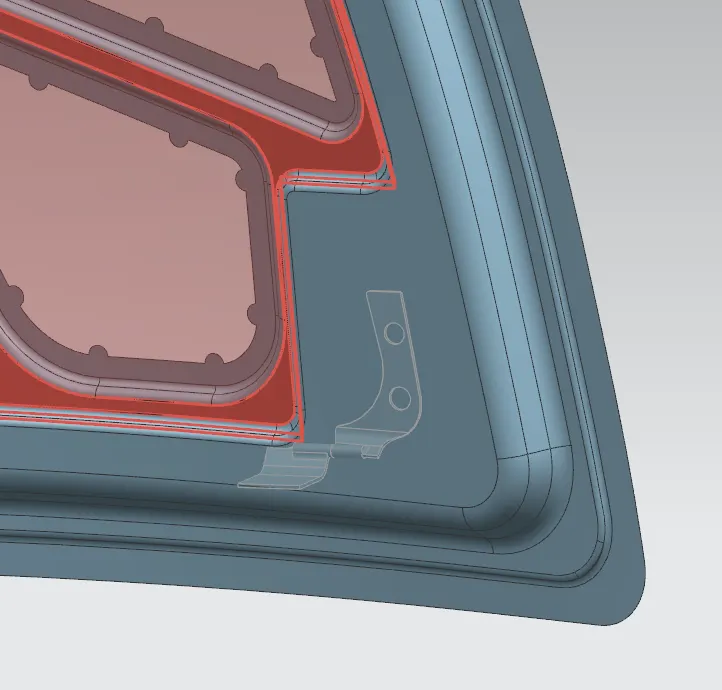
Usign  create a linked surface of the Hinge.
Next create a datum plane with reference to that surface and draw below sketch and emboss it.
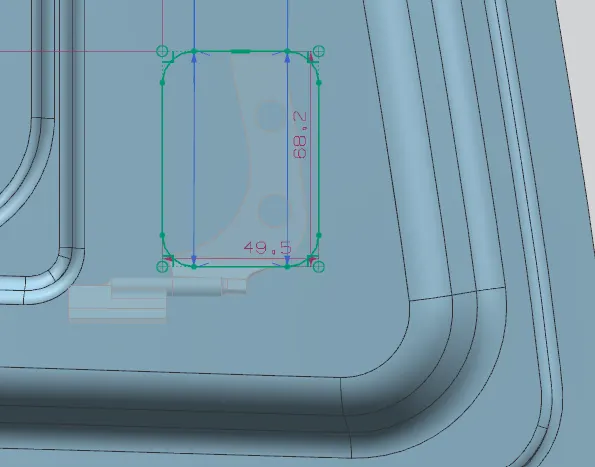
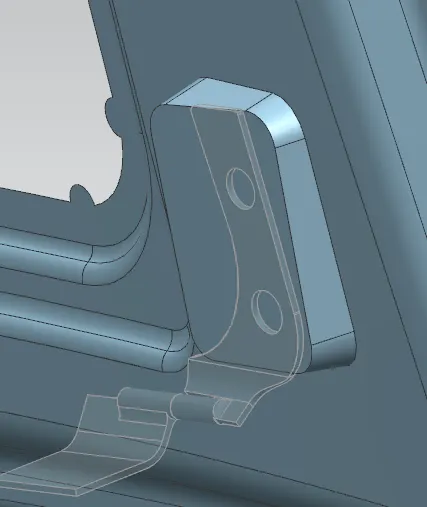
Create the holes using trim surface. Next we have to create the Latch trajectory first in order to create the feature for the attachment of striker.
Latch Trajectory :
It is the path that a striker will follow when the hood is being opened or closed. We have to keep it such way that it will hit the lock mechanism.
Initially we will create a line or an axis where the hinge will rotate. Draw a circle which will act as a path for striker movement.
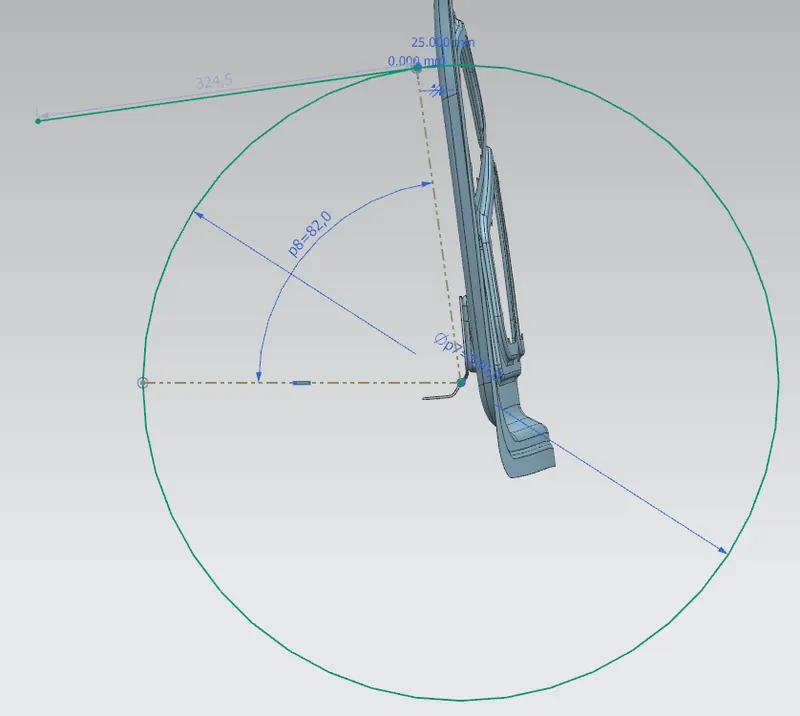
Now move and adjust striker with respective assembly constraints.
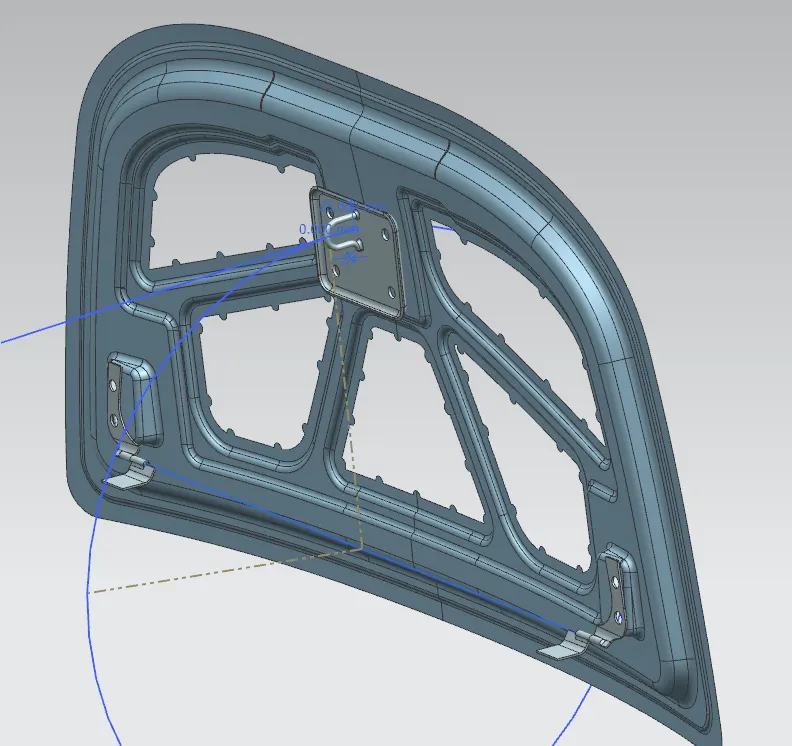
Follw the same procedure as the hinge segment for the striker also.
Thickhen the inner panel to 0.75mm
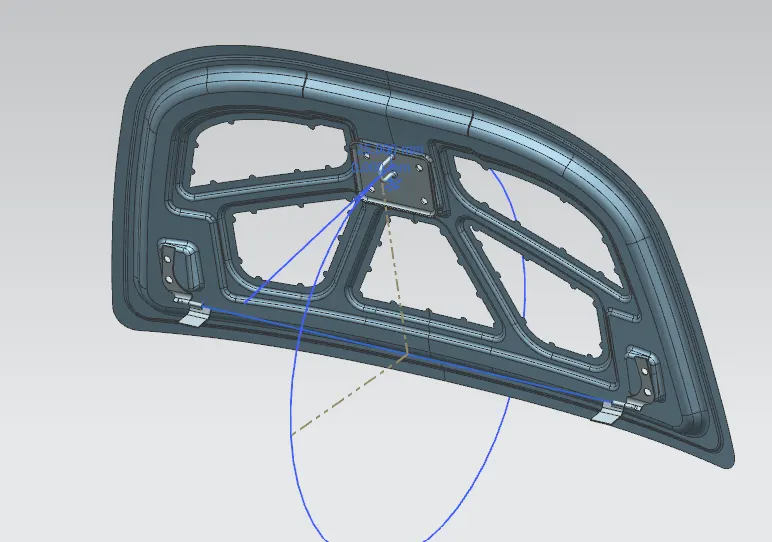
Next step is to create the outer panel and create the Hemmed section.
Hemming is a technology used in the automotive industry to join inner and outer closure panels together (hoods, doors, tailgates, etc.). It is the process of bending/folding the flange of the outer panel over the inner one. The accuracy of the operation significantly affects the appearance of the car’s outer surfaces and is therefore a critical factor in the final quality of a finished vehicle.
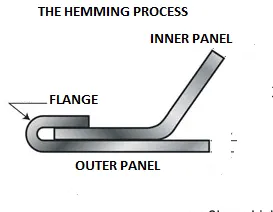
So we start with the same body as default and trim that into half.
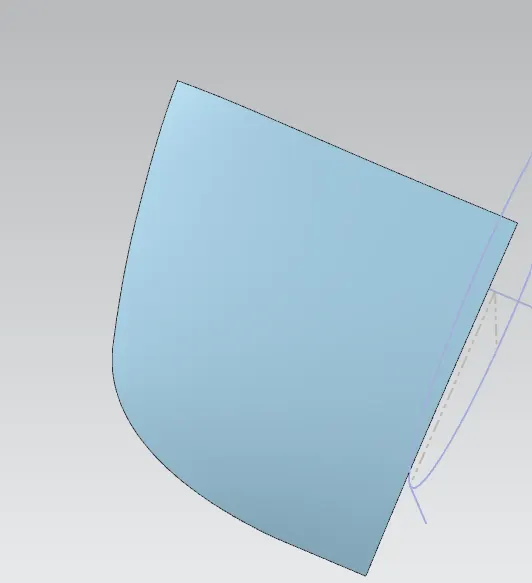
Create a offset of 0.5mm.
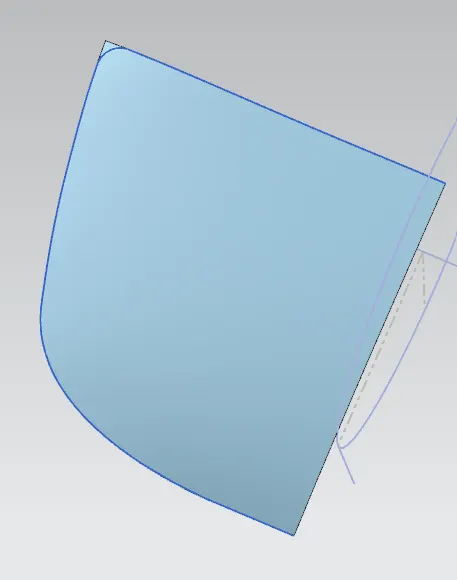
Using law extension extrude the curve at 80 degrees.
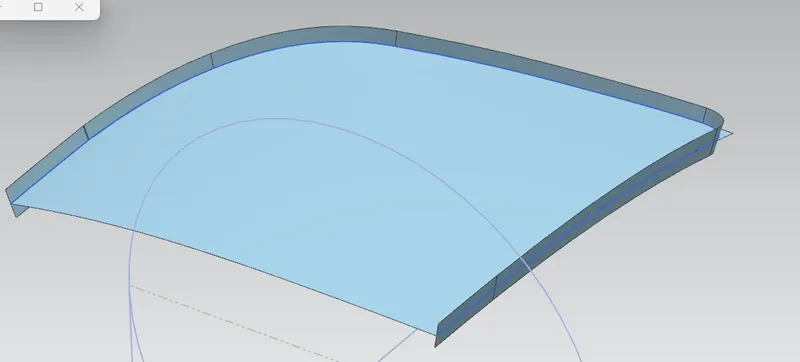
Offset the extruded surface to 15mm inwards and other surface as per the master section.
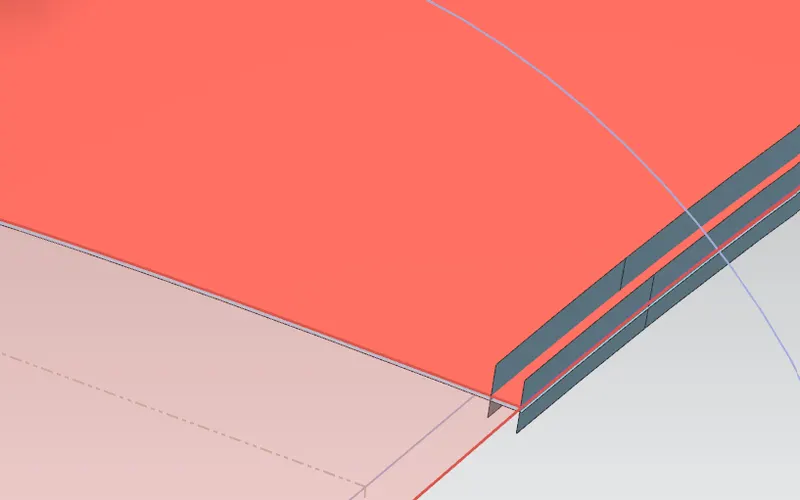
Trim the below surface and blend the other surfaces.
Here select 3 face blend to obtain the Hemmed surface.
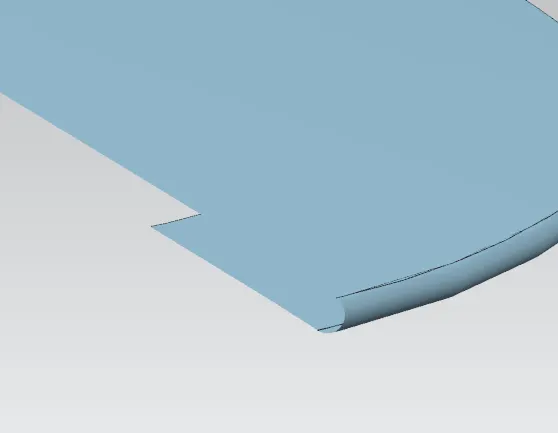
Create the corner reliefs as required using the curve on surface option and trim that.
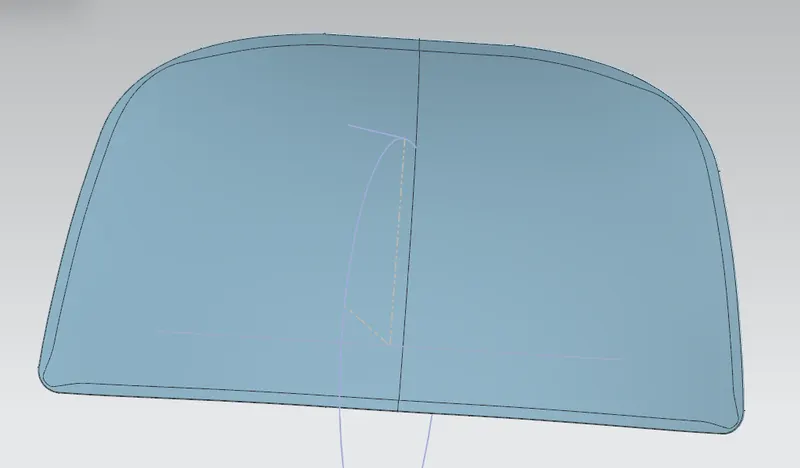
Thickhen the surface by 0.75mm. Hence the outerpanel is also created.
The final assembly of Hood inner panel, outer panel, striker and hinge assembly is as below.