Hood design-Week 2
Design Hood Outer Panel, Inner Panel and the necessary reinforcements by following the Master Section mentioned with the Design parameters explained in the videos.
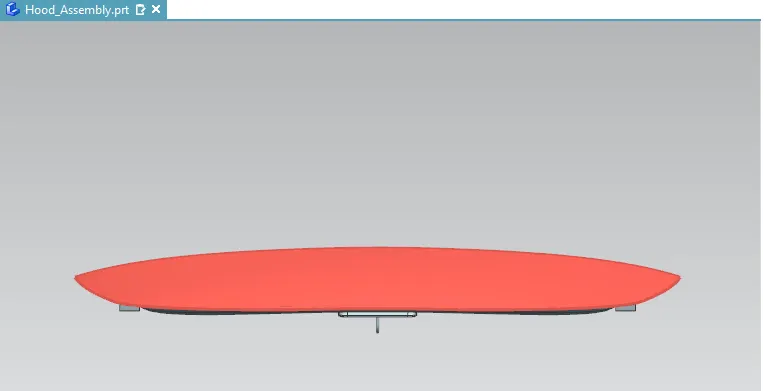
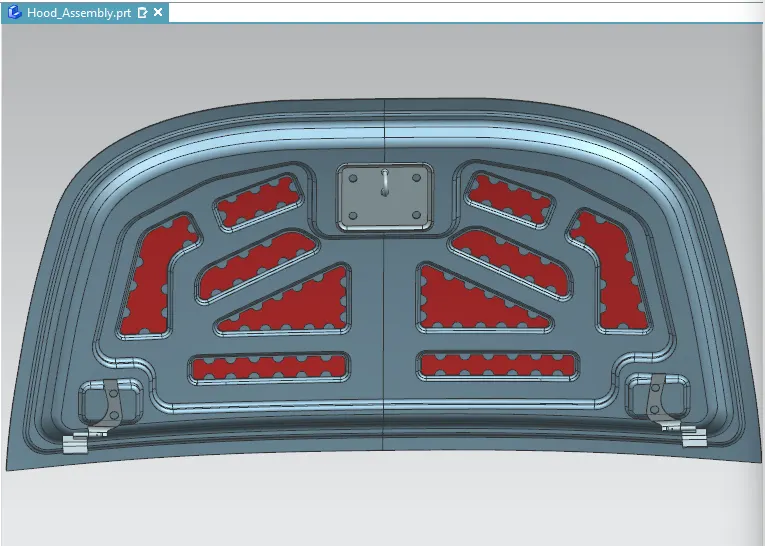
Submit an ASSEMBLY of Hood Inner Panel, Outer Panel, Latch, Hinge and the Reinforcements.
Answer:
Steps to make outer and inner panel using the master section mentioned.
- Copy and paste the outer panel file in the same folder and name it as inner panel.
- Make a new file of Assembly, and add inner panel.
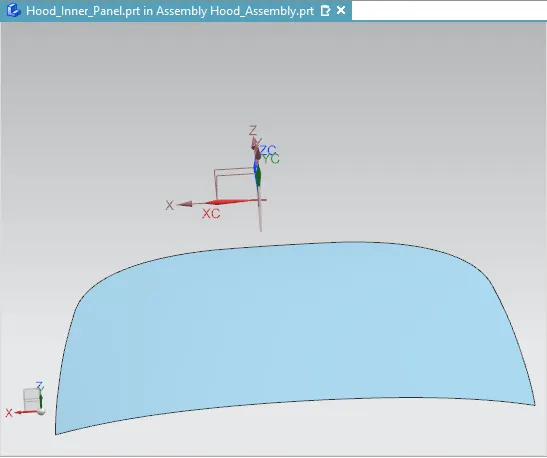
- Cut the half of the panel using Trim Sheet command.
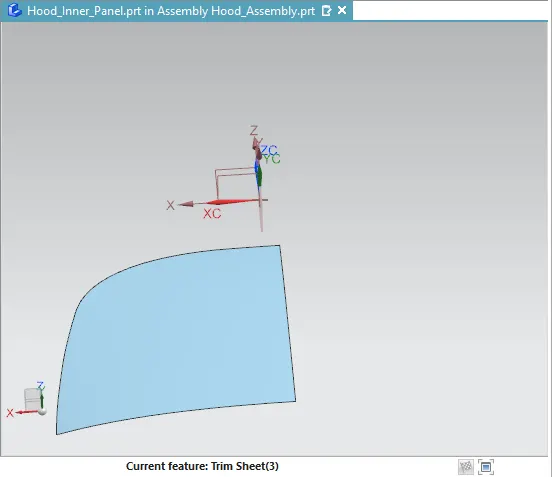
- Offset the surface to 1.7mm using Offset Surface command.
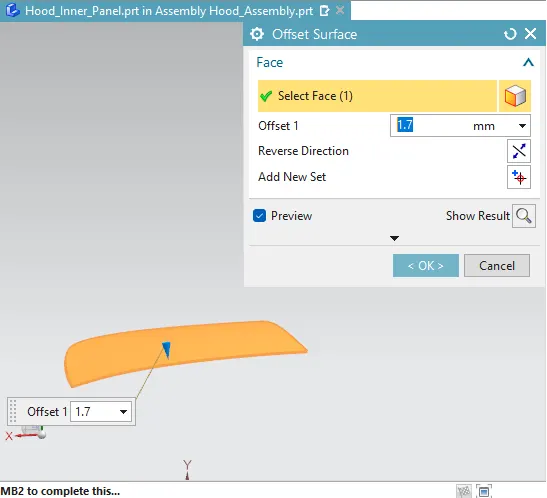
- Then hide the upper sheet and sketch offset of curve for 20mm on the XZ datum coordinate plane.
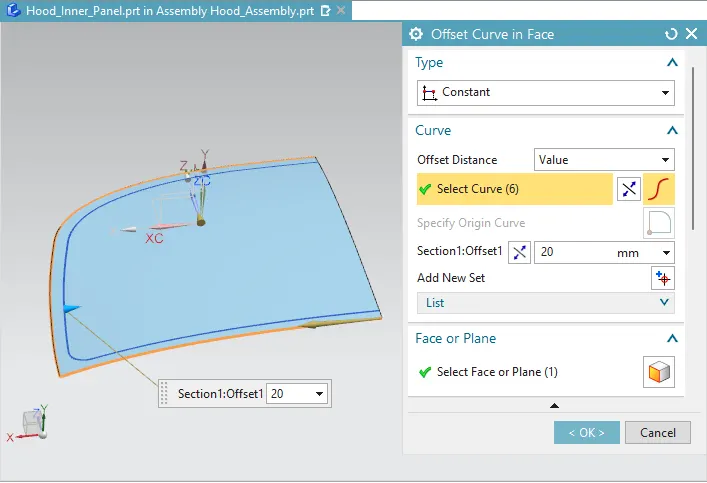
- Now project the curve on the surface using Project Curve and trim the surface using Trim Surface command as shown in the figure.
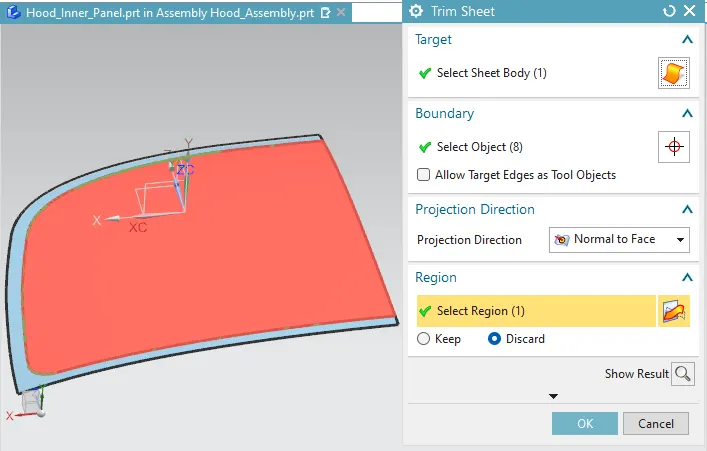
- Now show the main upper surfaceand offset the surface upto 4mm from the upper surface and make the sketch on the XZ datum coordinate plane. In the sketch make the offset of outer curve for 22mm and for 35mm from the edge and project the curve on the surface.
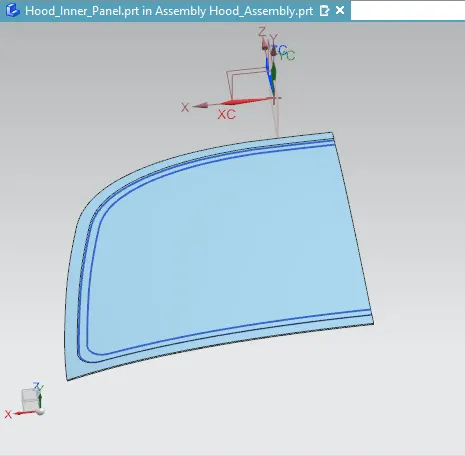
- Trim the sheet using Trim Sheet command and make the figure as shown in below.
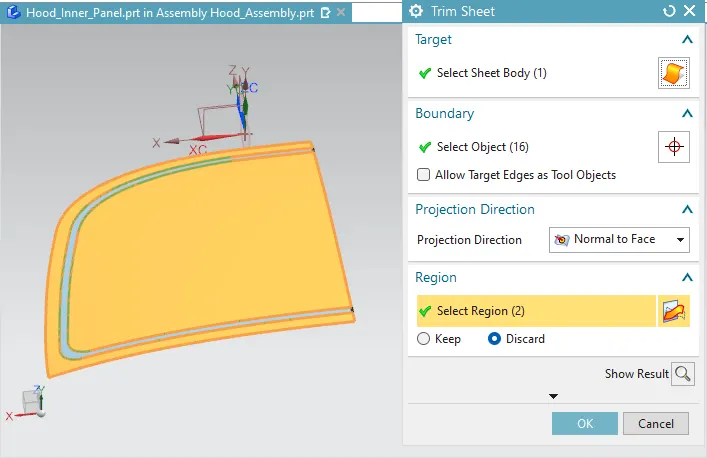
- Make the same procedure offsetting the surface by 25mm and offsetting the curve by 50mm and trim the sheet using Trim Sheet command.
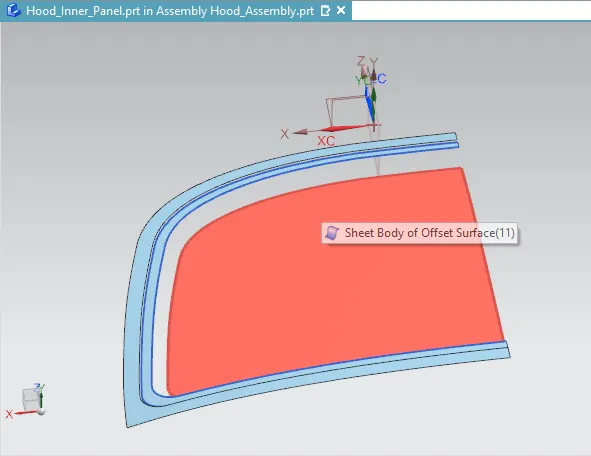
- Make the figure using Through Curve command and make fillet of the suface using Edge Blend command as per Master Section parameters.
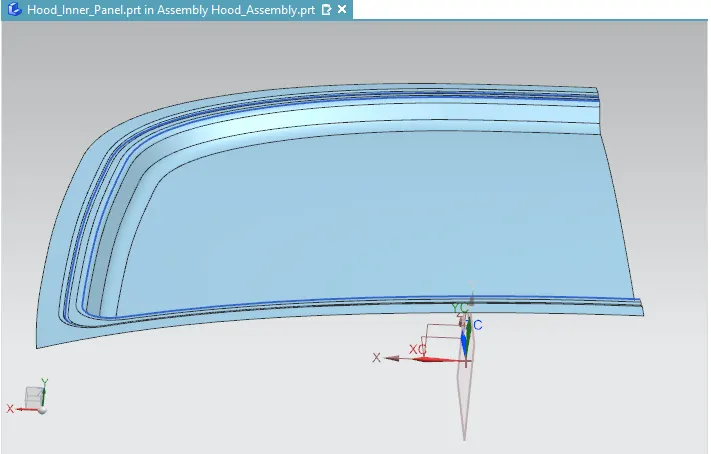
- Now make sketch on the XZ datum coordinate plane as shown in below and project it on the surface.
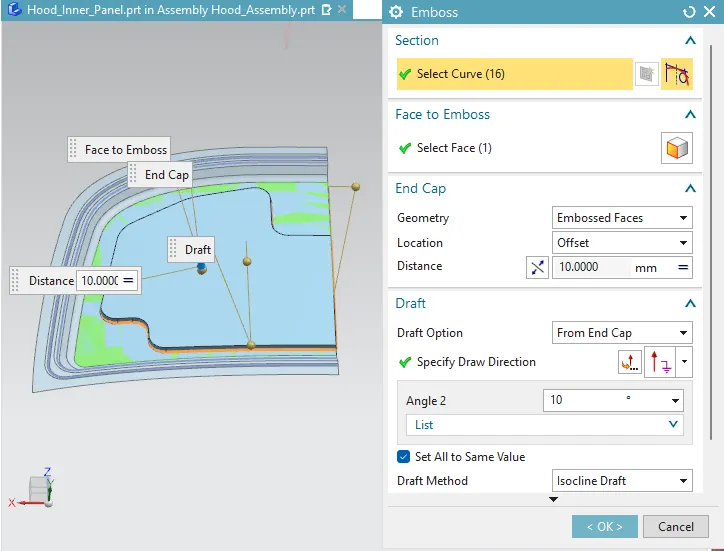
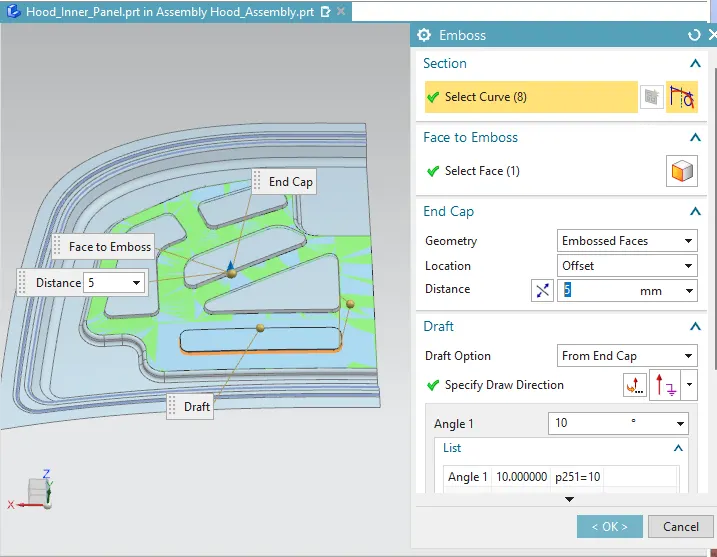
- Make the sketch on the XZ plane and project on the embossed surface as shown in the figure and emboss the sketch on an embossed surface using Emboss command. THe figure will be as shown in below.
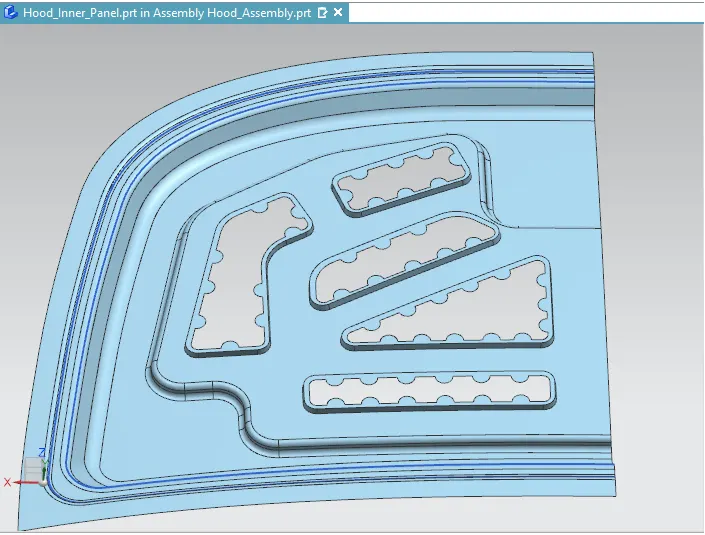
- Now make the sketch on XZ plane and project on the embossed surface and trim the surface as shown in figure.
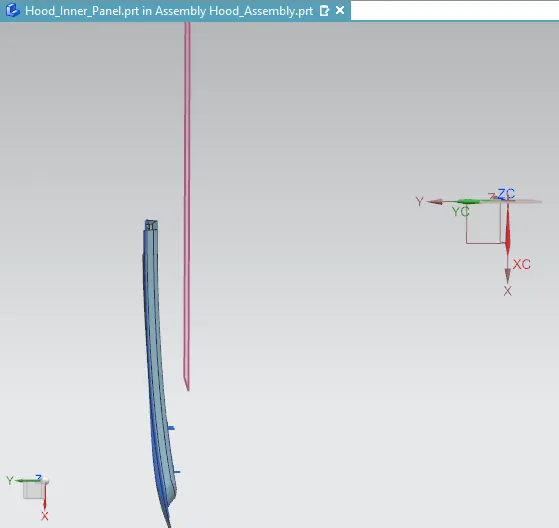
- Make the datum plane near to the surface as shown in figure.
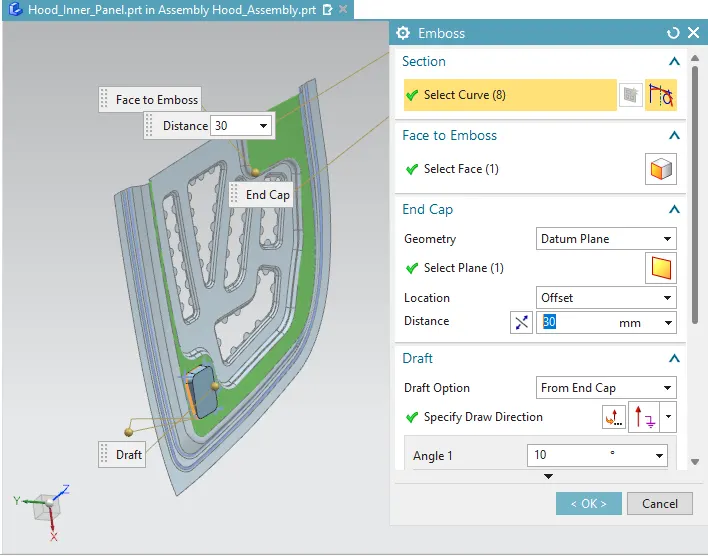
- Sketch on the Datum plane and project it on and emboss the surface using Emboss comand as shown in figure.
- Make the Edge Blend for smooth corners. Extend the sheet for maximun 20mm and trim the sheet from YZ plane.and it will be as shown below.
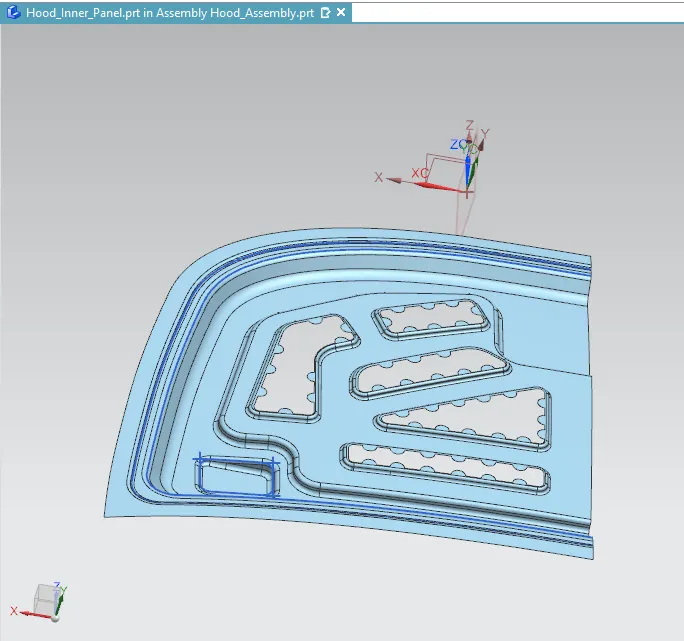
- Now Mirror the Geometry with YZ plane and Sew it to make them unite.
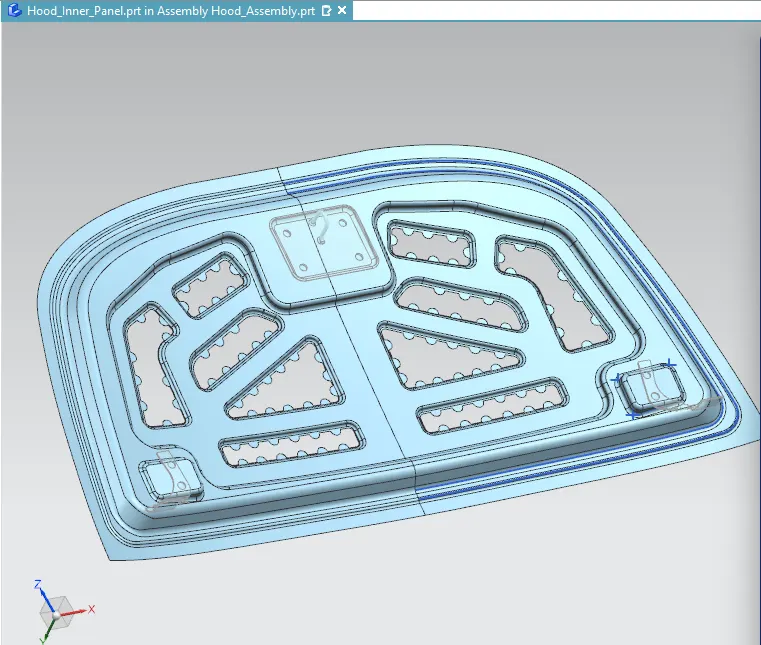
- Add Hinge assembly and Striker from the files provided and align Hinge assembly to the hinge support embosses as shown above in the figure.
- Now select centre points from the Hinge assembly and connect them by line.
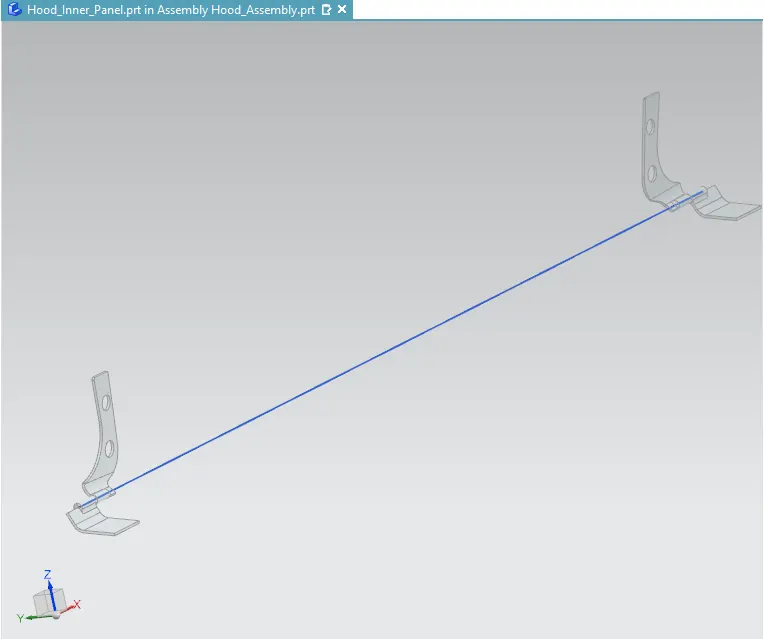
- Make a sketch on YZ plane which is the middle of panel as shown in the figure.
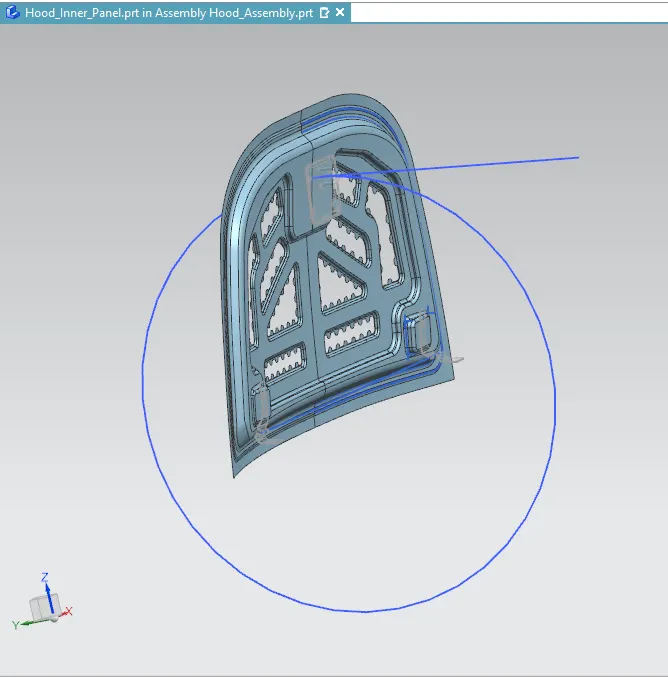
- Now activate Striker, add Datum plane and make a line at the middle of the U-shaped pipe. Align lines as shown in the figure.
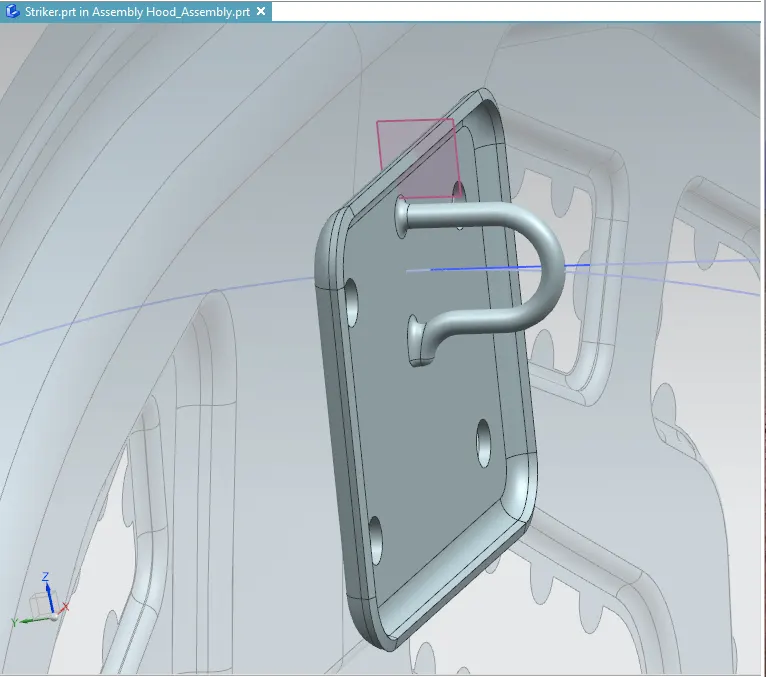
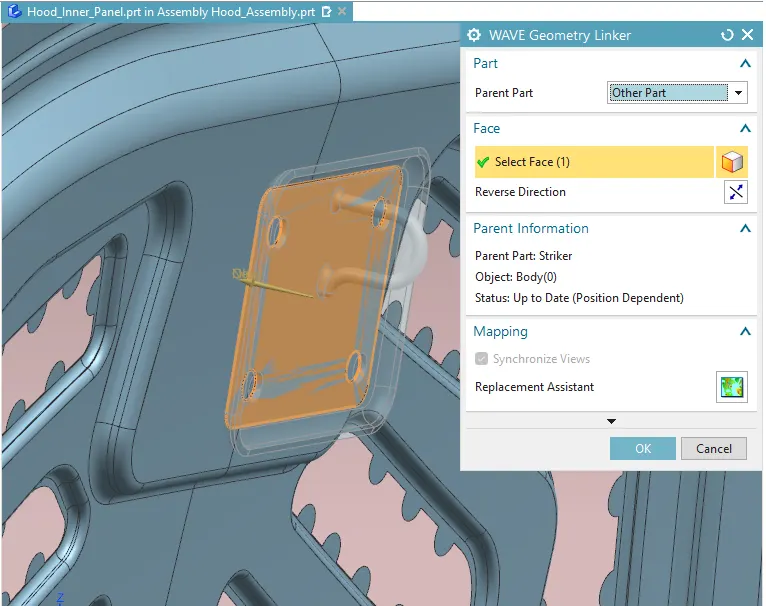
- Now move the Striker close to the panel like above figure. By using Linked Face we can make sheet metal plate from the back side of the striker.
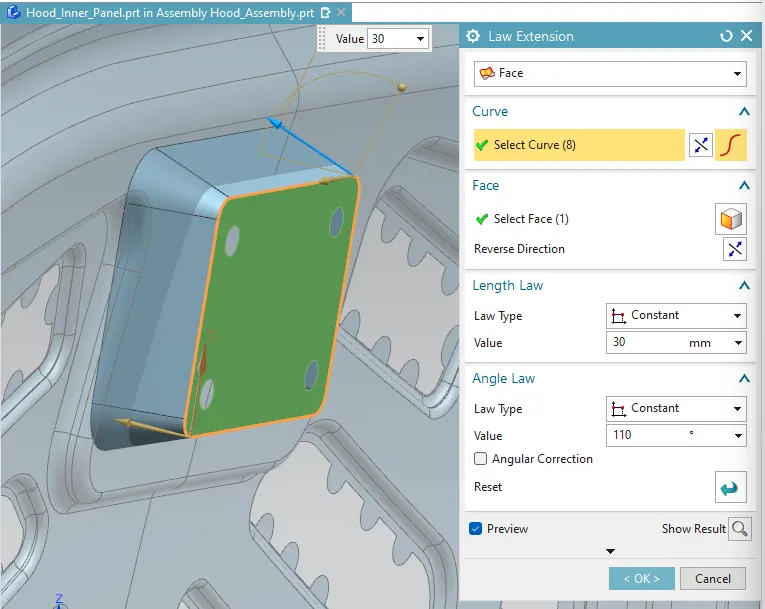
- Now by using Law Extension make the sheet as shown in figure and using Trim Sheet command trim the outer surface.
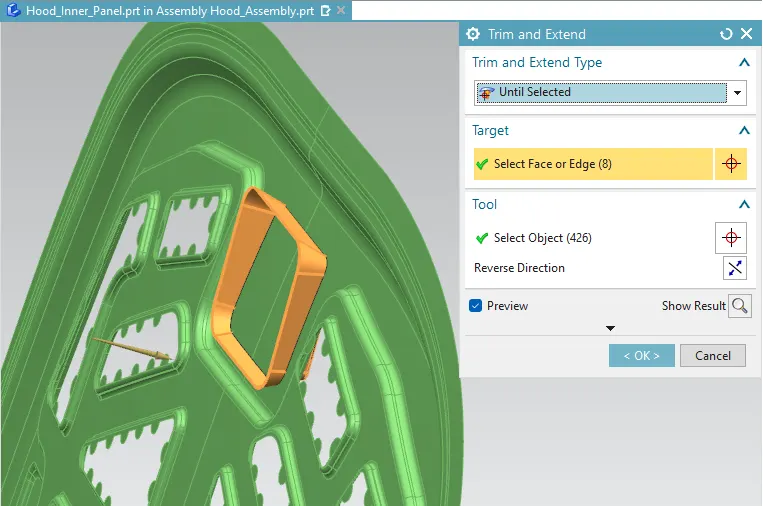
- By showing Outer Panel, Inner panel, Hinge assemblies and Striker, the final Assembly will be like this.