Hood design-Week 2
HOOD DESIGN
HOOD: the hood is the upper frontal part of the car/vehicle which is mounted to cover the bonnet and includes the engine, coolant system, Air filter and accessories of the Engine system. The Hood also plays an important role in heat transfer from the engine to the environment.
HOOD COMPONENT:
- Hood Outer Panel: This is a sheet metal part which is mostly outside or upper surface of hood. which is visible directly in front of the car.
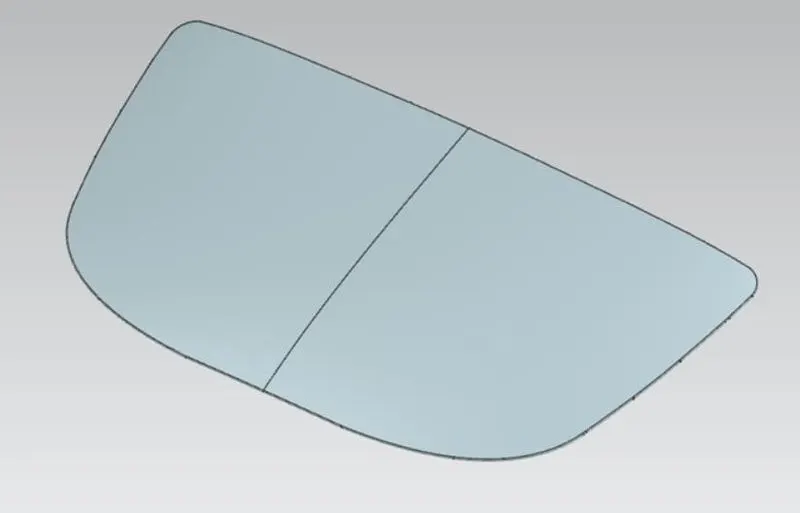
- Hood Inner Panel: This is also a sheet metal part with equal thickness but Inner Panel is the most strength part of the hood and is assembled inside the outer hood which provides strength to the hood so that during the accident hood divides the collapse force from the centre to the wheel supports and damage can be minimized. The hinge and striker are mounted in the inner panel part.
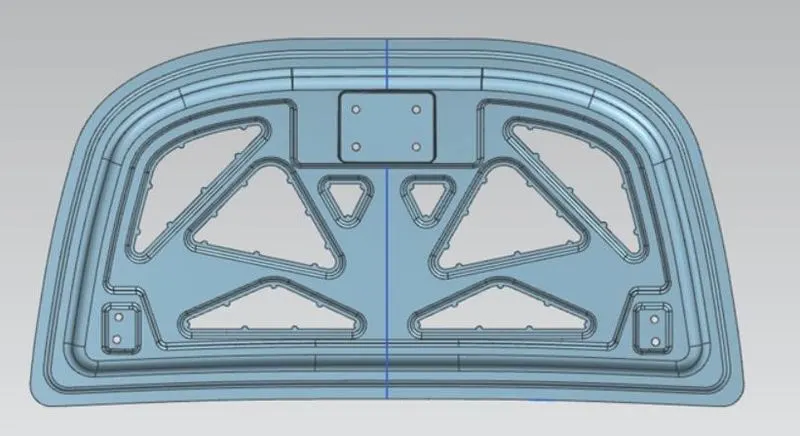
- Hood Hinge Assembly: This is used for opening and closing the Hood during servicing of the car, which is joined Hood to the engine compartment.
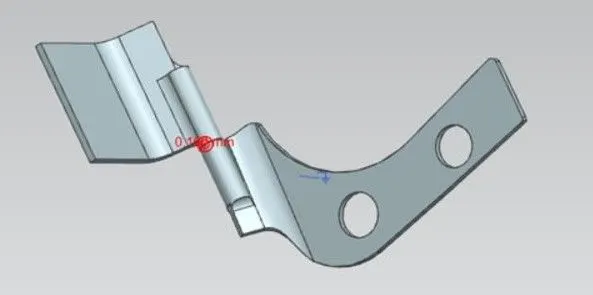
- Striker: This part is used to lock the hood temporarily to the engine compartment and prevent accidental opening. the latch is present in the engine compartment which is stuck to the striker.
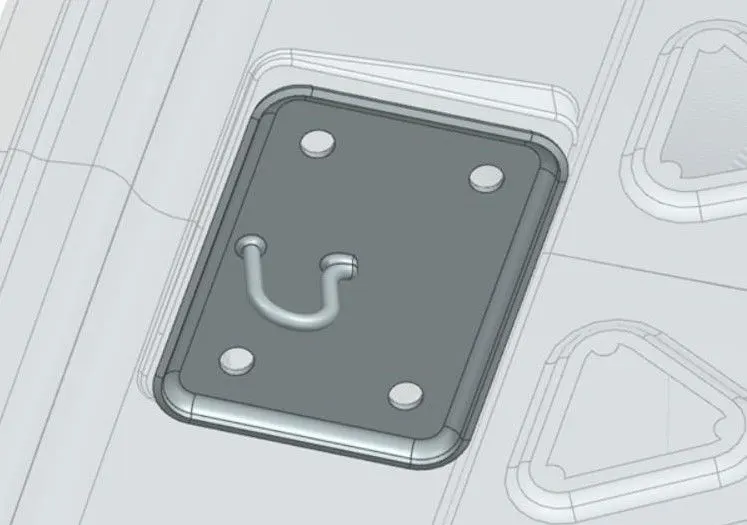
- Support Rod: this rod supports the hood weight and stops falling hood after opening the hood and during servicing of the car.
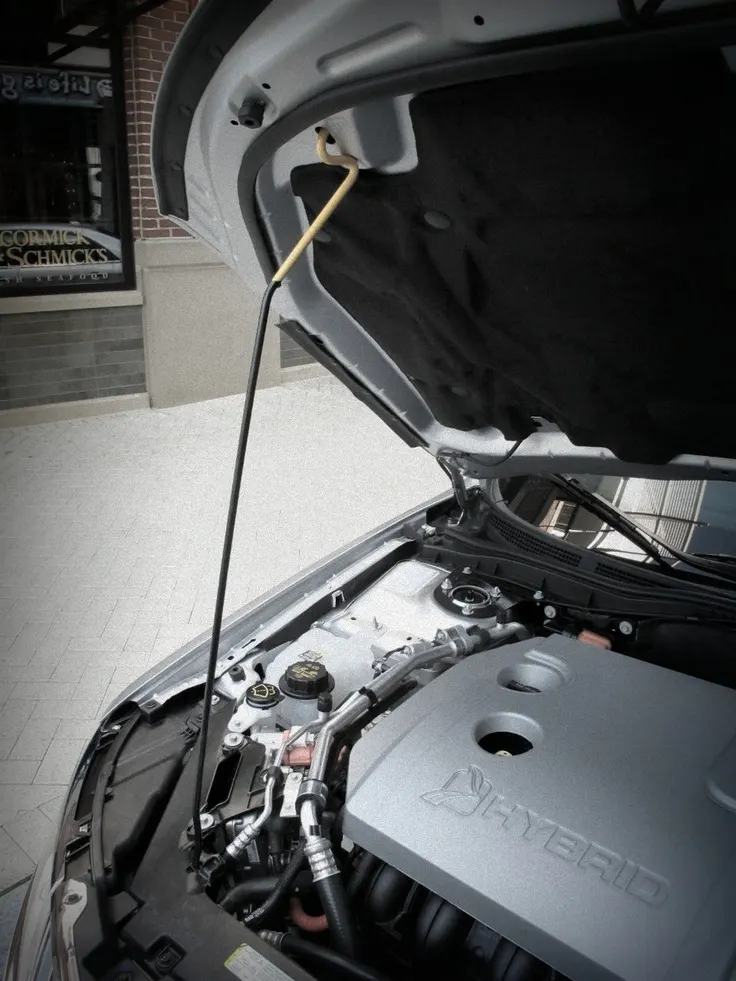
- Mastic sealants: Mastic data is used for providing strength to the hood between the inner and outer panels and each mastic effective is approximate 80mm.
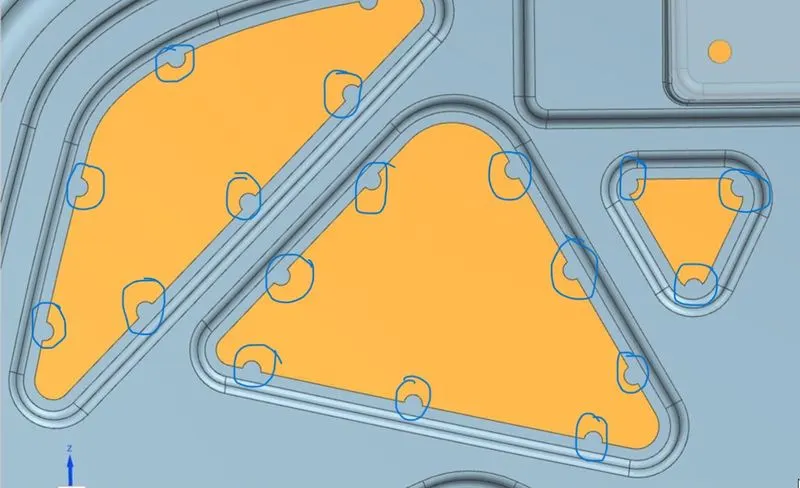
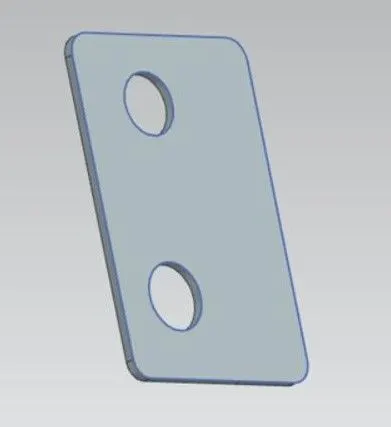
- Reinforcements: reinforcement provides extra strength to the inner panel where components have to install.
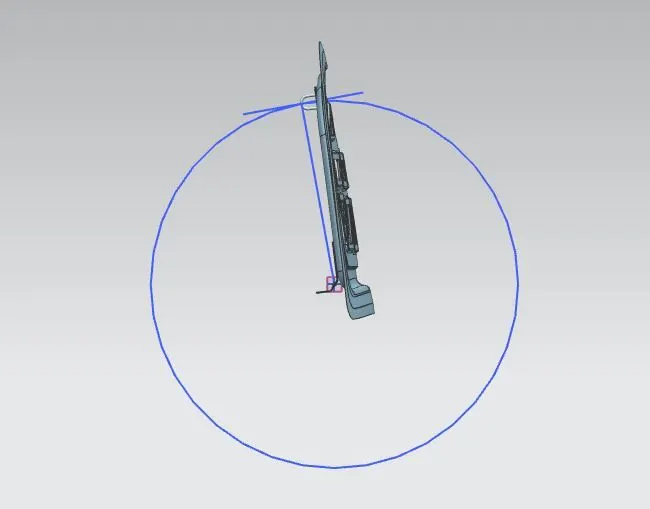
- Latch Trajectory: latch trajectory shows the path followed by the Hood during opening and closing operations. the striker follows this particular path. this is very useful for designing a hood with respect to hinge, latch and striker.
Designing process:
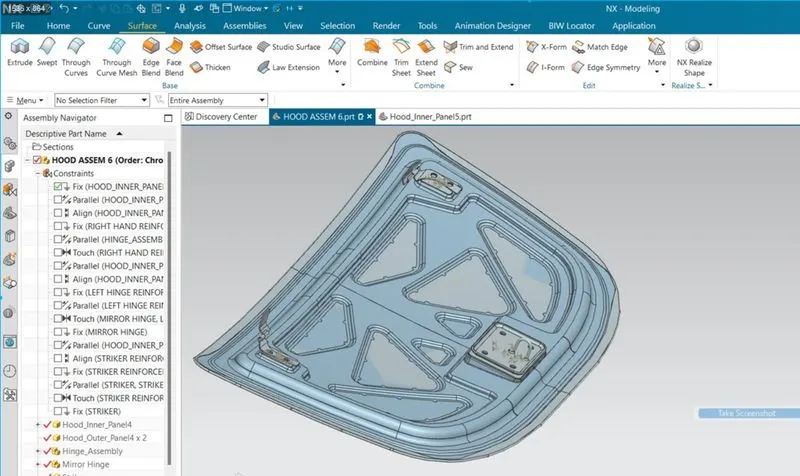
- For the inner panel, I used the hood skin data (parent) and followed the master section with their various features and dimensions. I used the offset, trim and extend, law extension, edge and face blend, through curves and emboss commands to make the inner panel by master section.
- For the outer panel, I used the hood skin data and make it in the inner hood part. I used the law extension, hemming, offset and trim commands.
- After that, I used the emboss command by following the dimension and mounting position of the hinges and striker for the inner panel. then I made reinforcement of 1.5 mm thick by using of mounting position emboss sketch of the hinge and striker.
- In assembly, I collect all components (Hinge, inner panel, outer panel and striker) and applied all constraints one by one for each component to locate the exact position.
Manufacturing Process:
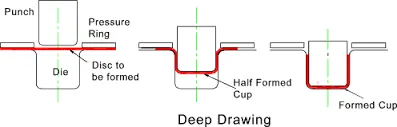
- Deep drawing: In this process, we used the punch & die and hit on the sheet metal with the minimum optimum strike to create a cup-like deep structure
- Hemming process: In this process, we fold the sides of sheet metal with respect to their desired dimension. The Hemming process is used to hold the inner and outer panels together.
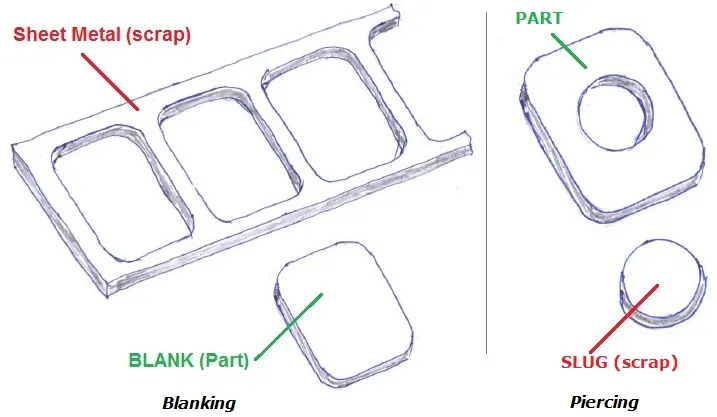
- Punching and Piercing process: In this process, we create the holes into the sheet metal so that we mount the component (hinge, striker, reinforcements) over the inner panel and tie them together by nut-bolt or rivets.
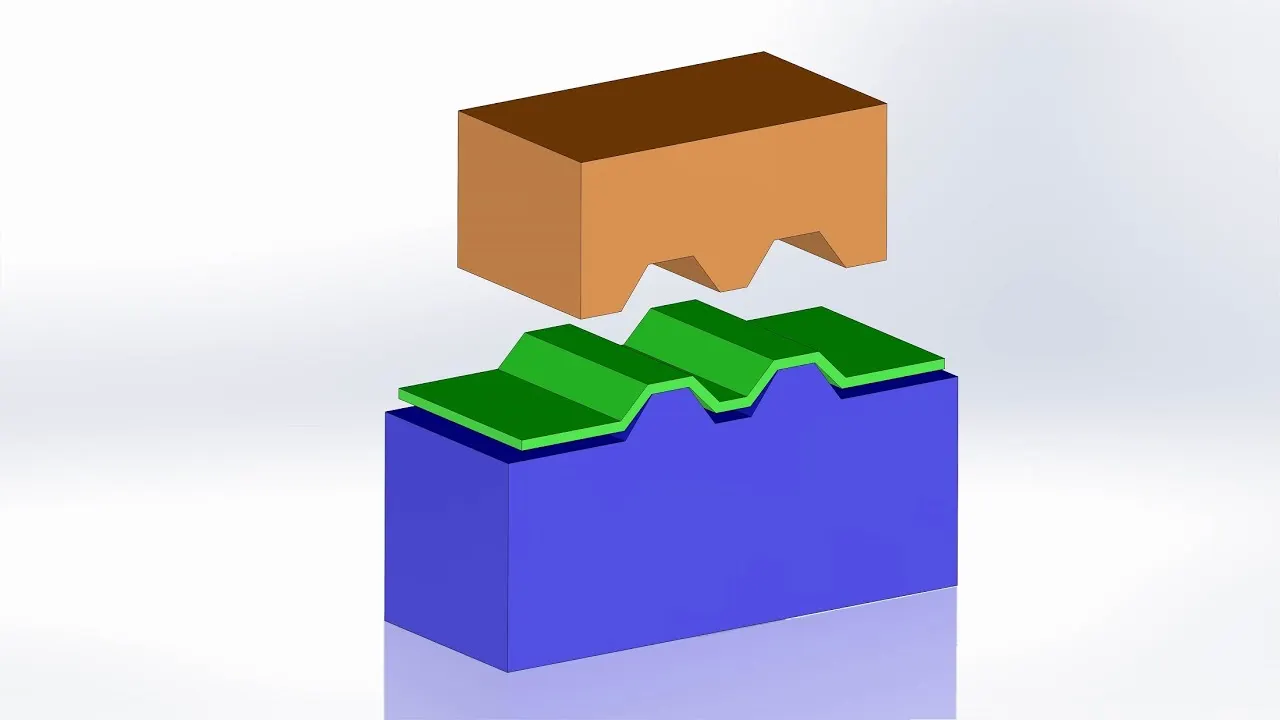
- Emboss: In this process, we create small bumps on sheet metal and we use this for mounting the components and for other use.
List of important commands used in the hood design:
- sketch
- project curve
- trim
- trim and extend
- law of extension
- trim sheet
- intersection curve
- offset curve
- offset in face
- bridge curve
- through curve
- offset surface
- edge blend
- face blend
- sew
- studio surface
- thicken
- apply constraints in assembly