Hood design-Week 2
Aim: - To Design the Hood outer panel, inner panel, and the necessary reinforcements by following the Master section mentioned with the design parameter. And assemble of Hood inner panel, outer panel, latch, hinge, and the reinforcements
Inputs
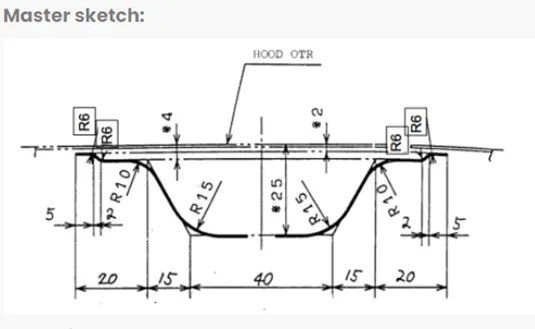
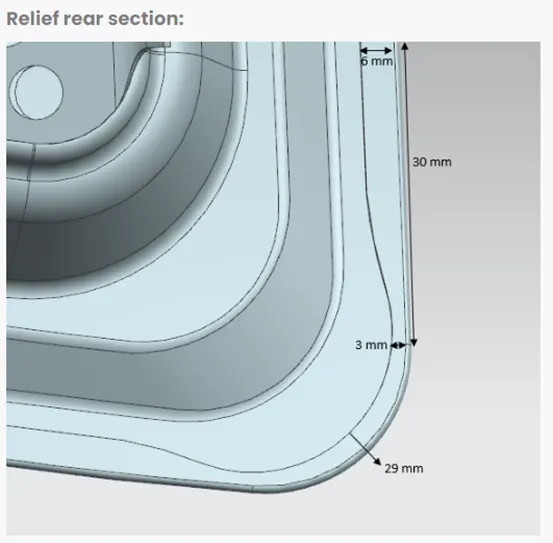
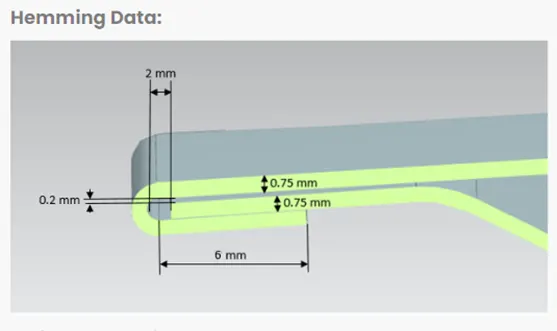
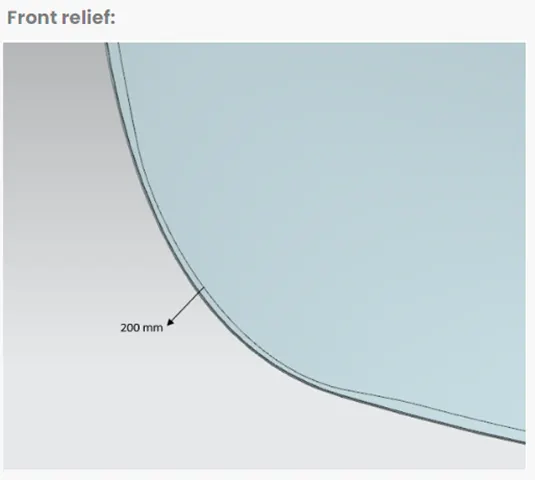
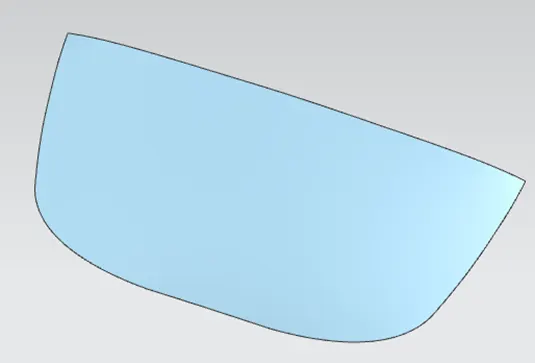
Fig class-A
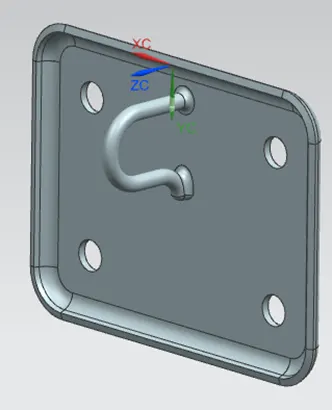
Fig Striker
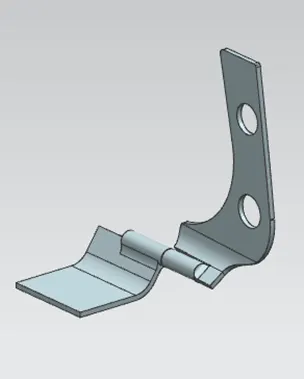
Fig Hinge Assembly
Software
NX12
PROCEDURE: -
Rules to follow for designing the Hood
Material
Hoods are typically made of the same material as the rest of the bodywork. This may include steel, aluminum, fiberglass, or carbon fiber. However, some aftermarket companies produce replacements for steel hoods in fiberglass or carbon fiber to make the vehicle lighter.
Before we dive into the design, let us understand the rules and regulation standards for designing the hood.
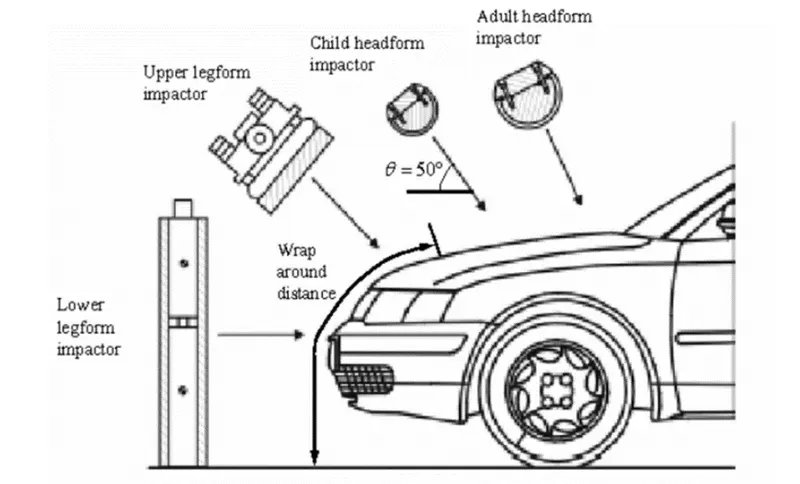
A perfect hood design means it should have a great impact distribution angled outside the car.
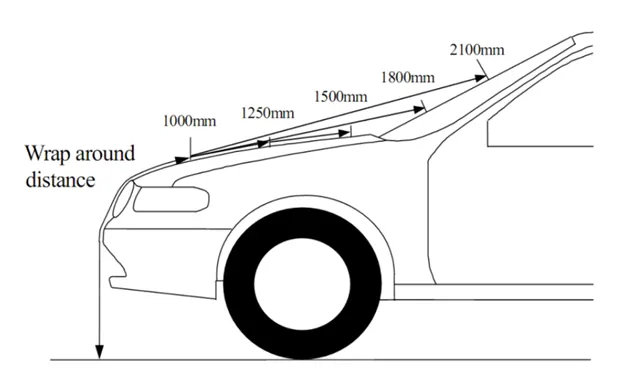
In Japan and Europe, regulations have come into effect that places a limit on the severity of pedestrian head injury when struck by a motor vehicle. This is leading to more advanced hood designs, as evidenced by multicore hood inner pane designs.
European Enhanced Vehicle-Safety Committee (EEVC), European New Car Assessment Program (euro NCAP)
Pedestrian-Vehicle Collision
India, however, ranks 1 in the number of road accident deaths across the 199 countries reported in the World Road Statistics, 2018 followed by China and the US. As per the WHO Global Report on Road Safety 2018, India accounts for almost 11% of the accident-related deaths in the World.
Road transport remains the most favored mode of transport for both freight and passenger movement in India. The fast-growing population, exceptional rate of motorization coupled the ever-growing urbanization has made people vulnerable to frequent road accidents resulting in fatalities, injuries/disabilities.
the sequence of injuries and events in pedestrian collision images are mentioned below.
Design In NXCAD
Open the new Assembly file name as Hood_Design_Assembly. And import the class-A surface and name as Outer panel and create another part file and name as Inner_panel. And like the same import the striker and Hinges_Assembly as well and save in single folder.
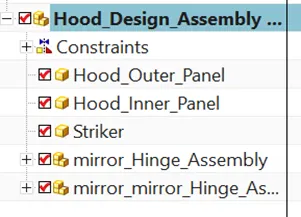
Fig Assembly tree
Open the Hood_Inner_panel and check the master section which is provided. we can see in the master section there is symmetricity on both sides so trim the class-A surface at the middle plane. In the master, it is clearly shown that the offset distance between the surface to surface based on that make use Offset Surface command and offset the trim surfaces. And use the Law Extensions command or Through Curves to fill the extra surface with the parent surface to get the surface Curves to use the Offset curves on the face command and Trim the unwanted surfaces.
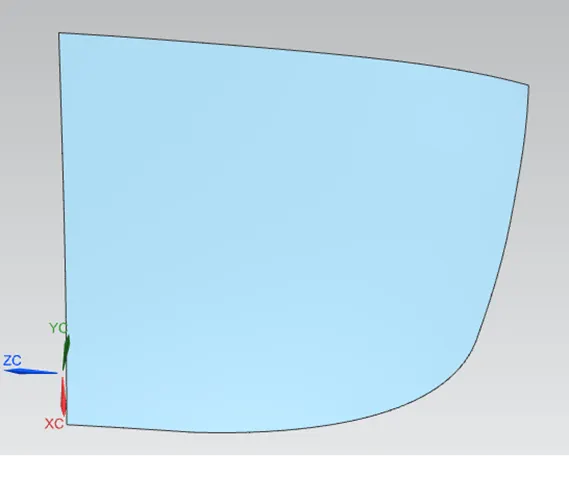
Fig spliced class-A surface
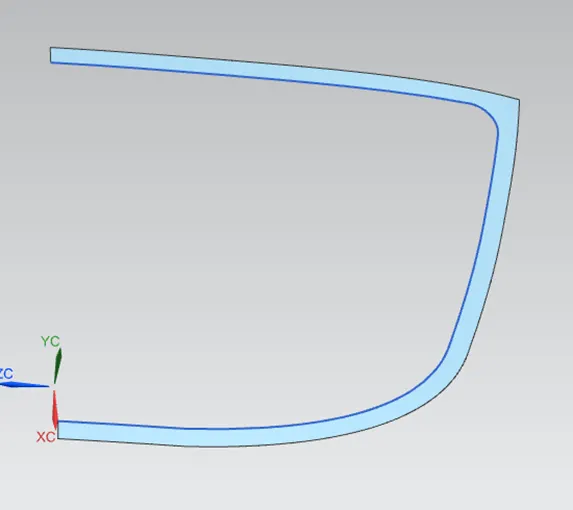
Fig First surface at 2mm
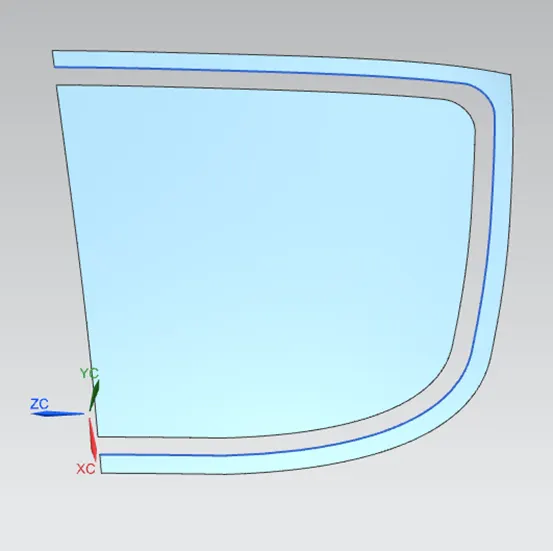
Fig second surface at 4mm
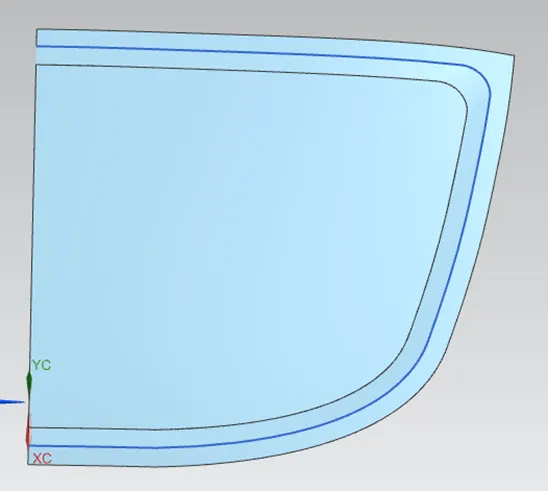
Fig used Through curves to join the two surfaces
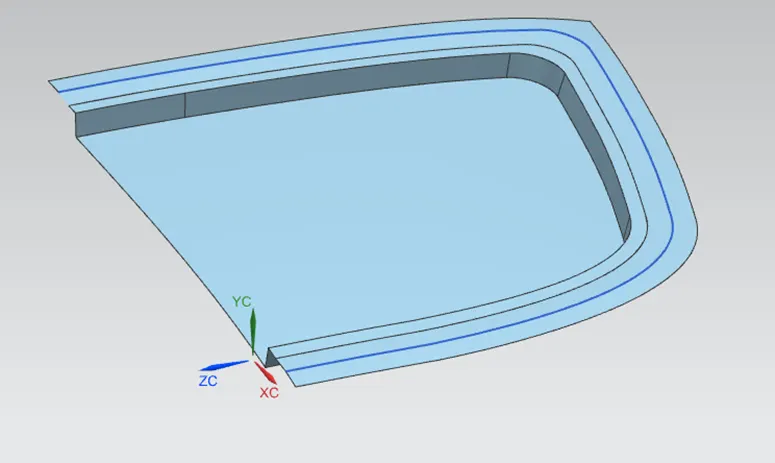
Final offset surface at 25mm distance and trim sheet with 55mm from the outer edge of the sheet and used the law Extension to join the surface and use the face Blends and Edge Blends for the surface
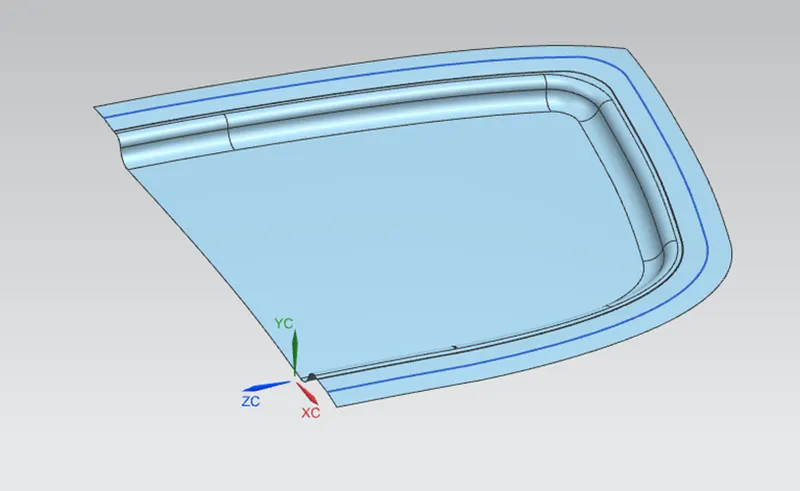
And start working on Emboss and add the reinforcement for the attachment components to get the strength of the component. And trim the excess material. Add mastic and Emboss for the Hinges to mirror the Existing panel.
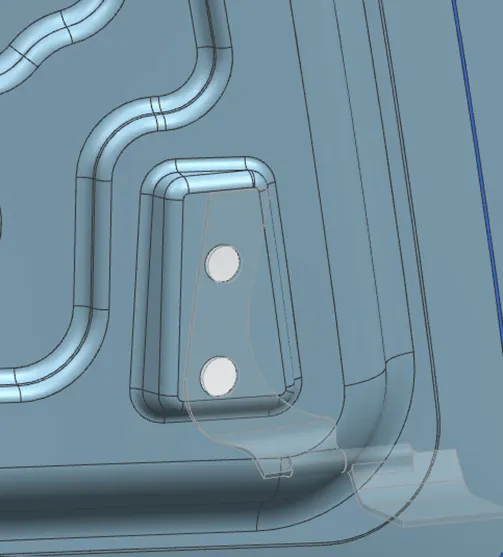
Fig Hinge Emboss
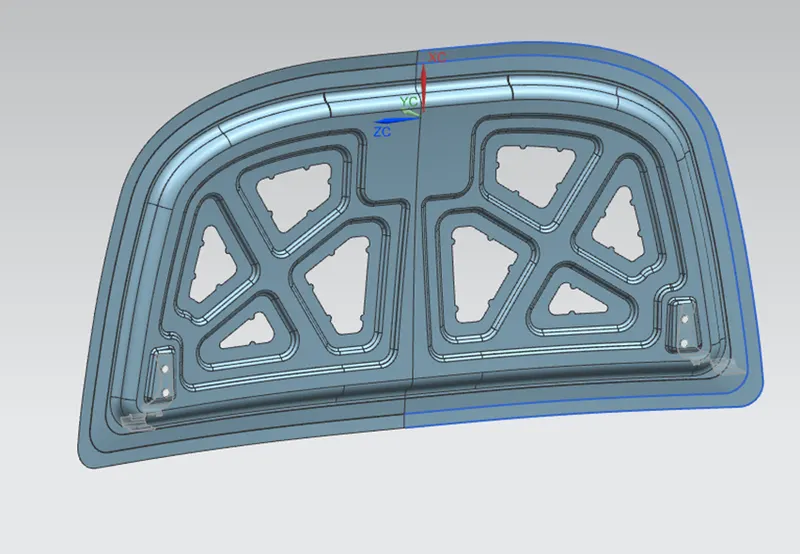
Fig Mirror the Panel
Striker Design
For the striker, we need to check the opening and closing of the hood so have to draw a trajectory path for the Striker Start with opening the Hood inner panel and drawing a straight line by taking a base of the Hinges and drawing a circle and containing with a tangent line that moves the striker part file and draws the line which engages to the lock. then use the striker base and project the emboss of the Hood Inner panel.
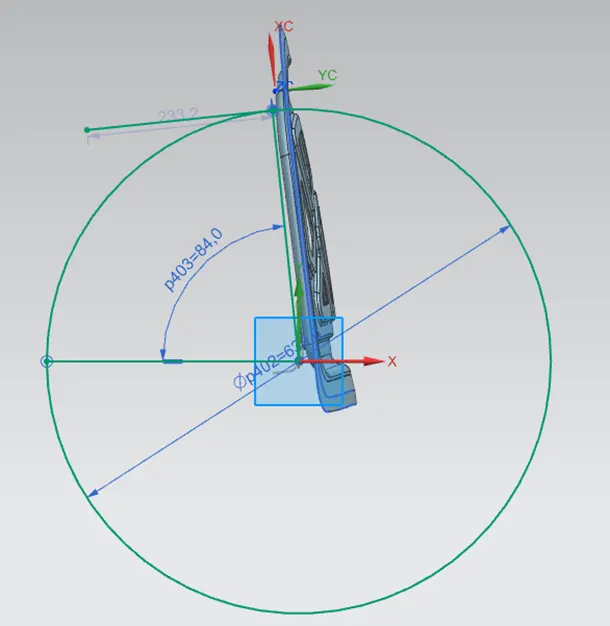
Fig hood Trajectory
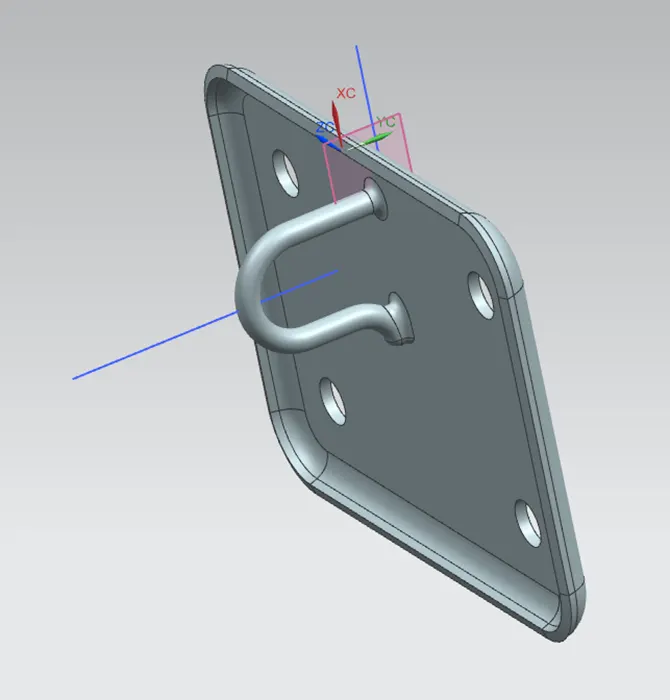
Fig Hinge Lock
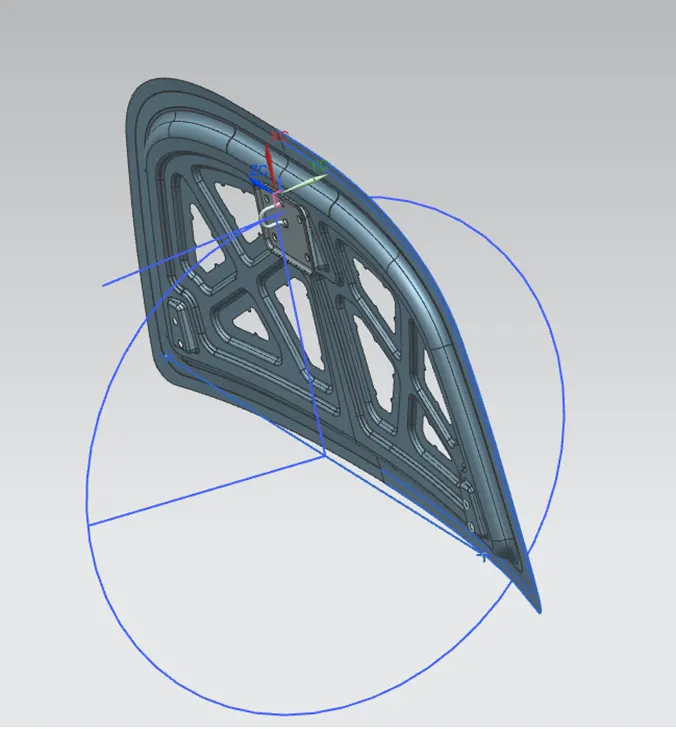
Fig hood and Striker Assembly
Hood_Outer_Panel_Design
For the outer panel, hemming regains needss to add .start with the offset the surface 2.65mm and use the law extension of the surface.
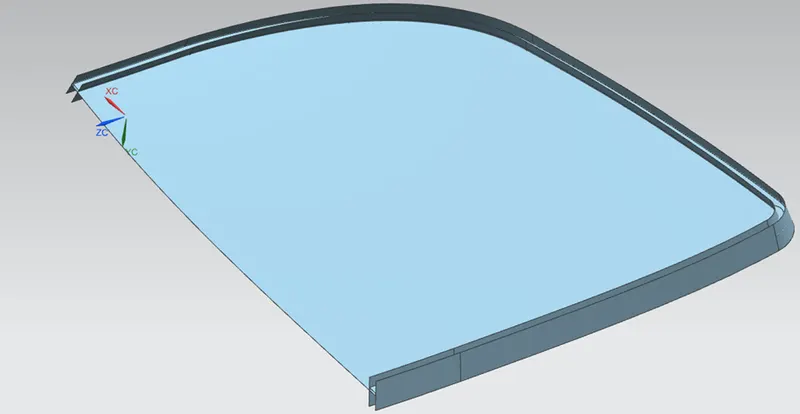
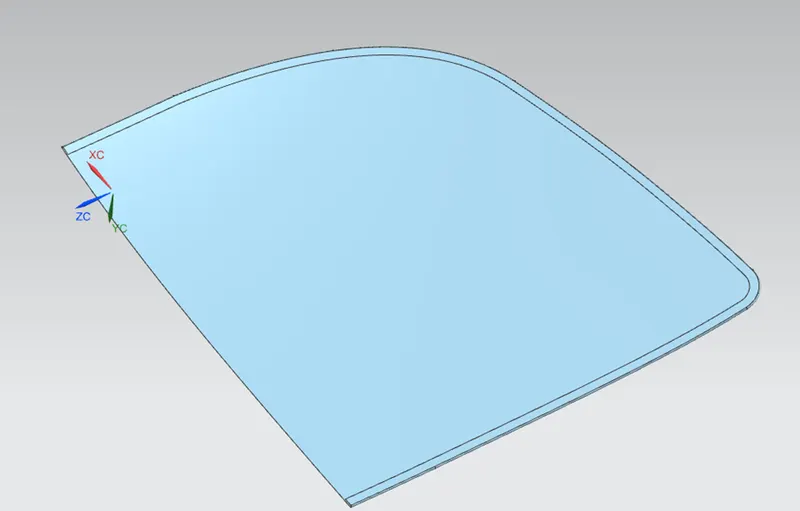
Fig Outer Panel Hemming
And add the Hemming Relief to get the easy corner on the sheet metal
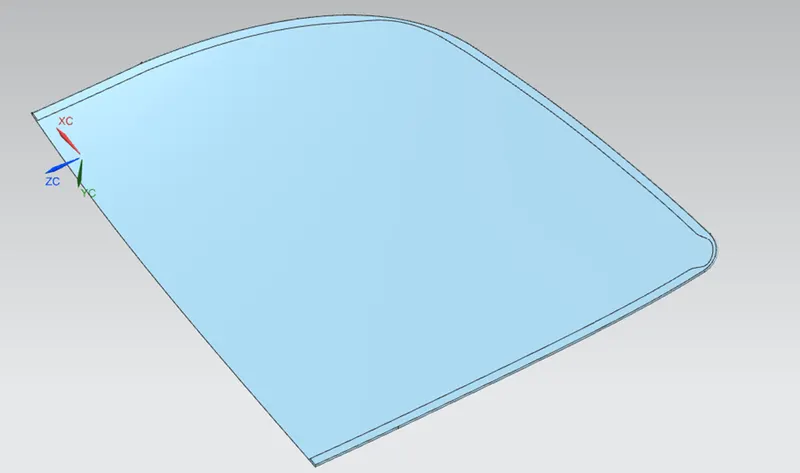
Fig Corner Relief
A mastic sealant data is used to fix or combine the hood outer panel and hood inner panel. They can provide thermal and acoustical insulation, and may serve as fire barriers. They may have electrical properties, as well. Sealants can also be used for simple smoothing or filling. They are often called upon to perform several of these functions at once. Related Courses
A sealant has three basic functions: It fills a gap between two or more substrates, it forms a barrier through the physical properties of the sealant itself and by adhesion to the substrate, and, it maintains sealing properties: for the expected lifetime, service conditions, and environments. The sealant performs these functions by way of correct formulation to achieve specific application and performance properties.
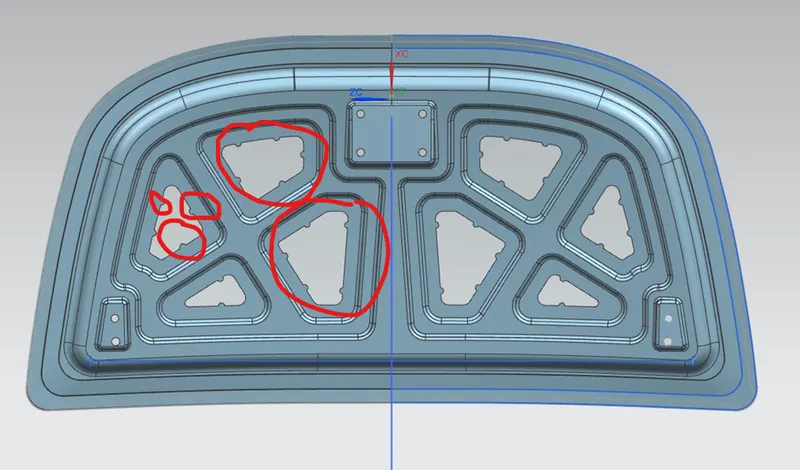
Fig Mastic data
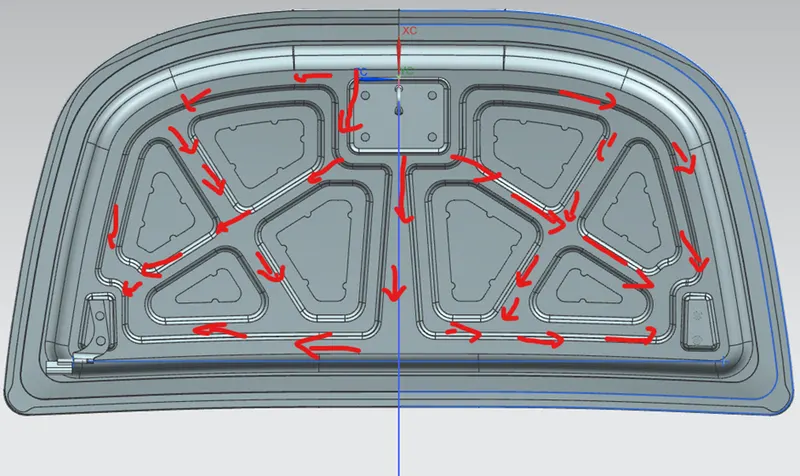
Fig Force Distrubution
Hood
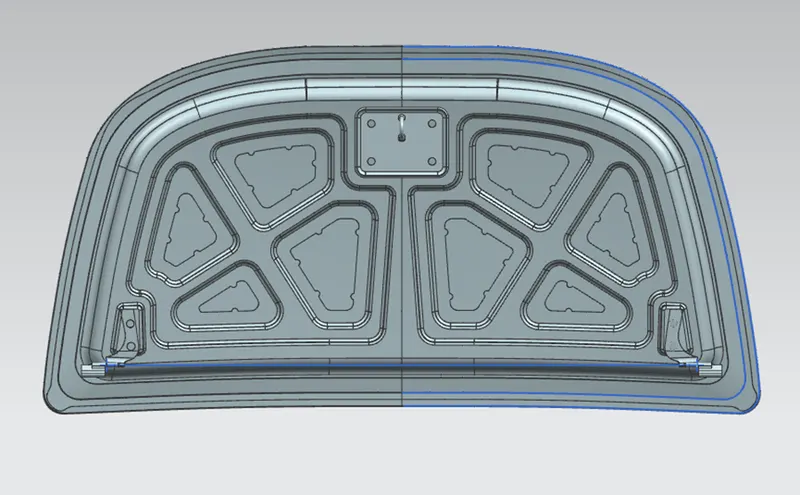
Fig Front View
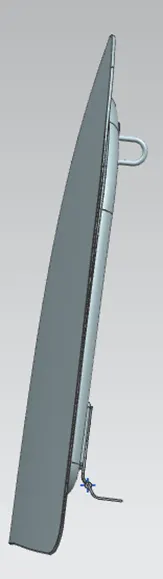
Fig Side View
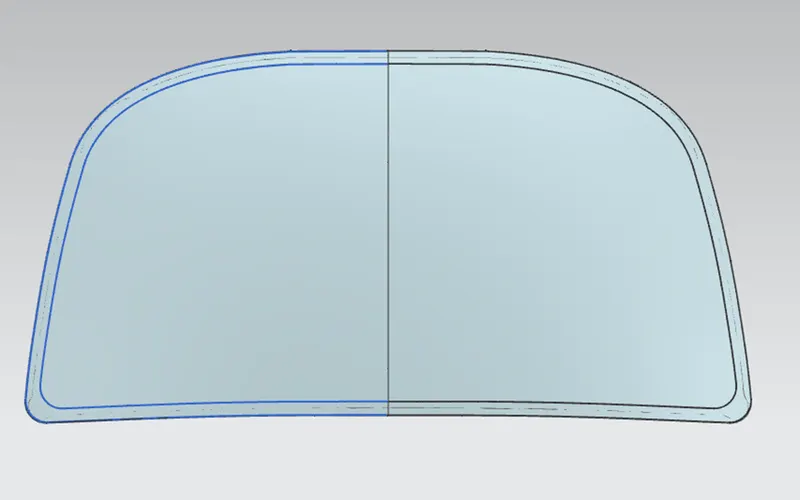
Fig top View
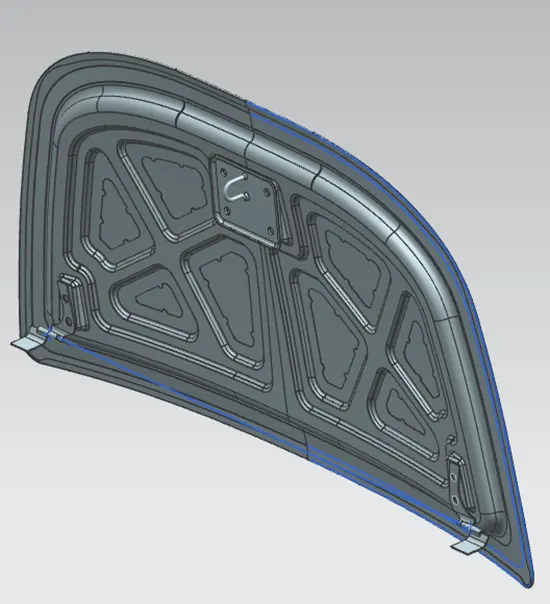
Fig ISO View
Result: From the given Inputs hood Design completed by using NXcad