Hood design-Week 2
AIM :
-
Design Hood : Outer panel, Inner panel and the necessary reinforcements by following the given Master section with Design parameters.
- Submit an assembly of Hood - inner panel, outer panel, latch, hinge and the reinforcements.
SOFTWARE - NX CAD
INTRODUCTION
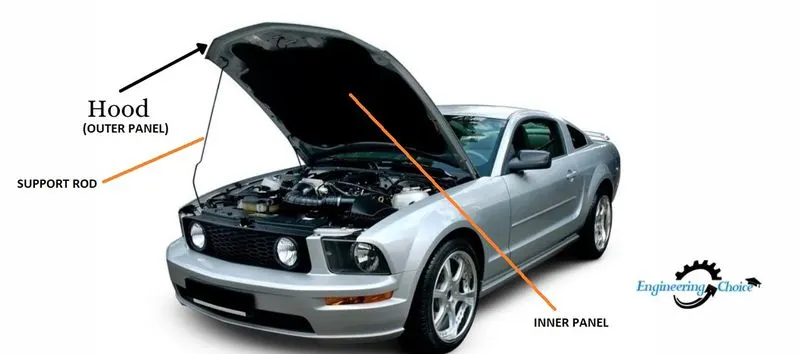
HOOD (Bonnet) is an important component in Automotive BIW Design. It is used as a cover of Automotive Engine. The Hood consist of an Outer Panel & an Inner Panel. The Inner panel is designed in such a way that it provides the support, strength and adhere with crash & safety requirements whereas Outer panel covers the Inner panel and also provides the aesthetic value to the vehicle.
- Support Rod - It is provided to support our HOOD while doing work in the engine bay. This Rod is attached with the Clip-Clamp to ensure that it is in proper place when not in use.
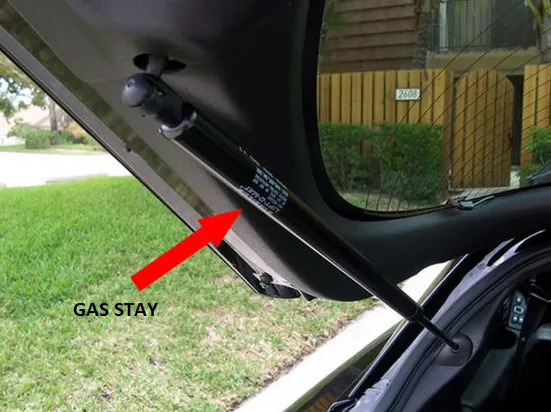
- Gas Stay - It is used to open the the car hood by just providing little lift force ie, worked on gas pressure. It is mostly used in Back-side door & also quite expensive.
- All the Automotive company works on to reduce the NVH (Noise, Vibration, Hardness).
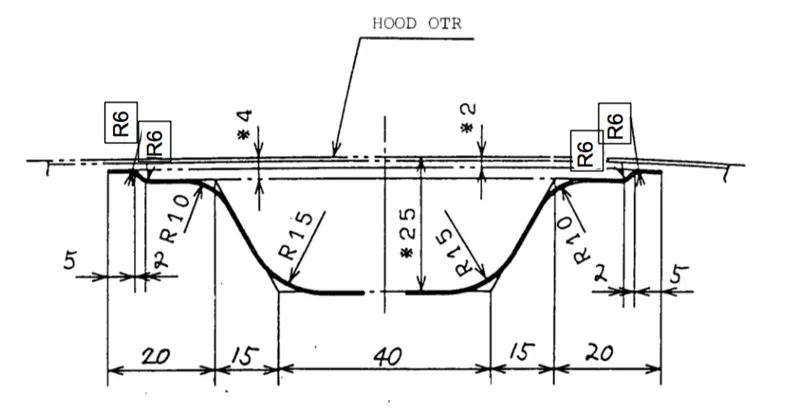
Given MASTER-SECTION & PARAMETERS
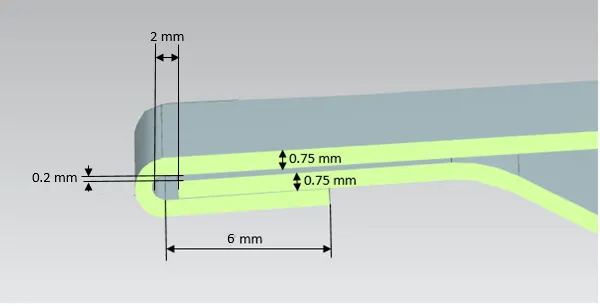
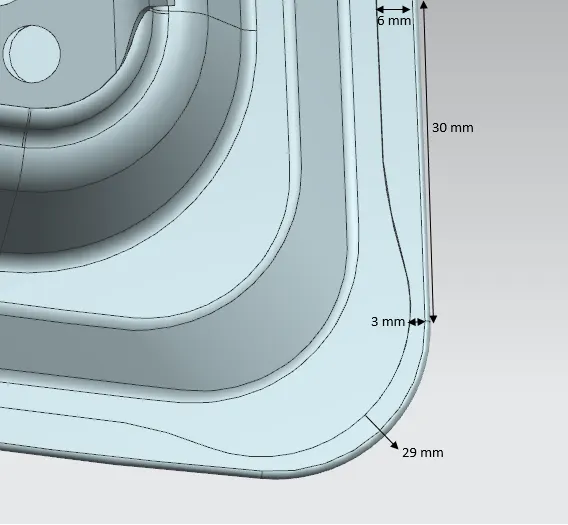
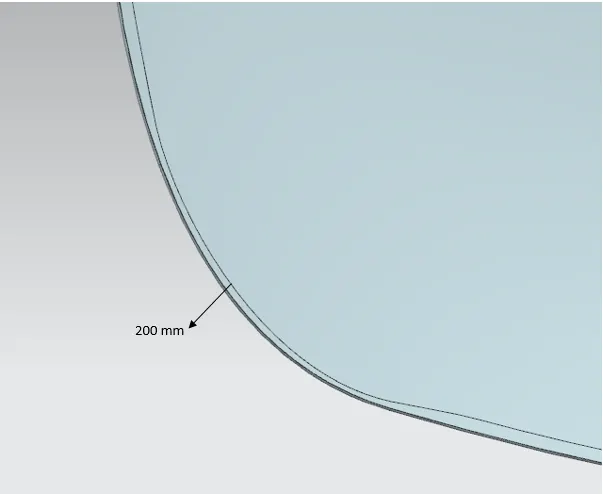
PARTS OF HOOD (BONNET)
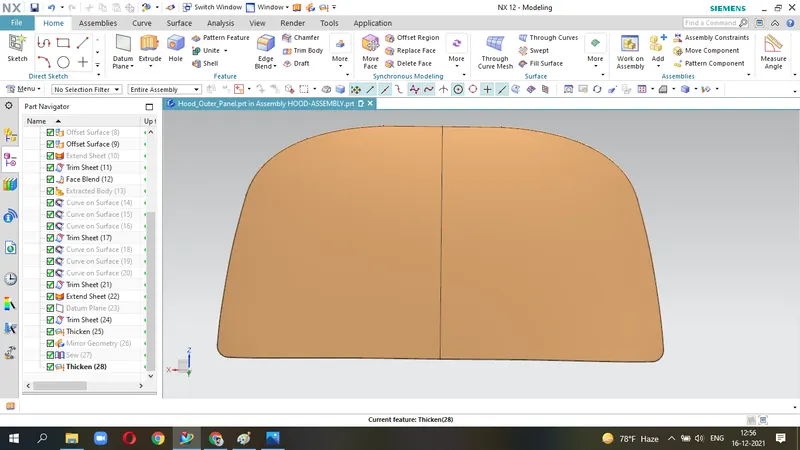
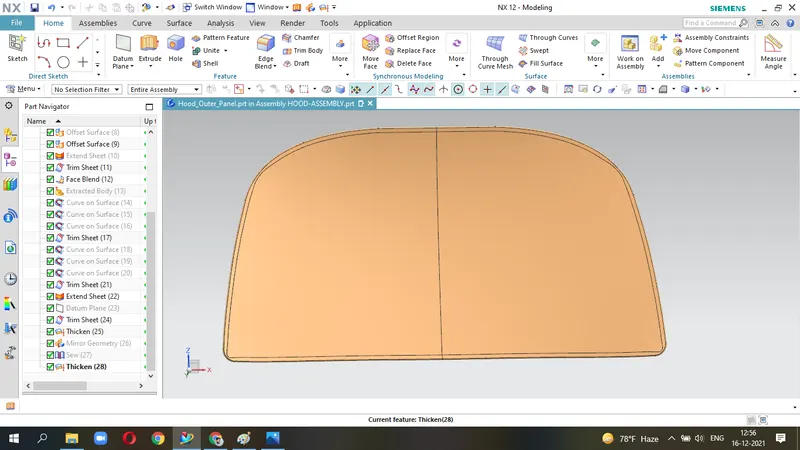
- HOOD OUTER PANEL
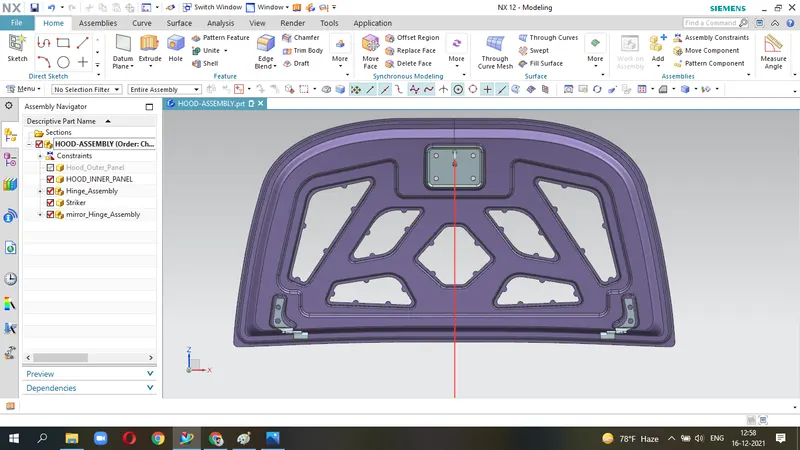
- HOOD INNER PANEL
- HINGE ASSEMBLY
- LATCH & STRIKER
PROCEDURE
HOOD: OUTER PANEL
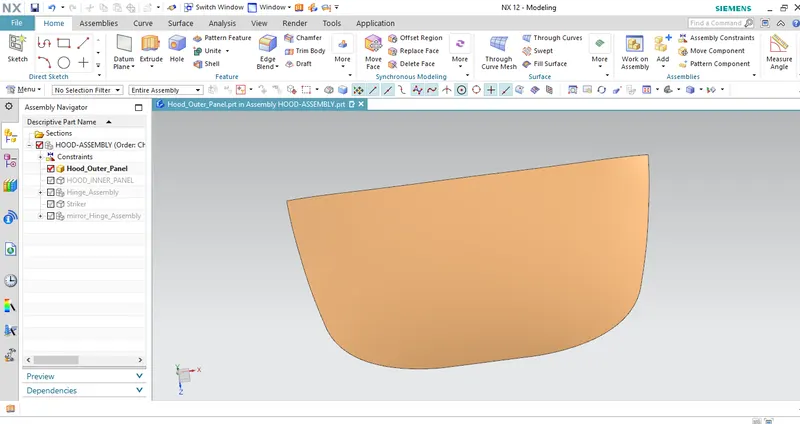
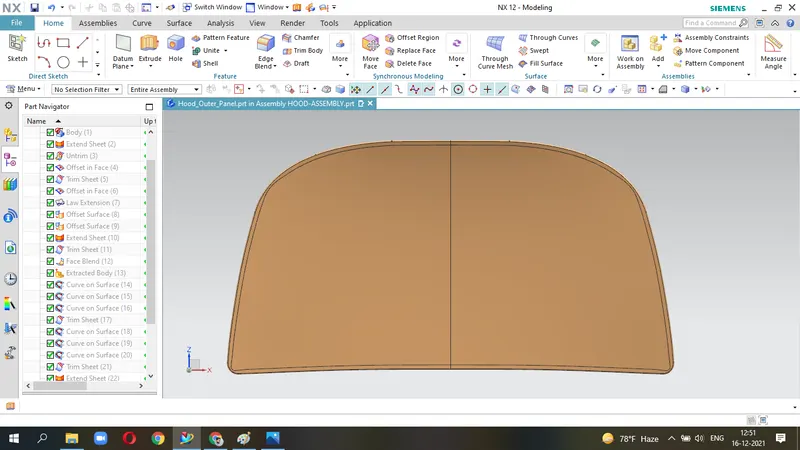
It is the skin data PANEL given by the Stylling colleagues. here, We have to check/study the engineering feasibility & give them a feedback wheather it is possible or not and also suggest if we can do any type of modification.
HOOD: INNER PANEL
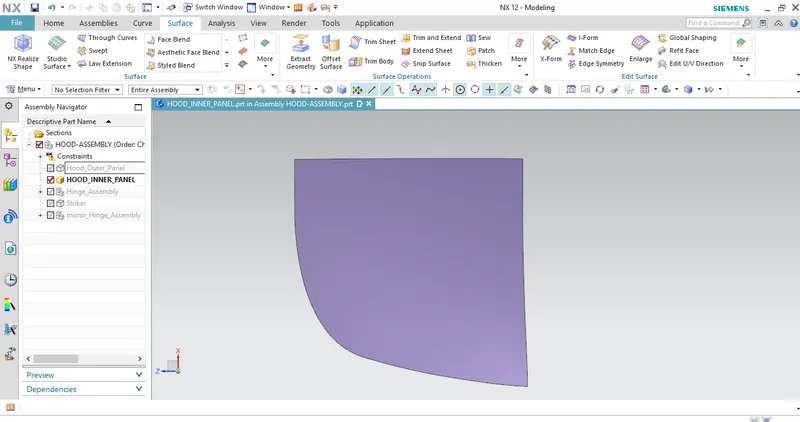
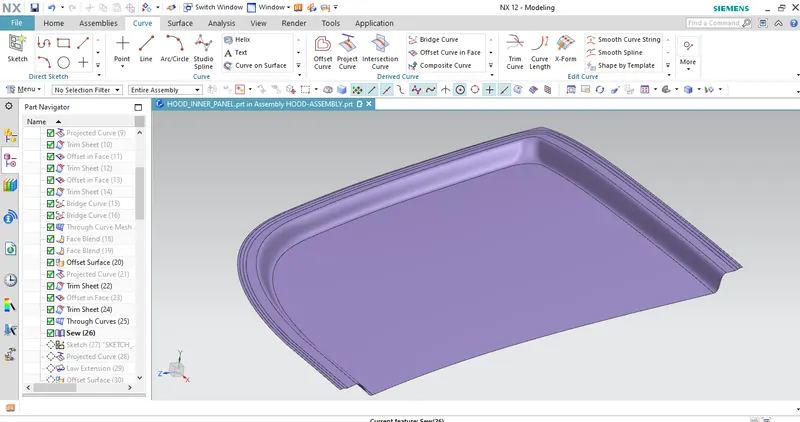
- OFFSET the outer panel surface according to the given Master-Section data.
- TRIM the surface in middle so that to mirror it later & also reduces our time to design the product.
- use Tools - offset curve in face , Project curve , bridge curve ; offset surface , Trim sheet , through curve , Through curve mesh , face blend
SHEET METAL OPERATIONS
- Blanking & Piercing
- Deep Drawing
- Embossing
- Hemming
BLANKING & PIERCING
- It is the combination of a Die and Punch.
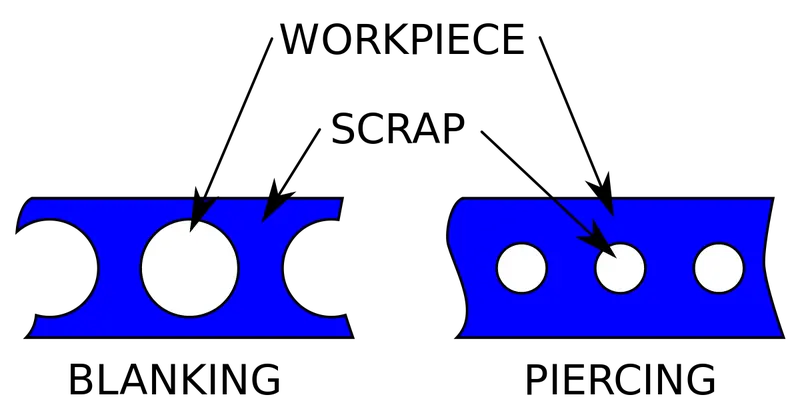
- the Blanking and Piercing are shearing process is which punch and die are used to produce parts from coil or sheets.
- BLANKING produces outer features of the component while PIERCING produces the internal holes or shapes.
- The terms "piercing" and "blanking = punching" can be used interchangeably.
DEEP DRAWING
Deep drawing is a sheet metal forming process in which a sheet metal blank is radially drawn into a forming die by the mechanical action of a punch.
EMBOSSING
Sheet metal Embossing is a stamping process to produce the raisen design or the reliefs. It is the combination of two Dies- male & female.
Procedure
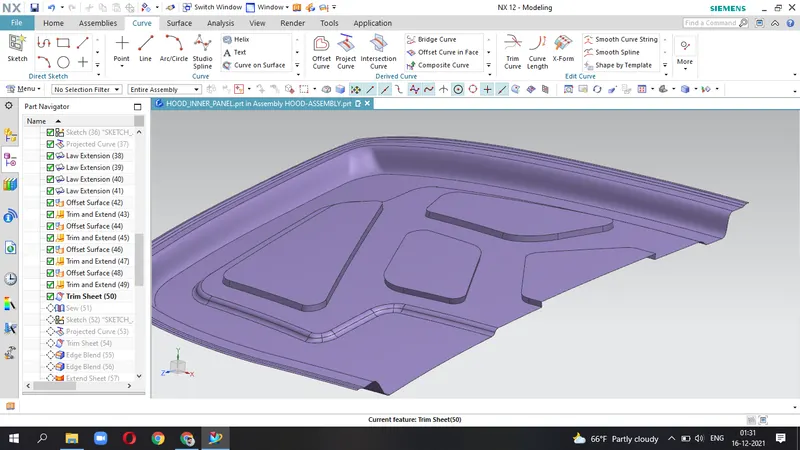
- EMBOSS - create the sketch - Project the sketch on the surface - Law Extension - offset surface - Trim and Extend - finally, Trim the sheet.
- Sew the surface
- apply Edge blend
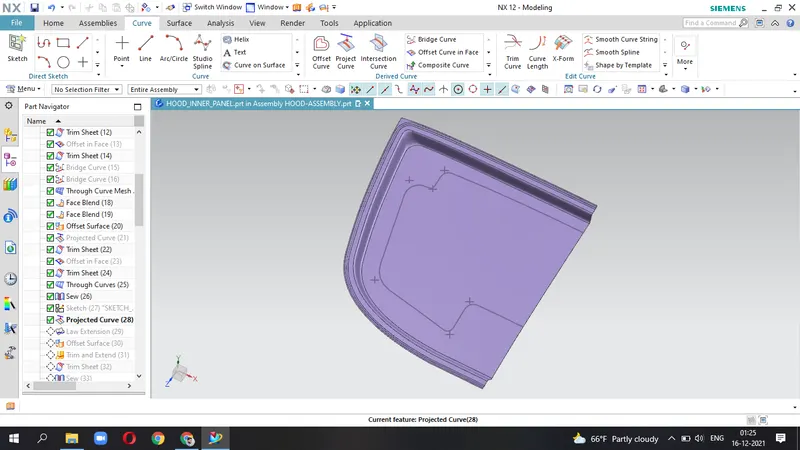
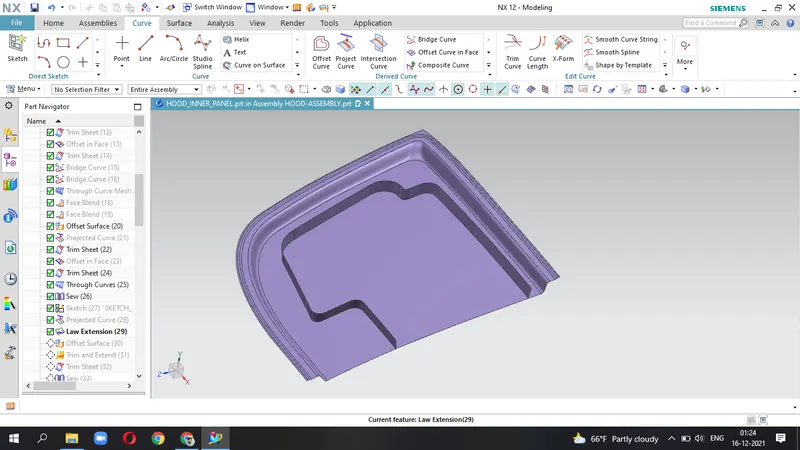
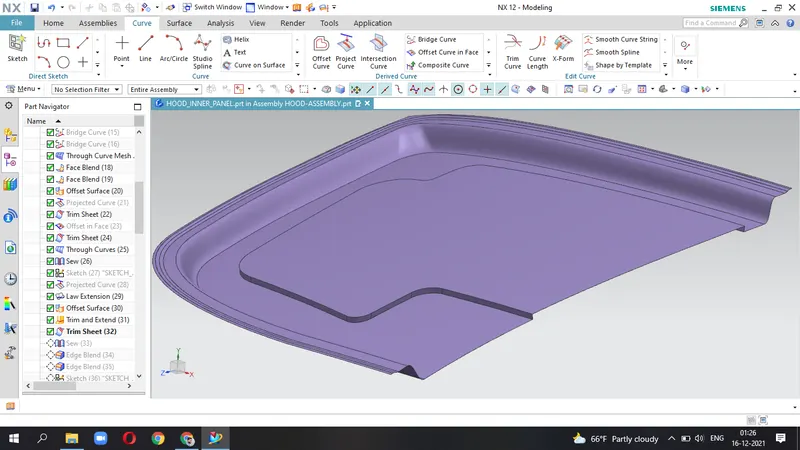
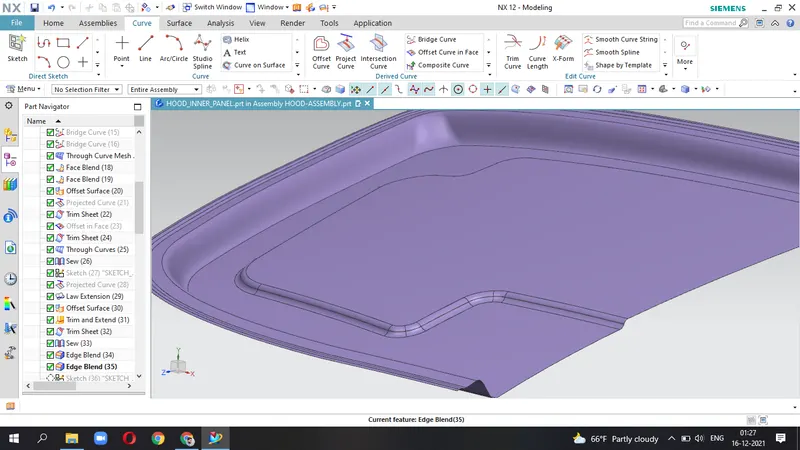
- Remove the inside materials to make the panel lite.
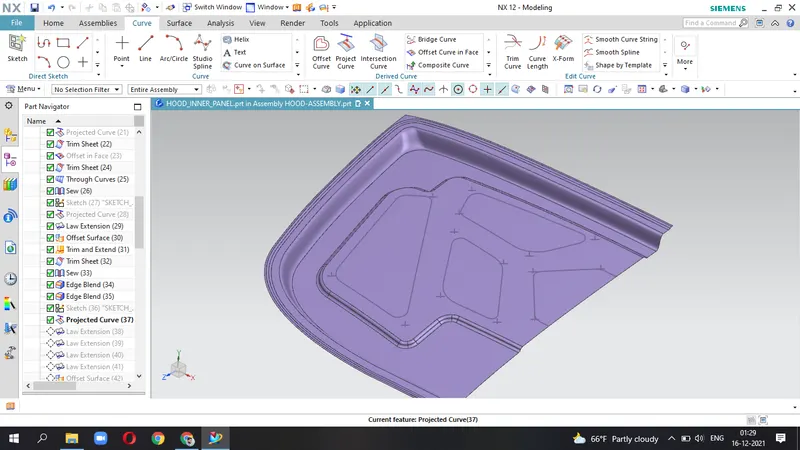
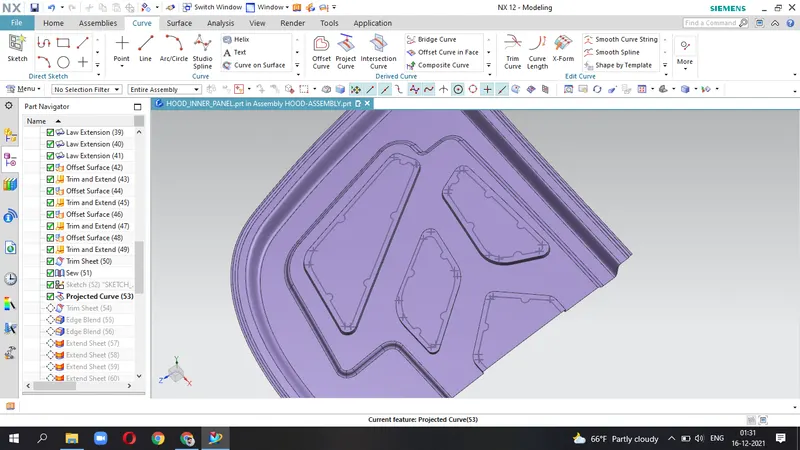
- now, again create the sketch and make Mastic Points & Mastic Sealants which are able to increase the strength locally at dia 80mm.
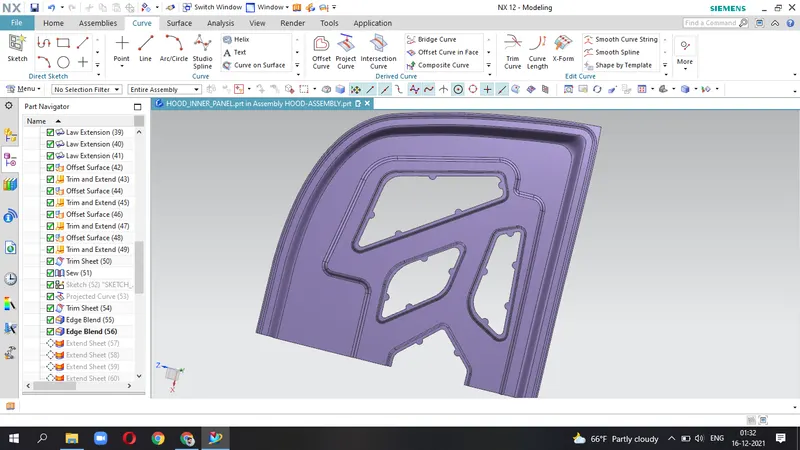
Now,
HINGE ASSEMBLY
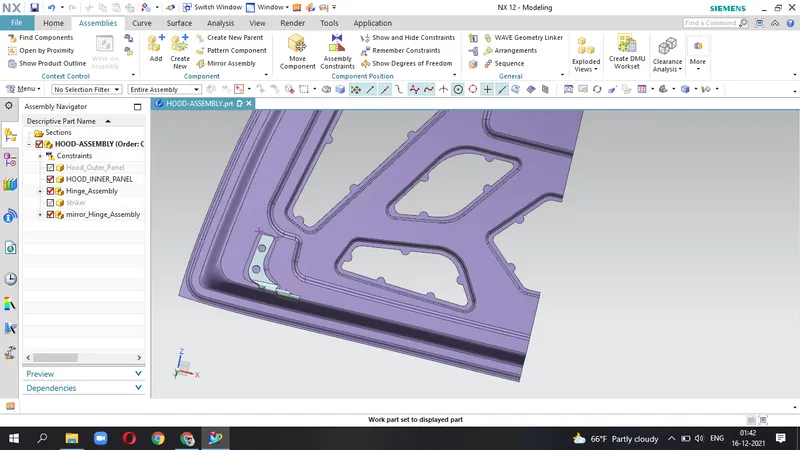
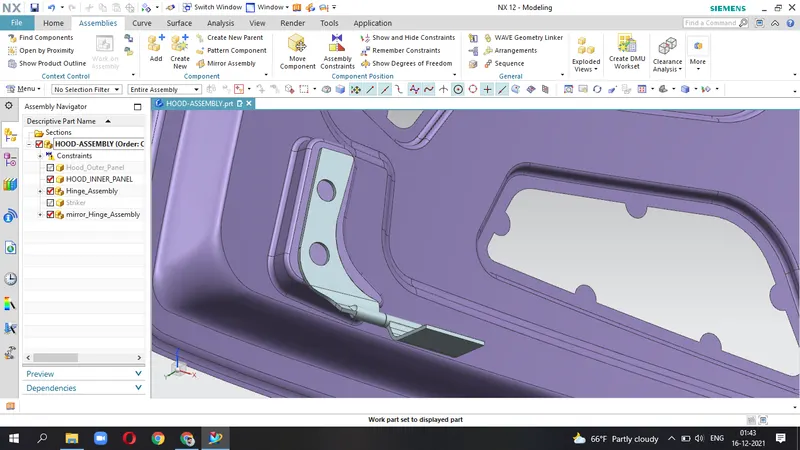
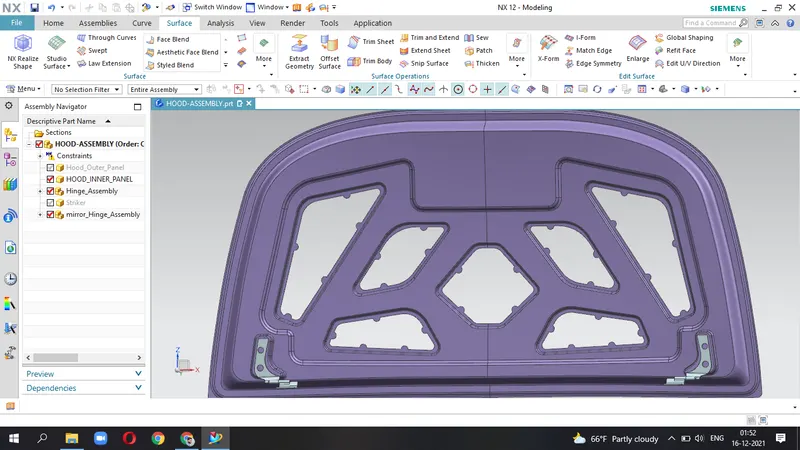
- unhide the Hinge assembly
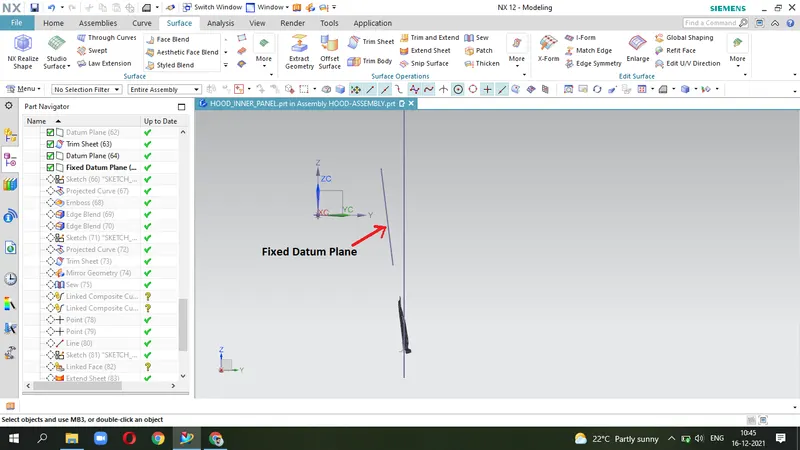
- Move the Hinge assembly by using Move Component & allign it properly in the Inner Panel, also create another Parallel Plane by adjusting angle, distance.
- create sketch on new Parallel Datum plane & Make the EMBOSS for the attachement of Hinge assembly.
- apply Blends at corner
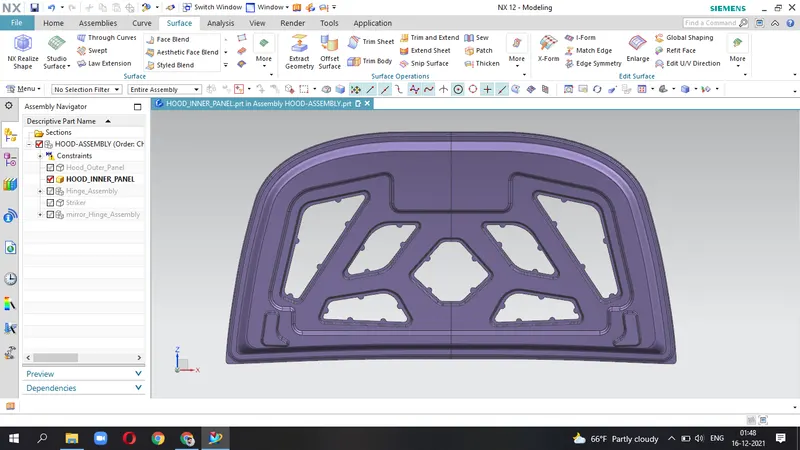
- Mirror the Inner Panel by Mirror Arrangement and use SEW command.
- Mirror the Hinge Assembly; (choose Hinge Assembly - [Inner Hood panel:{Replacement set=Entire part}] - choose Plane - Associated=Ineer panel & Hinge Assembly - Finish )
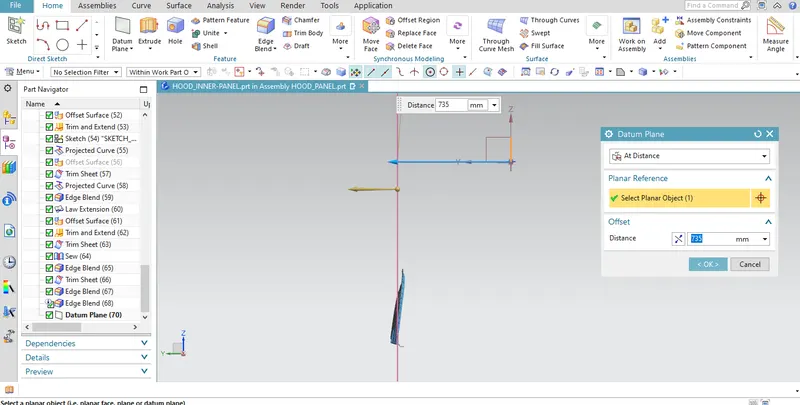
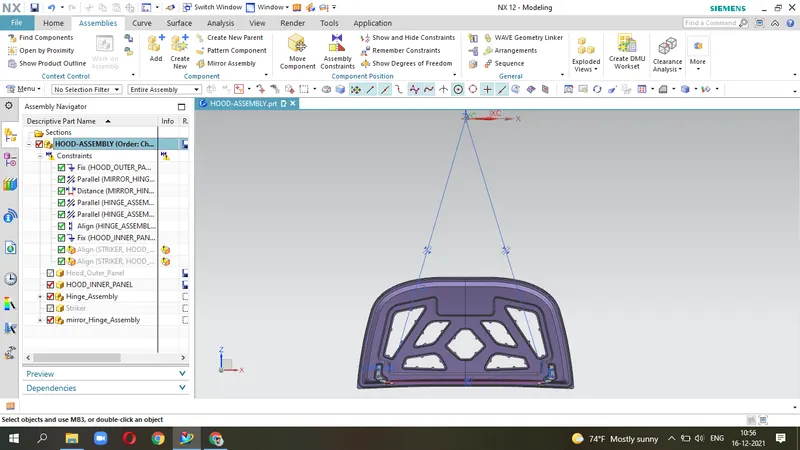
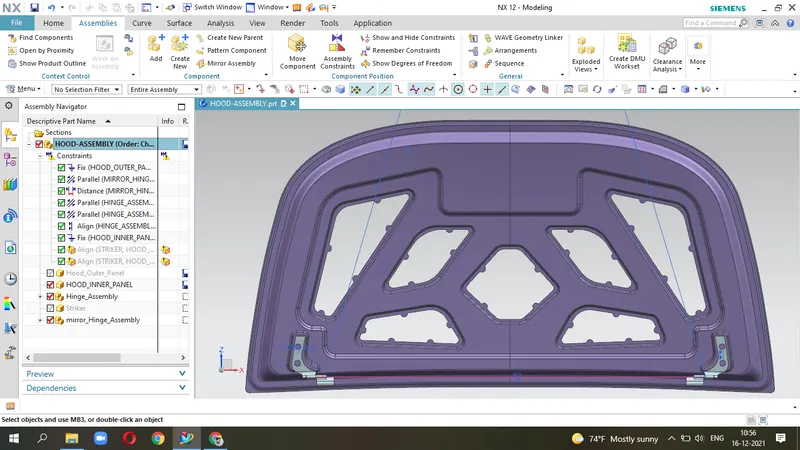
- Use the Assembly Constraints
- first, make Parallel constraint with the axis of Hinge assembly and the datum X-axis.
- activate Hinge Assembly & apply Touch allign or Distance assembly contraint on the created Emboss.
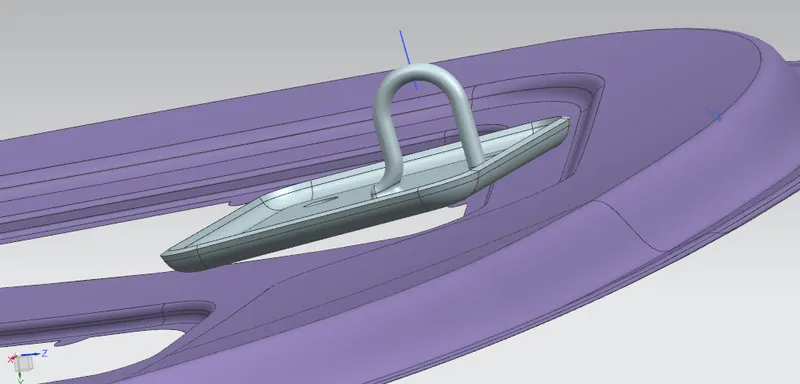
STRIKER
- make the Arc on the both side Hinge by Wave Geometry Linker
- create Point in the Arc (Point-Curve) and also create a Line between these Points.
- now, create a Circle on ZY-Plane on the CSYS Datum plane.
- Coincide this circle-Point with the Hinge Point.
- create two lines through this new Centre point of the circle; also make these line constraint line (Convert to Reference).
- Horizontal line - Parallel , & from Vertical line - make a Tangent line at the end Point of vertical constraint line.
(NOTE : Crosscheck the tangent line by adjusting the angle of circle; It should be move with angle adjustment.)
- now, Create a Point in the middle of Striker's upper edge curve & make a Line on the Striker by using datum plane.
- use command Touch Allign to move Striker at the position of above created point of Tangent Line; due to this our Striker comes to that point near Inner panel.
- Adjust the circle Diameter for placing the Striker at appropriate position.
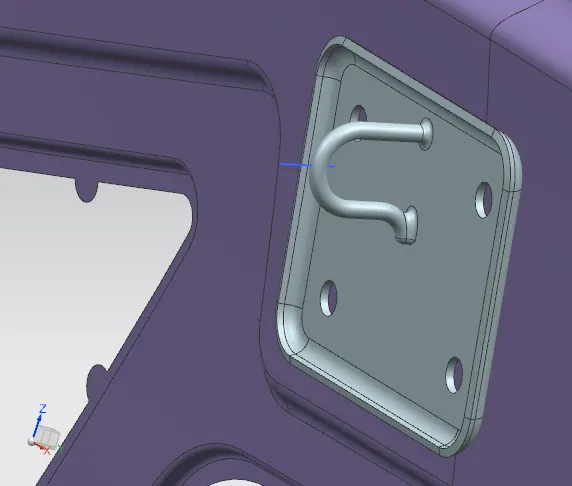
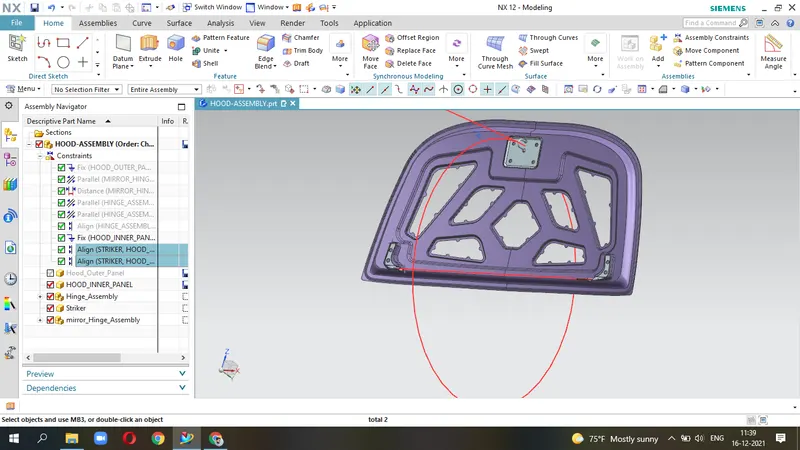
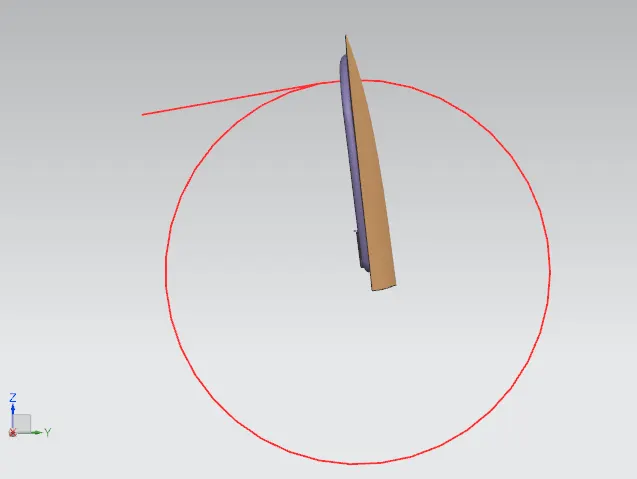
{These Line, Circle shows the Trajectory Path of HOOD or Latch ie; Opening-Closing angles of the HOOD(BONNET)}
LATCH
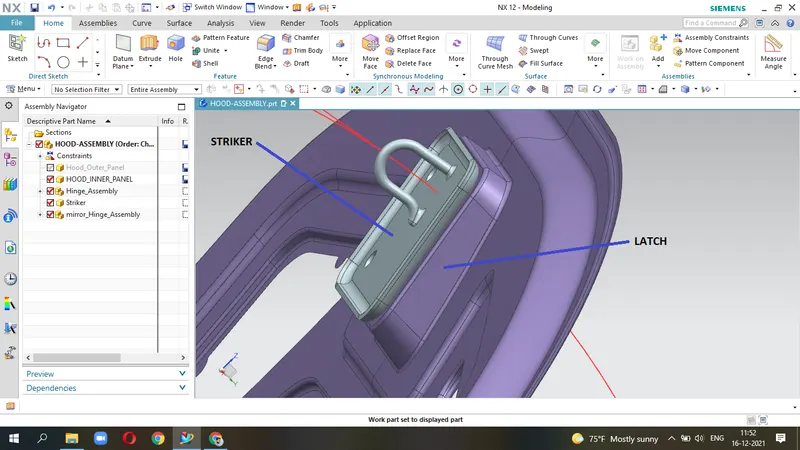
To fix the Striker on its position, Latch is used.
- create Latch by using Law Extension = face; select face of back-side of Striker.
- apply Edge Blends
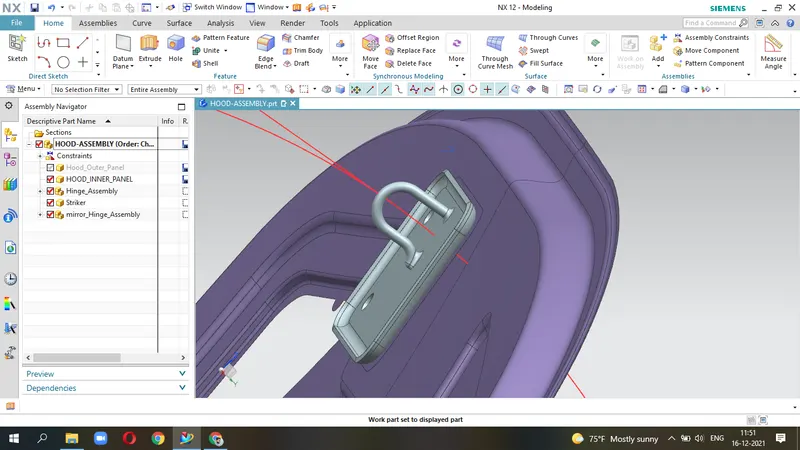
- SEW the surface.
- apply Thickness = 0.75 mm
HEMMING
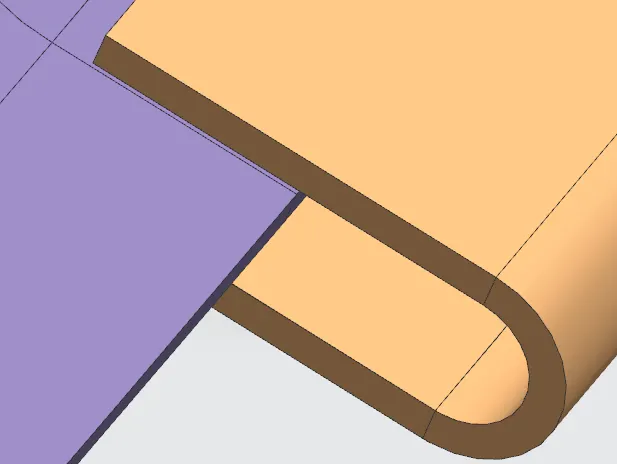
- HEMMING is a sheet metal forming process in which sheets are joined by bending it to 180degree.
- It is done in the Outer Panel which provides support to the Inner panel & also enhance Aesthatically.
- Automotive Panels/Parts like - doors, hood, deck-lids, trunk-lids
Procedure
- Trim the Outer Panel in half.
- use offset in face=0.5mm & apply Law Extension.
- now, offset this Law Extended surface - inside.
- Offset Outer panel as Master-Section ; { 0.75+0.2 (upper surface thickness+clearance) + 0.75+0.2 (Lower surface thickness+clearance) + 0.75+0.2 (Tolerance) }
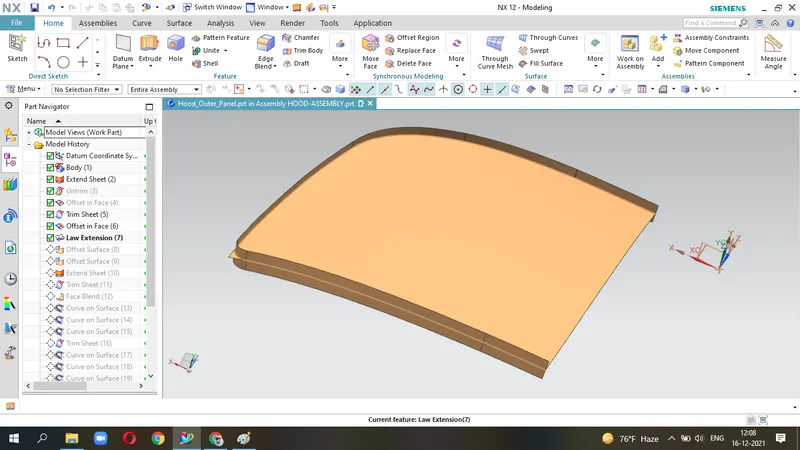
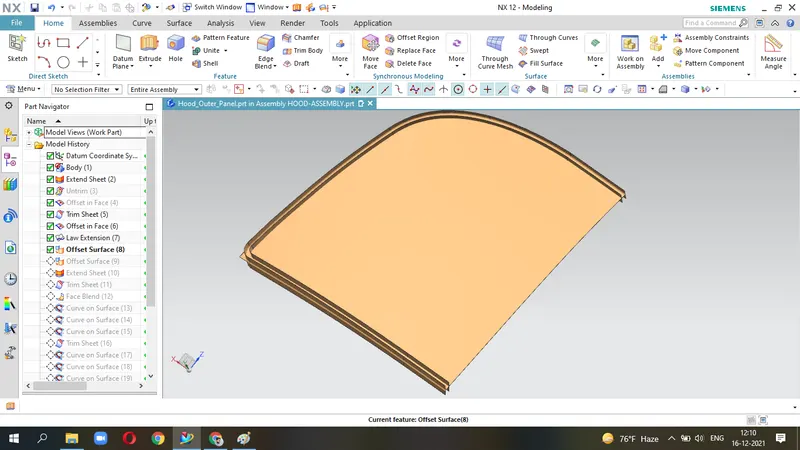
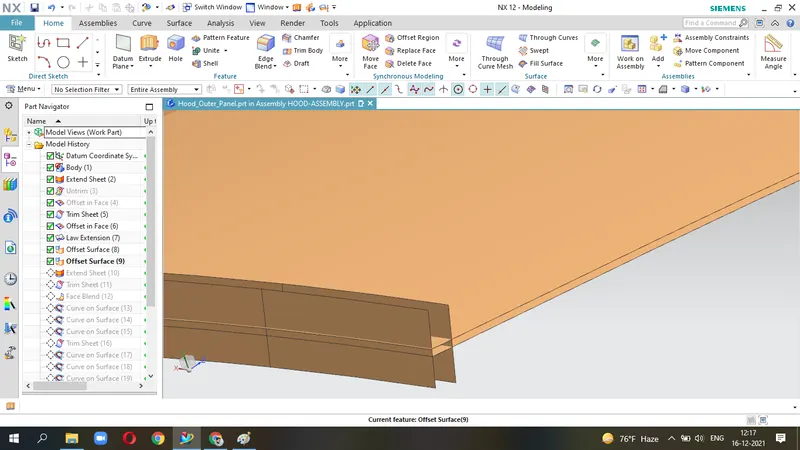
- Trim Lower offseted surface with inside offseted surface
- apply 3 surface Blend (Direction : Upper surface=downward, Lower surface=upward, Middle surface=inside )
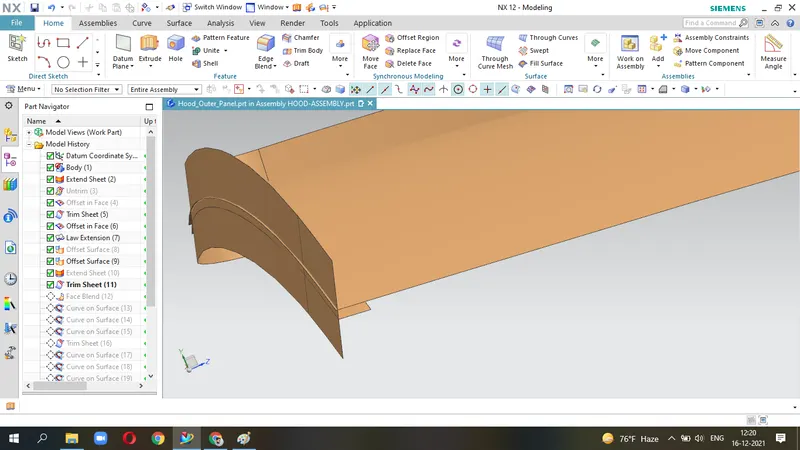
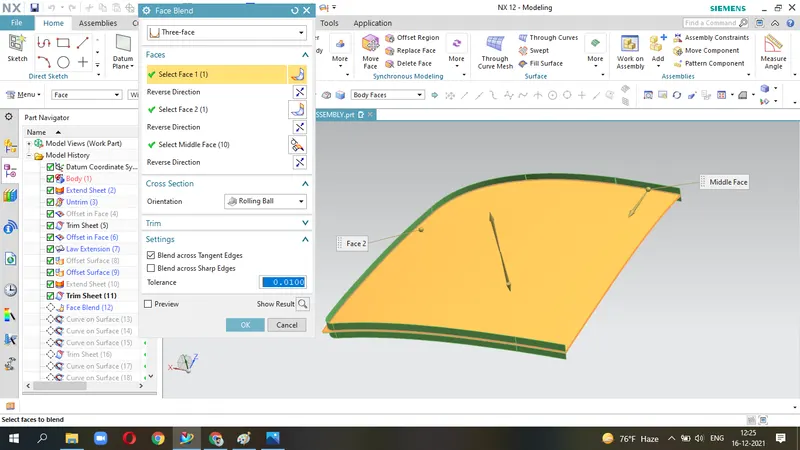
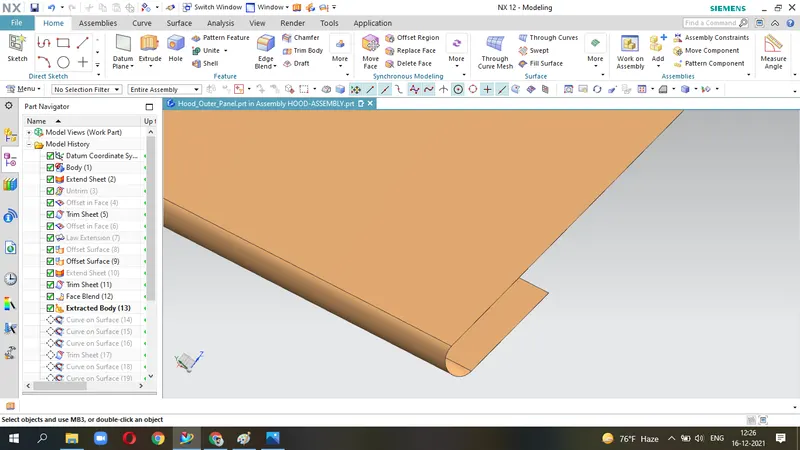
(This is our HEMMING surface)
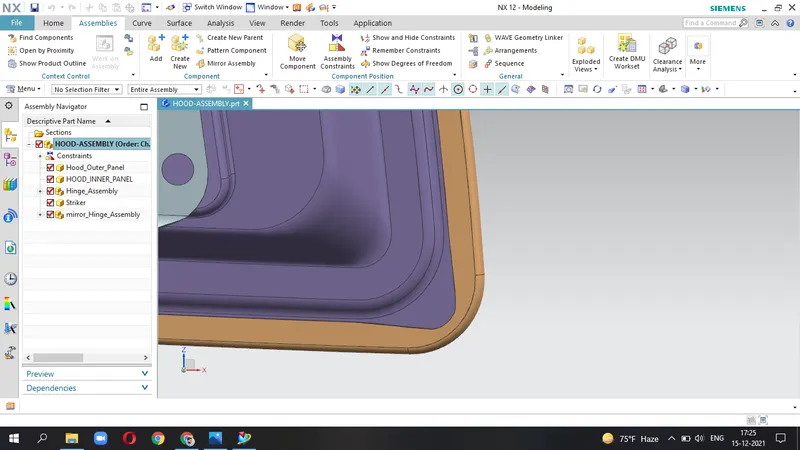
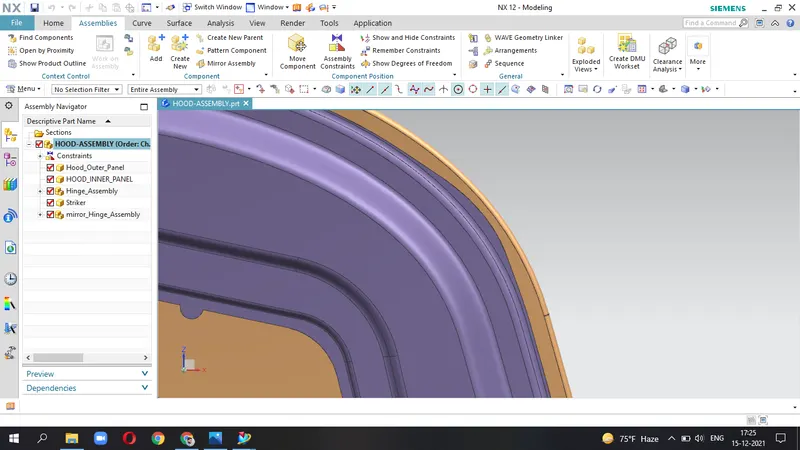
CORNER RELIEF
It is given to reduce the stress concentration and provide smoothness during HEMMING operation.
- use Curve on Surface to make the corner reliefs.
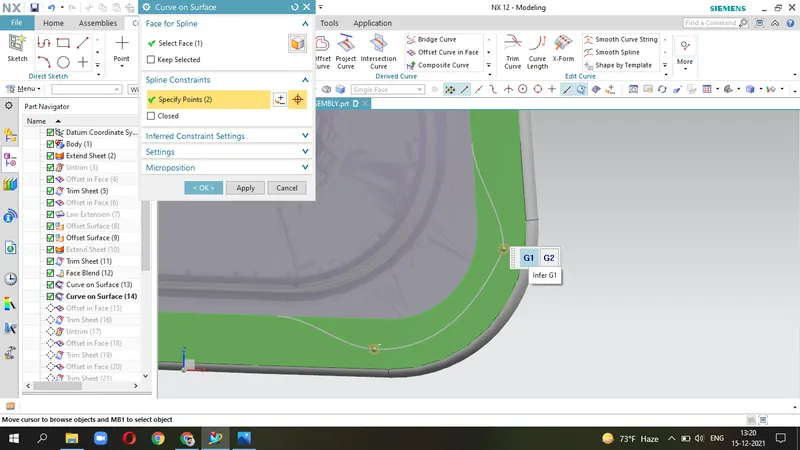
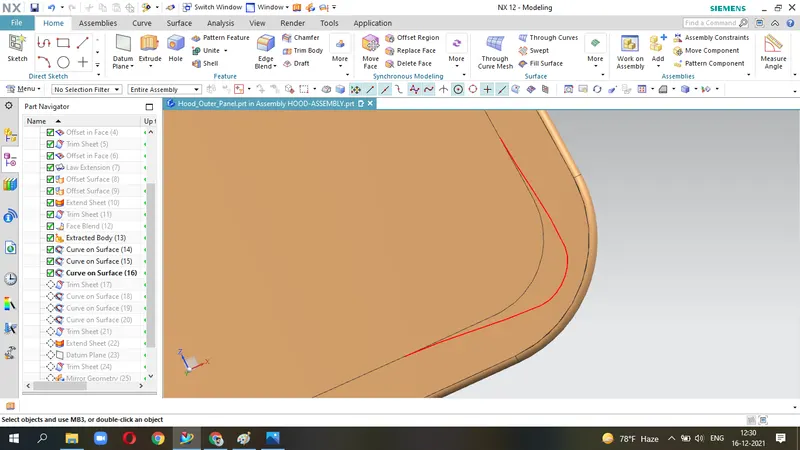
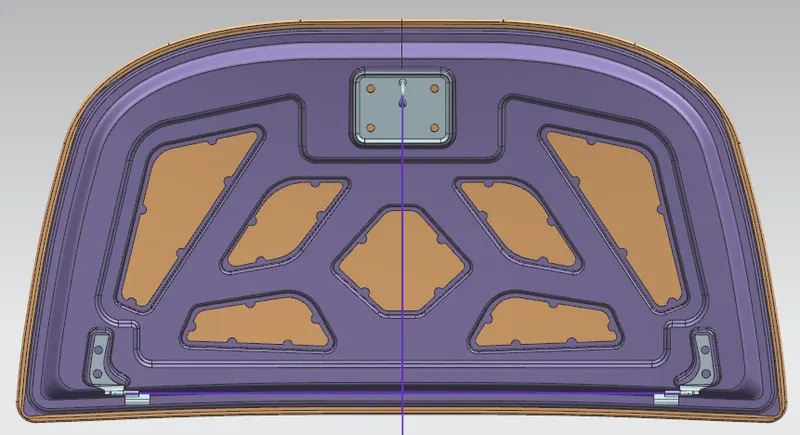
- Thicken the complete Outer HOOD Panel by 0.75mm
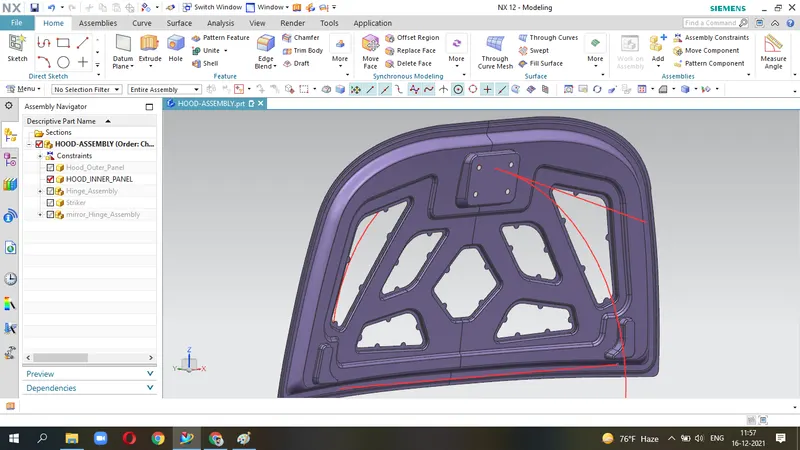
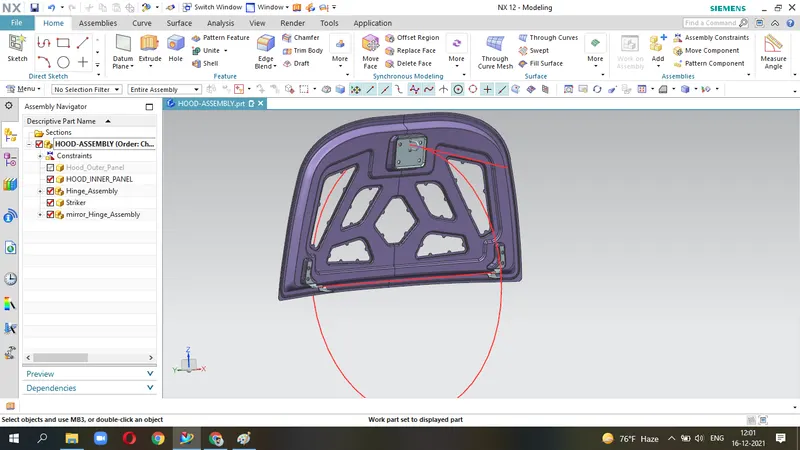
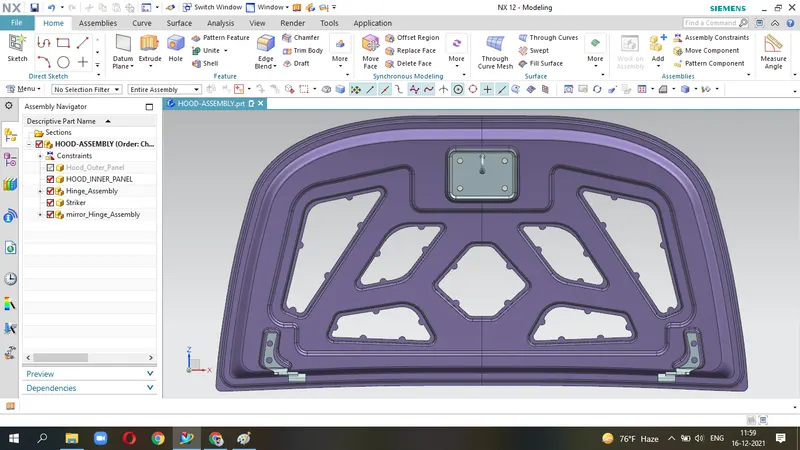
Different Views
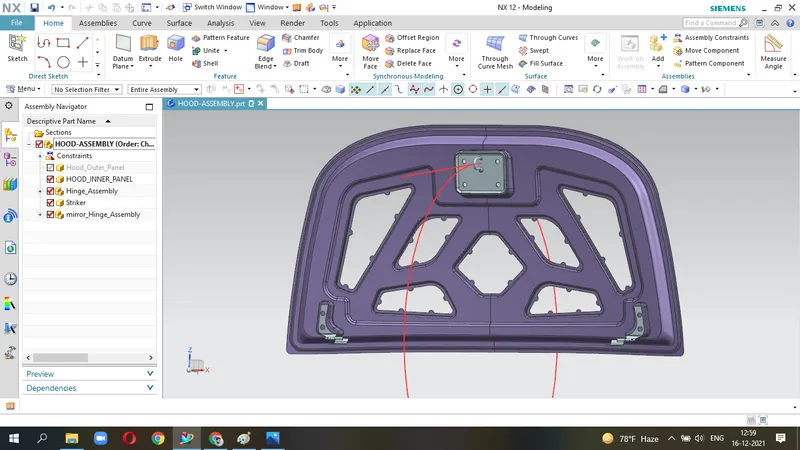
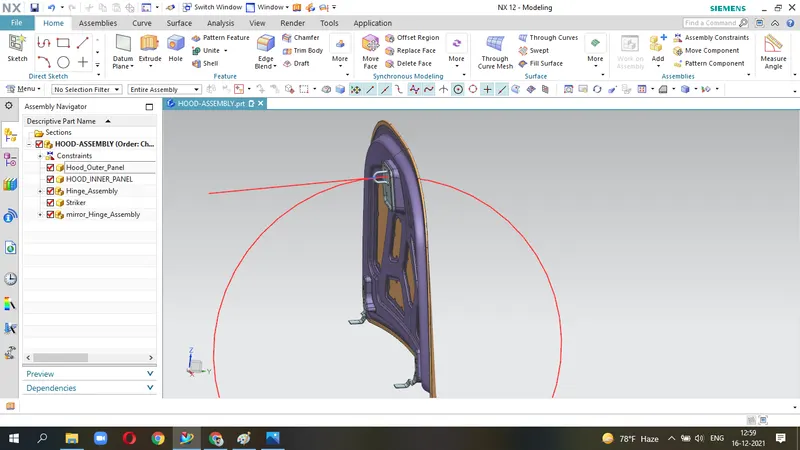
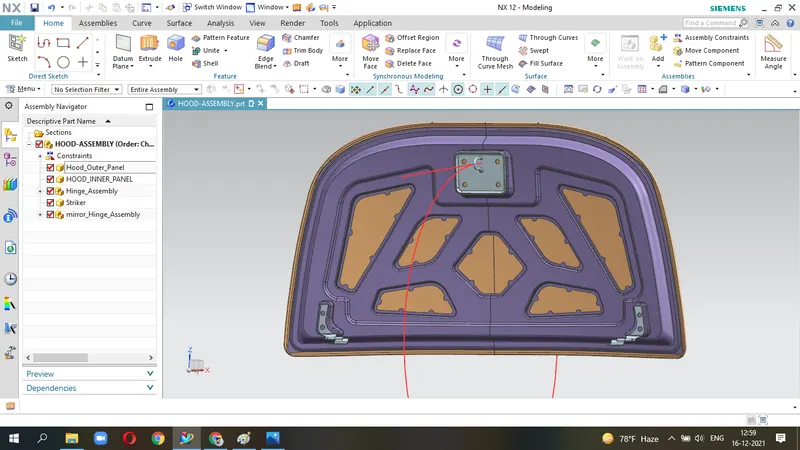
ADDITIONAL DETAILS
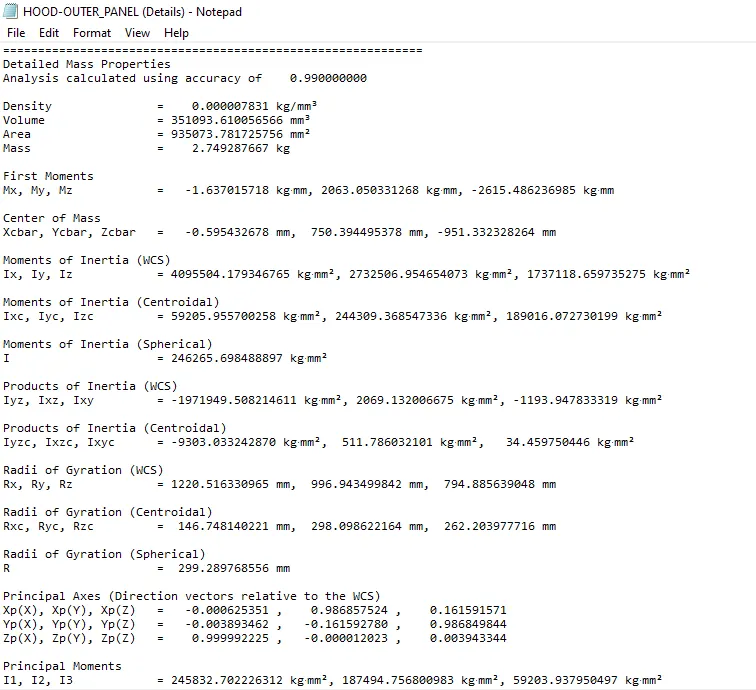
HOOD OUTER PANEL
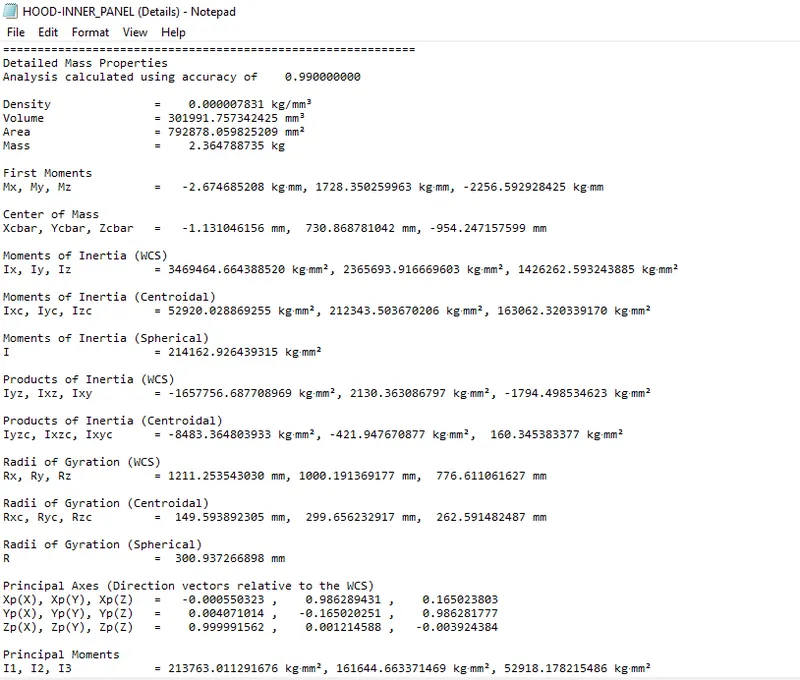
HOOD INNER PANEL