AUTOMOTIVE HOOD DESIGN
AUTOMOTIVE HOOD DESIGN
Hood or bonnet (in commonwealth country) is that part of car that covers the engine compartment. It allows access to the engine compartment for maintenance and repair. Hood is made to crash and dissipate the forces to keep the passenger safer as much as possible. Obviously it is also used as styling component to make car look beautiful.
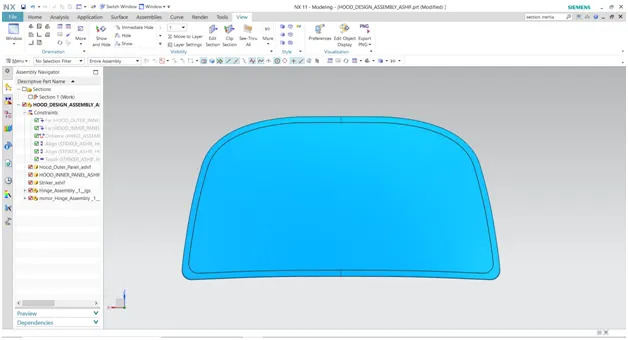
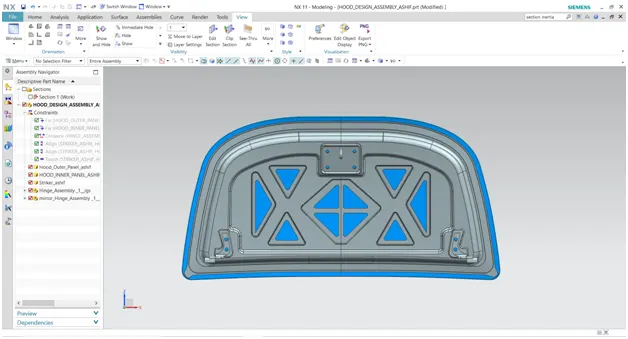
MATERIALS
As we know that hood are designed in such a way that when it hit the pedestrian, it should have as less effect and to happen this hood should get crashed so that it can dissipate of the forces and therefore we should use lighter materials for hood.
- For Lower and Mid-segment car we use Steel.
- For Higher segment car we use Aluminium.
PEDESTRIAN SAFETY
For taking Pedestrian safety into account we generally see the average height of people in the country where it will hit the hood or bonnet and according to that we remove material from the hood according to HIC so that when pedestrian head hit the hood have less impact and ensure their safety.
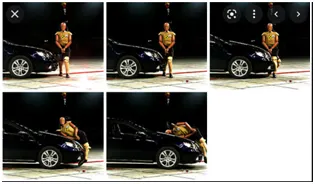
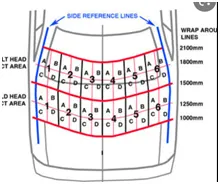
FIG:- CRASH TEST FIG:- HIC
PASSENGER SAFTEY
When a car hits pedestrian or anything in surrounding force will propagate in straight direction, we as design engineer have to reduce the impact of force in passenger cabin, so to reduce the forces we create lots of structure which are called embosses (we will discuss about embosses further) to deviate the direction of force toward hinges to have less impact inside the cabin. We cannot assure 100% but it can be reduced drastically.
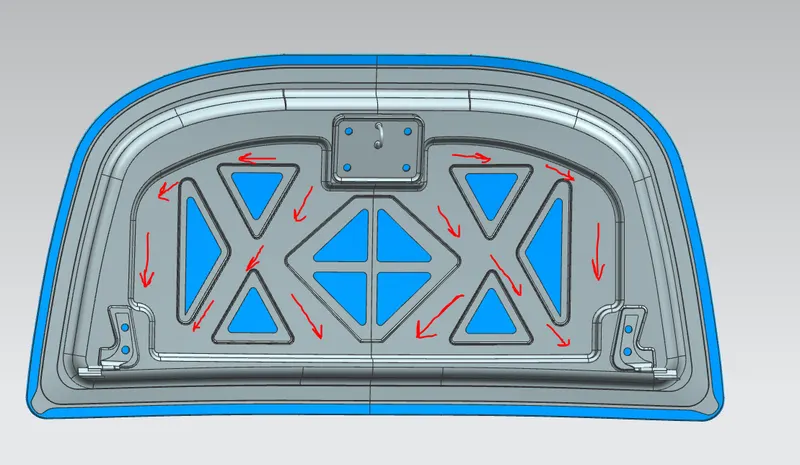
FIG: - DIRECTION OF FORCE AFTER HITTING SURRONDING
DESIGN CONSIDERATION
Thickness of Inner Hood Panel:- 0.75mm
Thickness of Outer Hood panel:- 0.75mm
Reinforcement thickness:- 1.5mm
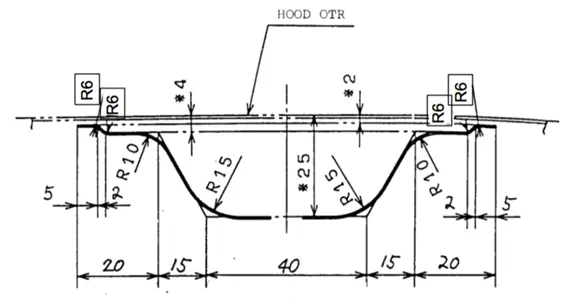
Master section:-
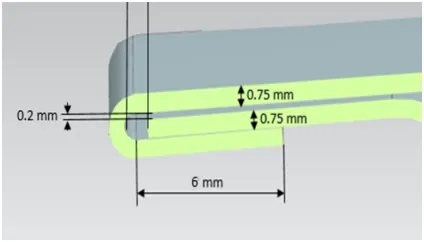
Hemming data and relief
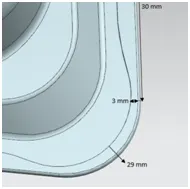
Relief
DESIGN APPROACH
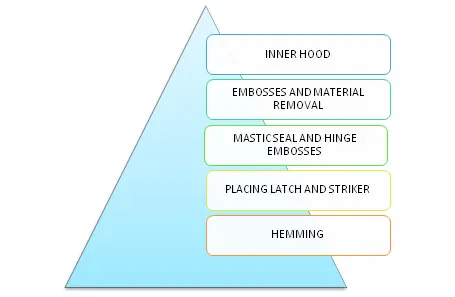
- The very first step is to create assembly which will be called hood assembly in which we will add part like hood outer panel, hood inner panel, latch and striker, hinge assembly and mirror hinge assembly.
- Major portion of work is done inside inner hood panel. We extract the given styling surface given by the styling surface and now we proceed further by creating a working surface offsetting the styling surface by 0mm.
- Now again we offset the working surface by 2mm to get our first inner panel surface and create sketch and offset curve in face by 20mm and trim the inner portion. Similarly we offset the working surface by 4mm and 25mm to get another surface and trim and join by through curve and law extension.
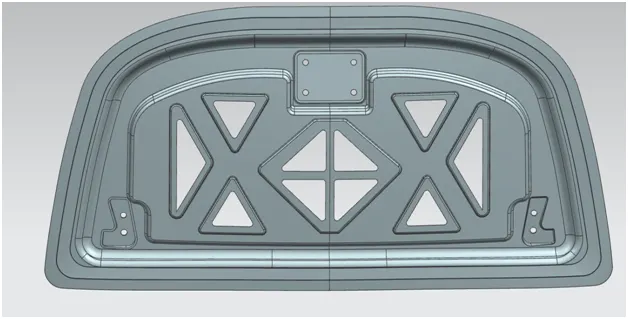
- Now create sketches on the front plane and project them to the inner panel and trim the inner panel to remove the material to make our hood lighter.
EMBOSSES
- As we are removing the material our hood will get weak, to increase the strength and stiffness we use embosses. Embosses are also use to change the direction of forces when car hits the surrounding.
- Embosses can be created in two ways by directly using emboss feature or creating it manually using law extension.
HINGES
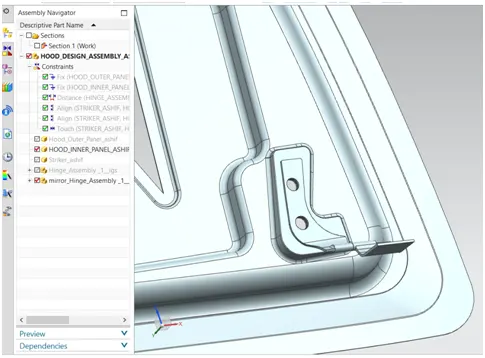
- Hinges are those components which are attached to hood to control the opening angle of the hood and to attach hood to engine compartment.
- For our hood, hinge assembly is given. Just we have to create embosses for the hinges.
- We cannot create embosses directly as the hood surface here because surface of hinge and hood is not plane so creating embosses directly will create gap while attaching which will create NVH issues.
- So, we create a plane and the sketch on it and then project it to hood and then we create embosses.
- We also extract the holes of hinges using wave geometry linker and use it to trim to create holes for assembly.
LATCH AND STRIKER
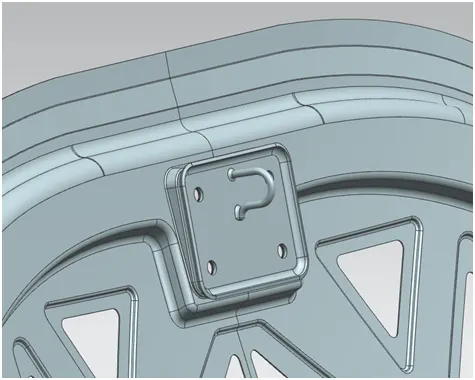
- Latch and striker is component which is used for locking the hood to engine compartment. Embosses for this is created just extracting the face and extend sheet and create embosses.
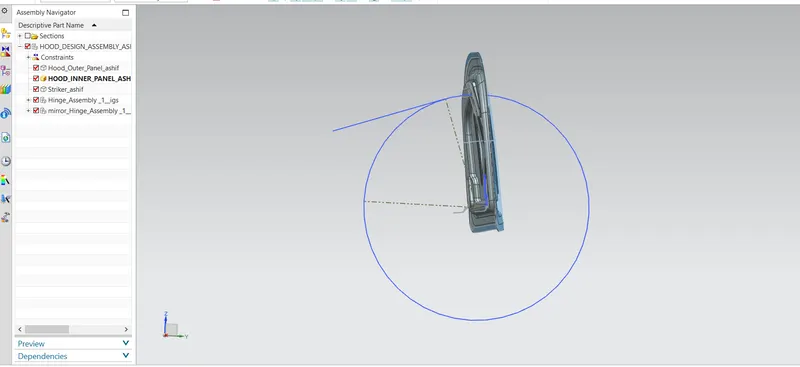
- The very important thing for latch and striker is their positioning with respect to hinges. For positioning we extract the arc from hinges and create line from their centre point. Now create circle of any diameter and merge it with mid-point of the line.
- Now create two construction line at some angle but lower one should be vertical and then draw one more line from the end point of the top line and give this new line tangent relation with circle.
- Now create one line on the latch and striker by creating plane for the assembly purpose.
HEMMING
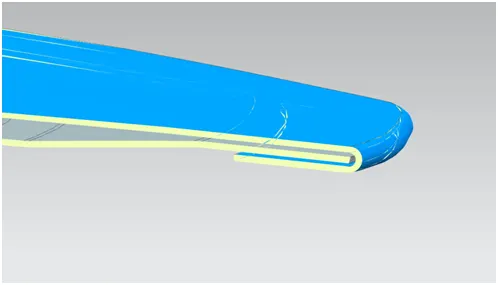
- Hemming is a sheet-metal forming process in which sheets are joined by bending usually by 180 deg. Automotive panel such a hood are joined by hemming because we cannot afford weld marks or rivets on the outer panel of hood.
- Hem is created by offsetting outer panel by 0mm and one more offset such that it should intersect the inner panel and create a sketch and do law extension. Now we create three face bend using these three face. And trim out the extra portion.
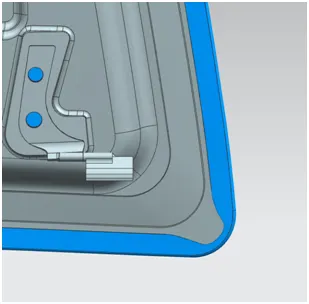
- Important thing in hemming is to give the hemming relief at the corner of the hem so that when roll is carried out by the industrial robots there is chance of stress concentration which make lead to defect.
DRAFT ANALYSIS
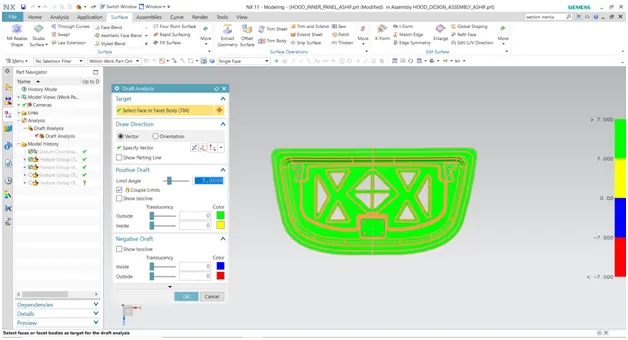
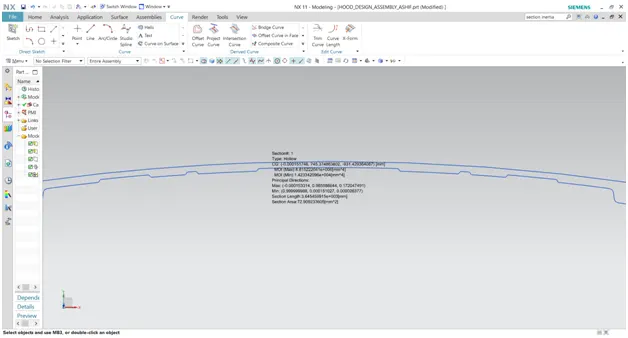
SECTION INRETIA ANALYSIS FOR FRONTAL CRASH
CONCULSION
While designing the hood we understand that hood is designed in such way that it could crumble easily for passenger safety and what are the logics and engineering reason behind giving embosses and removing material and how can we improve the design as engineer for maximum safety for pedestrian as well as passenger.
LINKS TO VIEW THE HOOD
https://drive.google.com/drive/folders/1p6zt_8mgsz8XantqXFAk8V6bh7wgedBR?usp=sharing
THANKYOU