Hood design-Week 2
HOOD DESIGN
AIM = Design Hood Outer Panel, Inner Panel and the necessary reinforcements by following the Master Section mentioned with the Design parameters explained in the videos.
OUTPUT NEEDED
- Submit an ASSEMBLY of Hood Inner Panel, Outer Panel, Latch, and Hinge.
- A detailed report about the Hood Design which includes a detailed explanation about hood and its components, Latch Trajectory, Mastic Data, Emboss Definitions, Manufacturing process like Deep-Drawing and Hemming, and all the parameters followed in the design.
- The report should be well-formatted and should have a good flow of content. Add all the relevant images
INPUTS:
- Software used
- CATIA V5
- Hood Thickness Information
- Outer Panel Thickness = 0.75mm
- Inner Panel Thickness = 0.75mm
- Reinforcement Thickness = 1.5mm
REPORT
- Door Outer Panel, Hinge, Striker/latch are given as inputs.
- Procedure to design the Inner Hood, Hemming to Outer Panel and Assembling of all parts are initiated with respects to the inputs given in diagrams.
- Tooling axis is created with respect to the outer panel which was given.
- The inner hood is intiated by joining 3 strips of various dimensions wrt multi-section surface and edge fillets
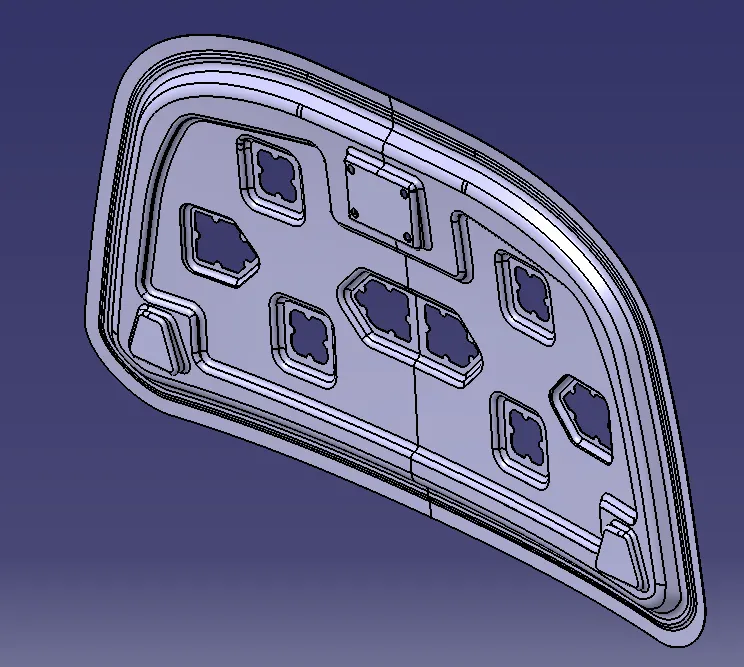
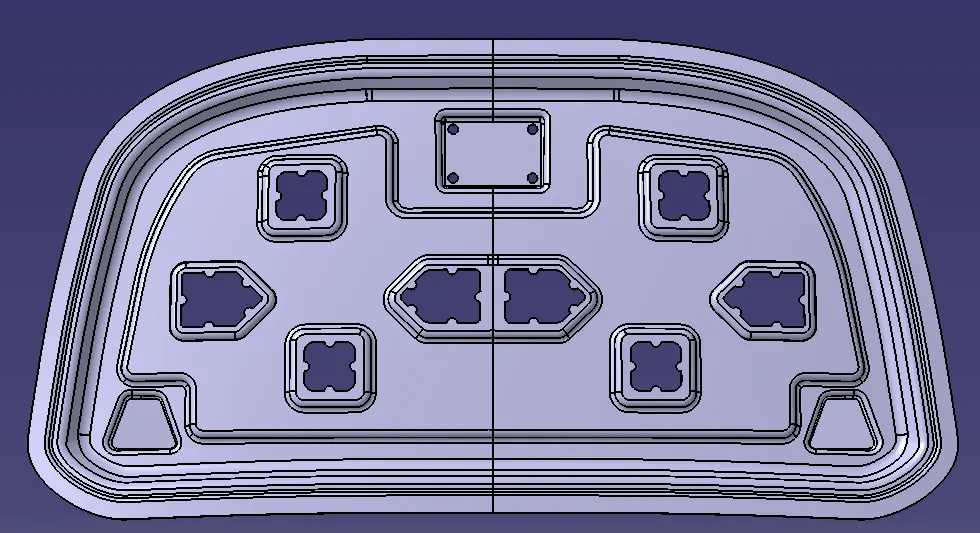
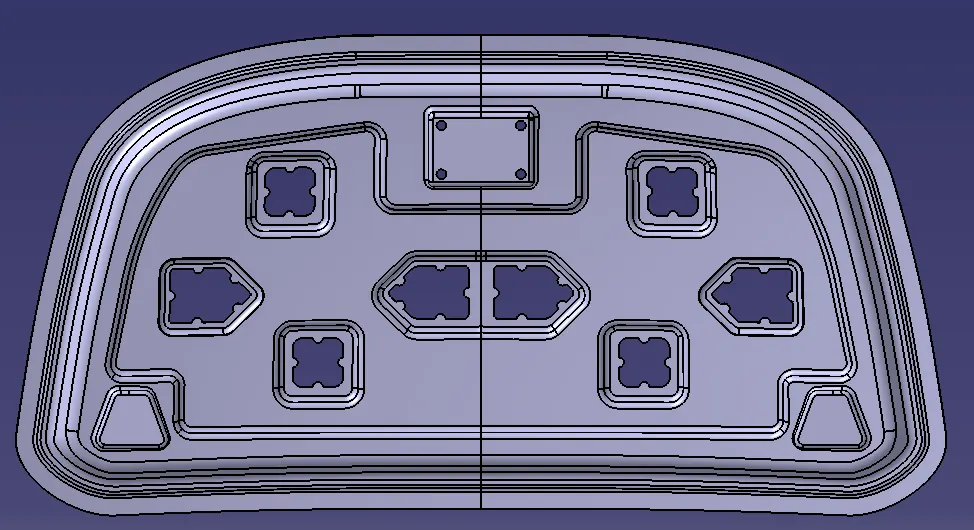
- Started creating embossess and cutout on inner hood, which helps the hood to ensure pedestrian safety. It absorbs the sudden shocks are blocks by neither transmitting both inward and outwards.
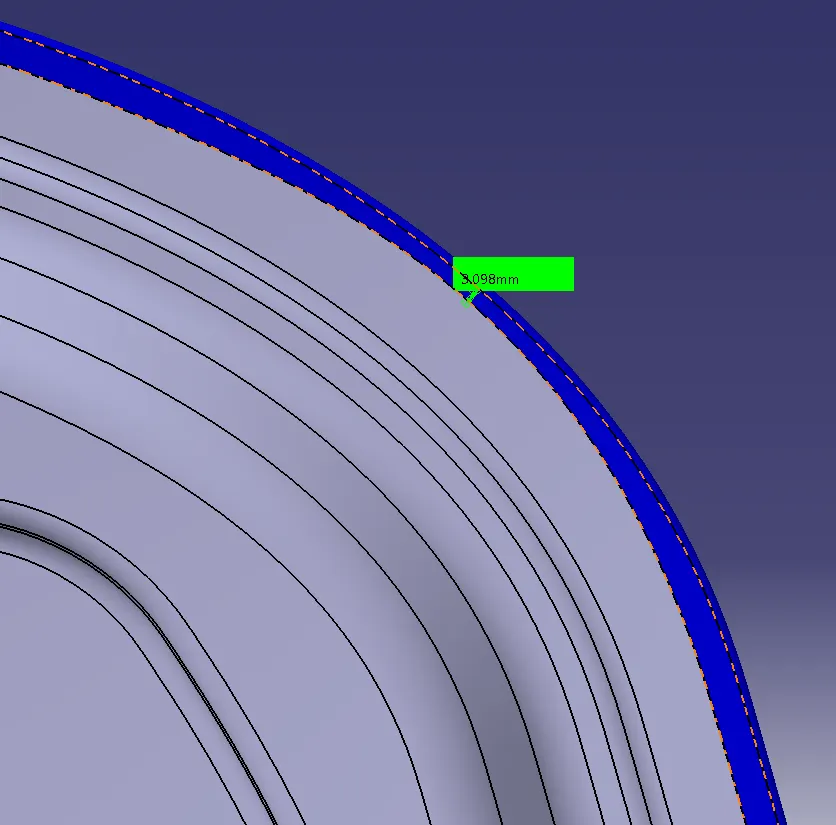
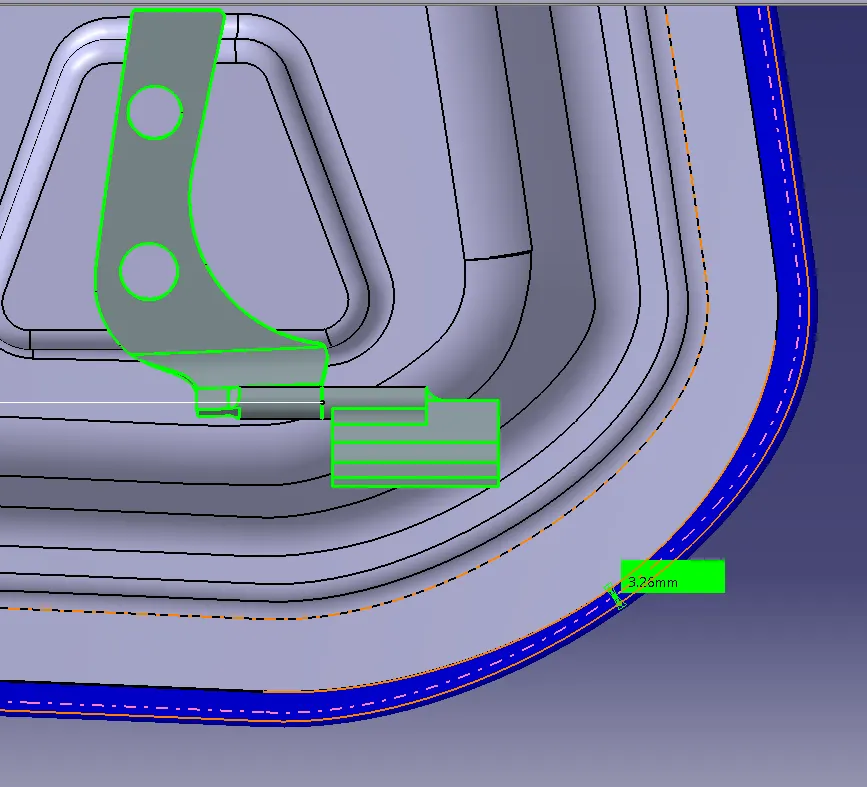
- 5mm is relieved between Inner panel and outer panel for Mastics Insertion.
- Created Hinge and striker mounting as with design rules considered as flat surface at top inorder to ensure proper assembly link.
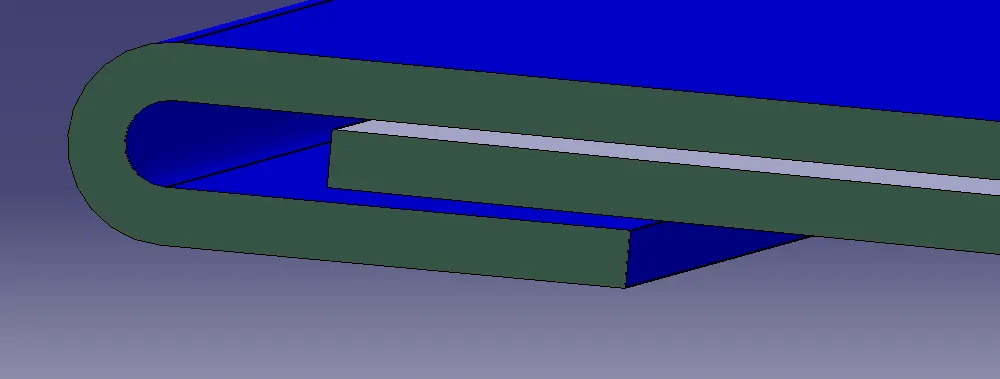
- Finally, Hemming is done to outer panel as recommended from the employers end led the completion of part designing.
- Assembly initiated by fixing Inner panel to workbench followed with Outer panel also to be fixed with the inner panel.
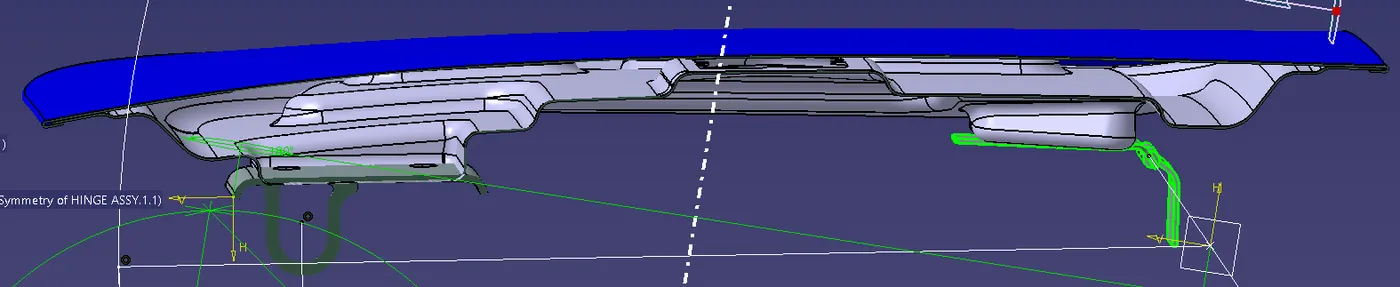
- Hinges are attatched to preferred location and done symmetry with mirror feature of surface workbench.
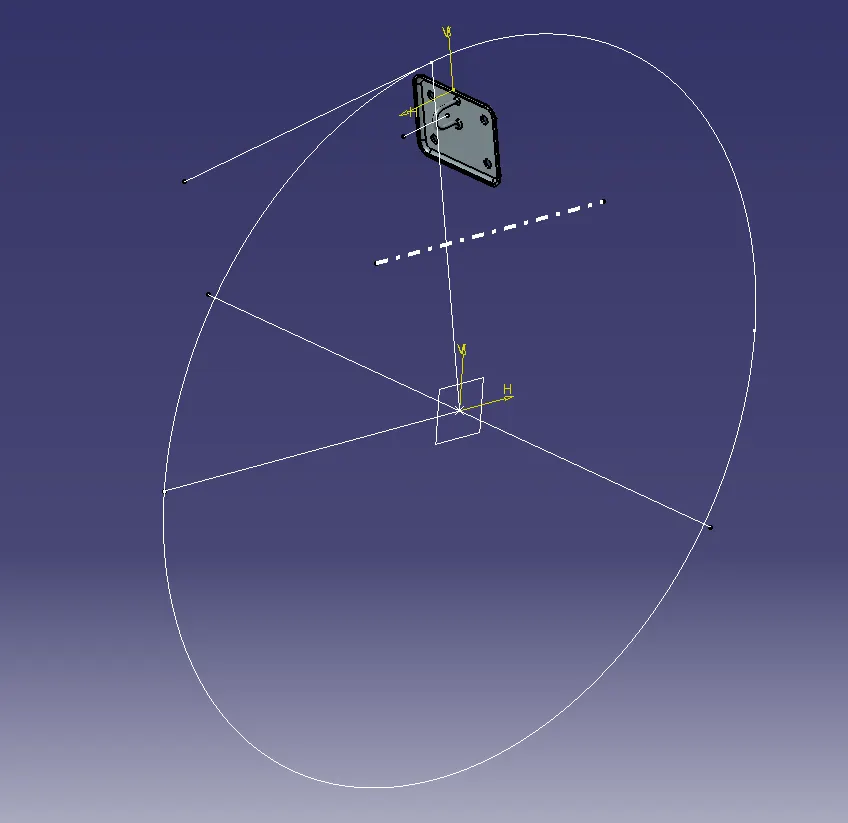
- Striker connection had a little bit of procedure, that of to creation of a trajectory in which the striker mounting which helps the panel to lock on vechicle comfortably.
- Fix, Coincidence, Angle and offset constraints are used for assembly.
- Colours are changed to better visibility
DEFINITIONS
- The given attatchments are part of a 4 wheeler vechicle in which allocated to front sided safety surrounded by Bumper on front, Left and right wheel on either sides and IP assembly on rearside.
- HINGE = Used to connect the inner panel with the vechicular base
- Stricker / latch = Locking mechanism of bonet widely seen in 4 wheelers
- Outer Panel = Covering case of engine, AC system, connections, battery, etc. from several externalities
- Inner Panel = Used to absorb shock while occured to sudden accidents inorder to ensure safety for both pedestrians and those who on vechicles
- Hemming = A type of bending process in shet metal, in which sheets are joined though bending it in 180degrees.
- Deep Drawing = Sheet metal maufacturing process used to create radially or perpendicularly drawn shapes such as embosses or cavity cut-outs to provide estra strength for sheet metal to withstand several actions and are done according to the design rules.
IMAGES:
- Final Assembly
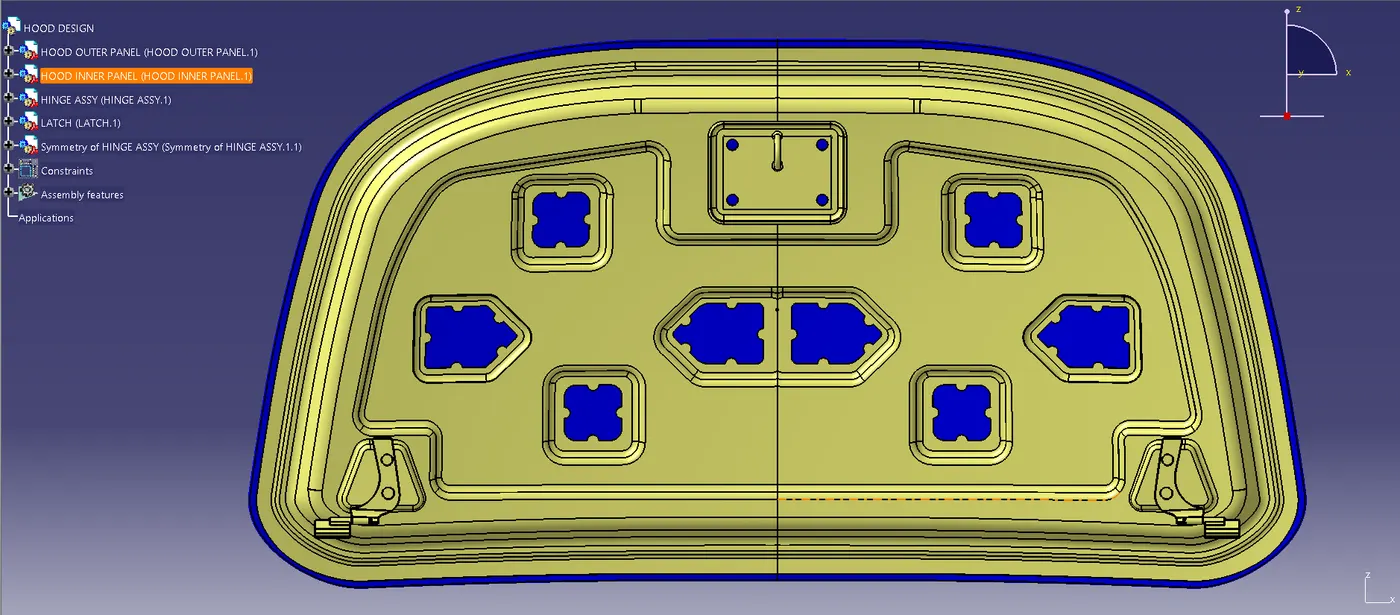
- Hood Inner Panel
- Section View
- Specified measured values
- Trajectory (Inner Panel and Striker / Latch), Hinge (Axis, Plane),
NOTE:
- Proper tree structure is maintained
- All the sketches are in proper geometrical sets and are iso constraint also.
- Sufficient images are attctched below
- Detailed report has been submitted above and design parameters mentioned in video are strictly followed.
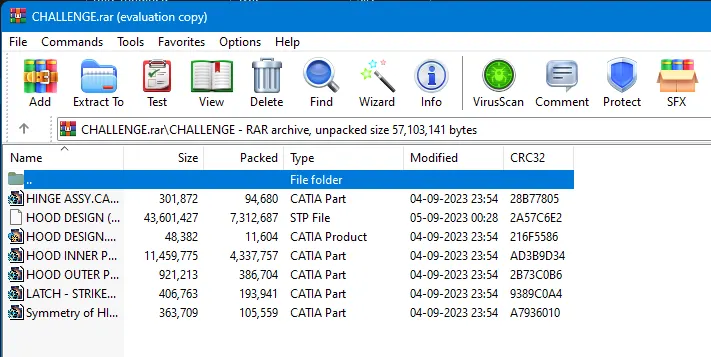
- CATProduct, CATPart and STP files are attatched with the browse option below.