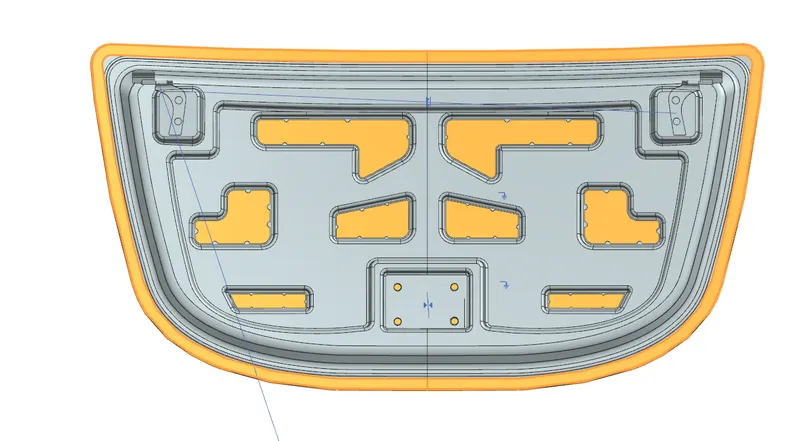
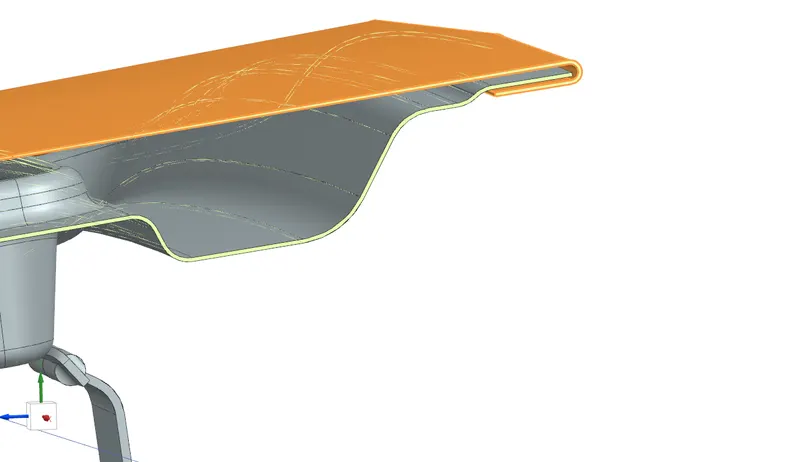
Hood design-Week 2
HOOD DESIGN
Step 1
Download the given data provided from this challenge
i)Hood Outer Panel
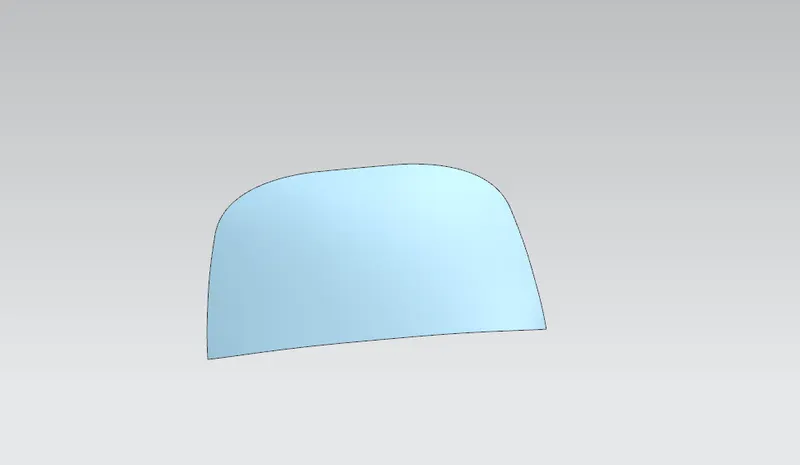
ii)Striker
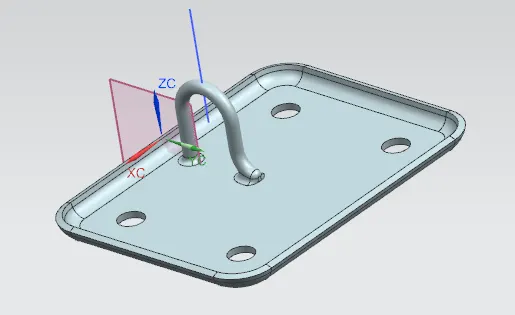
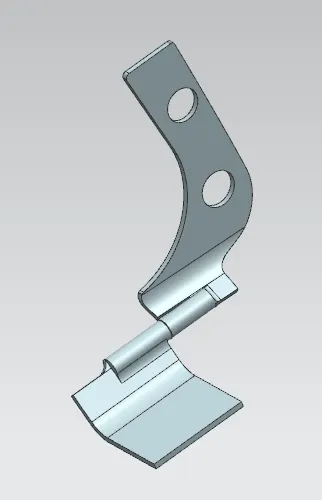
iii)Hinge assembly
-From the class A surface of the outer hood panel we have to create the inner hood panel.
-offset the inner panel and work according to the master section provided in this challenge.
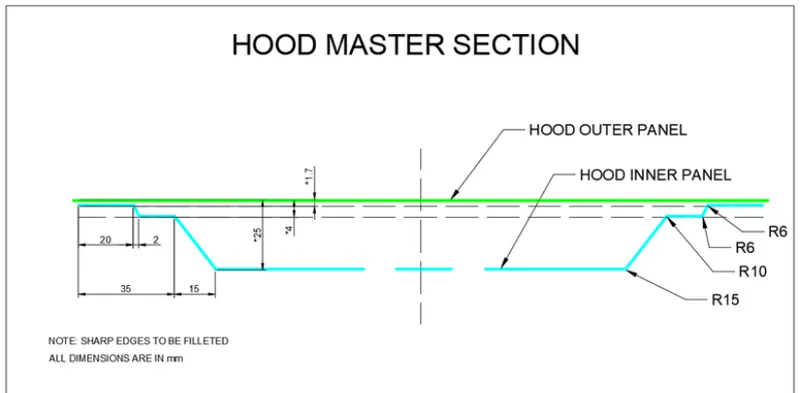
We have to maintain all the parameters according to above given section,which includes fillet radius and offset distance. Now we have to create embosses for the inner panel according to the proper dimensions and using the enboss command we have to create it.
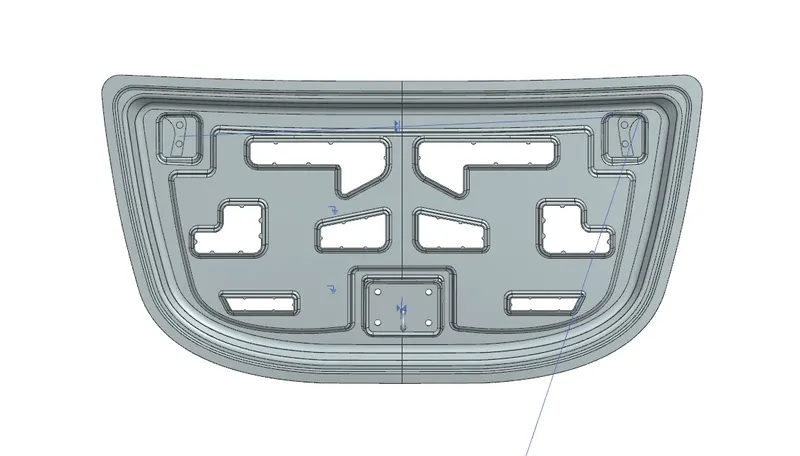
And then we have to work in the mastic data points over the embossed surfaces and then trim it from the surfaces, after finishing all these primary parts we have to work on the edge fillets, The next step is to import all these parts into a new assembly part file and work according to the inner and outer panel alignment.the emboss creation for the hinge assembly and striker is completely different when we compared it with the previous emboss creation. Because the hinge assembly and the striker should be placed on a flat surface.
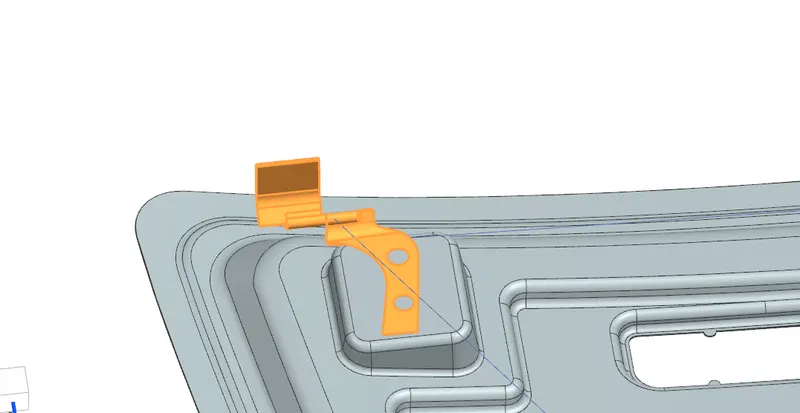
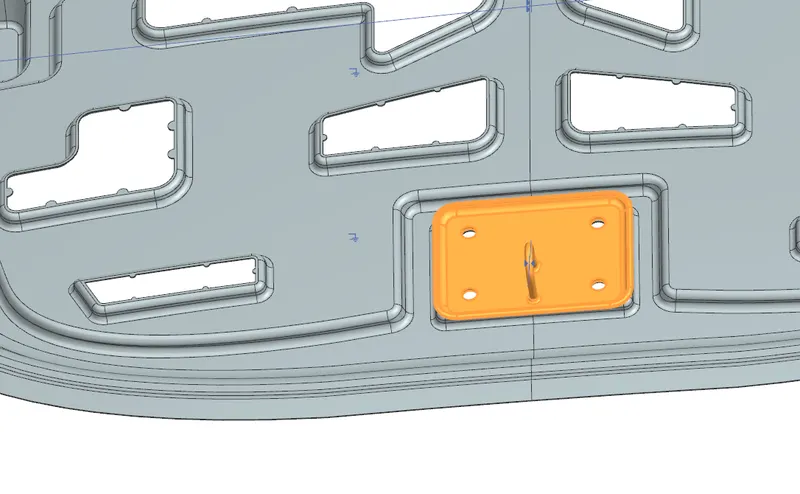
The assembly of these features are done using giving assembly constraints and using move component features. Then the inner panel is given suitable thickness of 0.75mm, after this the outer panel hemming flange is created and then it is thickened and corner relief is given and the we check the section for any intersection.