Hood design-Week 2
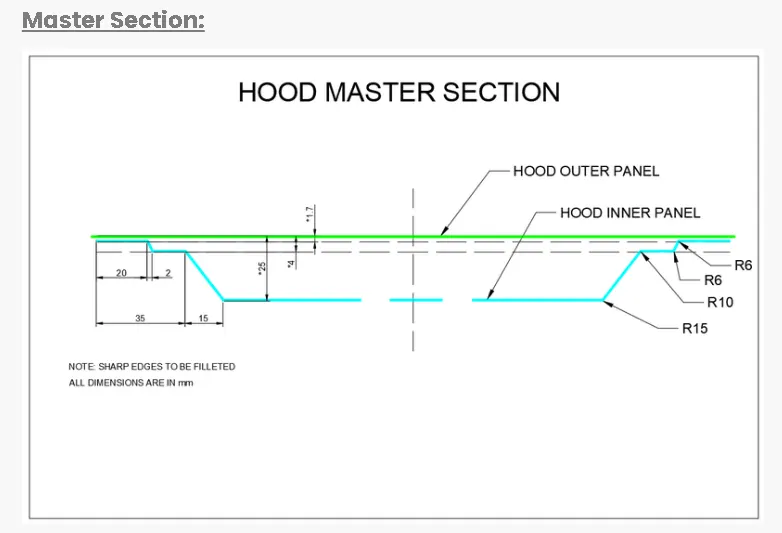
Objective :- To create a Hood Inner Panel, Outer Panel and Reinforcement by using hood outer panel skin, master section and design parameter. Create a hood assembly by using parts Inner Panel, Outer Panel, Hinges, Latch & Striker. Use a constraint for joining of 2 different different part.
Hood :–
A car hood, also referred to as a “bonnet” in some countries, is the hinged cover that rests over the engine bay of a front-engine vehicle. The car hood protects the engine and connected parts from the elements while providing easy access for repairs and maintenance. It also protects these parts from direct sunlight and dust. The hood or bonnet is the hinged cover over the engine of motor vehicles. Hoods can open to allow access to the engine compartment (or trunk on rear-engine and some mid-engine vehicles) for maintenance and repair. In design perspective hood should meet some specific conditions like pedestrian safety, hood head zone for the lock striker, force distribution when subjected to frontal collision (occupant safety), manufacturability etc.
A typical hood assembly consist of hood outer panel, inner panel, latch and striker, hinge, hood stay. Hood stay is an apparatus for supporting the engine hood of a moto vehicle in its open position. The purpose of opening the engine hood is for inspecting engine room, replenishing cooling water and engine oil, changing parts and making repairs etc. Common types of hood stays are Support Rod and Gas Stay. Support rods are manually operated and they are cost effective and simple to design whereas gas stays require no man power but they are costly. Hood are typically made out of the same material as the rest of the bodywork. This may include steel and aluminium. Deep drawing, hemming, blanking and piercing are the common sheet metal operations that are used in manufacturing hoods in automotive industries.
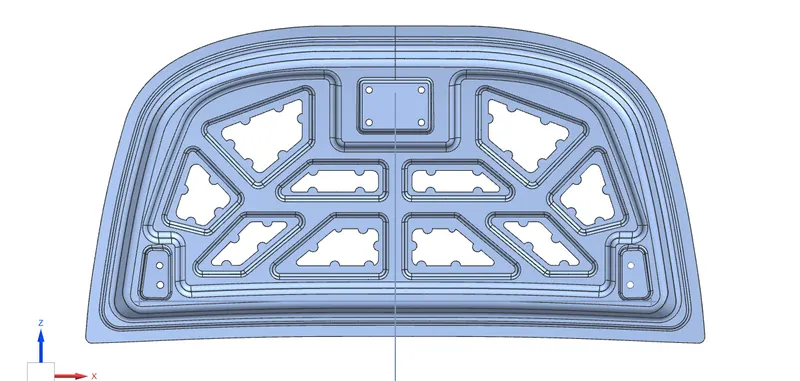
Reference Documents:-
Components –
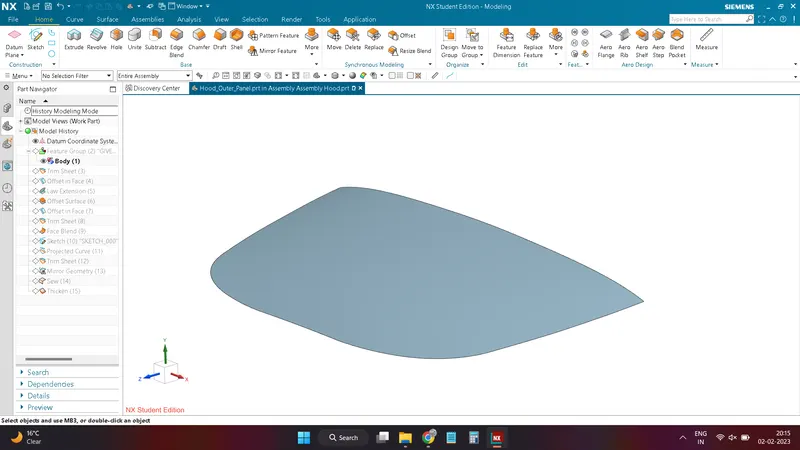
1) Hood Outer Panel
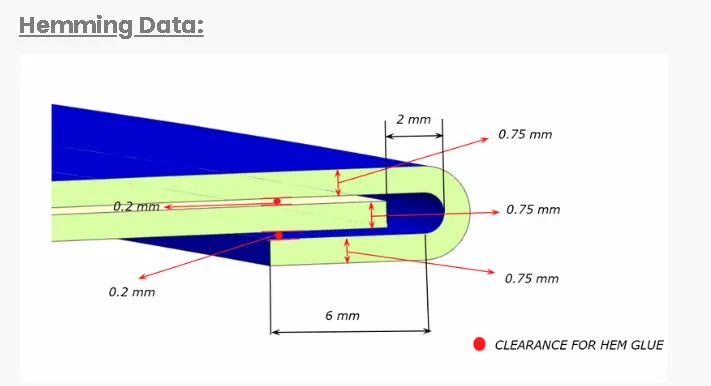
Hood Outer panel is a engine cover which is provided by the styling team. It is a aesthetic element of a car. The outer panel is attached to the inner panel by using a hemming process.
2) Hood Inner Panel
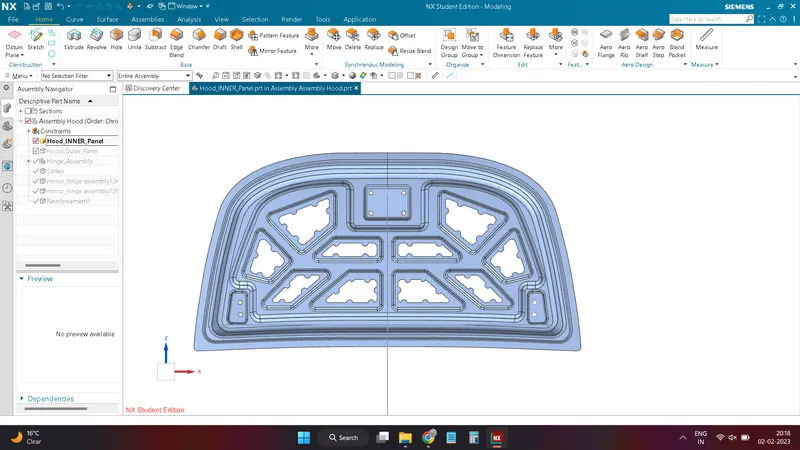
Hood Inner Panel is a part which is used for provide a strength in a hood. It is also responsible for provide a passenger safety which is given by Direction Embosses. The other parts outer panel, hinges, Striker, reinforcement are attached in it.
3) Hinges
Hinges allow the hood to rotate around a fixed axis for opening and closing movement. One part of the hinge is fixed with the engine compartment, while other part is connected to hood.
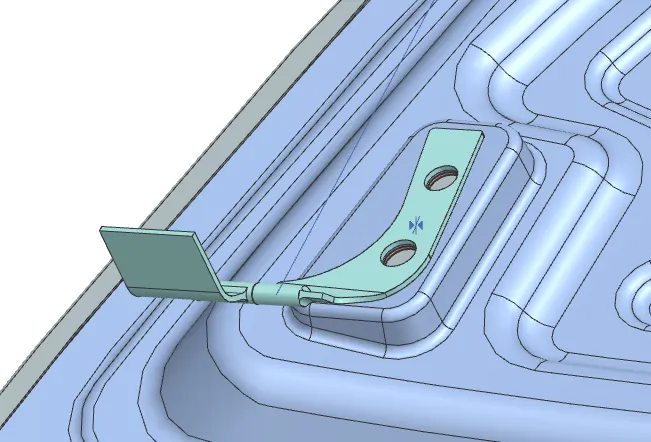
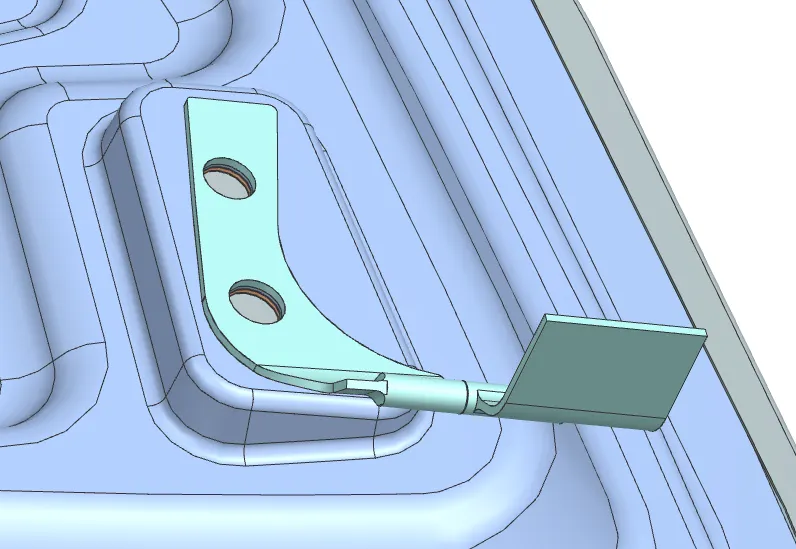
4) Latch and Striker
Latch and striker mechanism is provided to lock the hood, in order to prevent accidental opening of the hood during driving. The latch is present on the engine compartment while the striker is attached to inner part of hood.
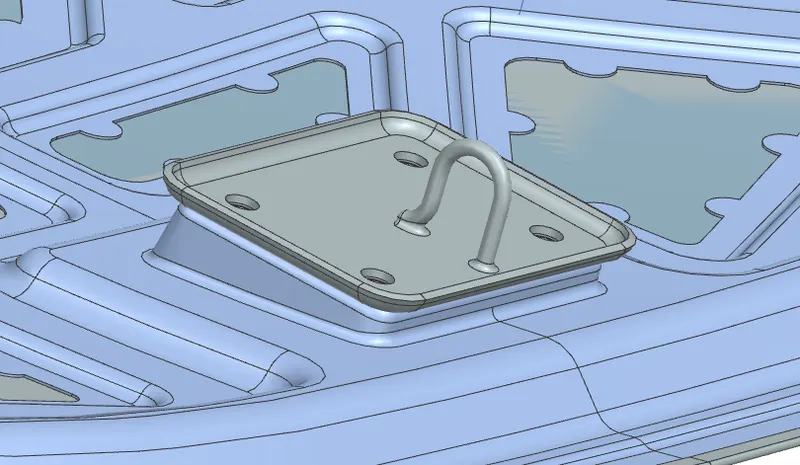
5) Reinforcements
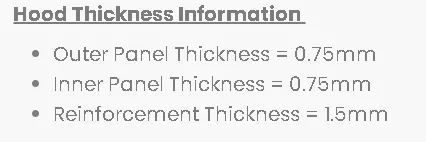
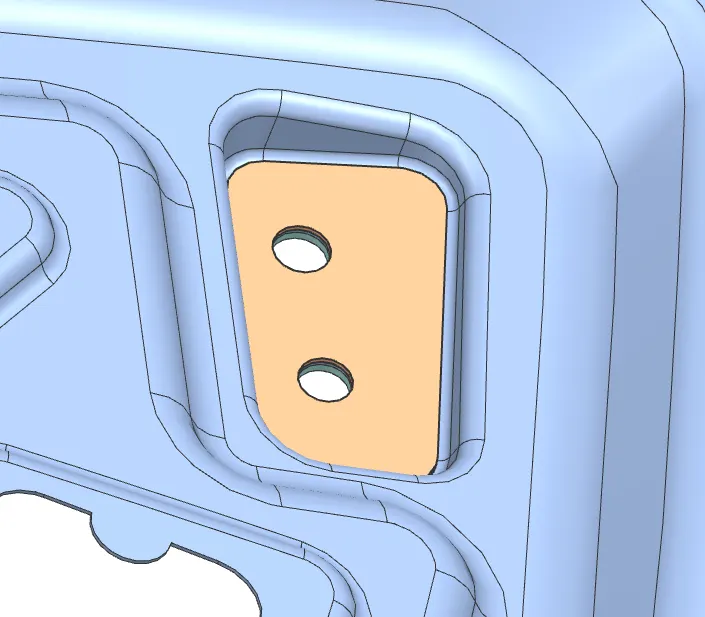
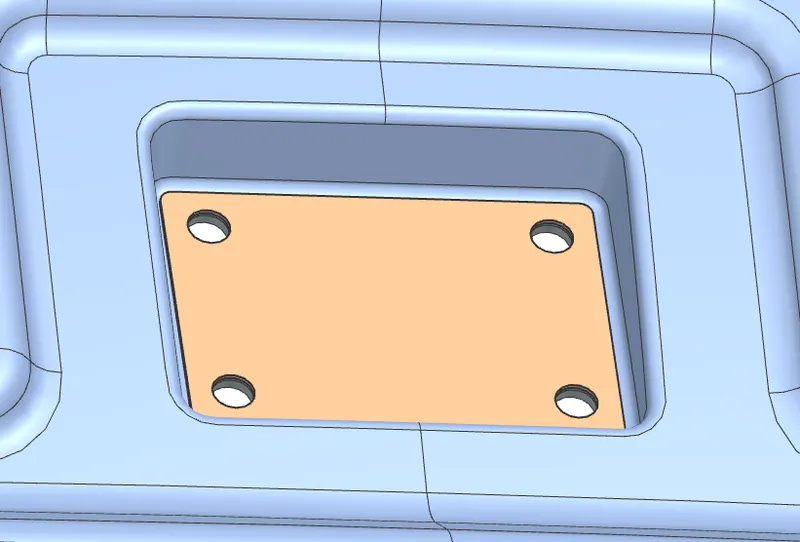
The reinforcements are provided to add material to the inner panel to provide extra strength to the hood to compensate for loss of strength near component installation regions. The re-enforcement are given at latch and hinge mounting. After drilling the holes the area of the mounting becomes weak, in order to strengthen the area plates of 1.5 mm thickness is applied in the area.
6) Latch Trajectory
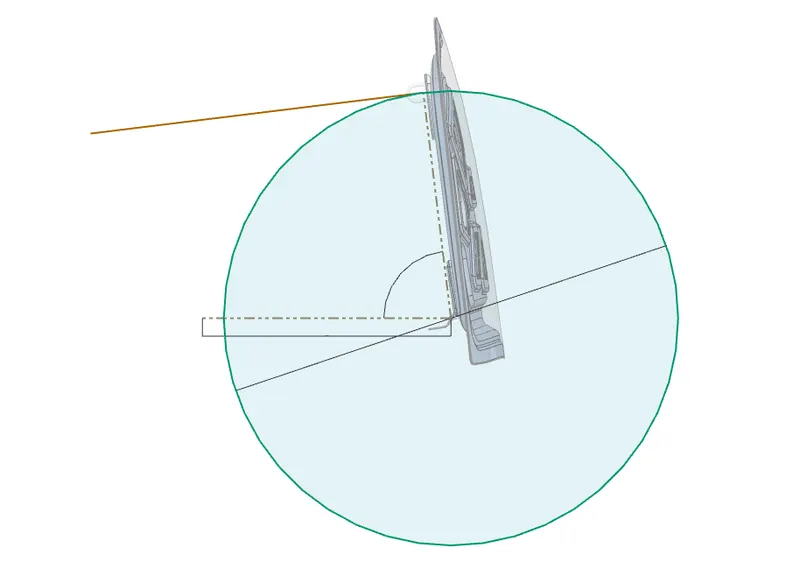
The latch, also known as a striker is a locking mechanism for closing the hood. The placement and the trajectory of this striker is determined by the circle drawn with pivotal axis of the hinge as its center. This is called 'latch trajectory'.
The latch trajectory is the path which the striker will follow when the hood is open/closed while pivoting on the hinge axis. The latch trajectory is taken as a circle with the hinge axis as the center of the circle. The striker is placed 90 degree such that it is tangent to the circle.
7) Mastic Sealent:-
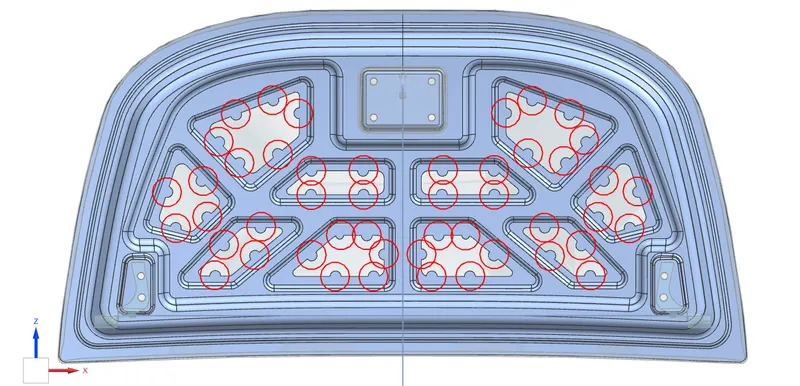
Mastic is a form of sealant or adhesive used to fill the joints or as a bond for different materials and gaps. It is an elastic and flexible material used to create a durable bond between two different surfaces or to protect a particular surface.
Hood opening angle:
The angle at which the hood opens is hood opening angle. This angle varies depending on the region you live. This depends on the average height of a person in that particular region.
Design of Hood:-
Hood outer panel skin is given by a styling team and now we needf to work on it for create thicken part by using a diff-diff commands.
Commands Used:-
- Datum Plane
- Datum Coordinate
- Sketch
- Project Curve
- Offset Surface
- Offset Curve in Face
- Trim/Trim &Extend
- Through Curve
- Edge Blend/ Face Blend
- Emboss
- Wave Geometry Linker
- Mirror/ Mirror Assembly
- Sew
- Thicken
- Add new component
- Move Component
- Constraint
Designing of the Inner Panel :-
Use the above geometry for creation outer panel
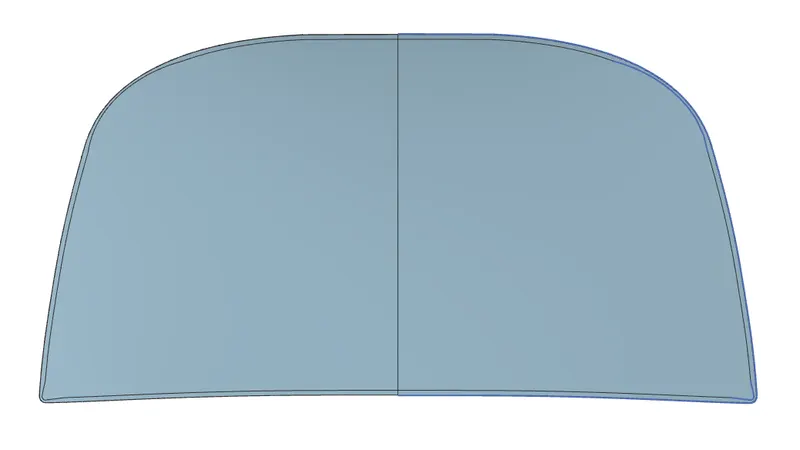
First Trim assembly in between and work on half side of a panel.
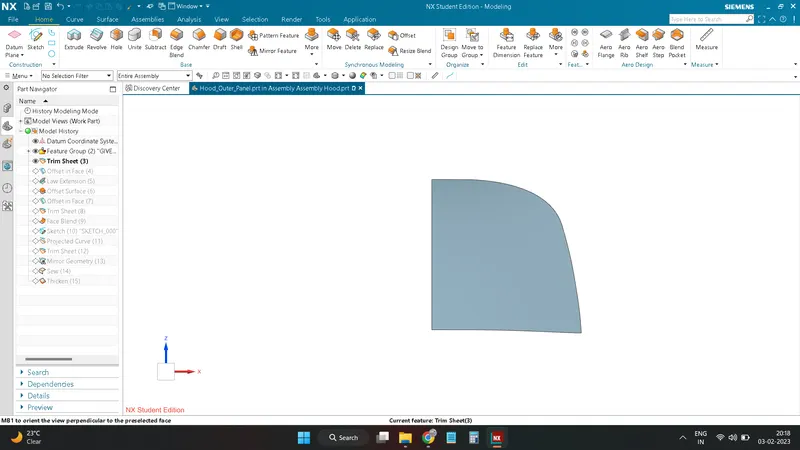
Offset the given panel and create a law extension
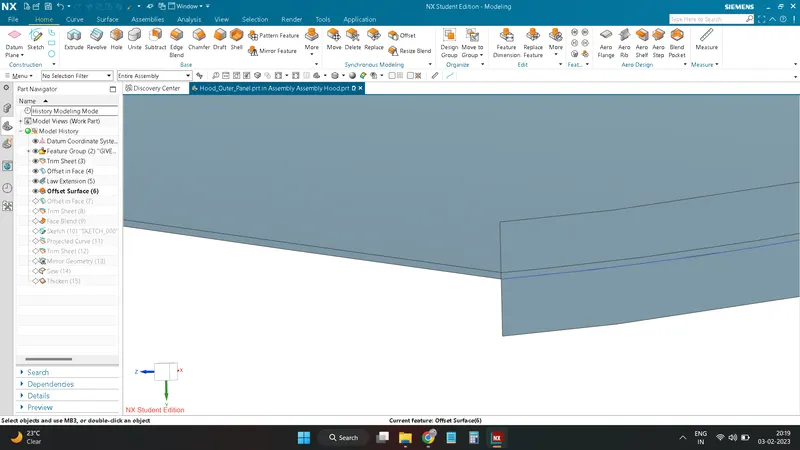
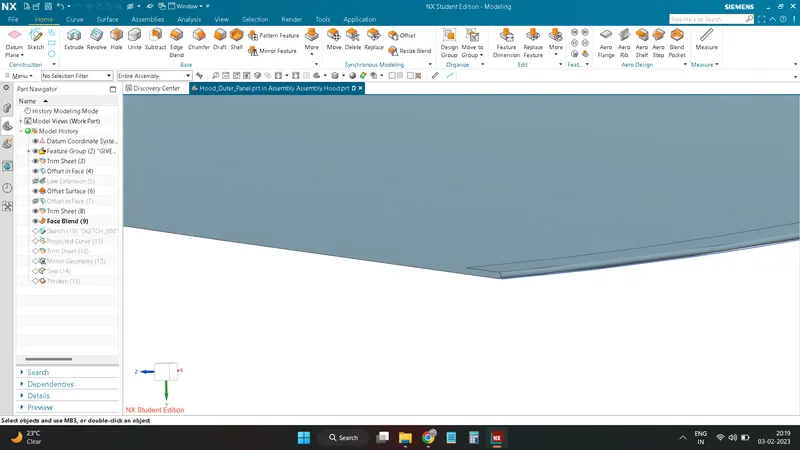
Use a 3 side blend and create a fillet on it
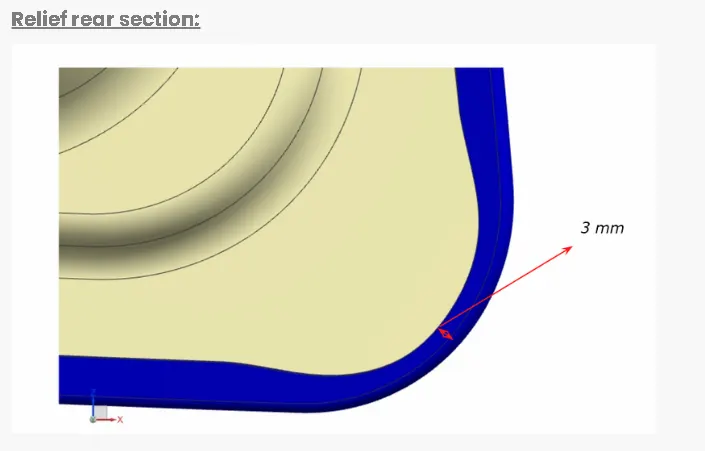
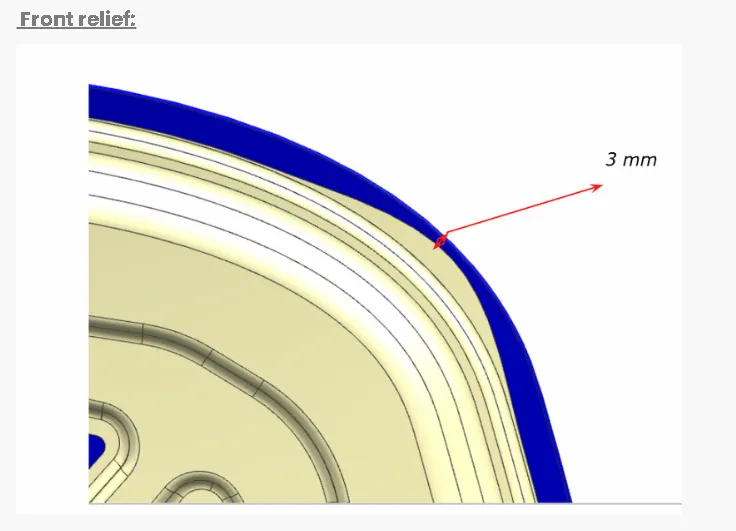
create a sketch for Front & Rear Relief section and project it on sheet.
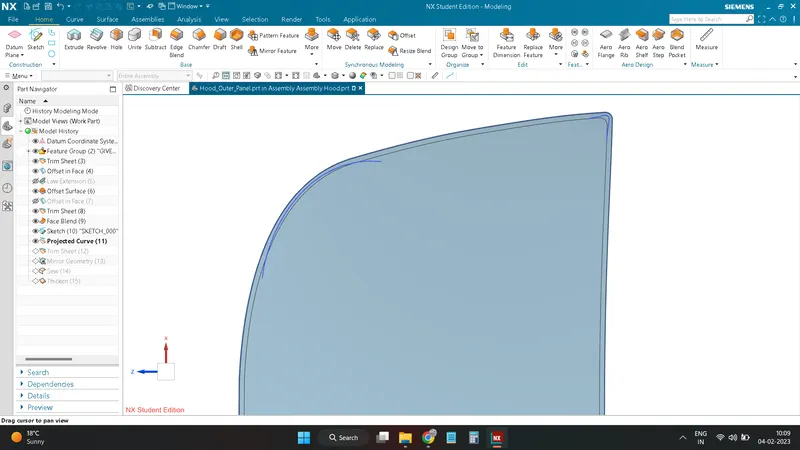
use a trim sheet for removing unwanted material from the sheet.
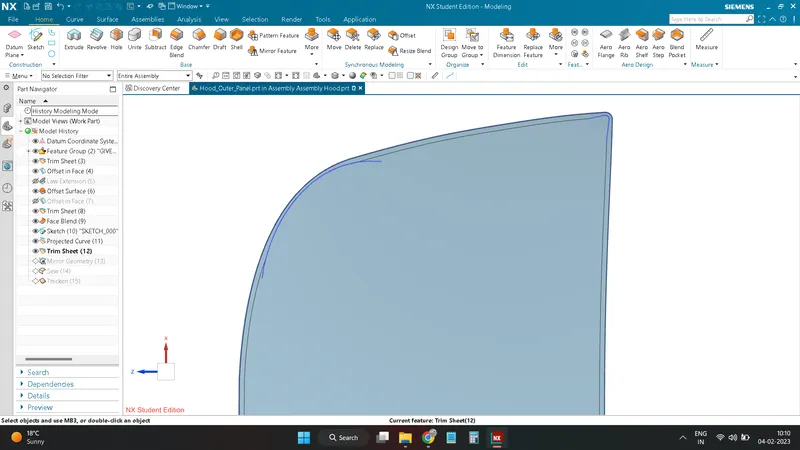
Use a mirror command to create full sheet
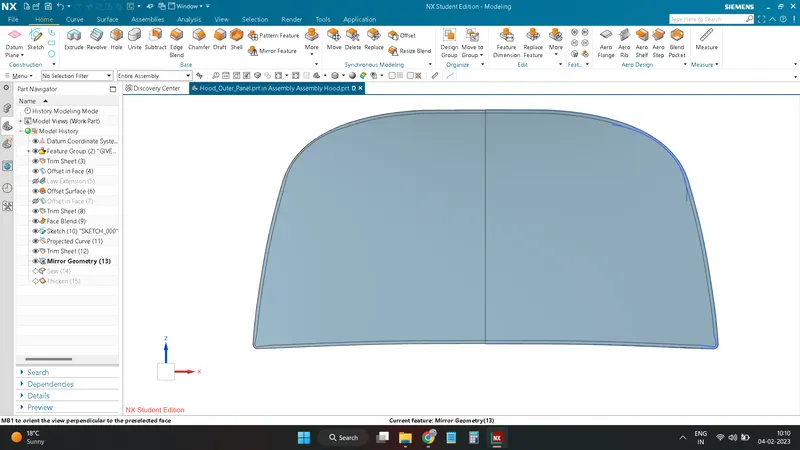
use a Saw command for joining of both sheet together
Use a thicken command for creating a thick Sheet
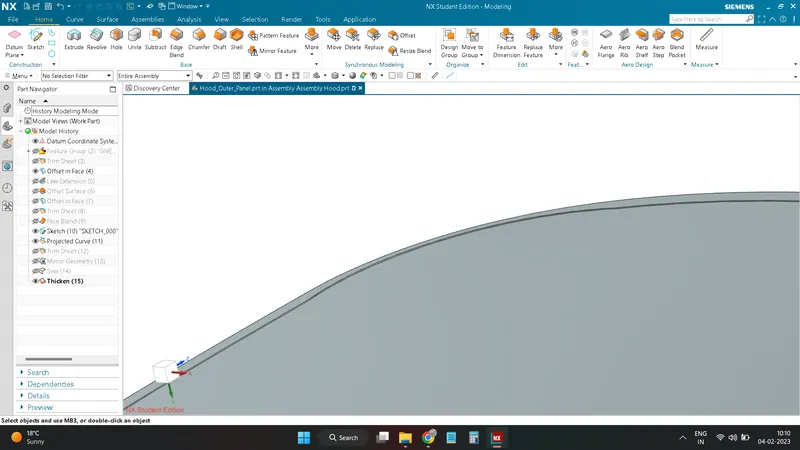
AND part model of outer panel is ready.
Designing Of Inner Panel:-
First offset the trimmed sheet by 0.95mm
Use offset in face
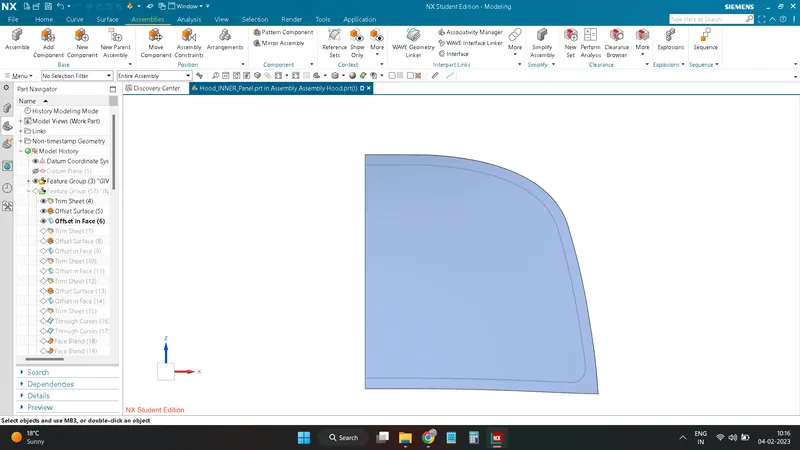
Use trim for trim sheet
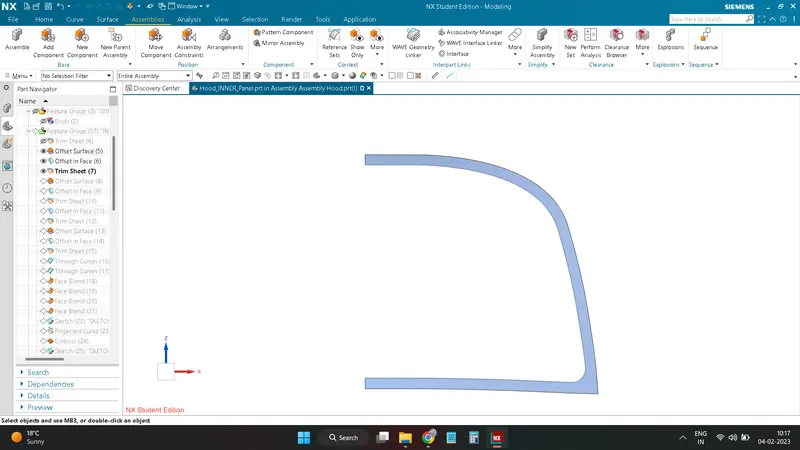
do same for all offset, offset on face & trim for all
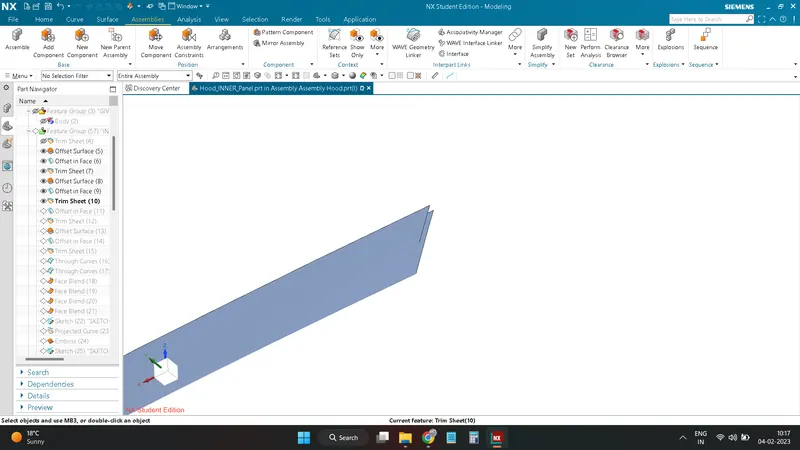
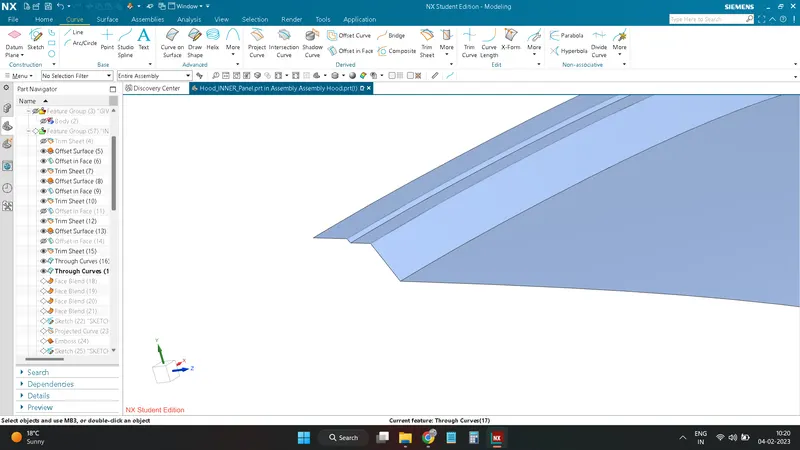
Use through curve command for create surface which touch two selected curve
Do same procedure for same
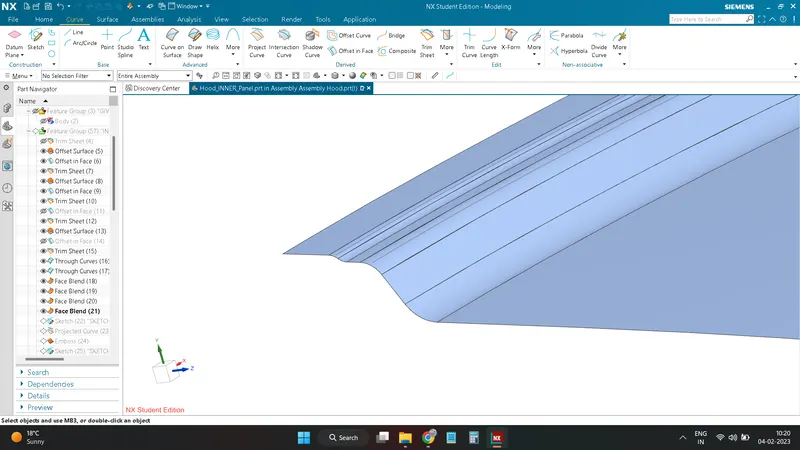
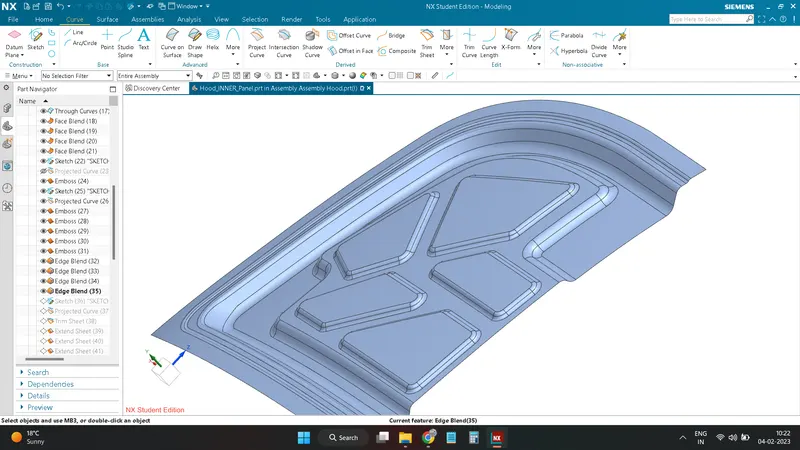
Make a blend at every edge as a given dimention
For creastion of guiding embosses first create a sketch of embosses and them project the sketch on inner panel
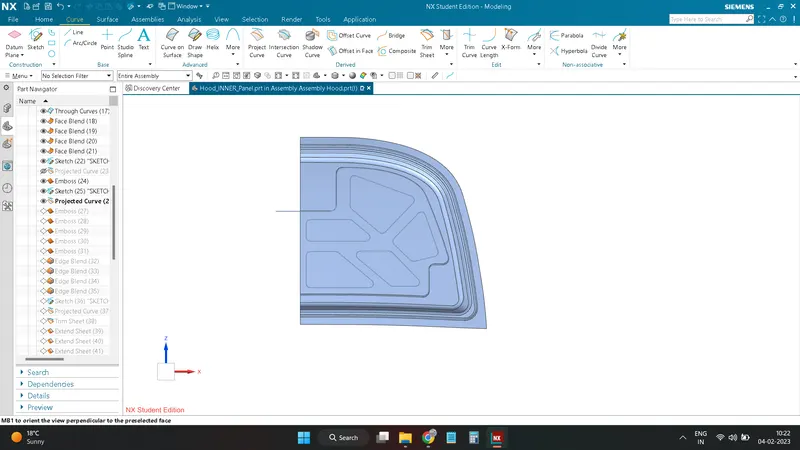
Now use a emboss command for creation of embosses.
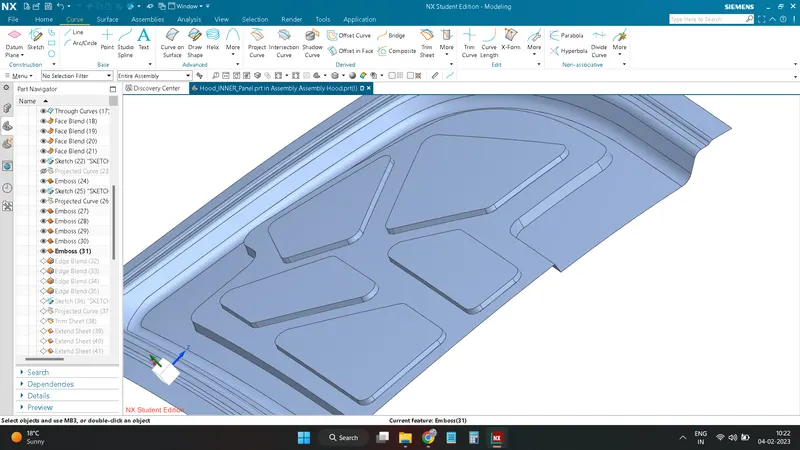
Now in the end create a fillet in all part.
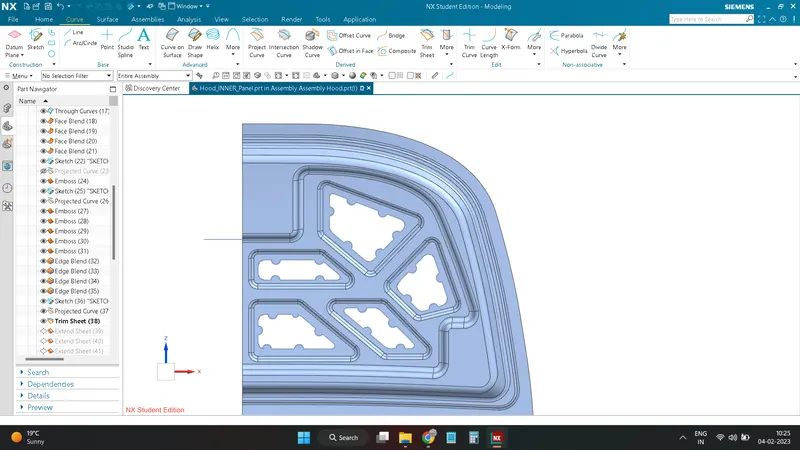
create a region for mastic sealent
Use a same procedure for creating a Emboss for hinge
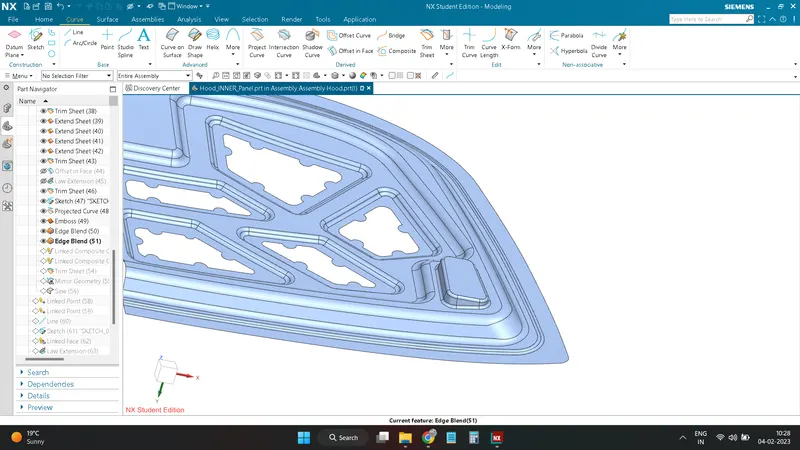
mirror the sheet & join it
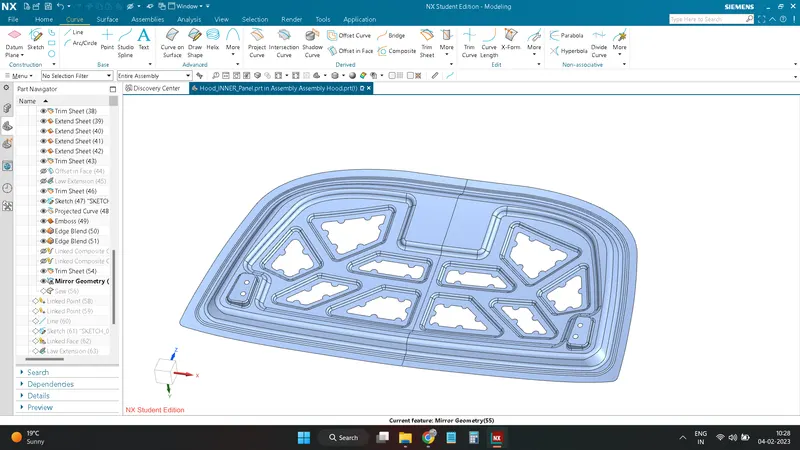
For create a emboss for latch & striker, First need to extract a surface from striker.
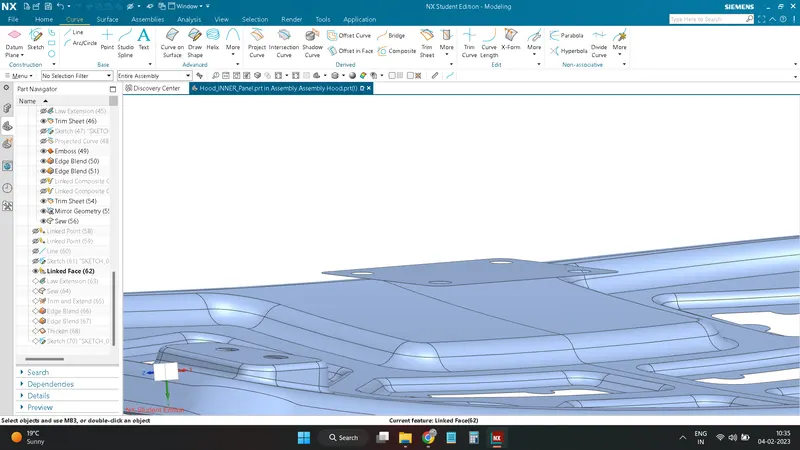
Fix the hinges on Hinge Emboss and extract a centre point and create a line for joining both 2 point of hinges.
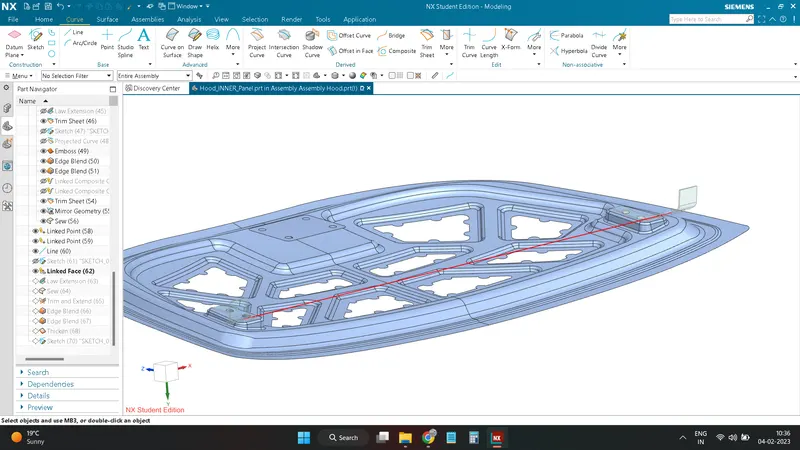
now need to create a trajatory for striker
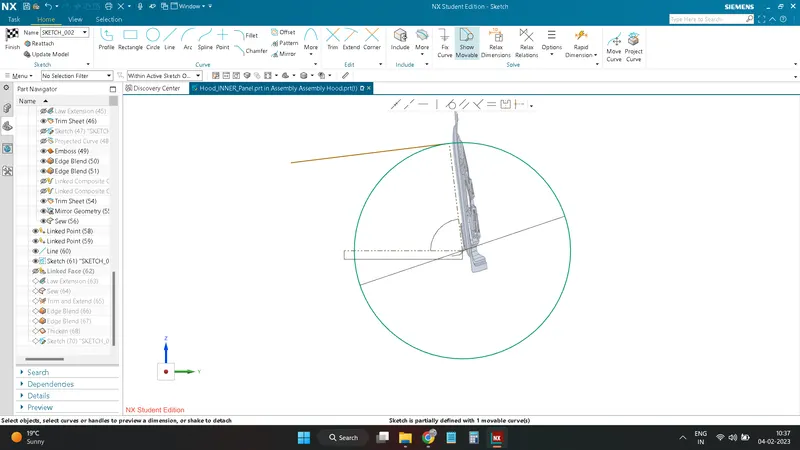
provide a align constraint for trajotary & striker perpendicular axis.
Use a law extension for joining this surface with the panel.
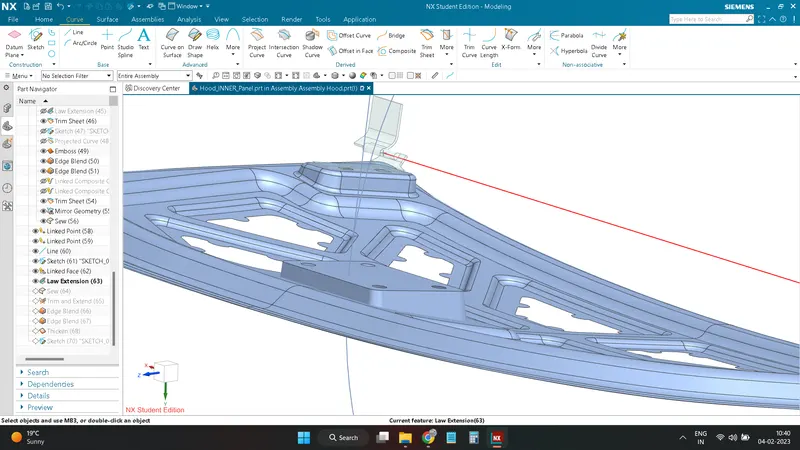
Use a trim & Extend for removing unwanted material.
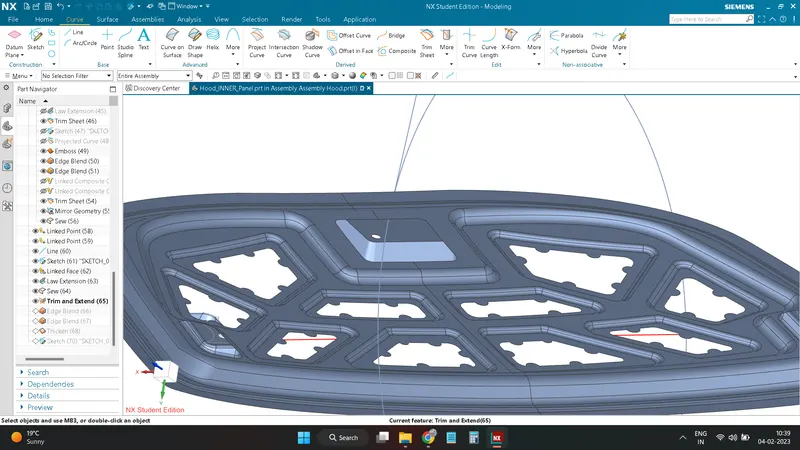
fillet the sharp corner
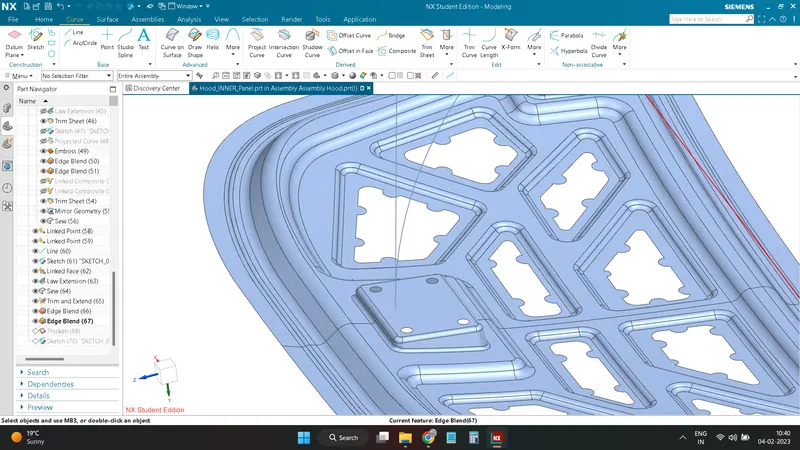
Use a thicken for provide thickness to the surface
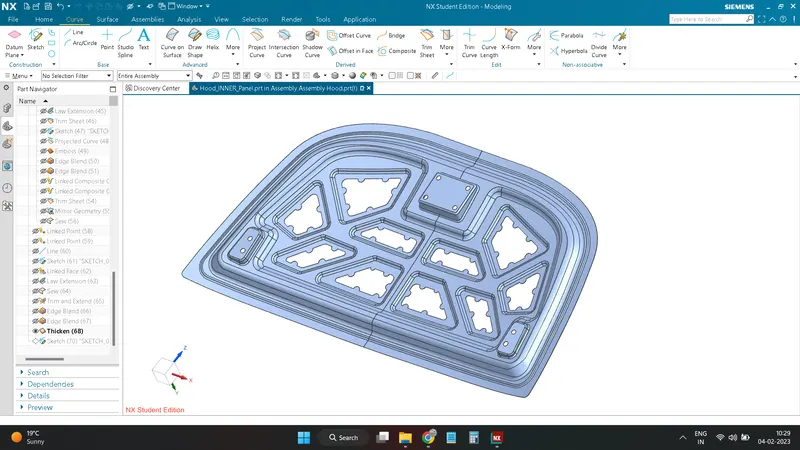
A Inner Panel Has Been Created
Assembly:-
Use a different different Constraint for joining different parts to each others
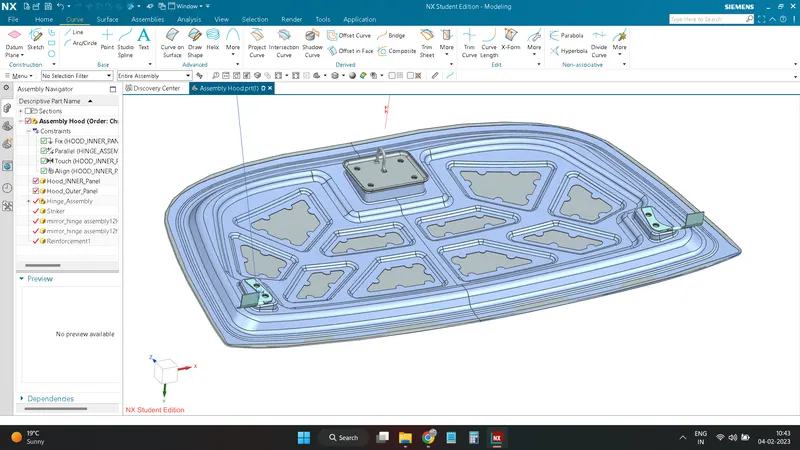
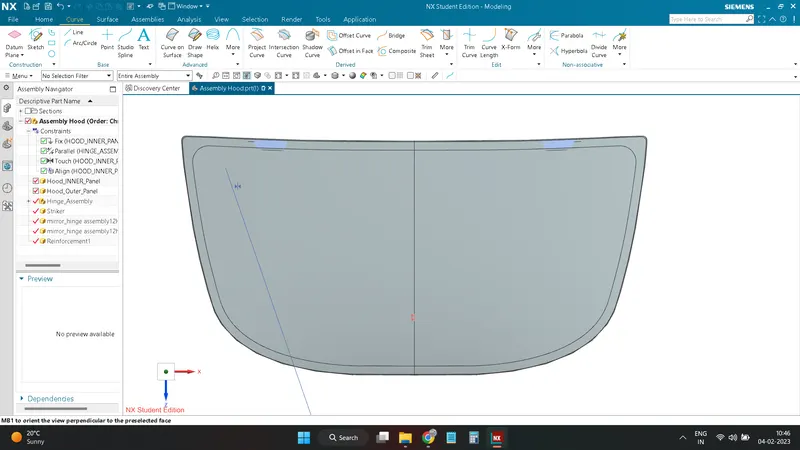
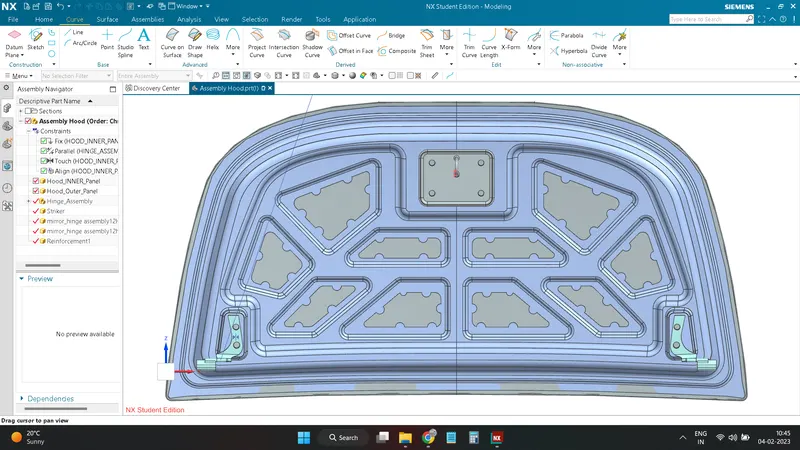
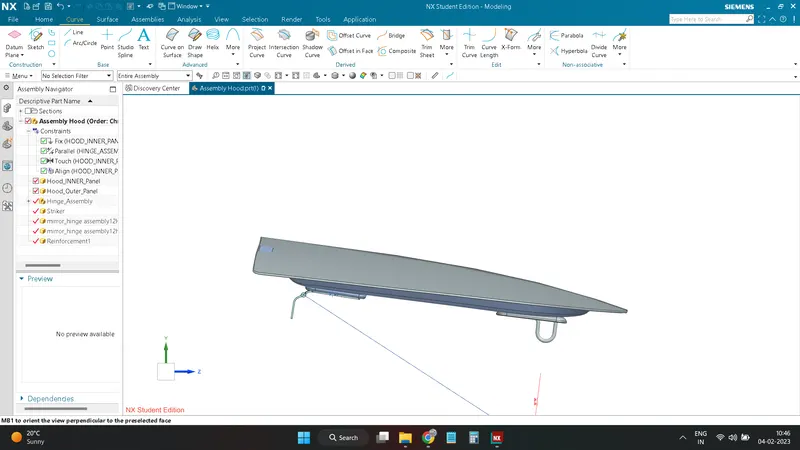
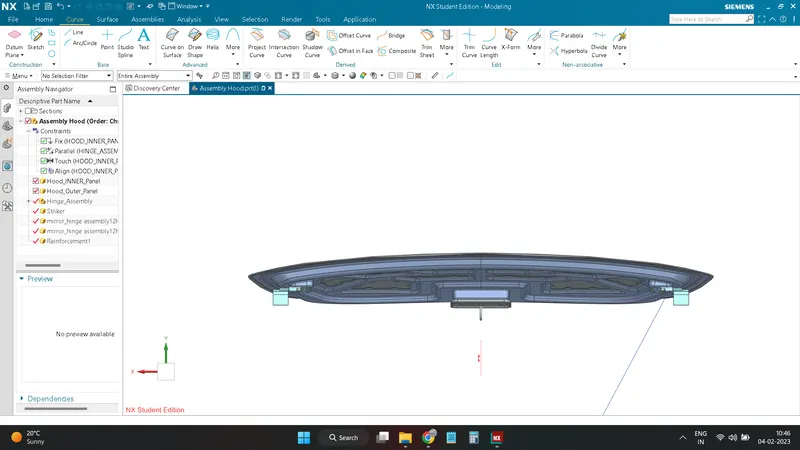
DIFFERENT VIEWS OF PART WITH ASSEMBLY:-