Hood design-Week 2
Hood design
Hood:
It is the main part of the car in the front section. It is considered the front BIW enclosure component. It gives the car a luxurious look and adds a decorative look. The shape of the hood is designed in such a way that to minimize the air effect. Basically hood has an outer panel, inner panel, reinforcements that provide strength, and embosses.
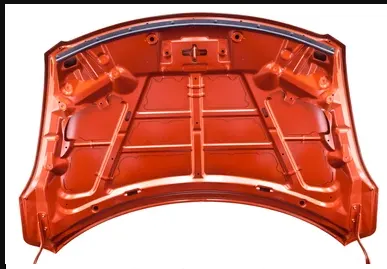
Two types of support are there for hood:
- gas stay
- support rod
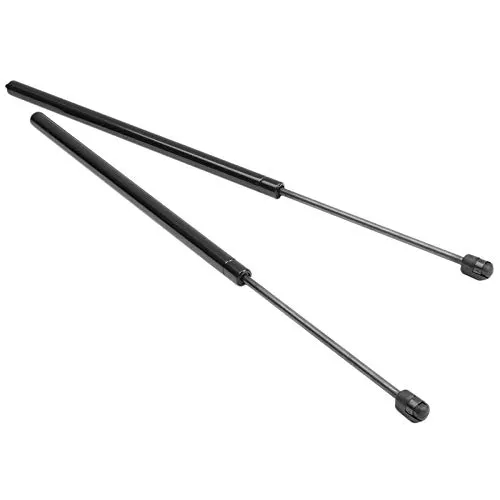
Gas stay is automatic, when we just open the hood it will automatically push the hood upwards to the fully opened position. This is generally used when the car hood is very heavy in weight.
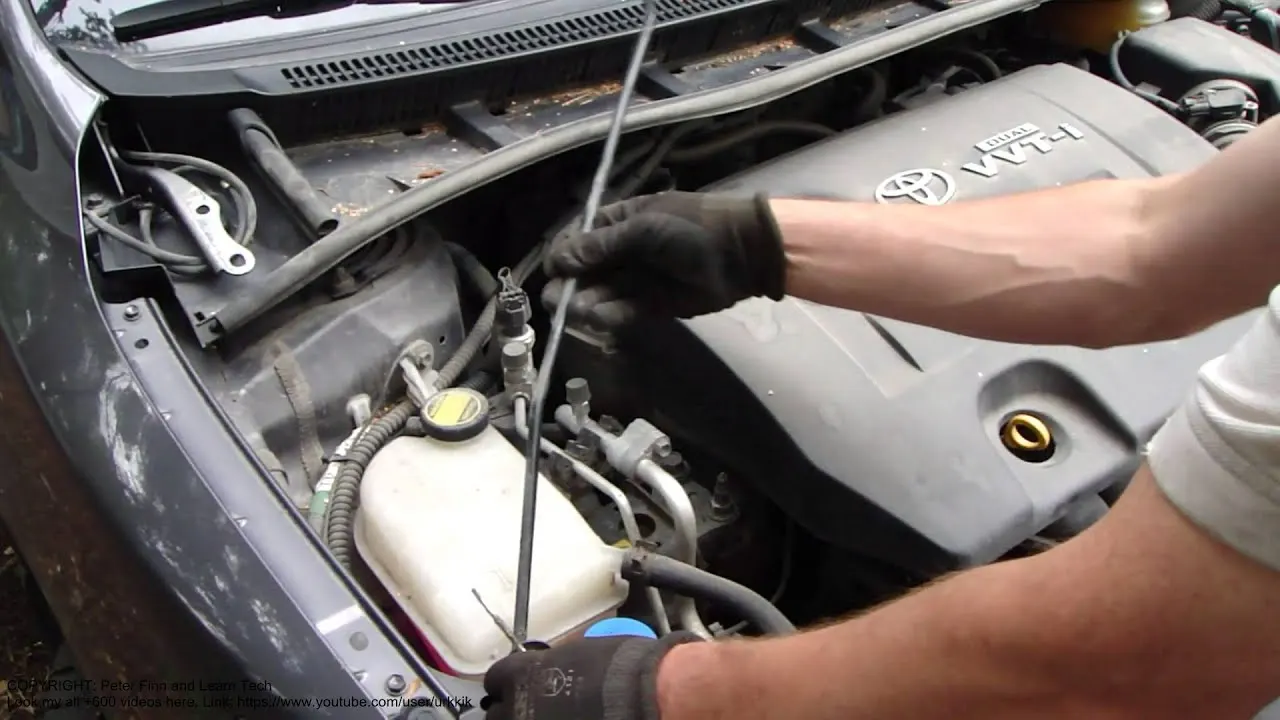
The support rod is widely used in many cars as it is very cheap. It is a manual process where one needs to open the hood and place the support rod to the hood for the support. This is generally used for lightweight kind of cars.
Inner panel:
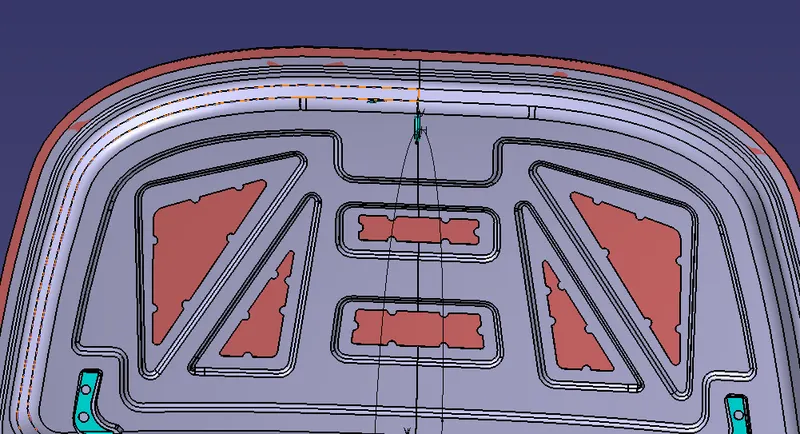
The inner panel consists of different holes and embosses. Embosses provide stiffness which provides energy towards hinges. The inner panel is taken from the parent surface. The thickness of the inner panel is 0.75mm.
Outer panel:
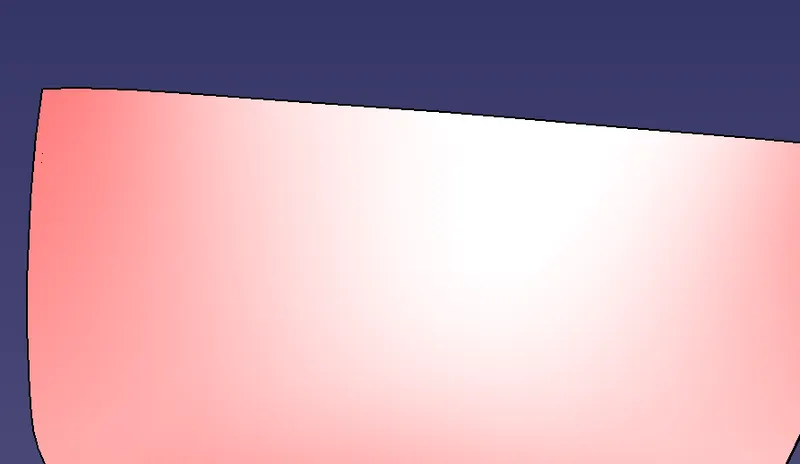
The outer panel is the outer skin of the inner panel. The outer panel gives the luxurious look to the hood. The outer panel is generally extracted model from design. The outer panel thickness is also 0.75mm.
Emboss:
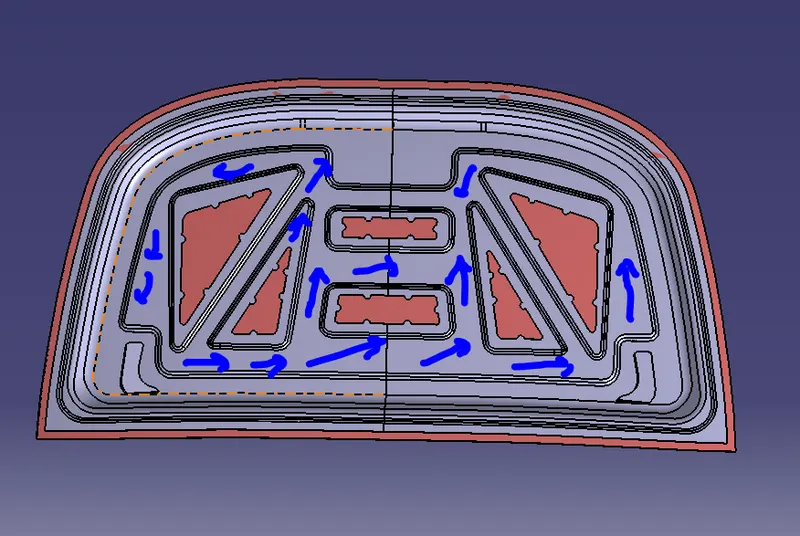
Embosses are created to give strength to the inner panel and to distribute the force during the impact to ensure the safety of passengers. The forces are directed outwards towards the embossing path. The embossings are created based on the master section given.
Mastics:
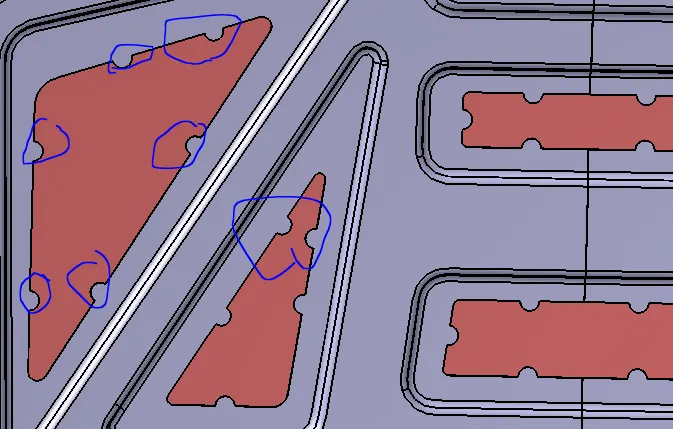
Mastics are provided on the hood inner panel where the hood can easily deform. It helps to retain the shape after deformation.
Hemming:
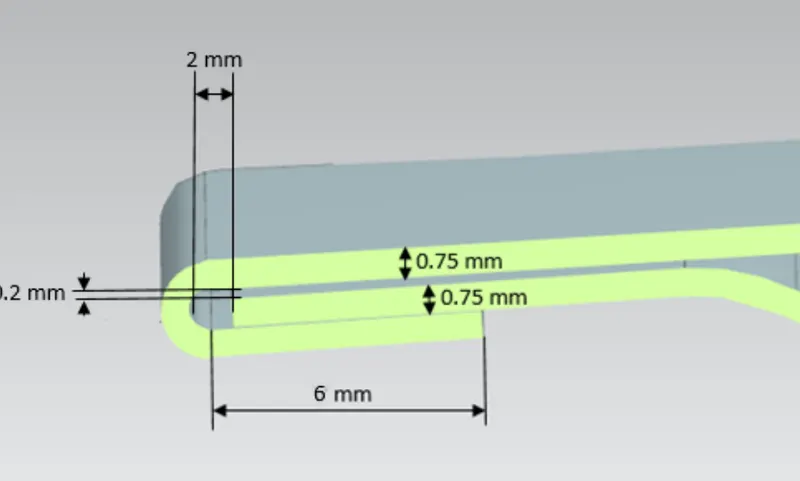
Hemming is the joining process of the inner and outer panels. The outer panel joins and hols the inner panel tightly. Hemming dimensions are followed accordingly.
Hinge and striker:
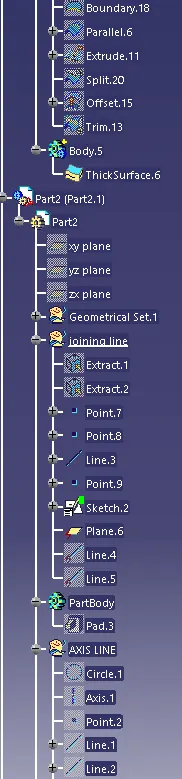
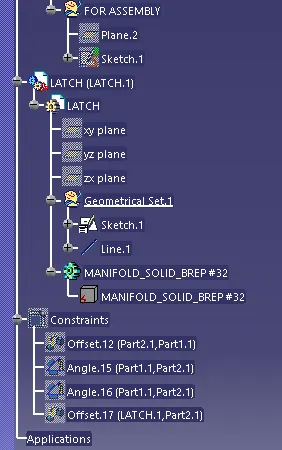
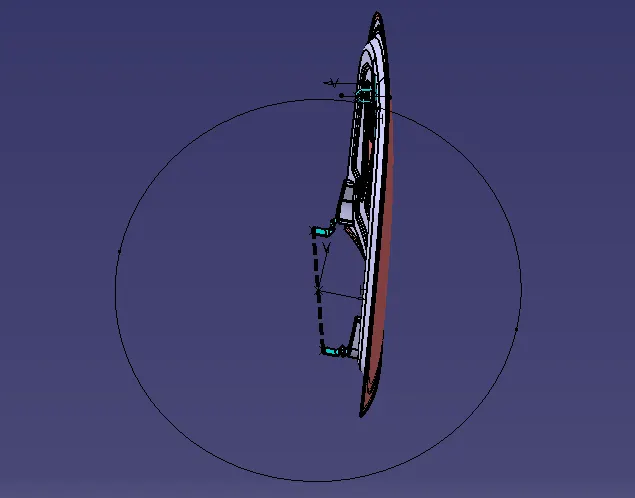
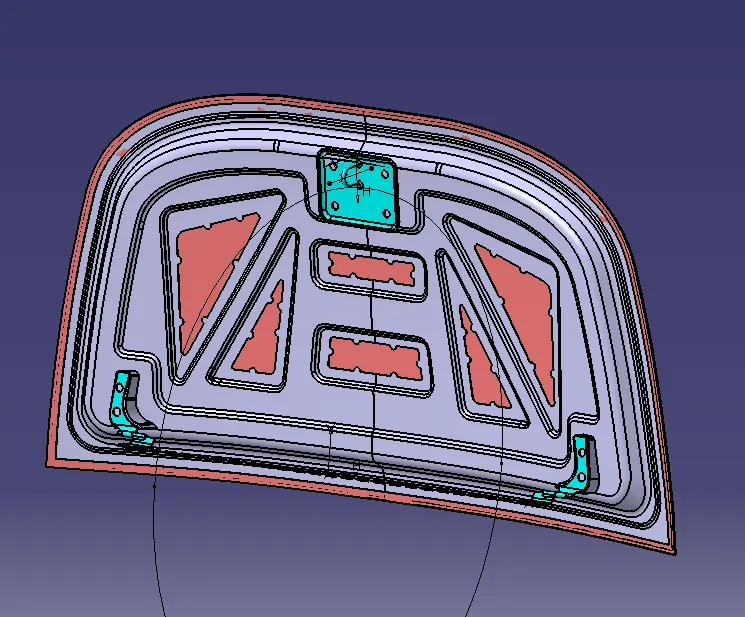
The main major function of the hinge is to close and open the hood. This is done using latch and striker. For positioning the exact position we need to place hinges and draw a line between them and take midpoint and draw the circle which should be tangent to the latch and striker axis. The circle drawn is the trajectory of the latch and striker.
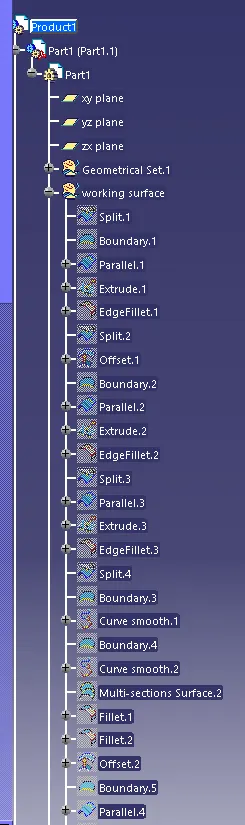
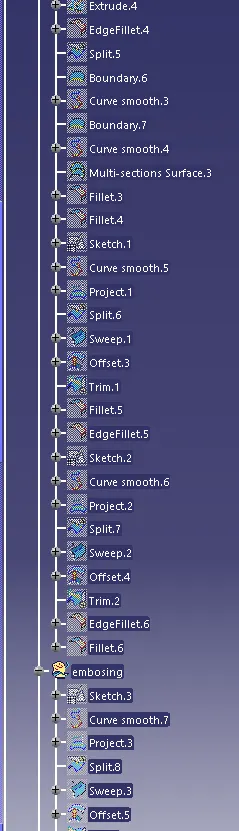
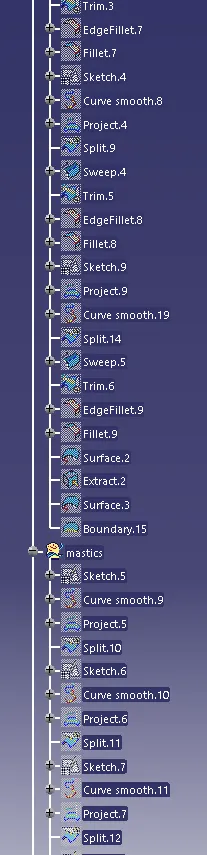
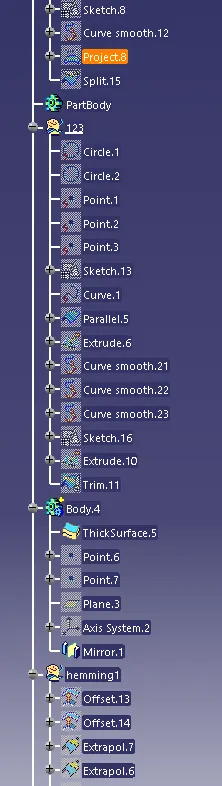
Tree structure: