Hood design-Week 2
AIM :
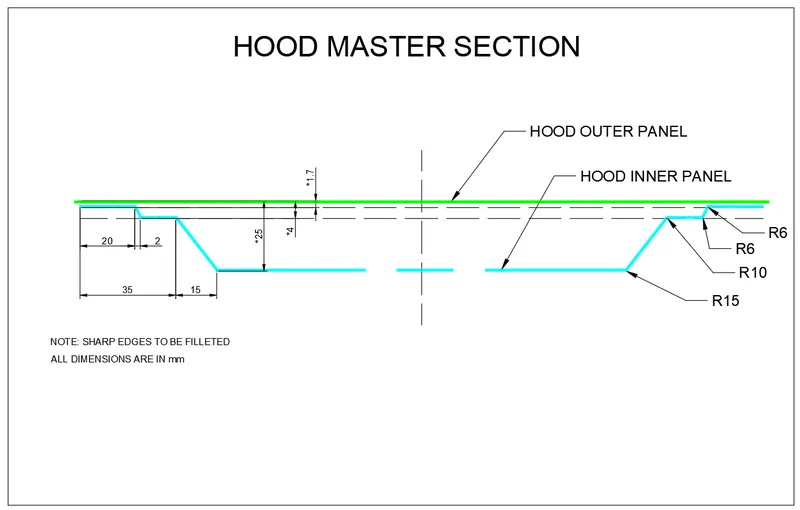
To Design Hood Outer Panel, Inner Panel and the necessary reinforcements by following the Master Section mentioned with the Design parameters.
Objectives :
A detailed report about the Hood Design which includes a detailed explanation about hood and its components, Latch Trajectory, Mastic Data, Emboss Definitions, Manufacturing process like Deep-Drawing and Hemming, and all the parameters followed in the design.
The report should be well-formatted and should have a good flow of content. Add all the relevant images
Data to be used:
Hood Thickness Information
- Outer Panel Thickness = 0.75mm
- Inner Panel Thickness = 0.75mm
- Reinforcement Thickness = 1.5mm
Hood Introduction :
The hood or bonnet is the cover over the engine. Hoods can open to allow access to the engine compartment, or trunk on rear-engine and some mid-engine vehicles for maintenance and repair.
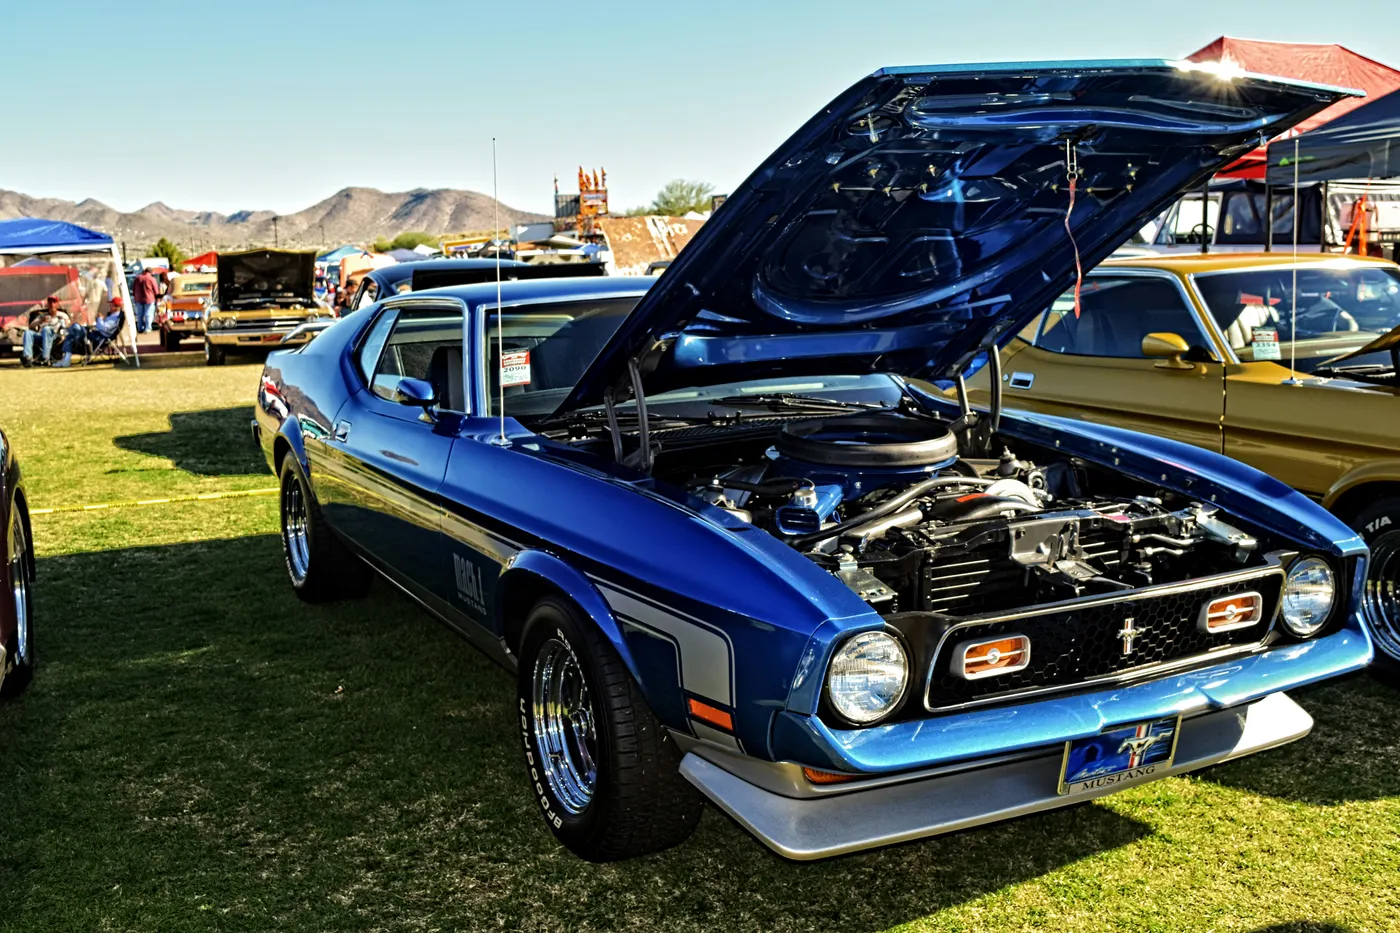

Terminology
In British terminology, hood refers to a fabric cover over the passenger compartment of the car (known as the 'roof' or 'top' in the US). In many motor vehicles built in the 1930s and 1940s, the resemblance to an actual hood or bonnet is clear when open and viewed head-on; in modern vehicles it continues to serve the same purpose but no longer resembles a head covering.
Styles and materials
On front-engined cars, the hood may be hinged at either the front or the rear edge, or in earlier models (e.g. the Ford Model T) it may be split into two sections, one each side, each hinged along the centre line. A further variant combines the bonnet and wheelarches into one section and allows the entire front bodywork to tilt forwards around a pivot near the front of the vehicle (e.g. that of the Triumph Herald).[1]
Hoods are typically made out of the same material as the rest of the body work. This may include steel, aluminum, fiberglass or carbon fiber. However, some aftermarket companies produce replacements for steel hoods in fiberglass or carbon fiber to make the vehicle lighter.
Release/ safety and security mechanisms
The hood release system is common on most vehicles and usually consists of an interior hood latch handle, hood release cable and hood latch assembly. The hood latch handle is usually located below the steering wheel, beside the driver's seat or set into the door frame. On race cars or cars with aftermarket hoods (that do not use the factory latch system) the hood may be held down by hood pins. Some aftermarket hoods that have a latch system are still equipped with hood pins to hold the hood buttoned down if the latch fails.
Features
A hood may contain a hood ornament, hood scoop, and/or wiper jets. A portion of the hood may be raised in a power bulge, to fit a large engine or air filters.
Pedestrian safety
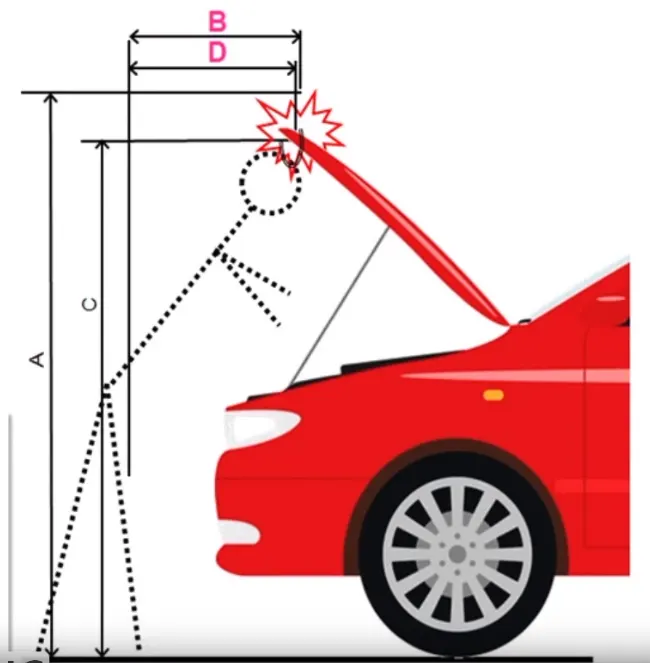
In Japan and Europe, regulations have come into effect that place a limit on the severity of pedestrian head injury when struck by a motor vehicle. This is leading to more advanced hood designs, as evidenced by multicone hood inner panel designs as found on the Mazda RX-8 and other vehicles. Other changes are being made to use the hood as an active structure and push its surface several centimeters away from the hard motor components during a pedestrian crash. This may be achieved by mechanical (spring force) or pyrotechnic devices.
Procedure :
HOOD DESIGN :
There lot more things before the hood gets in to designing hands that to be considered.
The height of the hood is designed based on the country standards as the height of a average person changes from place to place.
The material consideration is also required that should be cost effective to manufacture.
The Hood should be designed with a light weight for the pedestrain saftey as the person hit to hood there should be minimal harm to the person.
Study Of Master Section
Load The All Parts Into Assembly Workbench As shown in fig below.
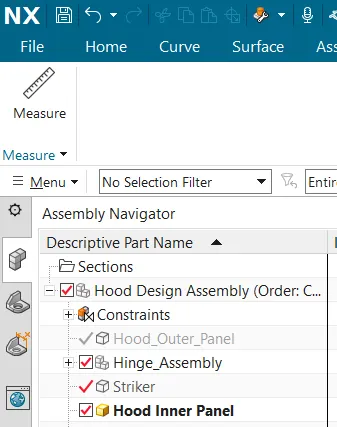
Hood Inner Panel :
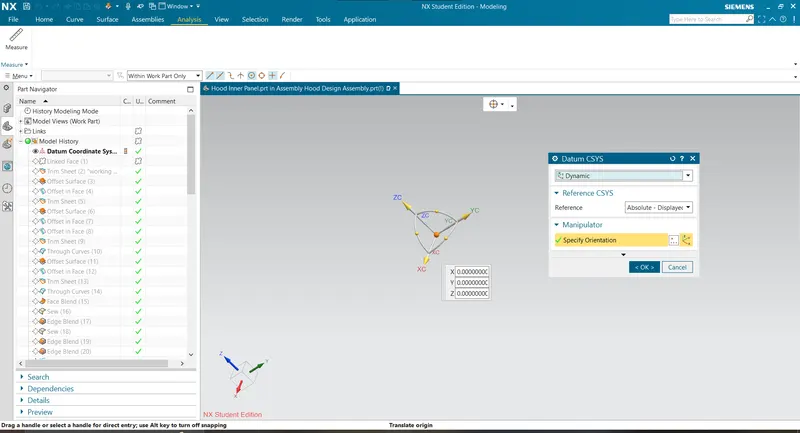
Datum Co-ordinate System :
It was Important To Create The Datum Co-ordinate System As shown in fig below.
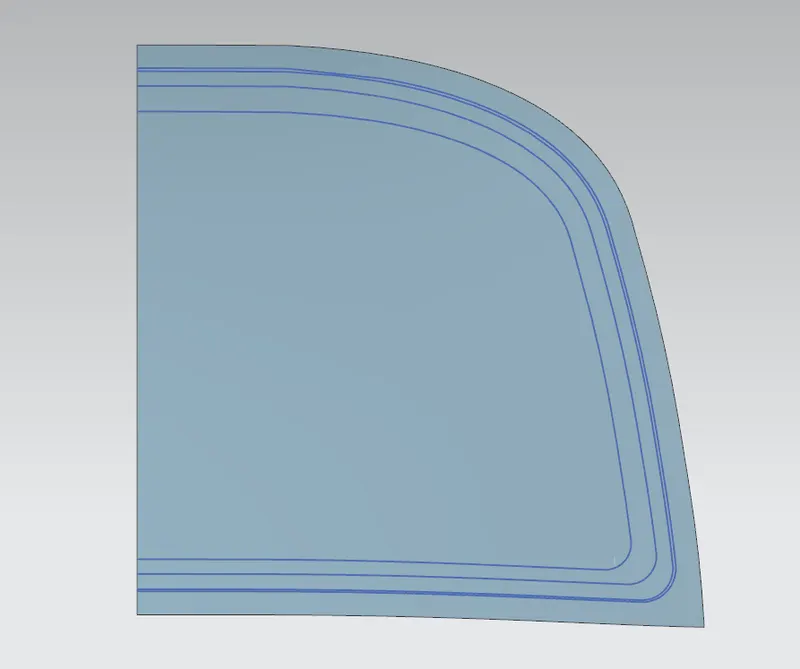
Creating Offset in Face Lines as shown in figure given below.
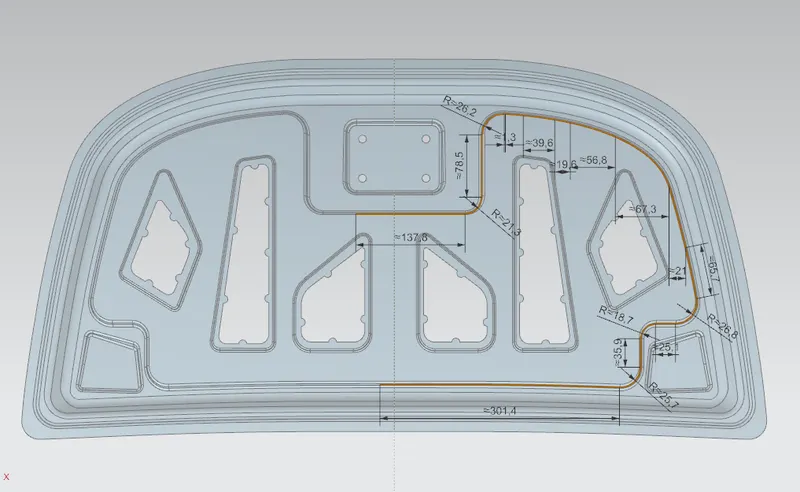
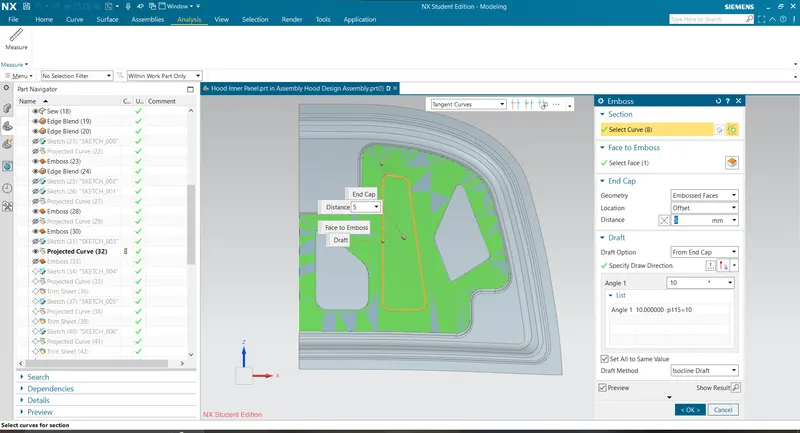
Then Create Proper Sketches On Project them into the surfcaes & Then trim & Emboss As Shown in figure given below.
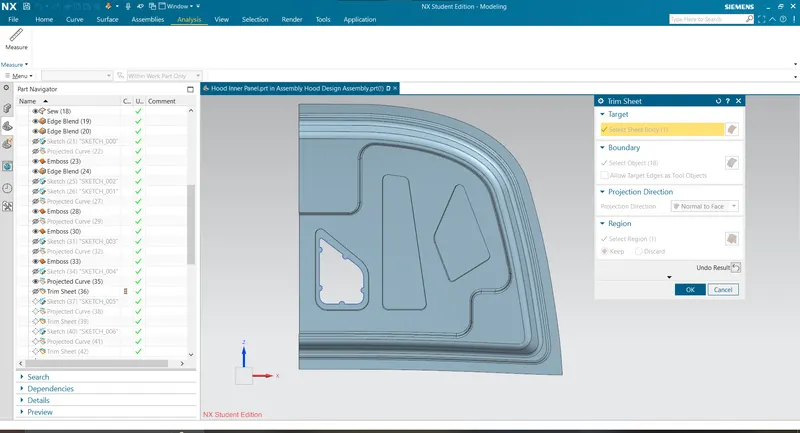
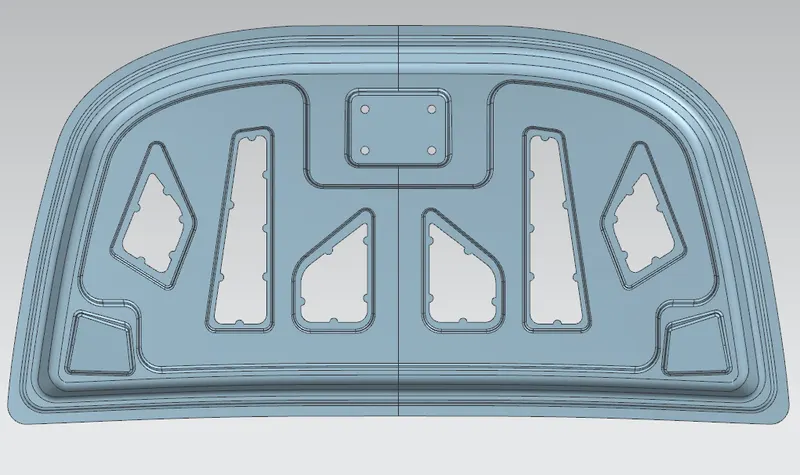
Then Thicken The Surface As Shown in figure given below.
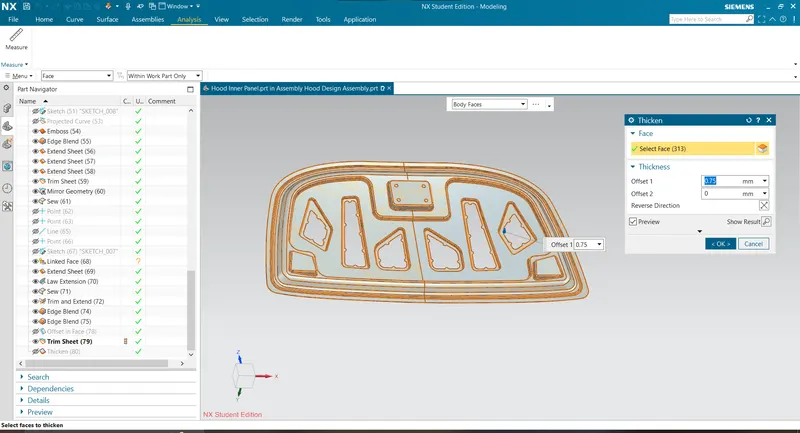
Hood outer Panel :
Make The Law Extension Of Outer Panel
As Sown in Figure Given below.
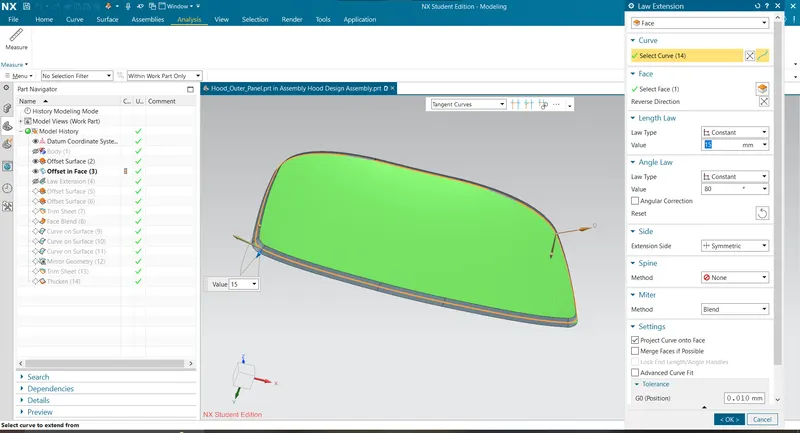
Then Trimmed The Surface According to the Hemming.
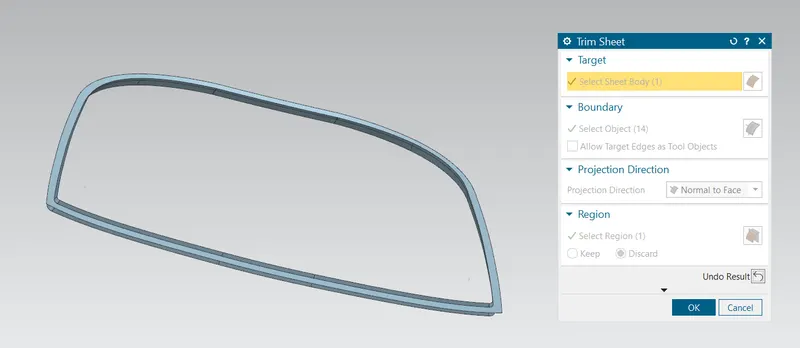
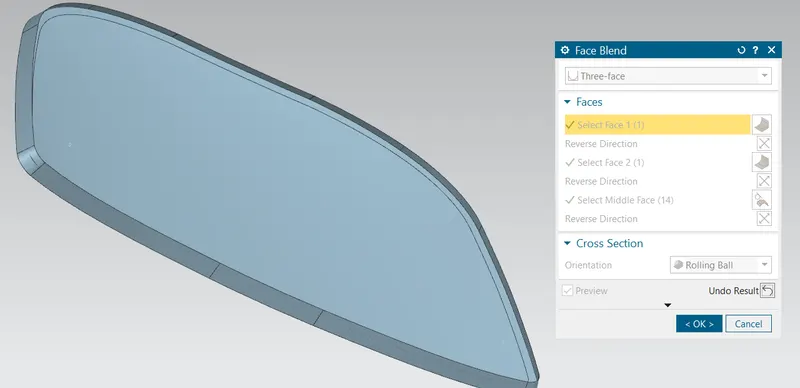
Apply The Face Blend on Three-Faces...As Shown in Figure Given Below.
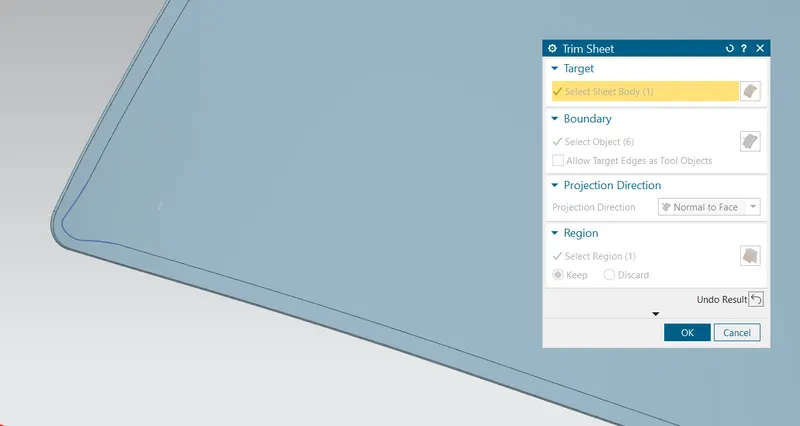
Apply The Relief To The Corners
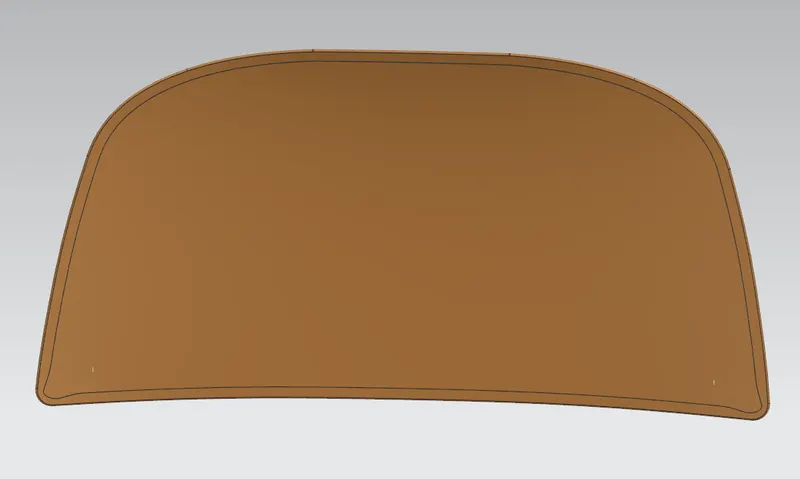
Then Thicken The Surface As shown in Figure Given Below.
Hinge Assembly :
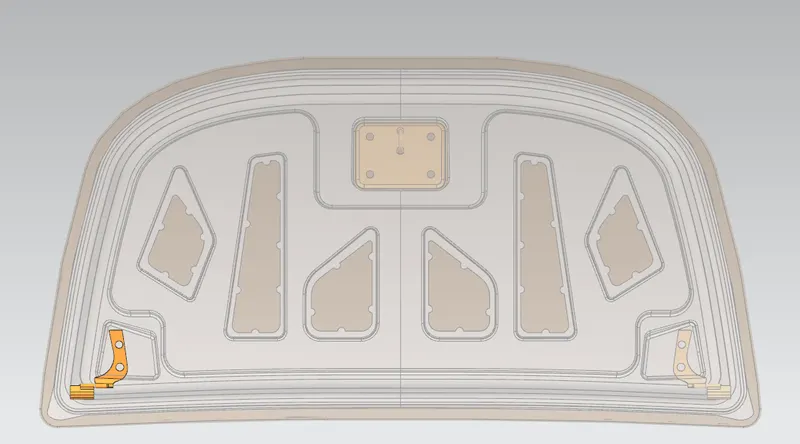
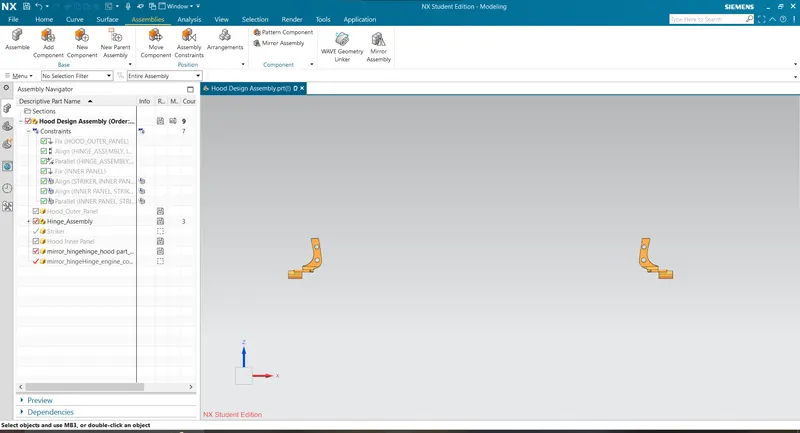
Give The Move & Command The Touch & Mirror Command Then We Got The Hinges On Both Sides As Shown in figure given below.
Striker Assembly :
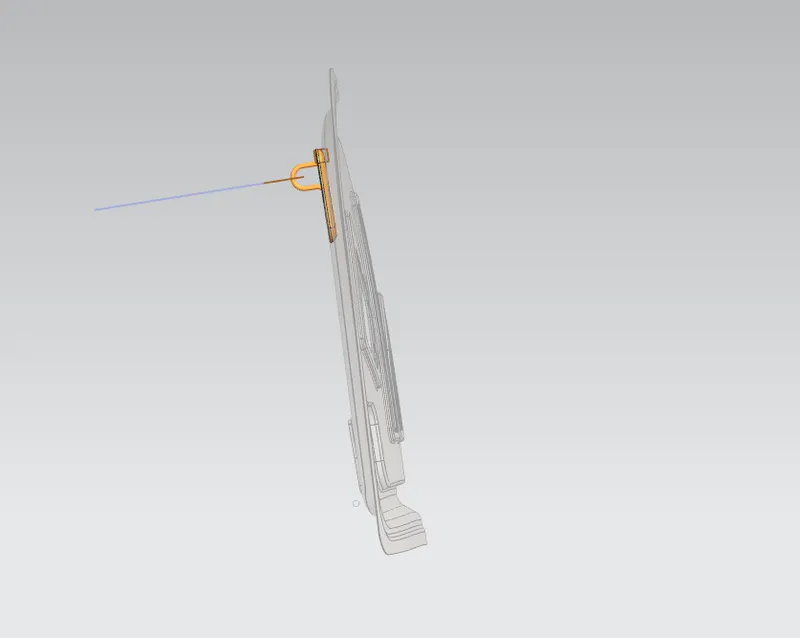
Make The Proper Sketches & Assembly Constarins To Fix The Striker.
Final Hood Assembly :
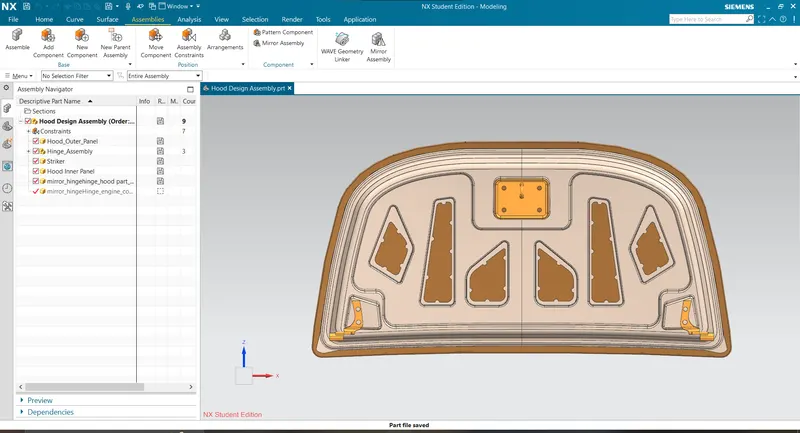
After Constraining & Designing The Hood It Should be looks like as shown in figure given below.
Conclusion :
Sucessfully designed a hood that falls under the rules & regulations of the manufacturer's standards.