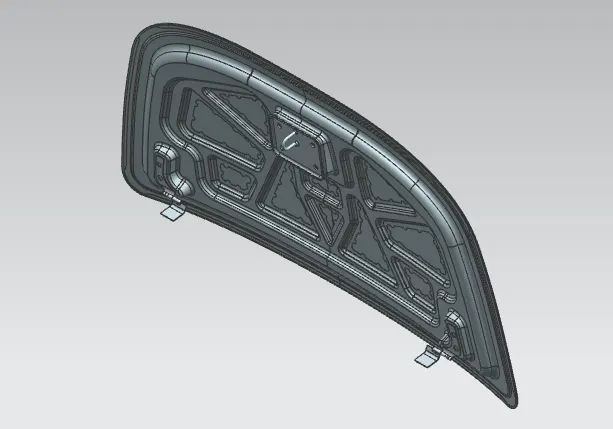
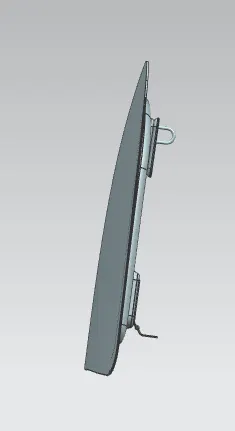
Hood design-Week 2
Aim:-
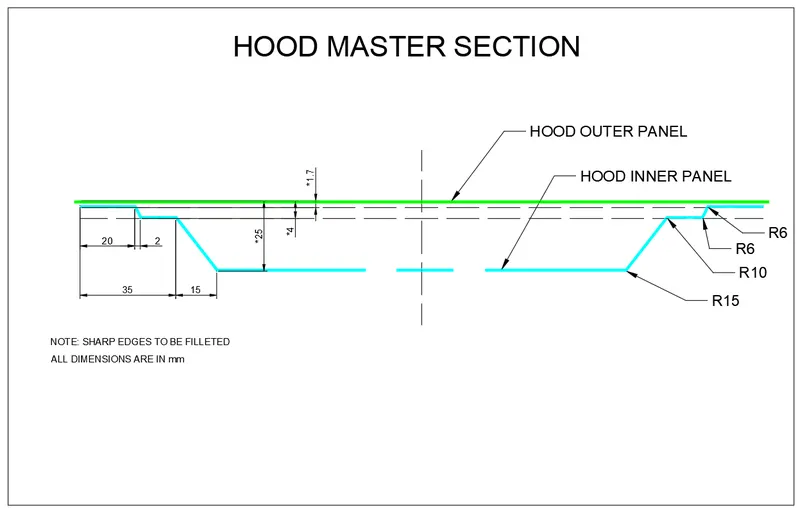
- Design Hood Outer Panel, Inner Panel and the necessary reinforcements by following the Master Section mentioned with the Design parameters explained in the videos.
- A detailed report about the Hood Design which includes a detailed explanation about hood and its components, Latch Trajectory, Mastic Data, Emboss Definitions, Manufacturing process like Deep-Drawing and Hemming, and all the parameters followed in the design.
Reference Data Given:-
Hood Thickness Information:-
- Outer Panel Thickness = 0.75mm
- Inner Panel Thickness = 0.75mm
- Reinforcement Thickness = 1.5mm
Master Section:-
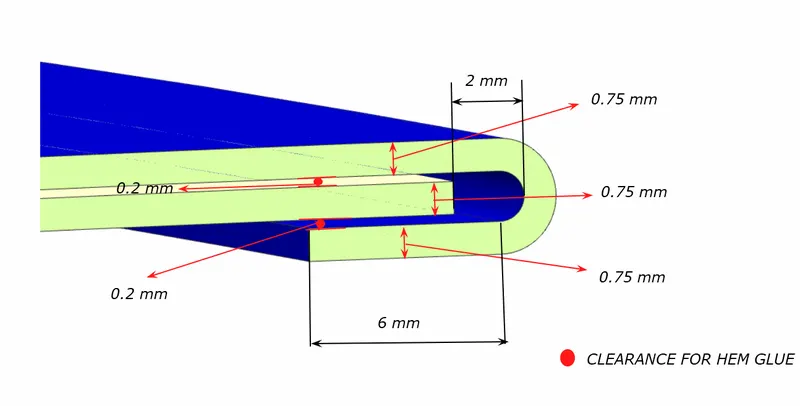
Hemming Data:-
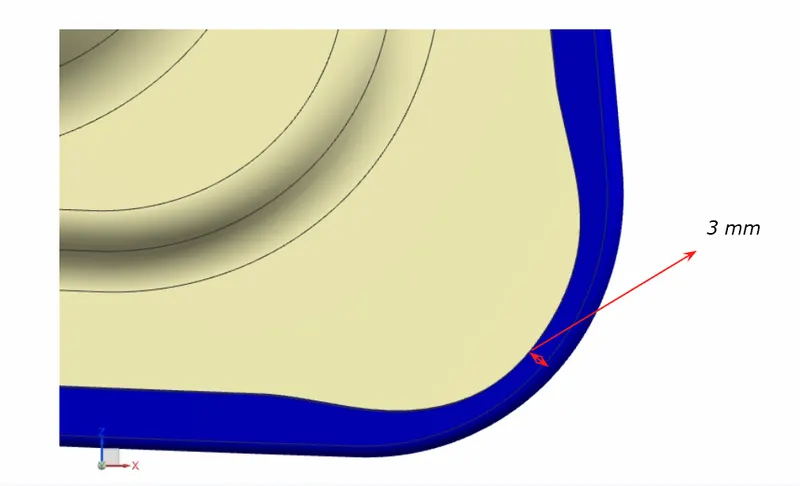
Relief rear section:-
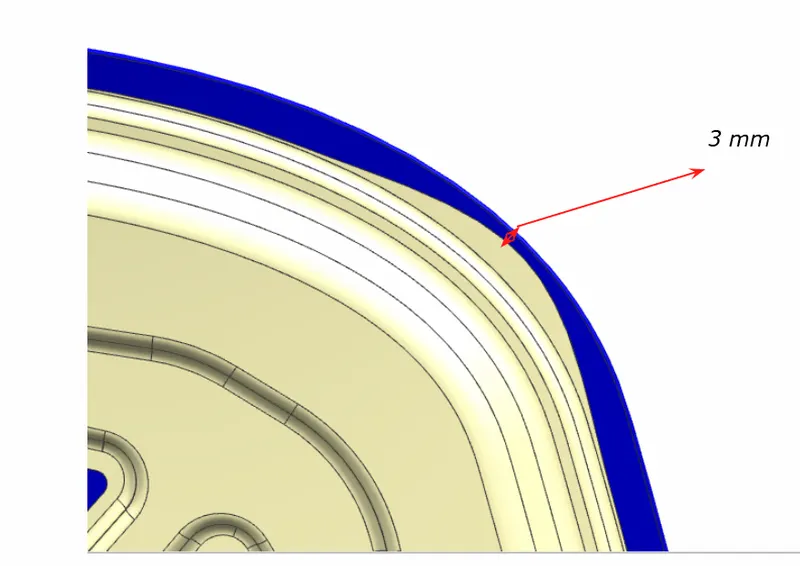
Front relief:-
Introduction:-
Hood is one of the component in the car which covers the engine compartment and other inner parts which is present inside in front portion of the car. This is the component which gets damage first while doing accident. For this purpose this hood suppose to be hard so this is designed with lot of specifications to protects the passenger as well as pedestrians like Wrap around distance, Head hitting zone, Pedestrian safety, Force distribution while collision, etc.,
Hood is fixed to the main body with the help of hinges. It is supported by the support rods which hold this hood while doing some cleaning and repair works. This support is given in two types:
1) Support Rod,
2) Gas Stay.
Support rod can be operated manually without any external force. But in the gas stay the name itself explaining that it is powered by either pneumatics or hydraulics.
Design Consideration for Hood:-
Head Clearance Zone:-
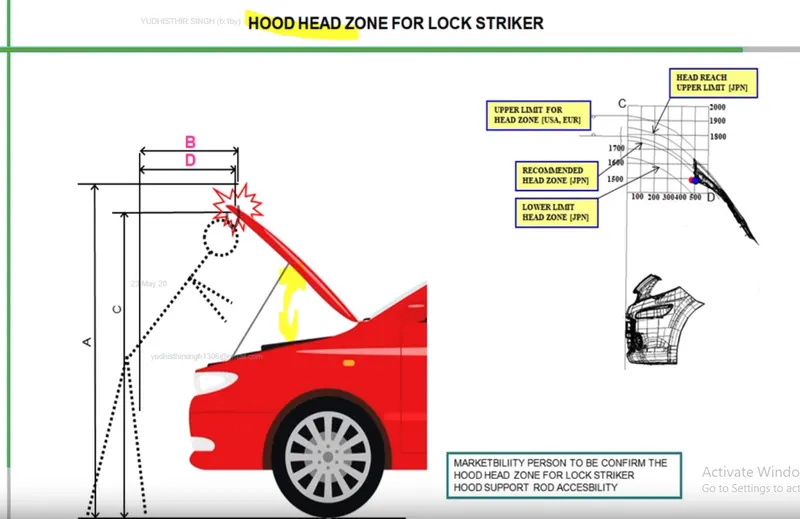
Head clearance zone is defined as the clearance between the head of the human to the hood. This can be determined by the angle of opening and the height of the hood. While doing some repair work we need to open the hood to access the inner components at that time the hood opening space should be adequate to do the repair or cleaning works. At the same time while coming out of the hood the passanger should come out without any injury in the head that caused by the hood. This is the head clearance zone for hood. For this every country has its own standards like in India too we have some standards for this.
Pedestrian Safety:-
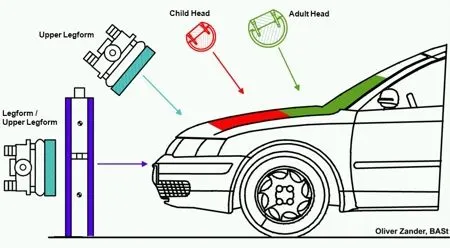
One of the main motive of the car manufacturer is not only improving the efficiency of the car but to ensure the safety of the pedestrian too. For this there is certain standards to avoid damage to pedestrians is like if the car hits the pedestrian(Adult / Child) then their head is going to hit in the hood only so we need to reduce the impact of damage to the pedestrians . The Green and Red area is the zone where the head is getting hit while accident so wee need to make some precations like making the area softer without compromising the efficiency, Leaving some gap or using some impact observing material at the inner side. Like this we can reduce the impact to pedestrians.
Wrap Around Distance:-
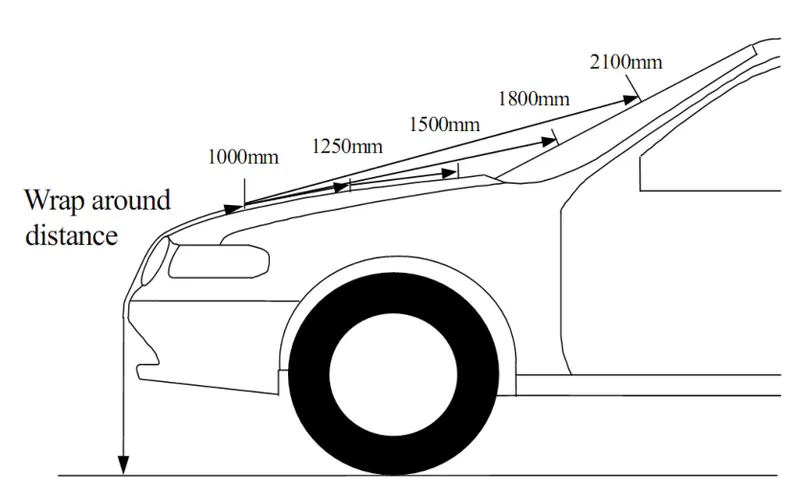
This image is with the gemoterical values for the above image. This is called Wrap Around Distance. In this the zone is calculated for the adult and child. For adult the zone is from 1500-2100 and for the child the zone is fromm 1000-1500.
Steps Involved In The Creation Of Hood:-
This is the components with this all components we call it as hood.
1) Hood Inner Panel,
2) Hood Outer Panel,
3) Latch and Striker,
4) Hinge.
1) Hood Inner Panel:-
This the given skin data from this we have to design the inner panel and the outer panel.
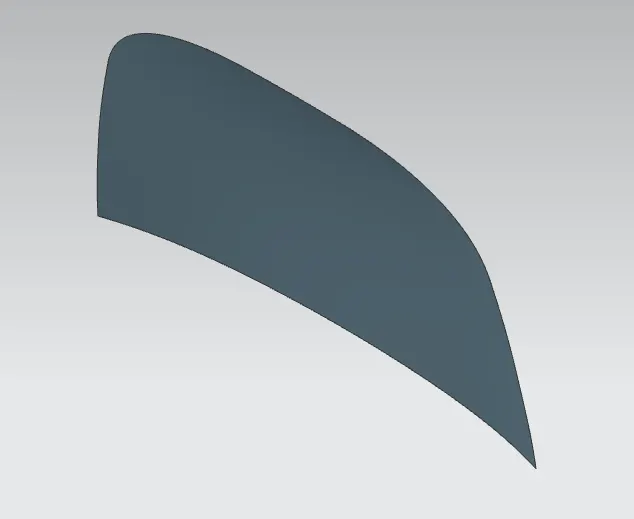
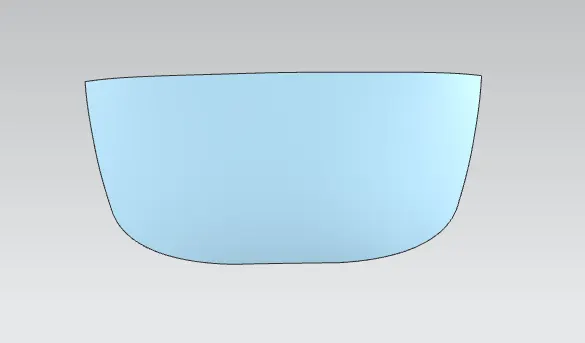
First step is to divide the skin data in two halves for two reaons one is for the accurasy and second is to reduce the design work.
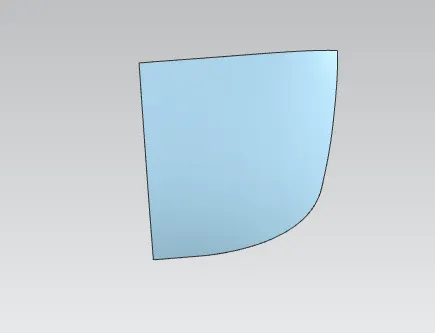
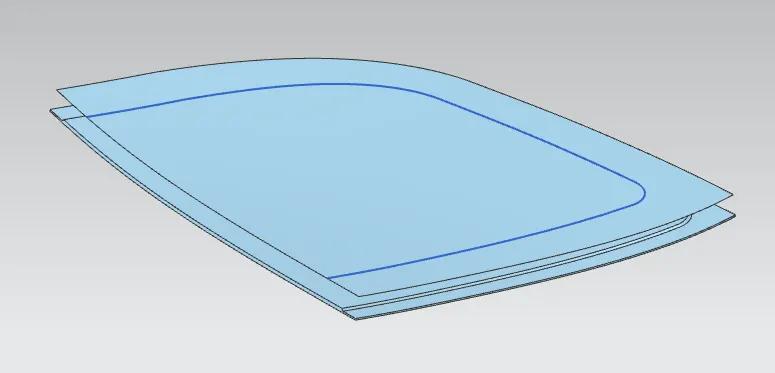
After dividing the skin we need to offset the surface inside of required dimesions as per the master section given. Here i've given 1.7mm to get the first offset of the inner panel.
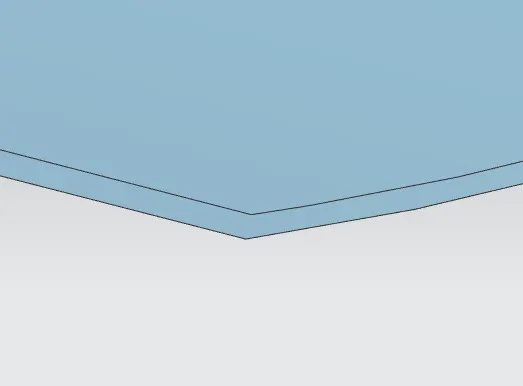
Offseting the edges(curves) inside to cut the unwanted surface.
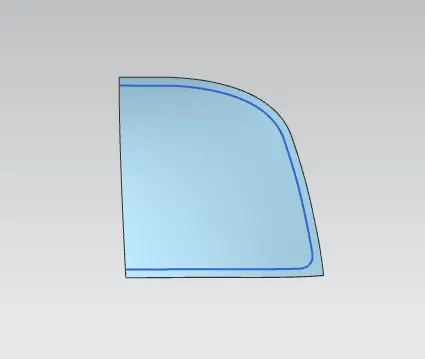
Next offset to get the next layer of the inner panel.
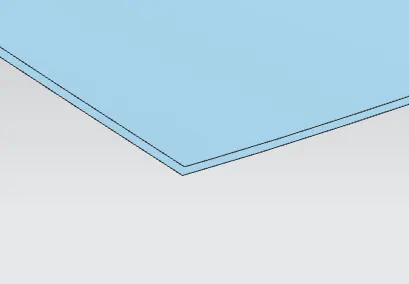
Here too we need to offset the curves iniside to remove unwanted surface.
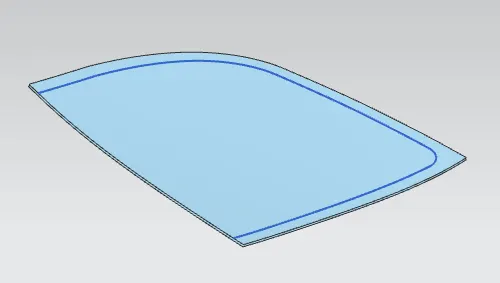
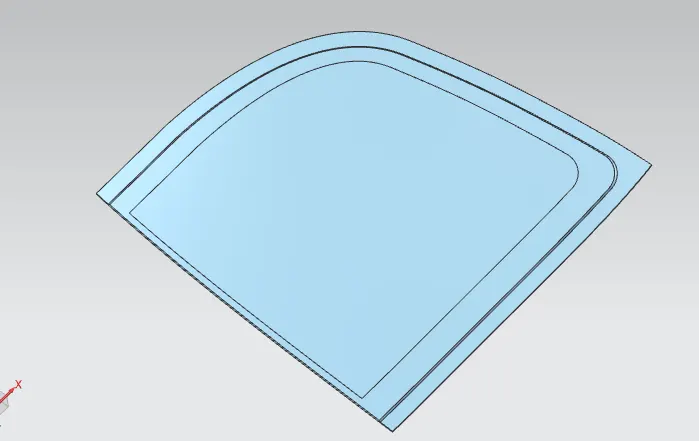
This is after removing the unwanted surface.
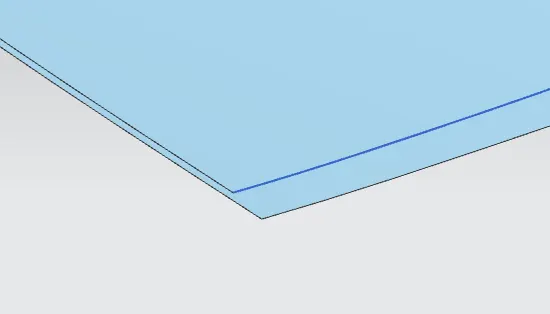
Then combining the trimmed surface both to get one whole surface by the Through curves command.
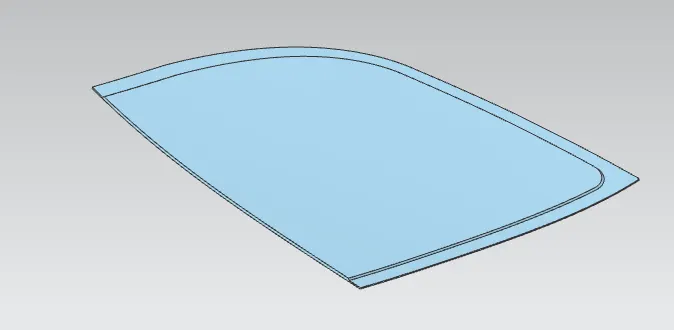
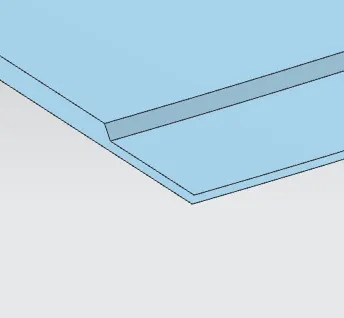
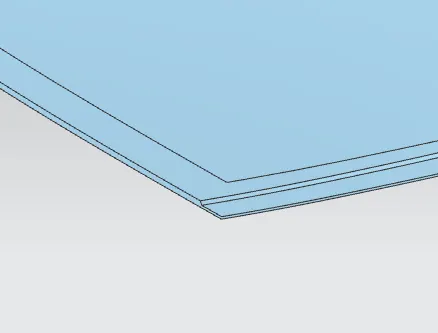
To proceed further here we need to do the same operation to get the final offset surface for the inner panel and offseting the curve to trim the unwanted surface.
Emboss:-
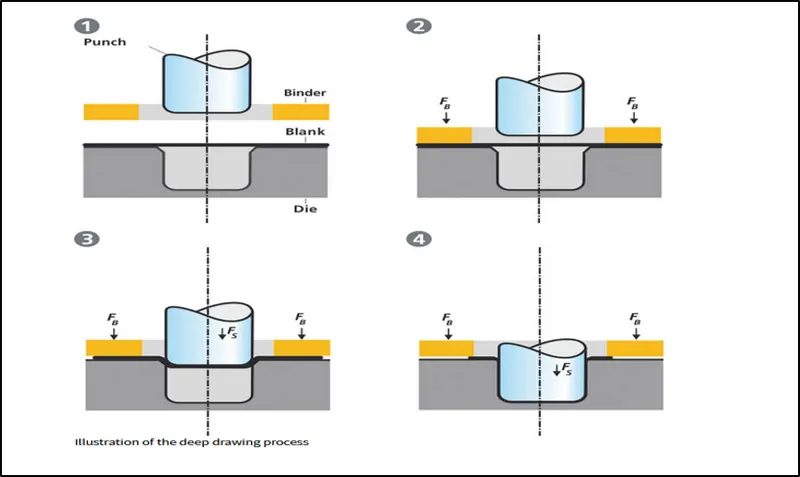
Embosses is used to strengthening the component. This embosses is created by deep drawing technique. In this techique the sheet metal is placed on the press where we have the die in the desired shape then with the help of hydraulics the die pressing the sheet metal to th cavity to get the shape. For the ease of manufacturing draft is given in all components. In the emboss to we need to give some draft.
Emboss Creation:-
First we need to create sketch as per we need the emboss on the surface. This should be created toward the outer pannel.
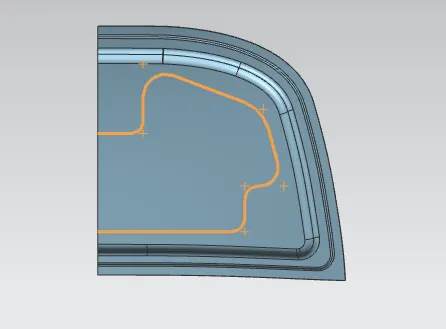
Projecting the sketch on to the surface.
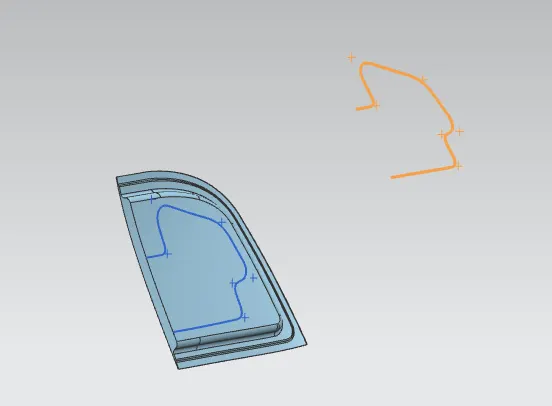
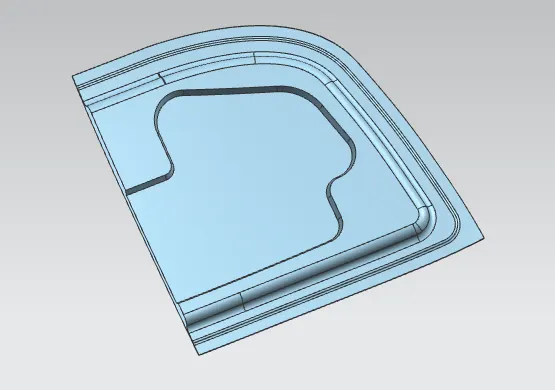
After creating the emboss with draft.
Hinge Emboss:-
For the hinge emboss we need to create the sketch according to where we going to fix the hinge.
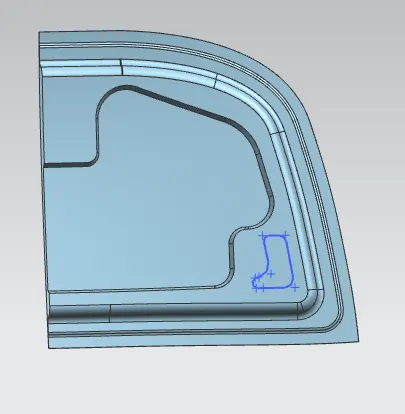
After projecting the sketch onto the surface the emboss is created with the draft for the hinge.
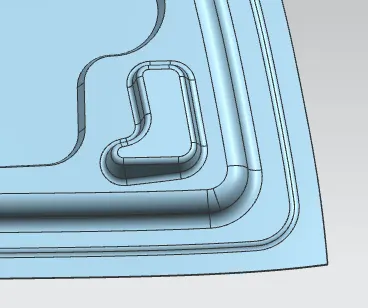
Emboss with Mastic sealants:-
This emboss is created for the purpose of placing the mastic sealant which hold the inner and outer panel. We can't use welding or reveting in his surface because this skin data is aesthetic which has given. If we are doing normal joining process like welding or reveting it will spoil the surface finishing of the aesthetic surface. And the next important purpose of this emboss is to reduce the weight of the hood.
For this first we need to create sketch as per the data given.
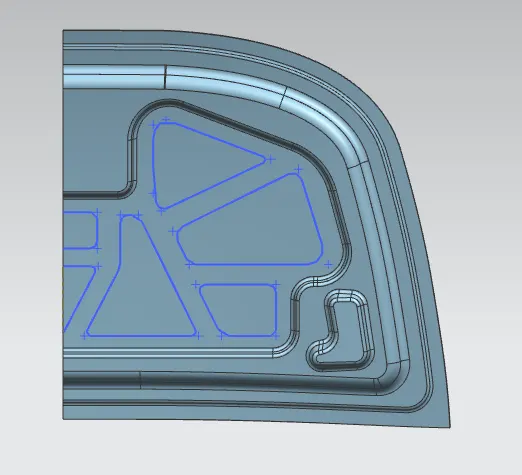
Projecting it onto the surface.
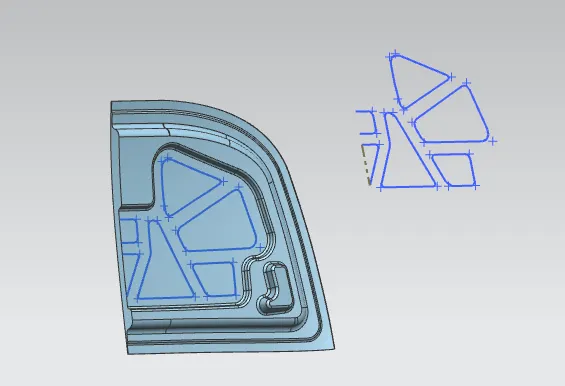
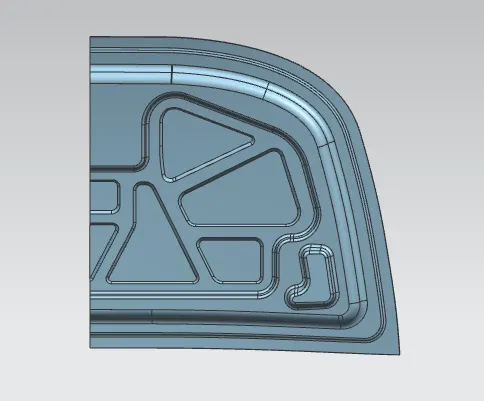
After creating the embosses.
Then create sketch with the mastic point to place the mastics on its surface to hold the inner and outer pannel.
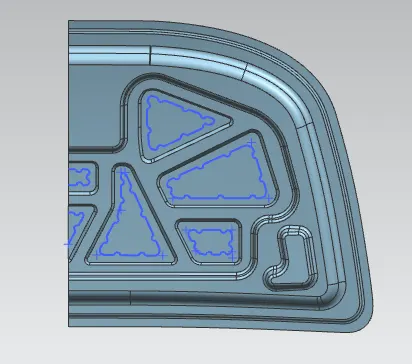
After removing the material with the mastic points.
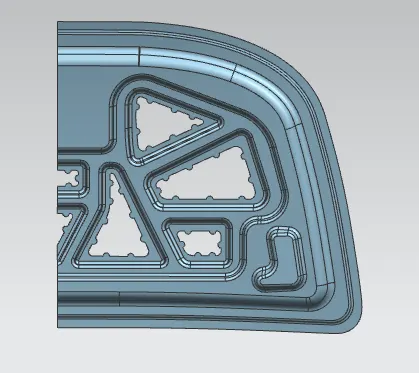
From the top view.
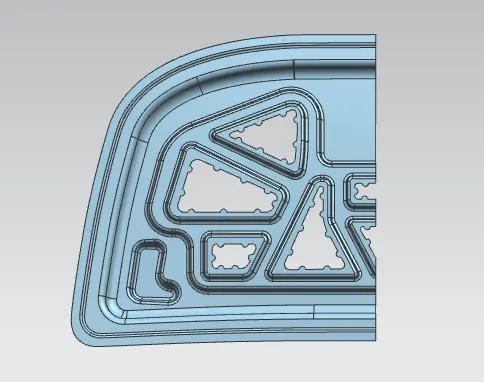
After creating the inner panel we need to mirror it to get the whole. Using the mirror command mirror the ine side and sew it to make one surface.
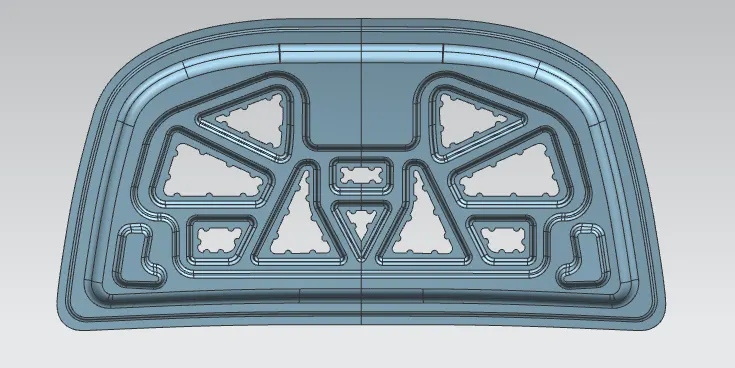
Emboss for Latch and Striker:-
After deciding where to place the latch the striker we need to take the surface from the backside of the stricker to create emboss with clearance. After taking the reference surface try to extend the surface to get the clerance.
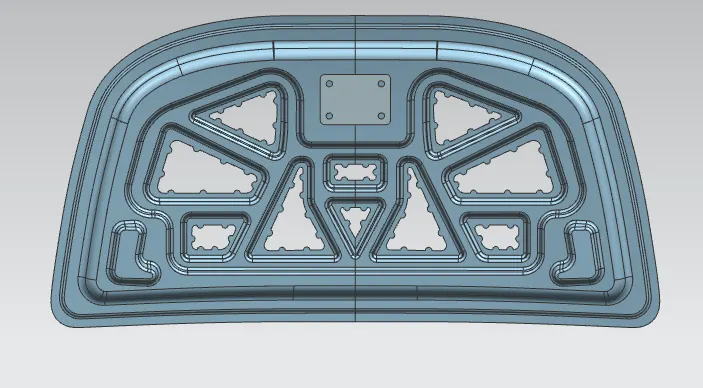
By using law extension create the emboss with the draft. Then trim the unwanted surface.
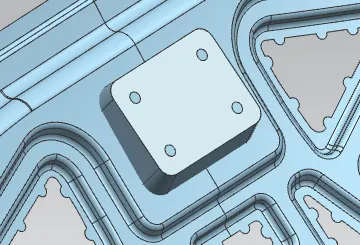
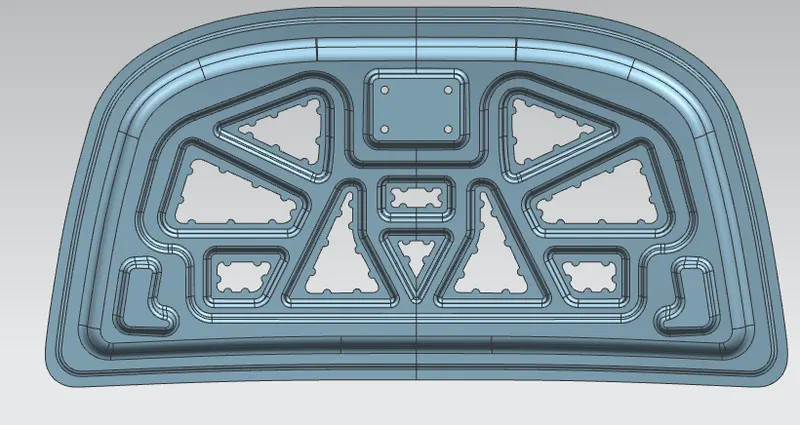
This is the final inner panel how it looks like.
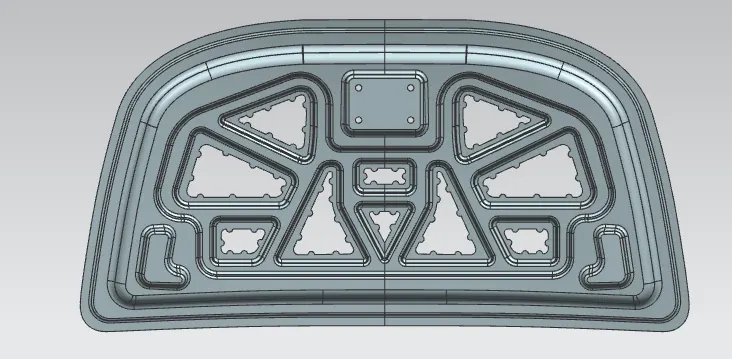
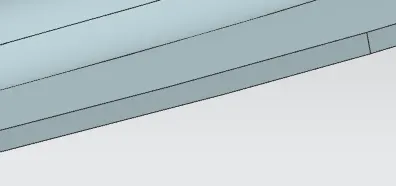
Thickness of the inner pannel.
Hemming:-
Hemming is the process of joining the components by rolling the edges of one over the other then with the help of sealants we can make the joining process further strong enough to hold the inner panel.
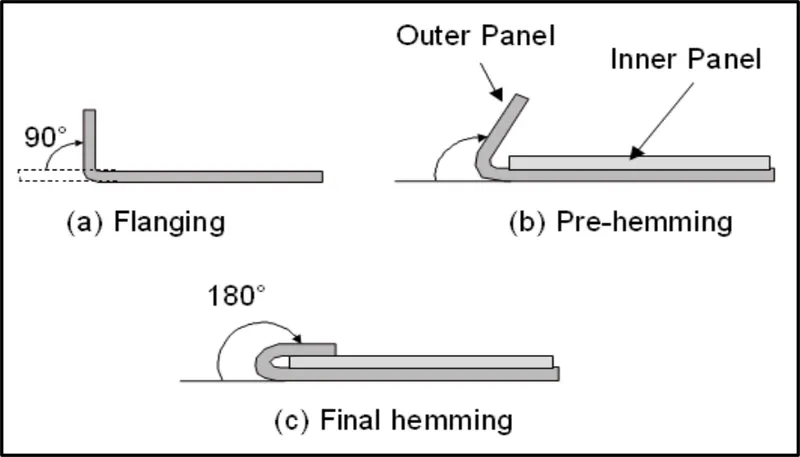
2) Hood Outer Pannel:-
First we need to divide the skin data then we mirror it to get the whole component.
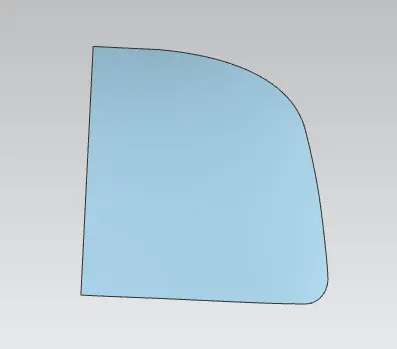
Creating law extension for the hemming flange.
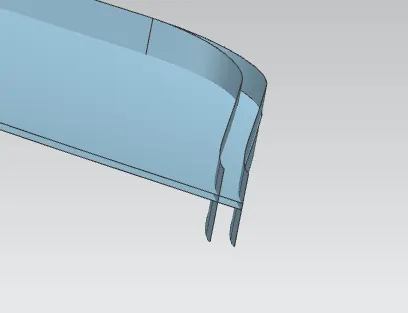
After creating the hemming flange for required dimesion.
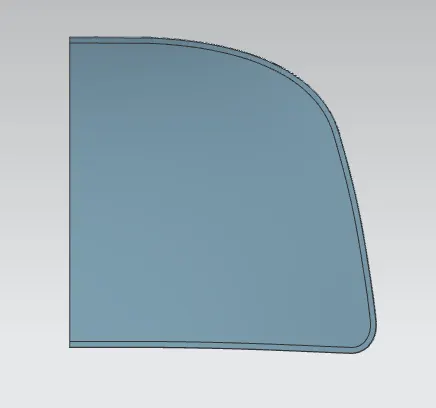
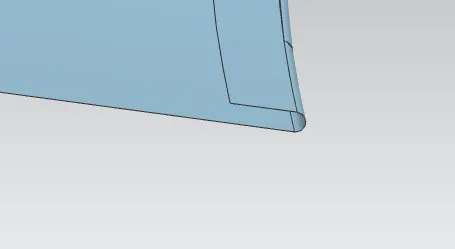
Corner Reliefs:-
Corner reliefs are the process of triming the material in the corners to reduce the stress in the corners.
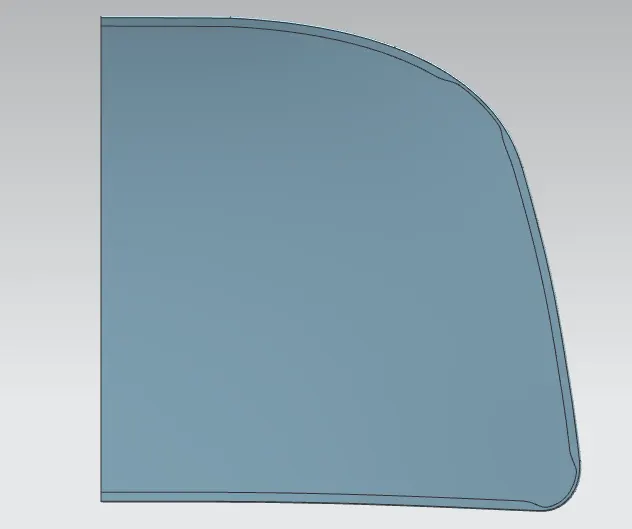
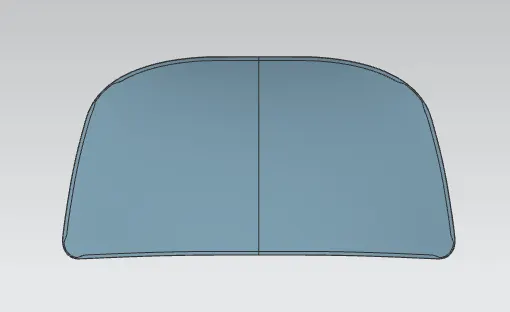
Mirror the half outer pannel to get the whole outer panel.
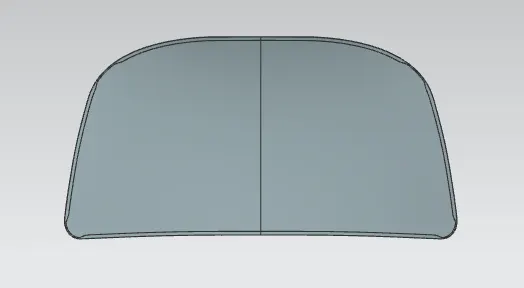
After thickening our outer pannel will look like.
3) Latch and Striker Trajectory:-
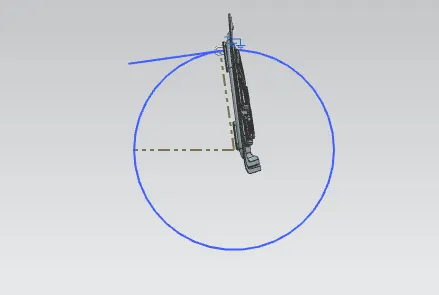
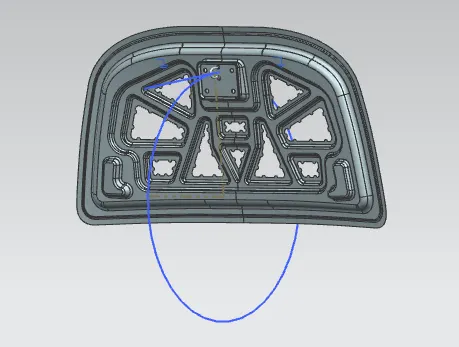
This the trajectory circle in which the hood opens and close.
4) Hinge:-
This is the given hinge.
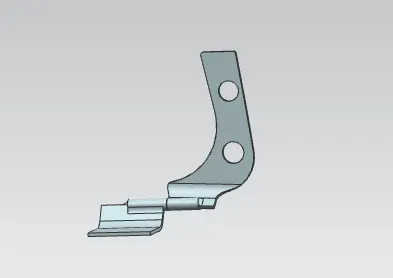
Place the hinge in place with the hinge emboss with the use of assembly constrain and move component.
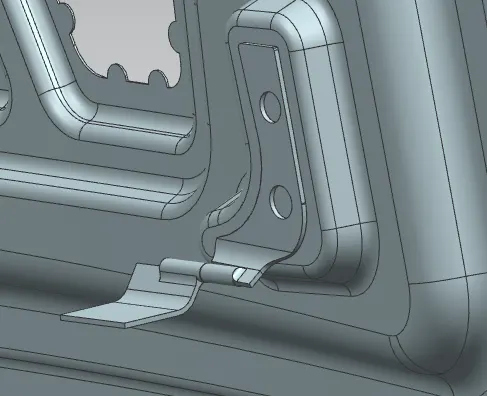
Mirror the given hinge to get the replica of this.
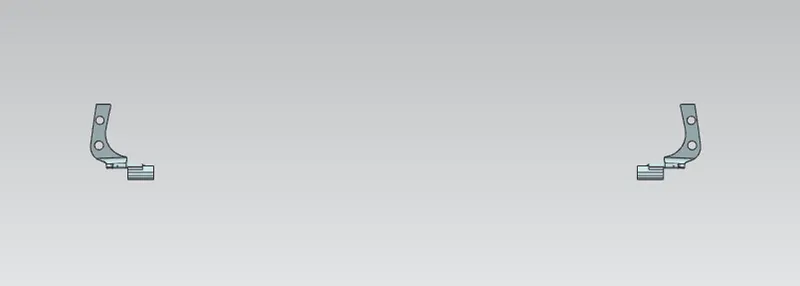
Assembling the hinge and striker on the inner pannel.
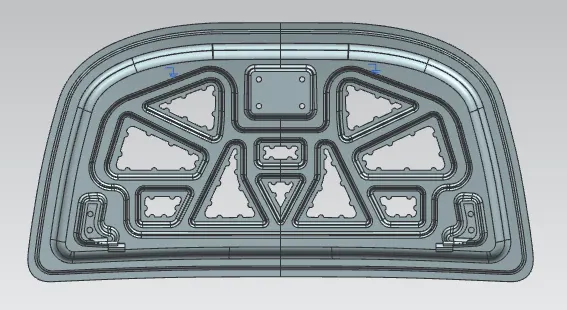
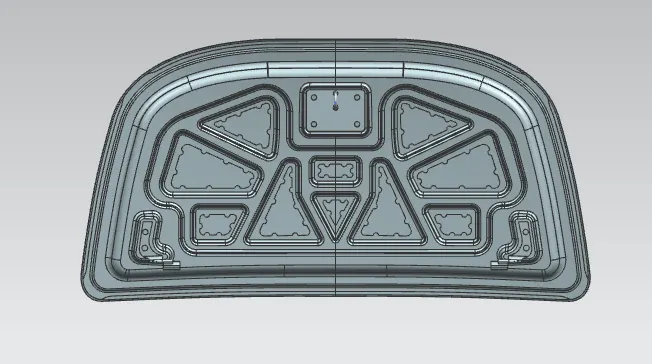
Final Hood Assembly:-