Hood design-Week 2
Aim :
To design the automotive hood component which includes the outer panel, inner panel, hinge as well as latch assembly with the necessary reinforcements following the master section with the design guidelines and parameters Siemens NX.
Theory :
Car Hood:
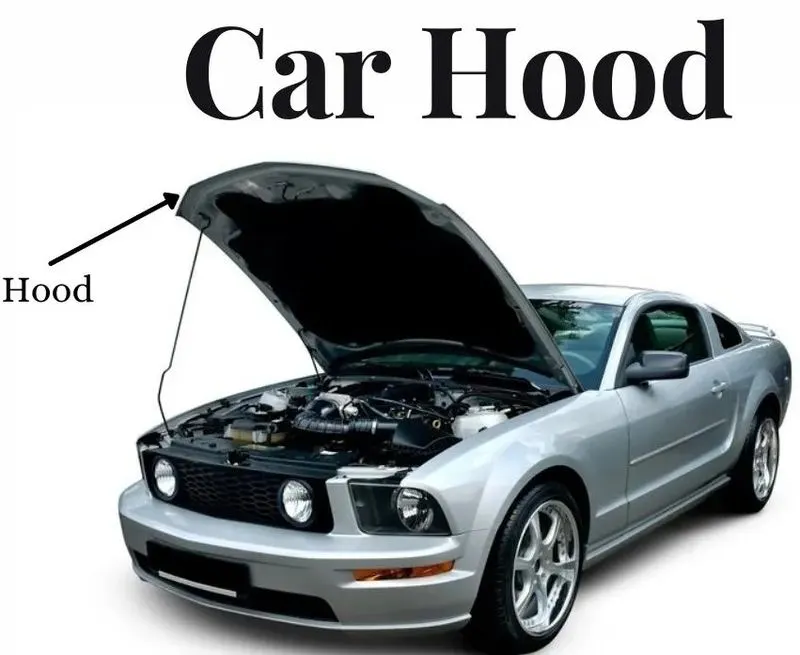
A car hood is the metal part that covers the engine of an automobile. The term car hood is a Narth American term, used primarily in America and Canada. Hood comes from the old English word hod which means a hood, a soft covering for the head. Hood is one of the other major closure systems in a vehicle and is fundamentally a reinforced skin with many design quality and safety regulations. Hood may come with several subcomponents, but the two most important ones are the outer and inner panels. A car hood, also referred to as a bonnet in some other countries, is to provide access to the engine for repair and maintenance.
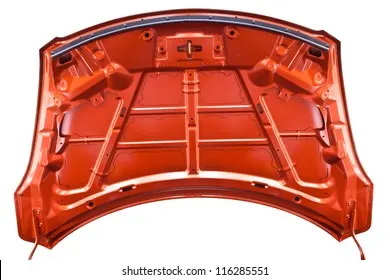
The inner panel seves as a structure for the vehicle to dissipate and channel shock waves at the event of a crash while the outer panel serves more as an aesthetic for the automotive's overall presentation and to channel airflow over the vehicle. Hence, both require critical precision as well as a dedicated strategy right from the design conceptualization to the production step. A concealed latch is typically used to hold down the hood. On vehicles with an aftermarket hood and on race cars, hood pins may be used to hold down the car hood. Hoods sometimes also contain a hood scoop, wiper jets, power bulge, and or hood ornament. Car hood are typically constructed from steel and sometimes from aluminum. Aftermarket car hoods may be constructed from various other materials, including carbon fiber, fiberglass or dry carbon etc.
Important consideration in Hood design:
- Head zone criteria
- NVH
- Hood balancer
HOOD STAY:
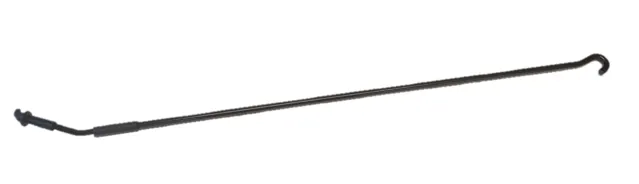
SUPPORT ROD: In curve bend shape to increase rigidity avoid wobbling with sufficient clearance around the parts provided between the engine compartment and bonnet or in Vice-versa position. Supporting rod consist of opening angle, mount and dis mount of the rod fixing location. (Bend not less than 35 MM more bend causes reduce in opening angle and rod bends due to hood weight)
Supporting rod should be arrange opposite side of battery in the engine compartment otherwise causes difficult during battery replacement.
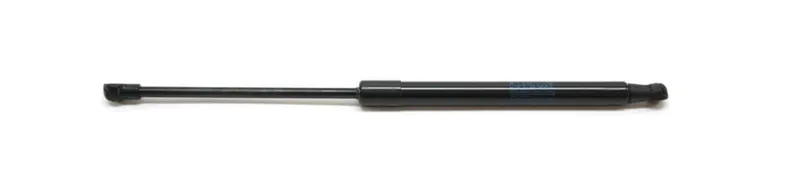
GAS STAY:
Use to open the hood with little effort and hold it in open condition, But by adding gas stay will increase weight 500-800gms.
GROMMET:
In engine compartment and hood grommet used to keep the support rod or gas stay in rest condition.
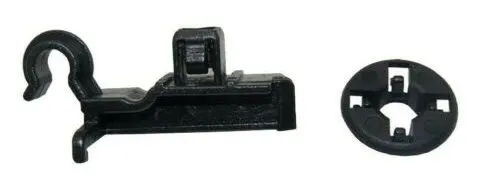
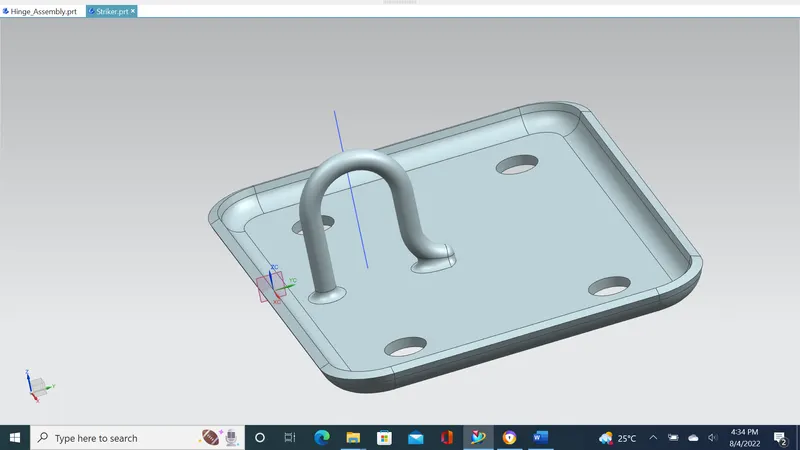
Stricker:
Latch is a striker, which is placed over the hood & get attached to the hole provided in engine compartment this is used for locking purpose of hood with engine compartment.
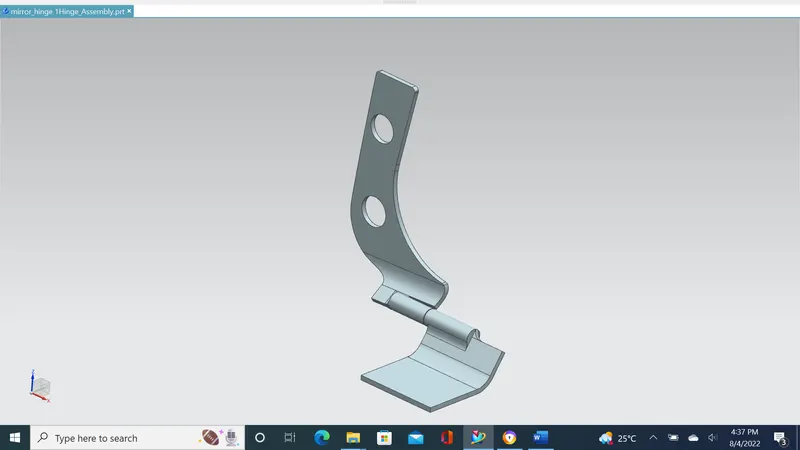
Hinges:
Hinge is used for controlling element for opening & closing of the hood, It connects the hood & engine compartment of car. The hood's hinges serve one other purpose besides holding the hood-safety.
Sheetmetal operations:
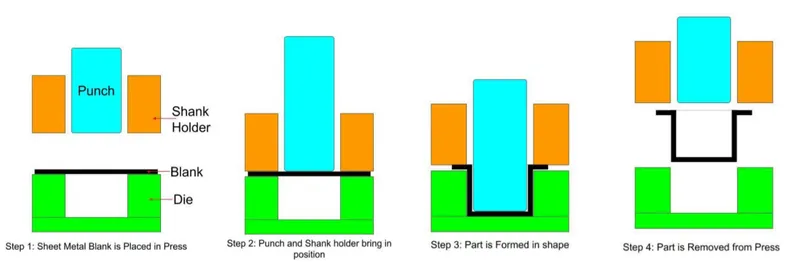
Deep-Drawing:
Deep drawing is a sheet metal forming process in which a sheet metal blank is radially drawn into a forming die by the mechanical action of a punch. It is thus a shape transformation process with material retention. The process is considered "deep" drawing when the depth of the drawn part exceeds its diameter.
Hemming:
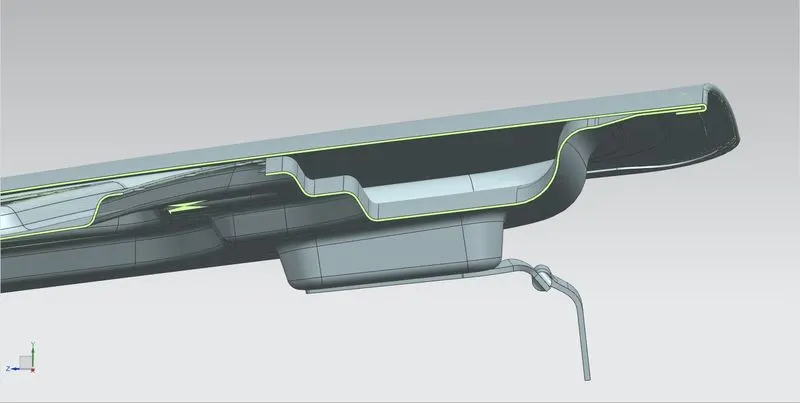
Hemming is a sheet metal forming process in which sheets are joined by bending it usually to 180°. Automotive body panels and automotive parts such as deck-lids, trunk-lids, doors, hoods and tailgates are formed by hemming process.
Roll Hemming:
Roll hemming is carried out incrementally with a hemming roller. An industrial robot guides the hemming roller and forms the flange. Roll hemming operation can also be divided into several pre-hemming and final hemming process steps. Roll hemming is very flexible to use and tool costs are significantly lower as compared to those of conventional die hemming. However, the cycle times are much higher since the hemming is realized using a hemming roller which follows a defined path.

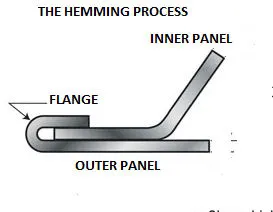
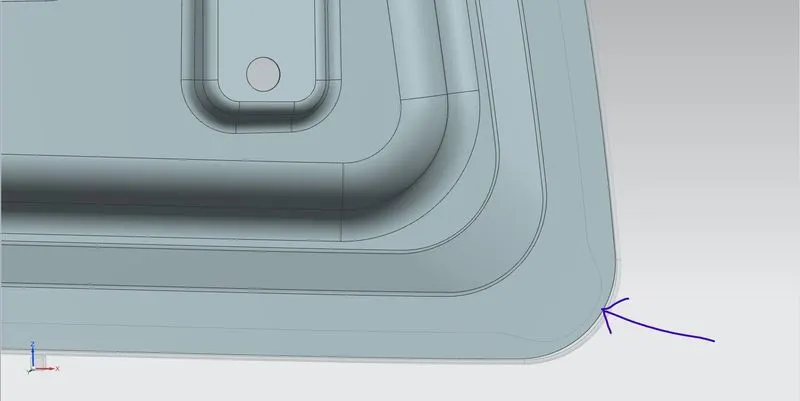
The image above shows the Hemming represented by arrow.
Emboss:
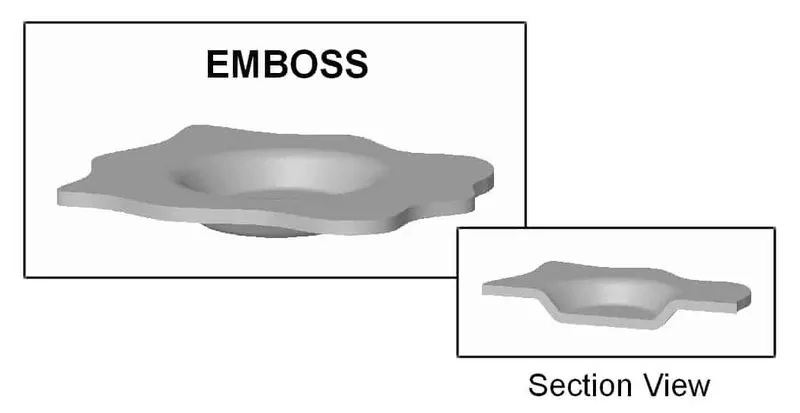
As we design engineer need to dissipate force during any accidents by having emboss in hood panel, An emboss is a metal forming process in which a high pressure is applied on a die to make a imprint on the working surface. In this process the metal thickness remains the same while embossing of stamping to distribute the forces produced during the impact with pedestrian or crashing by any external vehicle can harm driver and passenger. Emboss plays very important role in safety aspect both IN and OUT.
Piercing:
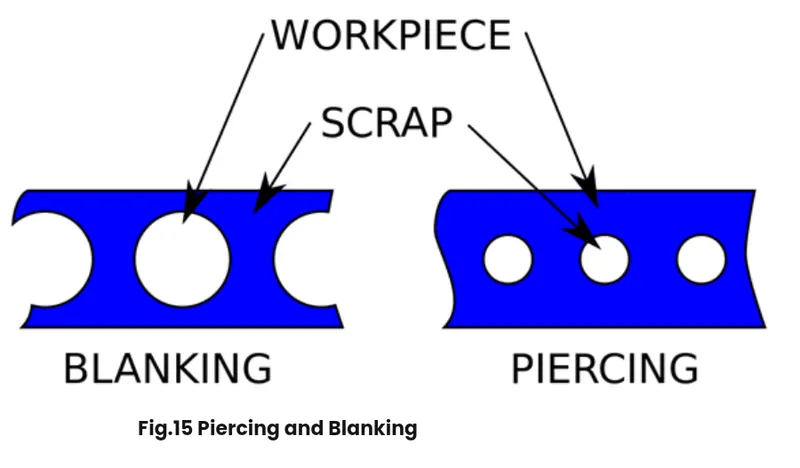
It is a shearing process in which raw sheet metal is pierced with a machining tool, resulting in the creation in a particular shape hole in the sheet. The major difference between blanking and piercing is that in blanking the cut out is the workpiece and outer part is scrap, while in piercing, the cut out is scrap and the outer sheet is the workpiece.
Reinforcememts:
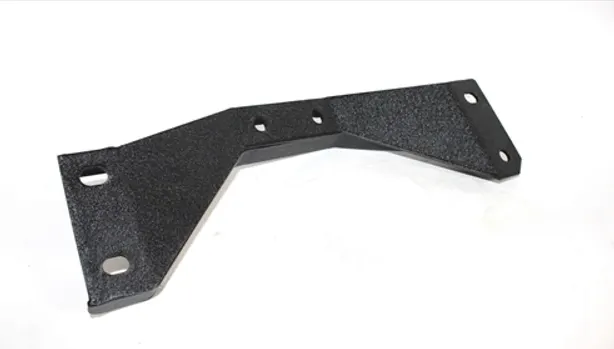
Vehicle hood reinforcement structures as provided to reduce impact in collisions. In one embodiment, the structure is to include a lower reinforcement panel configured to mount to a vehicle chassis and an upper reinforcement panel welded to the lower reinforcement panel wherein the deflection of a front deformable wall of the upper reinforcement panel is configured to trigger deflection of rear deformable wall of the lower reinforcement panel.
Latch Trajectory:
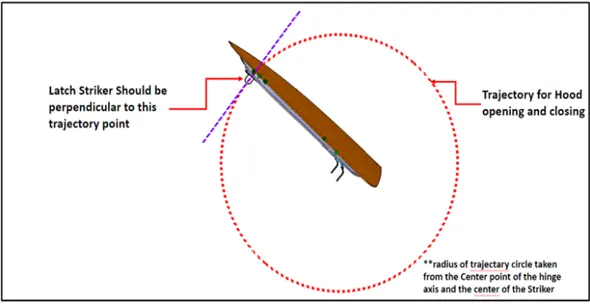
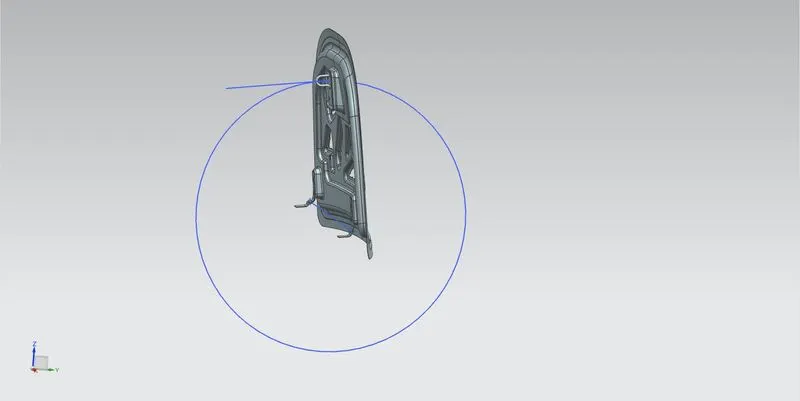
It is the path along which the hood rotates during opening and closing movement. The striker on the hood follows a particular path while opening or closing the hood, which is along circumference of a circle with center at the hinge axis. This path is nothing but latch trajectory. It is a very important aspect in hood design, in order to decide hinge, latch and sriker installation points.
Mastic Sealant:
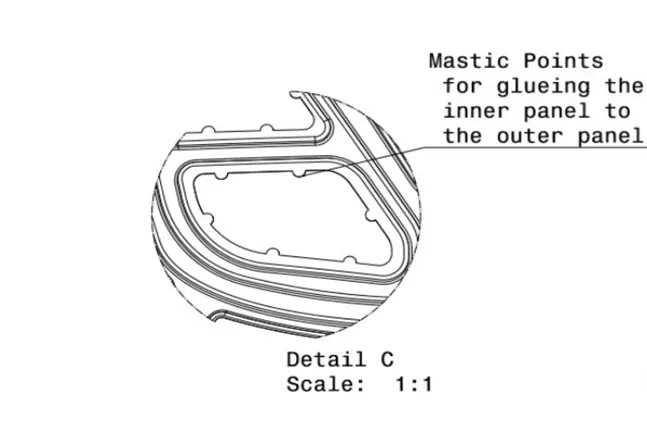
Mastic sealant helps to locally improve strength of the hood. It is generally a hard rubber part which is introduced as a paste in between inner and outer pannel of the hood, which will get hardened inside the furnace. Every mastic sealant point will have a tendency to improve the local strength in around 80 mm diameter. Considering this a tendency to improve the local strenth in around 80 mm diameter. Considering this the mastic points are positioned such that most of the hood region is covered.
Design Procedure (NX Cad):
- The given input file has to be made the outer panel and striker and hinge assembly. by using the outer panel model we are going to model the inner panel as per the parameter required for hood.
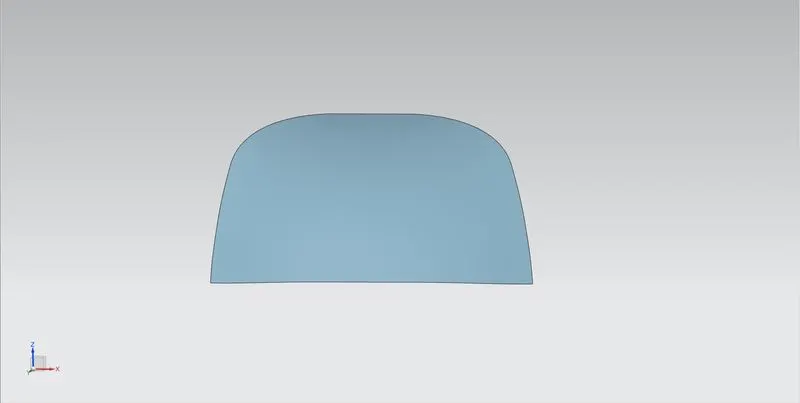
- First we need the copy of the outer pannel by using that model we create the inner panel.
- Split the surface into half with respect to YZ plane using the trim body tool in the surface pannel.
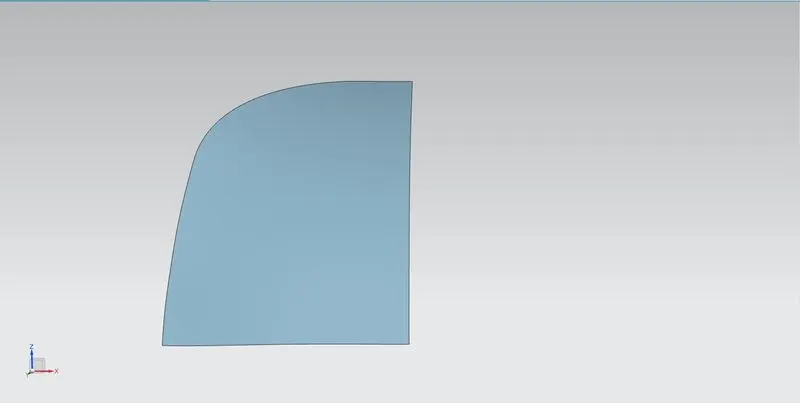
- Next step is to offset the outer panel (working surface) for 1.7mm from the boundary of the surface and using the trim sheet tool available trim the portion as required.
The Given Master Section:
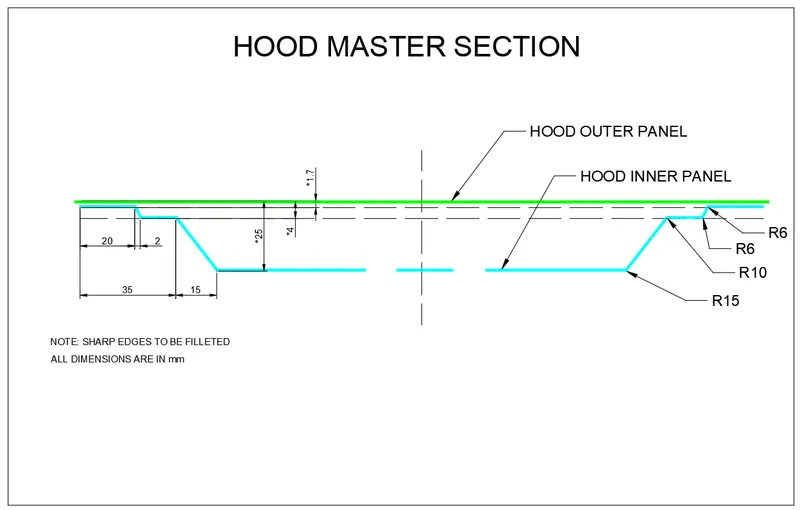
- Based on the master section parameter we create the next surface offset for 4mm downwards and with a curve 22mm drom the boundary has been created.
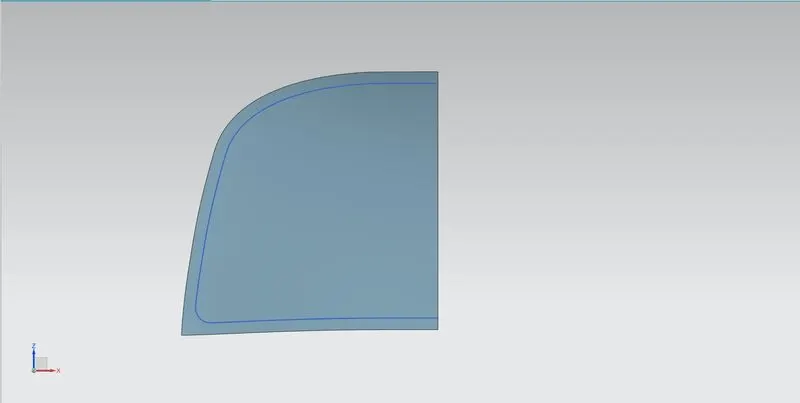
- Then other curve 35mm is also created.
- Then using the trim tool we trim the not required surface in that 4mm offset surface.
- Then we have got two surface between which a surface has to be created, the same can be devoloped using the Through curve option in the surface toolbar.
- Then the remaining surface is created using same procedure.
- Then the Blends are applied based on the parameters provided in Master Sections using Face blend or Edge blend options.
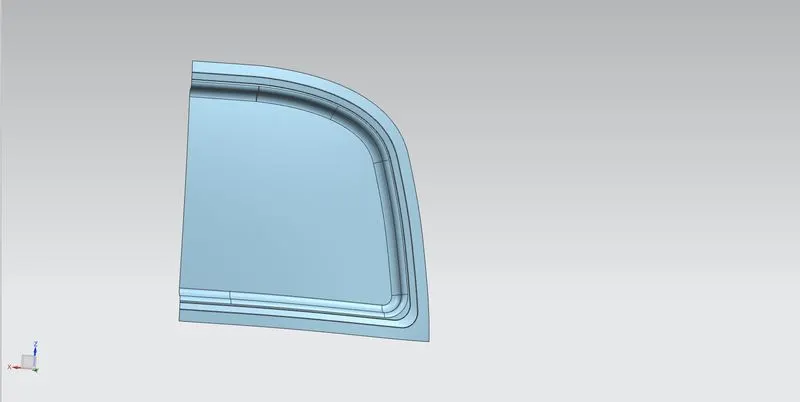
- After the outer profile is created, now the features like Emboss has to be created using the emboss tool in the surface panel.
- Inorder to create the emboss a closed profile sketch is needed which has to be drawn by giving gaps for latch and hinge placement.
- After creating the required sketch,then project the curve into the face.
- Then select the emboss tool and note that it has to be created in the outer panel side.The image shows the Sketch and Emboss respectively.
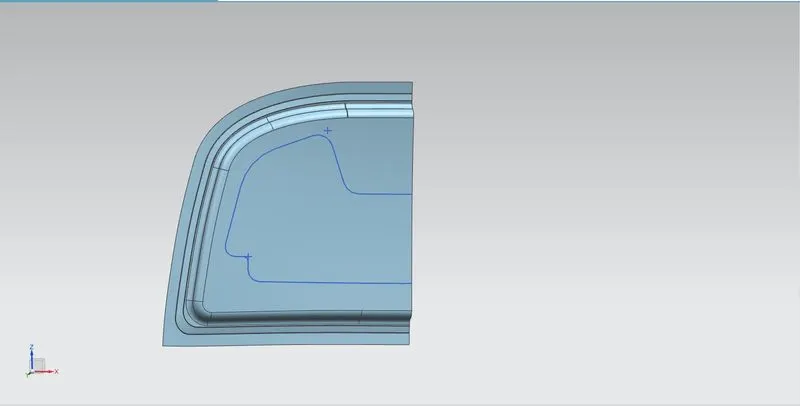
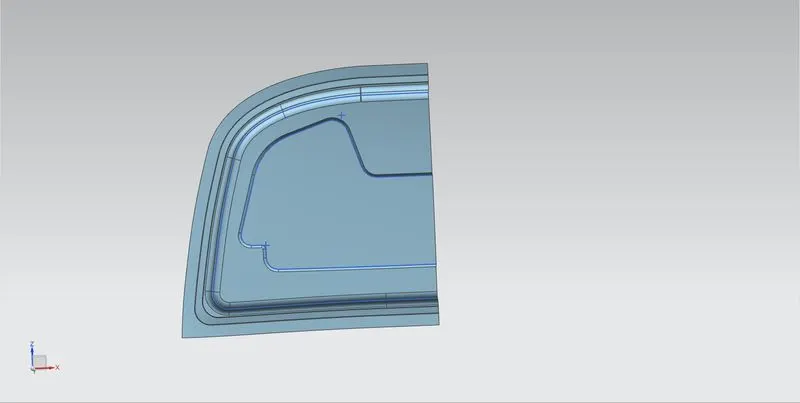
- After create the emboss of the inner panel we also create the sketch to be drawn to remove the material from the inner panel to reduce the weight and to attach the mastic sealant has to be used to seal the inner and outer panel.The image shows the Sketch and Emboss respectively.
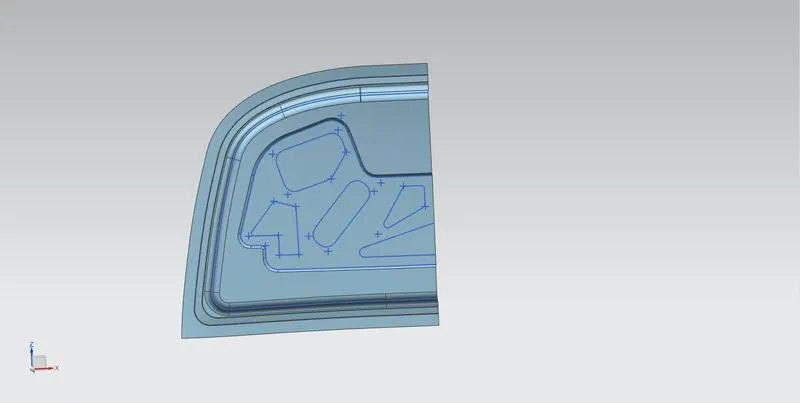
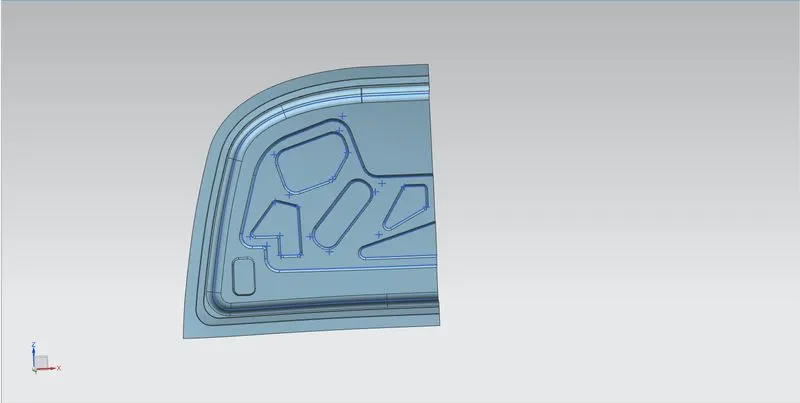
- Then some projected has to be made for cut the surface using the trim tool.
- After creating the all required emboss and the mastic sealant cutting the edges are smooth by using the face fillet and edge fillet tools.
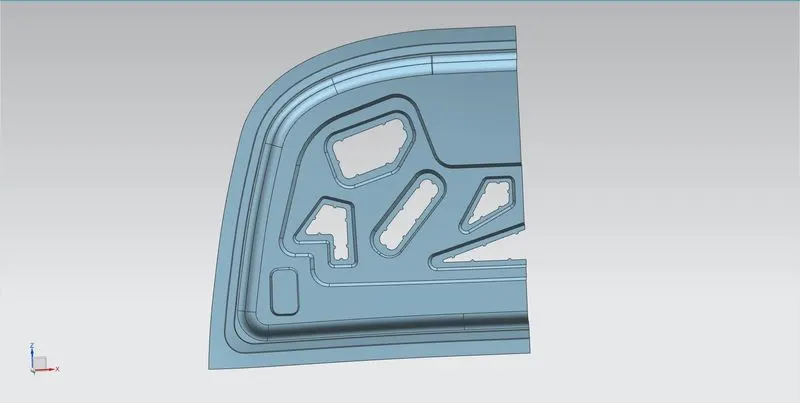
- Similarly procedure are used for also create the hinge reinforcement and striker reinforcement.
- Then the part is extended at the middle using Extend Sheet command.
- Then the extended is trimed of with resepect to the mid plane using Trim Sheet command.
- Then the part is mirrored using Mirror Geomentry command.
- The outer pannel we need to create the hemming process in that part. After creating the inner surface model we need to joint the mirror object by using the sew tool and then the thicness have we have given to the inner hood as given the parameter 0.75mm. The image below shows the Inner Panel of Hood
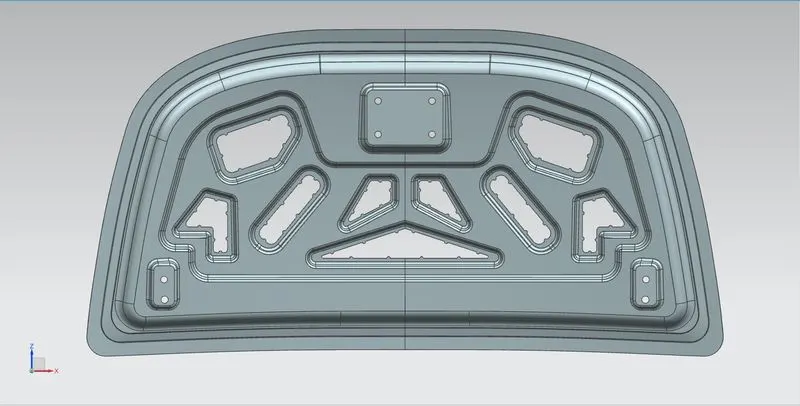
- Now, we come to other part of designing the outer panel. So we start with the same body as default and trim that into half.
- Then the hemming is created on the outter panel. The image shows the Hemming in outter panel.
- After getting the workpiece, take a curve offset and trim the part by 0.5mm.
- Extend the surface by law extension and keep draft of 5 degrees.
- Now, take surface offsets of both the surfaces available. Here, for the law extended one we take 7.5mm inside and for the workpiece we take 2.8mm down. (keeping all the sheet thickness and gaps between them, we are taking 2.8mm).
- Trim the unwanted part of offsetted surface.
- Now with the remaining three we create a face blend. The vector direction for upper surface goes down, bottom ones goes up and side ones come inside.
- For this hemming we keep some relief at the rear end and front end too.
- Now we can mirror the part to the plane and sew it.
- Give thickness of 0.75mm to the part. In this the direction goes down.
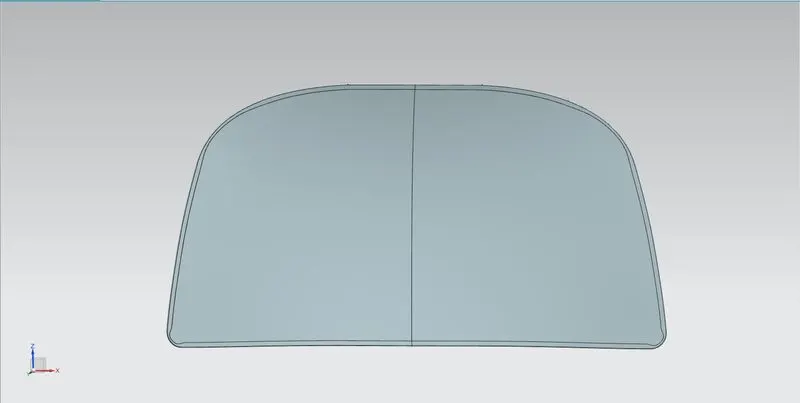
Assembly procedure:
- First we need to create and name the new assembly file in the same file in the parts are present.
- In assembly part the all required parts are get opened in that file.
- The Hinge part is opened only one and another part is mirrored using Mirror Assembly commad.
- After that using the move tool the seperate bodys are move closer to each other and using the assembly constraints tools touch, mirror, colinear, parallel, perpenducular tools assemble the parts together so that they dont have any freedon of moving.The below image represents the Hood assembly with constraints.
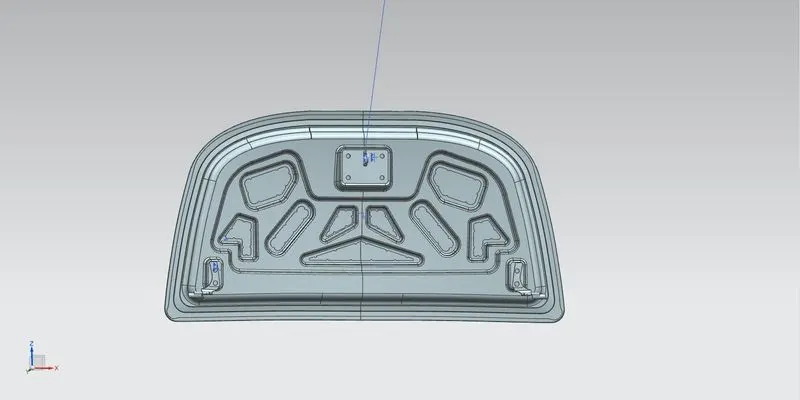
The bleow image shows the section view of Hood to show the hemming
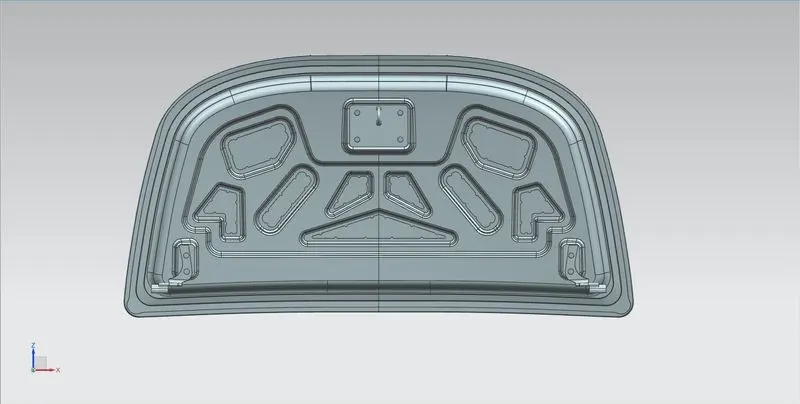
The image below shows the Full view of Hood
Conclusion :
Hence we design the automotive hood component which includes the outer panel, inner panel, hinge as well as latch assembly with the necessary reinforcements with the given master section with the design guidelines and parameters is done sucessfully using Siemens NX.