Fender Design Challenge
Title- Fender Design
Objective-
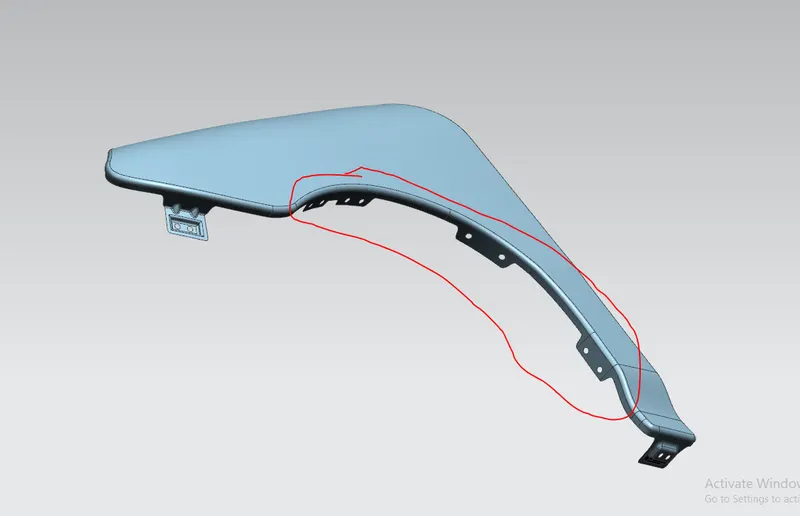
Design a fender by using input class A surface, design Drip area by using a given master section as a reference, and add various mountings like Sill mount, Bumper mount, and A pillar mount.
What is fender-
Fender is a curved sheet that is mounted over a tire to avoid mud, rocks, and other road debris throwing away from tires. In simple words a fender is a wheel housing which keeps road debris contained. Fender is mounted on the bumper, sill and A pillar. Fender also has provision to mount Baffle. Fender not only avoid damage to your car from road debris but also it prevent road debris from being thrown away at other cars or pedestrians and avoid damages,
Sometimes we can make provision for indicators and rear view mirror on the fender
Types of Fender
Full bumper type

Half Bumper type

Points need to consider while designing fender
- Drip Area
- Bumper mounting area of a fender
- Sill mounting area
- A pillar mounting area
- Baffle mounting area
Now we will see this areas in detail
1 Drip Area
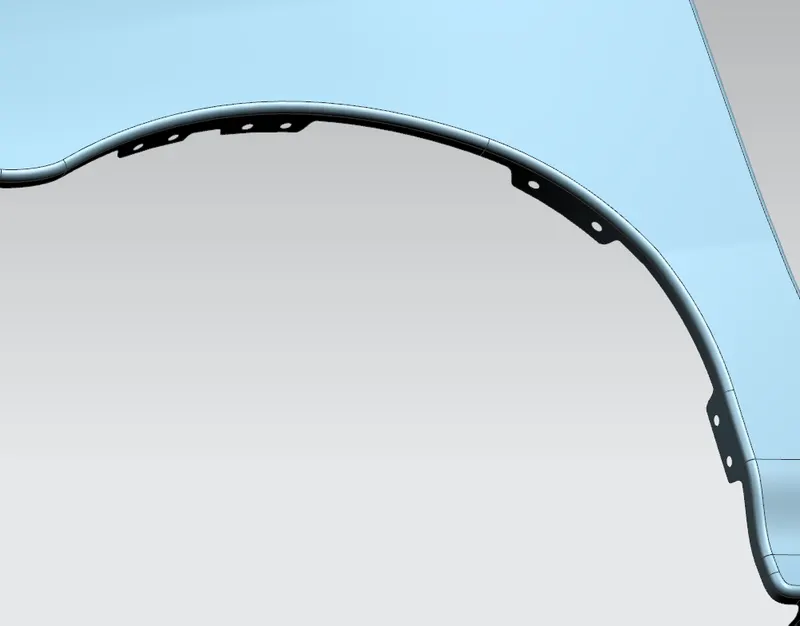
Drip Area is the area through which the fender is mounted inside the engine bay. There are some standards we need to follow while designing the drip area such as from A pillar mounting there should be minimum 200 mm clearance should be there for Cowl (wiper motor) mounting area, the height of the drip mount should not be greater than 40mm to avoid spring back effect and NVH. etc. so such parameters we need to keep in minds while designing the fender.
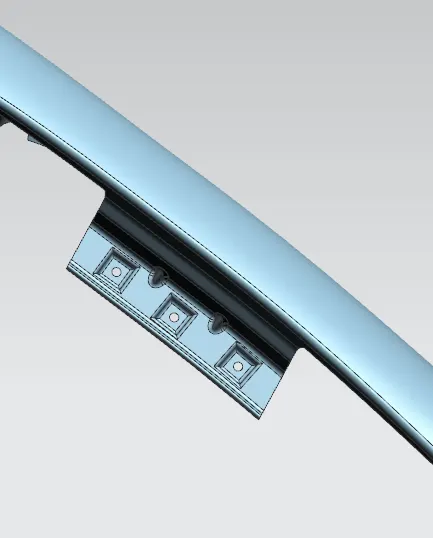
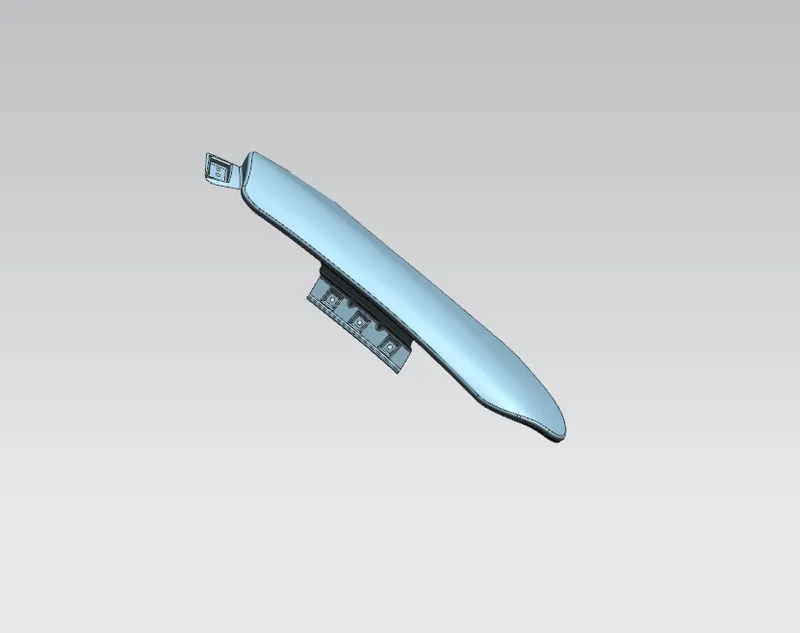
Used law extension and master sketch to create the profile of a drip area
sketch the mountings on the parallel plane and project it to the surface
Used Emboss command to creat emboss
trim the holes
A pillar Mounting
This area is located near the cowl mounting area where this mounting is fastened.
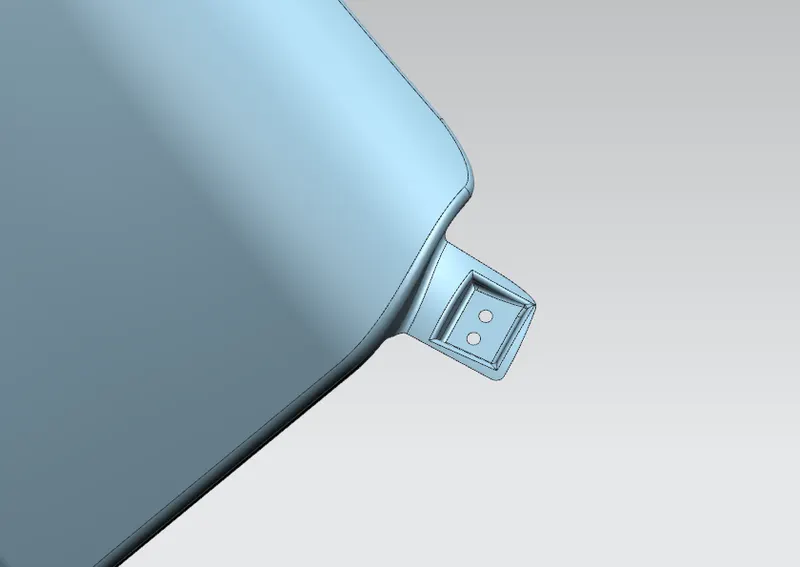
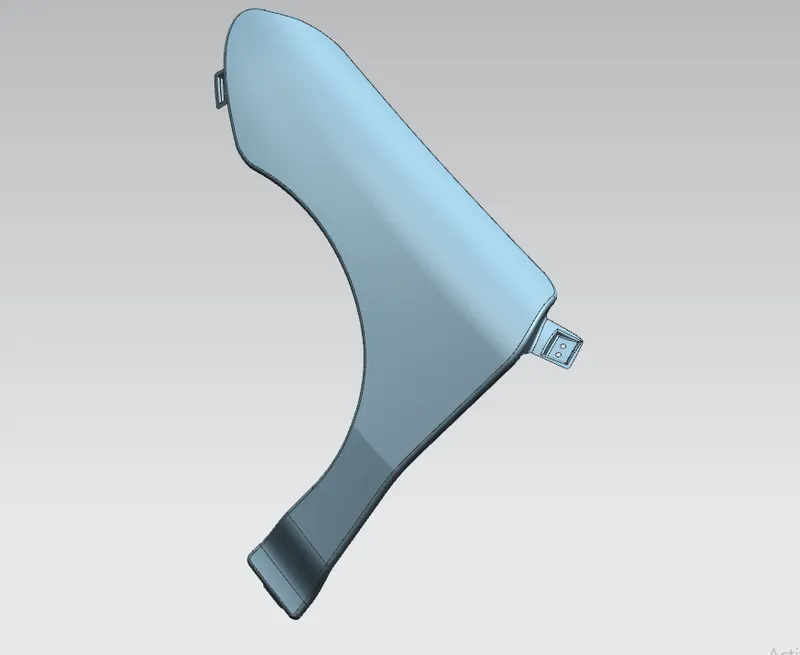
Used law extension to extend the sheet
Draw the mounting on the plane created with 3 point
Used Emboss command to creat emboss
trim the holes
used bridge curve to smoothen the edges
Sill Area
This is the bottom area of the fender This mounting is fastened near the door region.
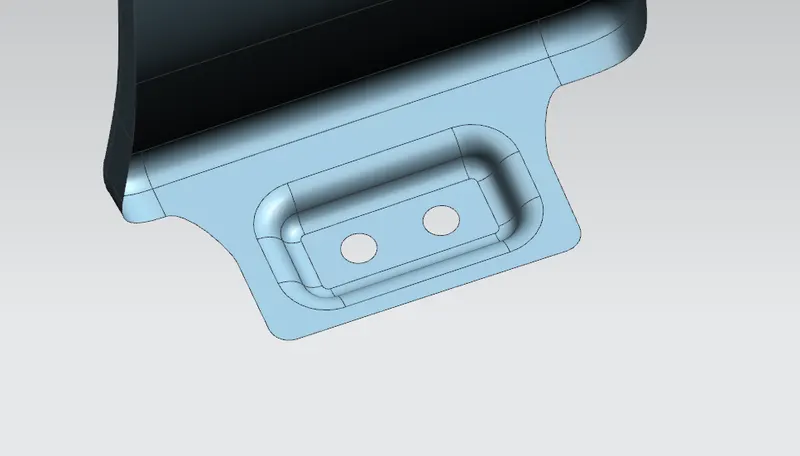
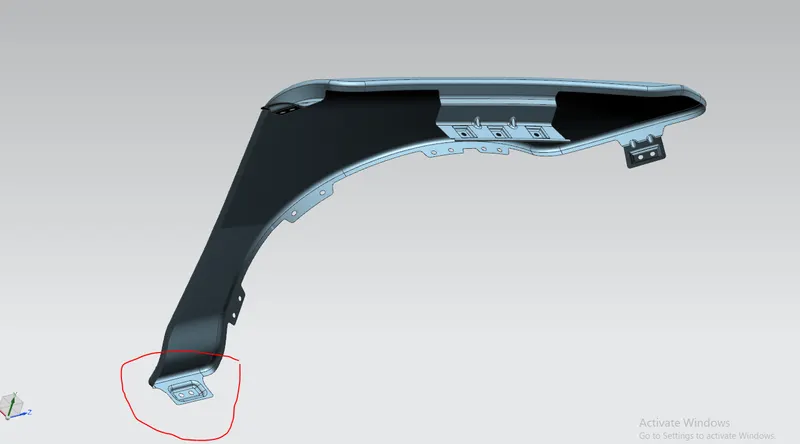
Used extend sheet command to extend the sheet
Draw the mounting on the plane created with 3 point
Used Emboss command to creat emboss
trim the holes
used bridge curve to smoothen the edges
Bumper Mounting
This mounting connect to the bumper of the car
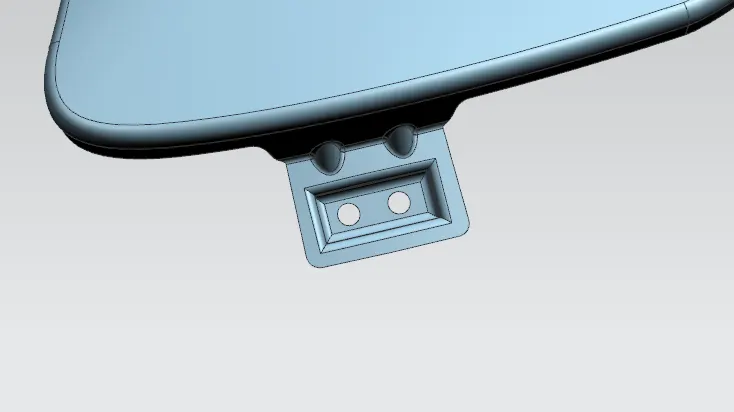
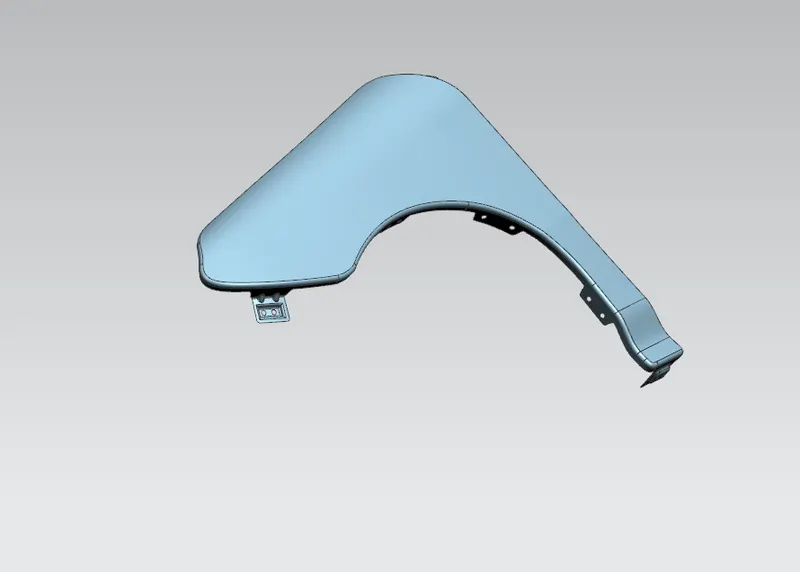
Used law extension to extend the sheet at 75 degree
Draw the mounting on the plane created with 3 point
Used Emboss command to creat emboss
trim the holes
used bridge curve to smoothen the edges
created darts to give strength to the mountings
Baffel Mounting
In this area beffel is mounted with the fasteners, baffels used to prevent road debries going in to the engine bay.
Conclusion- In this project we have learned about how to prepare fender mountings, we also learn how to create drip area by useing master sketch.