Fender Design
Aim: -:
To explain Fender Design and its different mounts, manufacturing processes and its design parameters.
Theory: -
Design of Car Fender: -
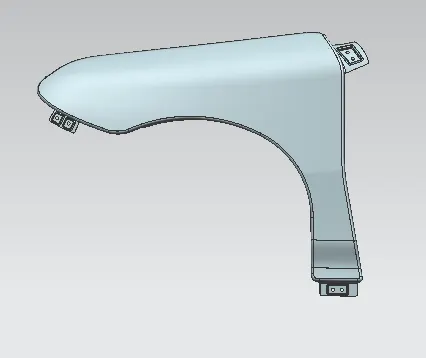
Fender: It is an additional part installed in an Automobile for covering the engine compartment area from the dust and sand particles that are being carried by the wheels while in motion, and avoiding these particles from hitting the pedestrians.
Types of Bumpers: -
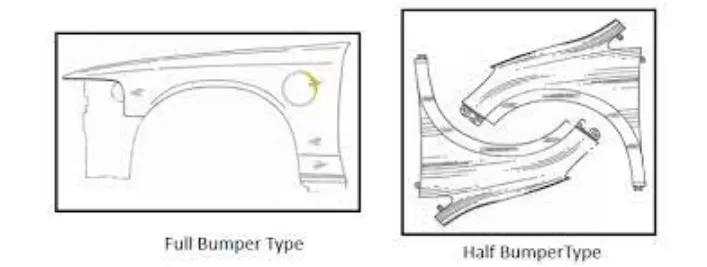
- Full Bumper
- Half Bumper
|
Full Bumper |
Half Bumper |
|
This type of Bumper was used in old cars, it covers the full area till the front lightning. |
This type Bumper is used nowadays. |
|
A large blank size is taken which leads to material wastage, which increases the cost of the product. |
By increasing the Blank’s size by a small amount, we can make two bumpers from it. |
|
Increased scrap |
Better scrap management |
|
Increased weight due to usage of steel in the entire bumper. |
Reduced weight of the component due to employment of plastic part on the Bumper area. |
|
High Price |
Provides better Fender for a cheaper price due to usage of plastic and improved performance. |
Master Section given for Designing: -
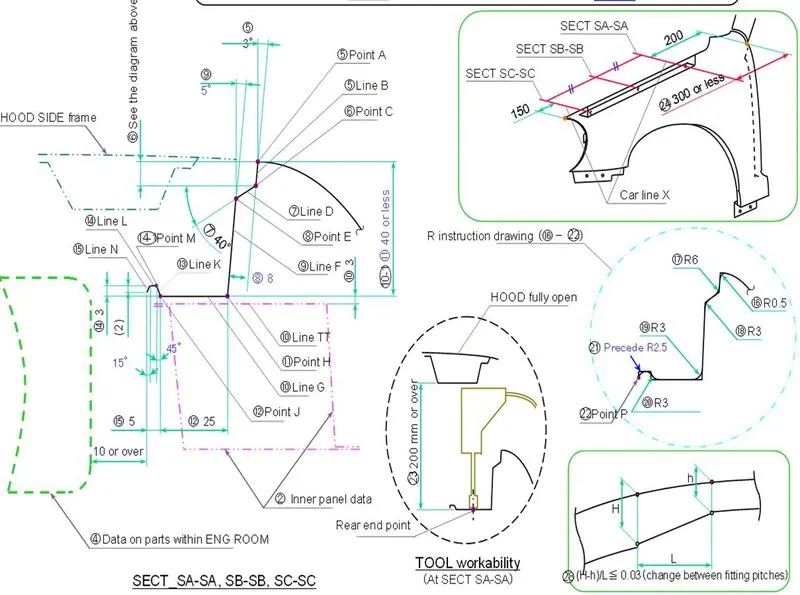
Different types of attachment points on Fender: -
Drip Area Mounting (for attaching the Fender with the engine compartment area): -
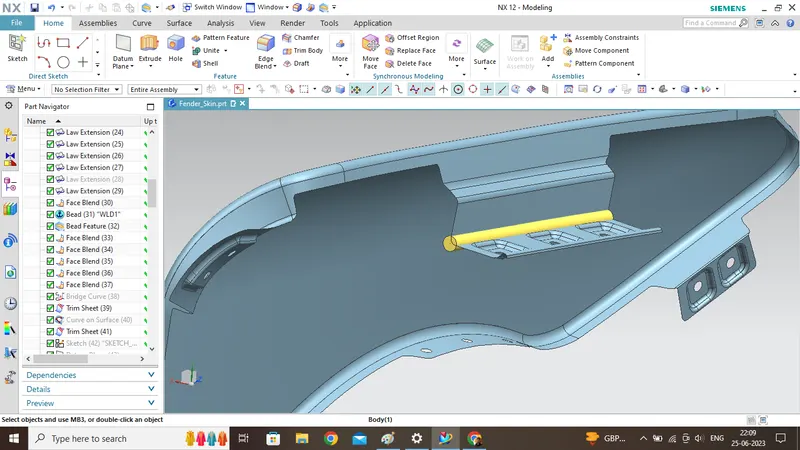
- Drip Area mounting is created as per the Master Section provided to us and the major design constraints are given on this part only.
- The Drip Area must start at a distance of 150 mm from the front i.e., the Headlight housing area and can end at a distance of about 300 mm or less from the A-Pillar mounting.
- Longer Drip Area results in a better support to the Drip mounting by the Fender.
- Tubular beads are being applied along the edge for strengthening the Drip Area in this case instead of Darts.
Bumper Mounting: -
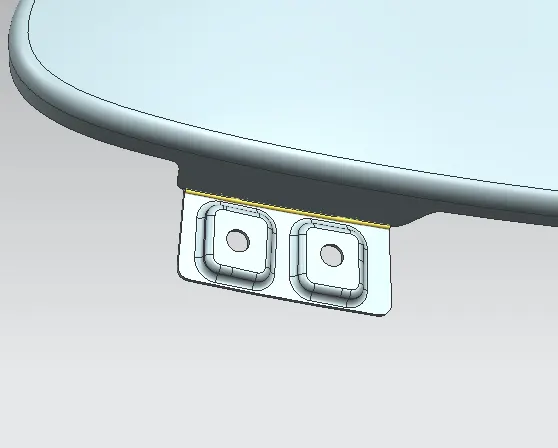
- Bumper mounts are created by extending the sheet by some distance and at last creating the mounting holes over the embosses.
Baffle (Splash) Mounting: -
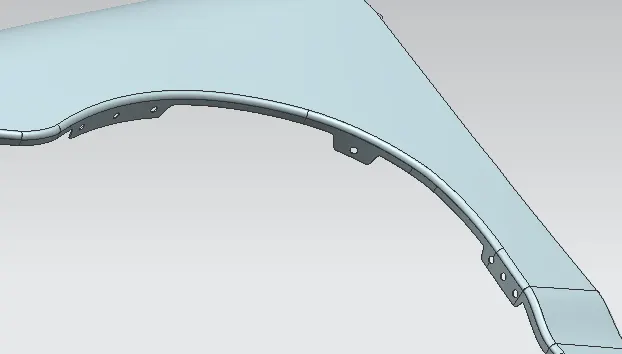
- Baffle is a large plastic part which helps in reducing the NVH levels inside the passengers’ cabin and can be mounted over the Fender by creating appropriate mountings, and no such regulations need to be followed.
- In this area, a minimum fillet of 2.5 mm should be given for improving aesthetics on this part.
Spill Mounting: -
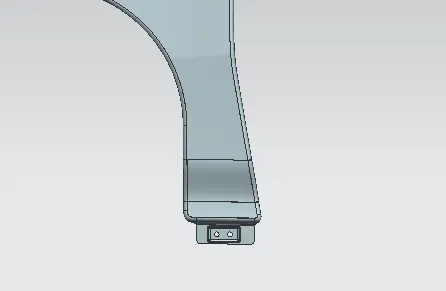
- Spill mounting is provided to fix the Fender with the lower part of the vehicle.
A-Pillar Mounting: -
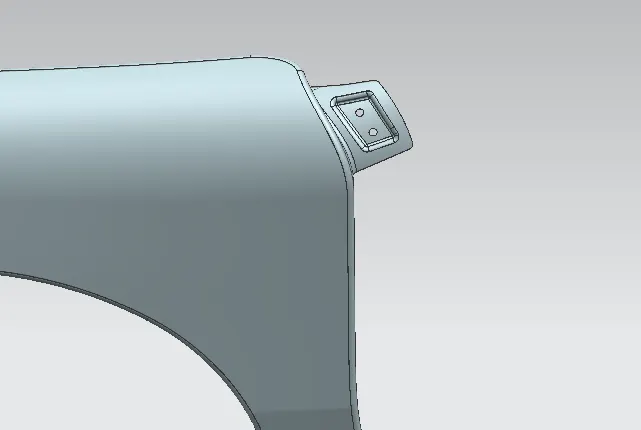
This mounting is created to attach the Fender with the A-Pillar of the vehicle.
Manufacturing process of Fender: -
The Fender of an Automobile is manufactured in multiple stages, here's a glimpse of those stages: -
- Stage 1: - A flat piece of metal (preferably HSS) is being fed into the stamping die manually or by a robotic arm depending upon the facility in which it’s being manufactured.
- Stage 2: - Each stamp occurs with 1000 tons of force over the sheet metal to give it the desired shape.
- Stage 3: - At last the fender is sent to the elbow grease to finish off the edges and this process is known as Hemming.
Conclusion: -
- In Fender Design, there's design consideration on the Drip Area part that needs to be followed and the rest other mountings can be made accordingly.
- For strengthening the mounting areas, Darts/Beads command can be used. In our case, it was realized after the completion of the entire part, and was difficult to go back and apply Darts because the entire Part Navigator tree structure was collapsing. So, Beads command is used instead in this case.