Fender Design
Title- Fender Design
Objective- To create a car's front fender using the provided master section and OEM design factors.
Introduction To Fender-
It is an aesthetic component/part of a car that frames the wheels. The primary function of the fenders is to prevent the entry of sand, dirt, and other road contaminants into the engine compartment and onto pedestrians by the rotating tyres.The front fenders are independent components while the back fenders are connected with the body sides.
Type of Fenders
- Full Bumper
- Half Bumer
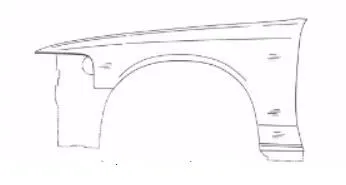
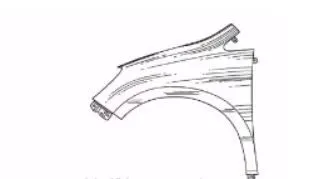
Fig 1: Full Bumper type fender Fig 2: Half Bumper type fender
1. Full Bumper type fender- These fenders were a common feature of previous car models. By only covering the front headlamps in relation to the bumper area, they significantly increase the steel weight. The issue with this type of fender is that the blank is wasted a lot, and the industry pays for every inch of material used as it ultimately adds to the cost of the car.
2. Half Bumper type fender- These fenders are primarily used to decrease costs and reduce the proportion of steel used on the vehicle, which helps to lighten the weight of the car a little. By significantly expanding the blank size, we can make two fenders at once, making their production economically feasible.
Mounting regions over Fender-
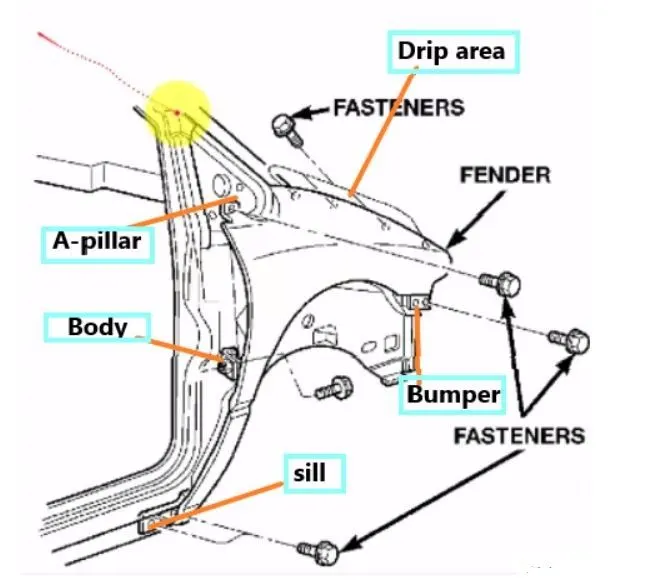
Fig 3: Fender mounting regions.
The 5 mounting regions on the fender are as follows-
- A- pillar mounting
- Body mounting
- Sill mounting
- Bumper mounting
- Drip mounting
Given Master section to create/Design the Drip Area
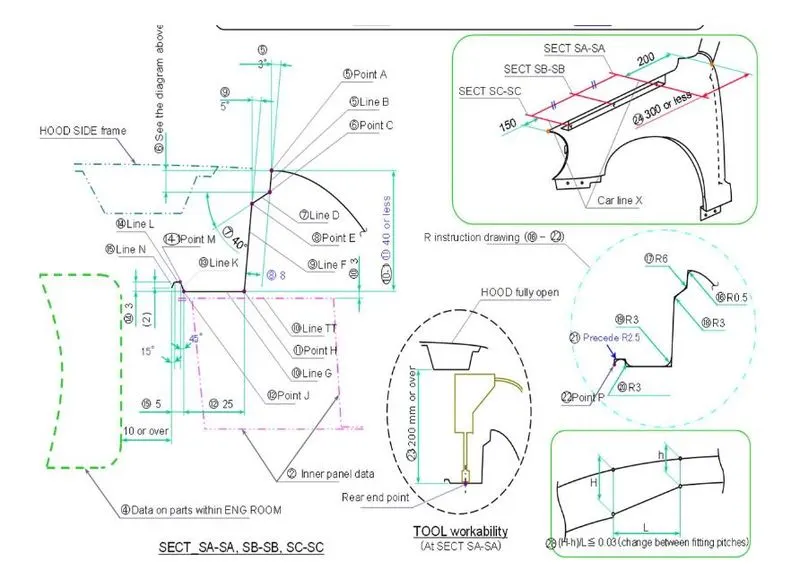
Fig 4: Master section of drip area
1) DESIGN OF DRIP AREA MOUNTING
- It is an important mounting unit while designing fender as it is connected to the engine compartment , therefore while designing the fender the lot of design constraints are followed.
- We have to initially leave 200-300 mm for cowl top as it contains wiper motor and its arangements while designing the drip area.
- For the headlamp placement we have to leave at least 150 mm in the the front.
- Darts can also added on the longer side of the drip area as it provides adequate stiffness and strength to the part . Due to this the fender don't vibrate voilently when the vehicle is in motion.
- Embossing are provided on the mounting to strengthen them during fastening.
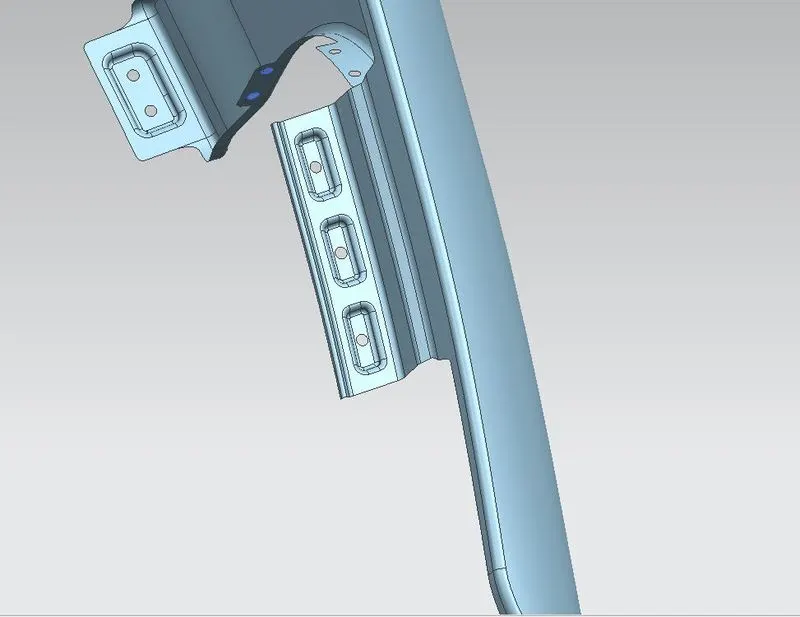
Fig 5: Drip Area for Mountings
2) Design Of A-Pillar Mounting
- For attaching the fender to vehicle's A Pillar this mounting position is created.
- For the easy mounting of the equipments of wiper enough clearance should be given at proper places.
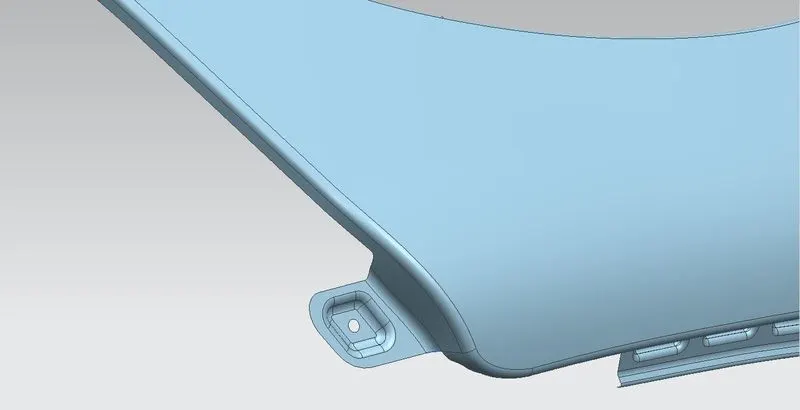
Fig 6 : A Pillar Mountings
3) Design of Sill Mounting
- The Sill Mounting area is present t the bottom of the fender. It is mostely gets connected with the door region of the car. Proper embossing and holes for the fasteners are provided.
- After drawing the sketch we have extennded the sheet up to 42mm for this region at 90 dgree.
- Then emboss are provided on the and after that face blend is given of 2.1mm.
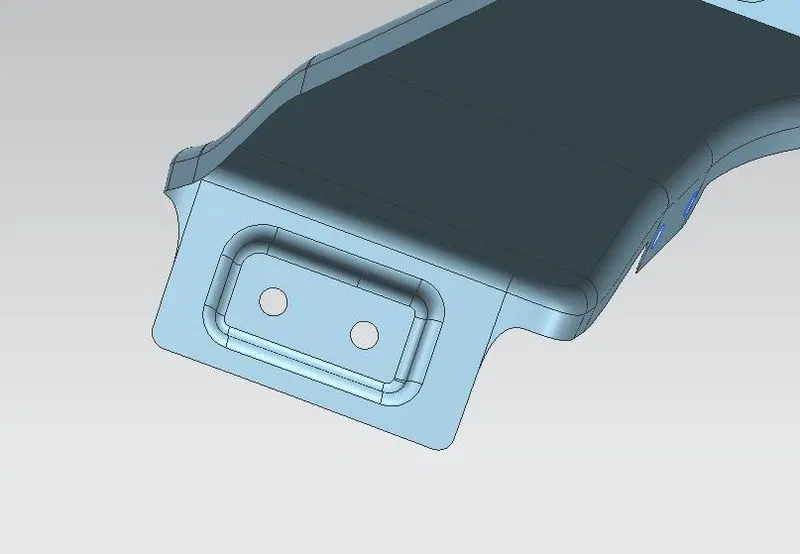
Fig 6: Sill Area Mounting
4) Design of Bumper Mountings
- Bumper mounting area is used to fix/attach the bumper to the fender with the help of the fasteners
- It should have enough strength to hold the bumper steadily.
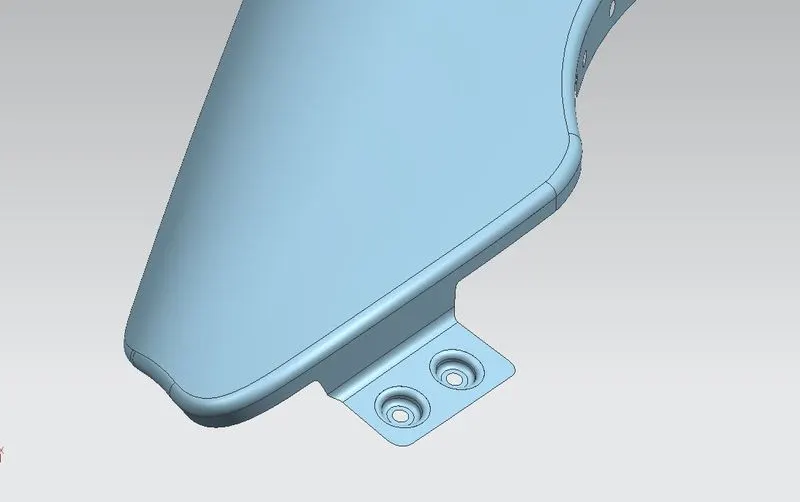
Fig 7 : Bumper Mountings
5) Design of Baffle Mountings
- To protect the car engine compartment and pedestrians from causing injuries from chip out debris on the road when the vehicle is in motion. These mountings are created for attaching the plastic components.
- These mounting points are created for attaching plastic components i.e baffle which To prevent chipping inside the engine compartment.
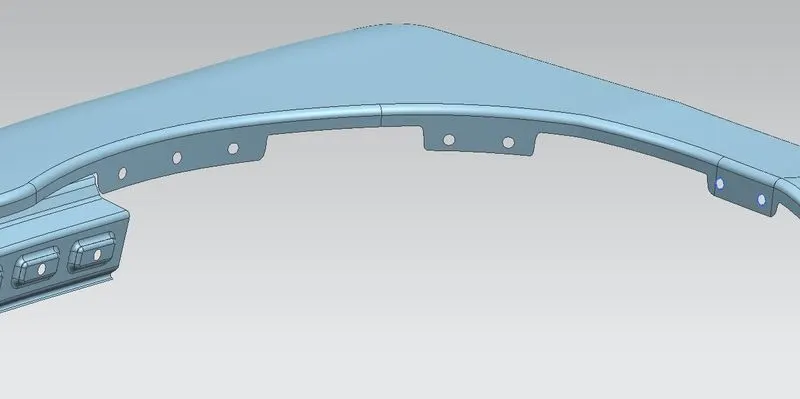
Fig 8 : Baffle Mountings
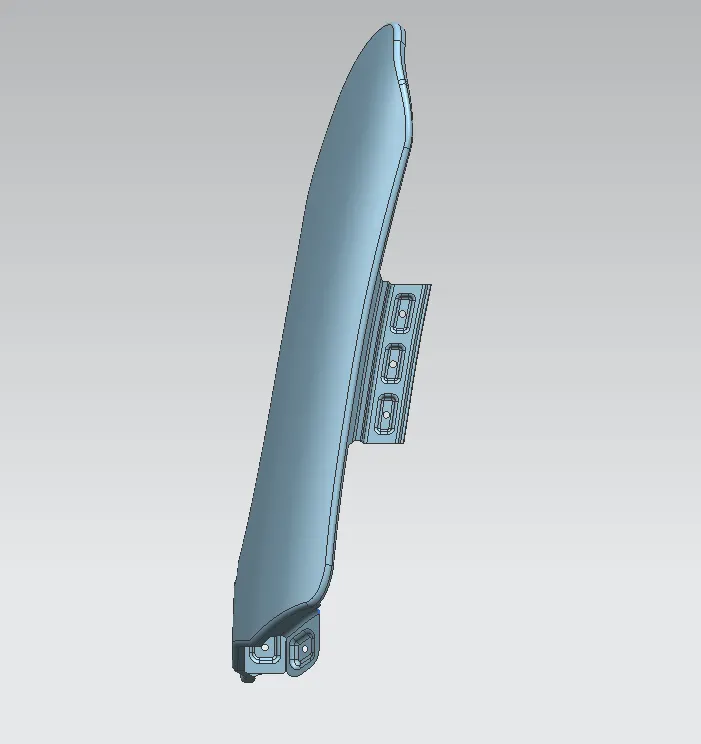
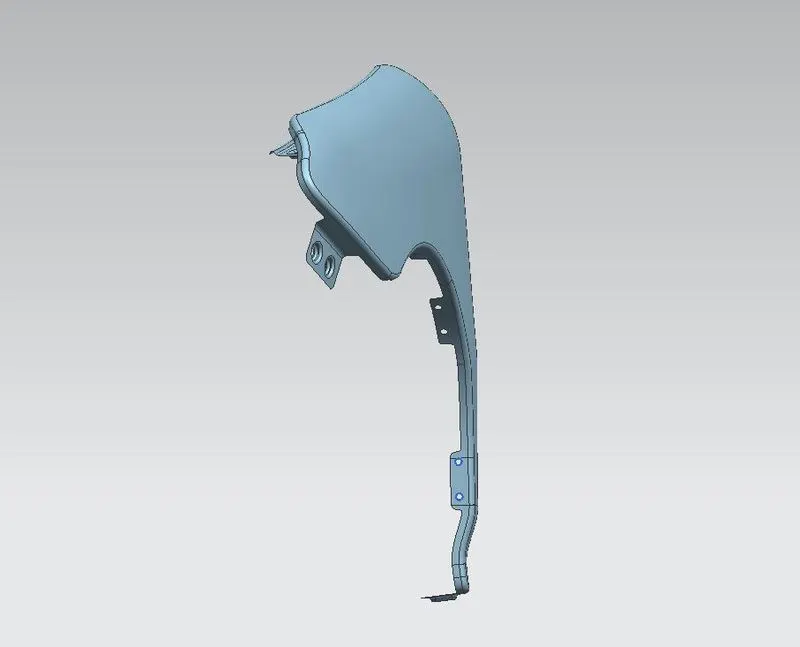
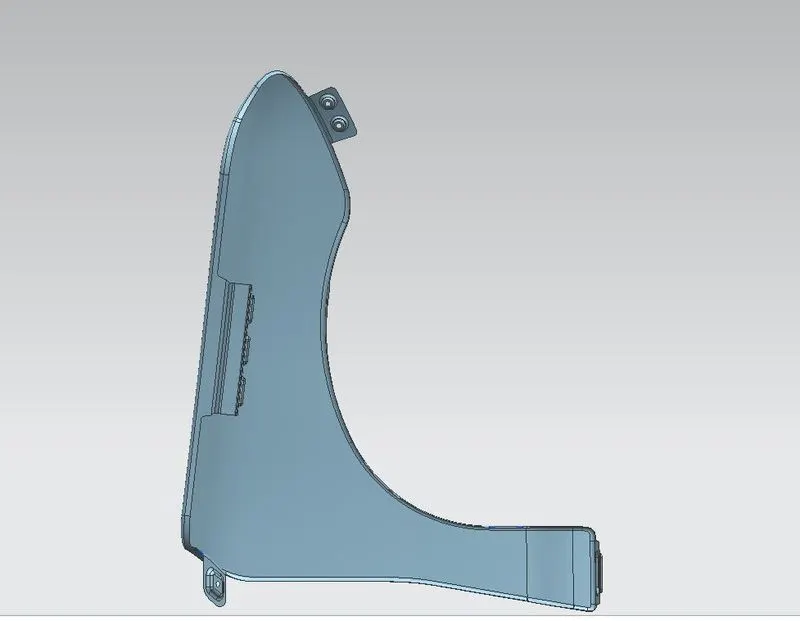
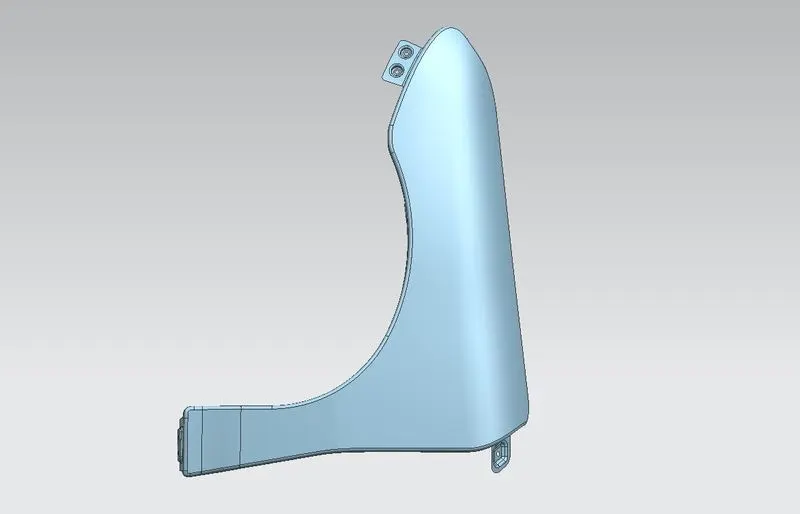
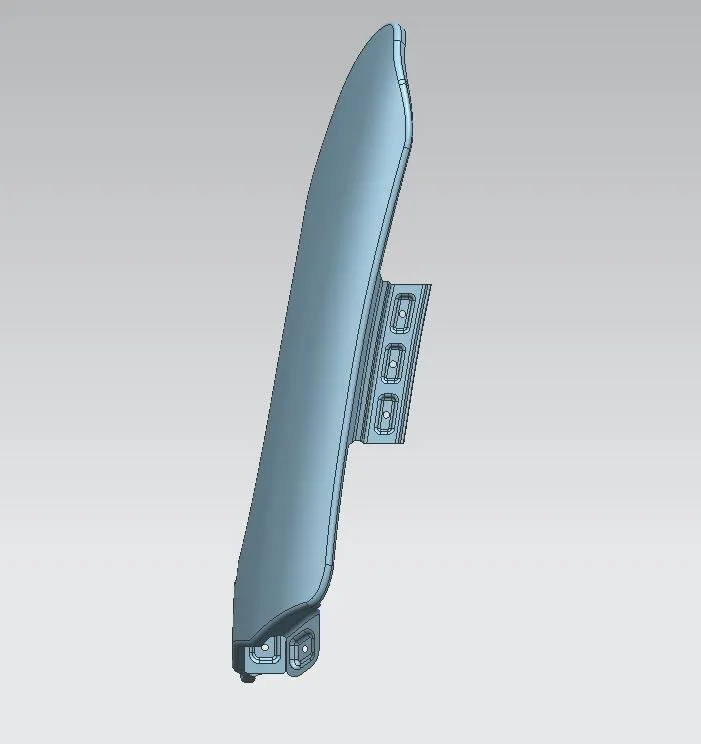
Different Views Of The Fender
Conclusion
Finally design of fender is done with the help of NX-CAD-12 software by taking the refference of master section given in the challenge.