Fender Design
FENDER DESIGN
AIM: To Design a FRONT FENDER of a Car by following the given Master section as per the Design considerations that are followed in an OEM's.
INTRODUCTION:Fender is the US-English term for the part of an automobile (vehicle body) that frames a wheel well (the fender underside). The main purpose of the fender is to prevent sand, mud, rock chips & other road spray from being thrown into the air by the rotating tire or wheel.Fenders are basically present to prevent any injuries to pedestrains and contain the motion of these particles.
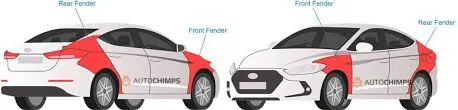
Fenders are of two types,they are
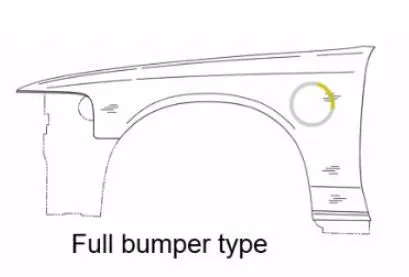
1.FULL BUMPER TYPE:These types of Fenders are used in the earlier car models.It requires larger sheet metal which increases the weight of the component.As the material requirement is more the wastage during the manufacturing process is also high,which increases the cost of the component also.
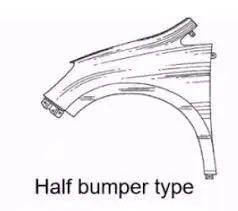
2.HALF BUMPER TYPE:These fenders are using at present in all the vehicles which replaces the full bumper type fender.With respect to the sheet metal used for manufactuirng full bumper type we can manufacturing two half bumper type fenders.It reduces teh materail usuage as well as the wastages and helps in reducing the cost for the component also.
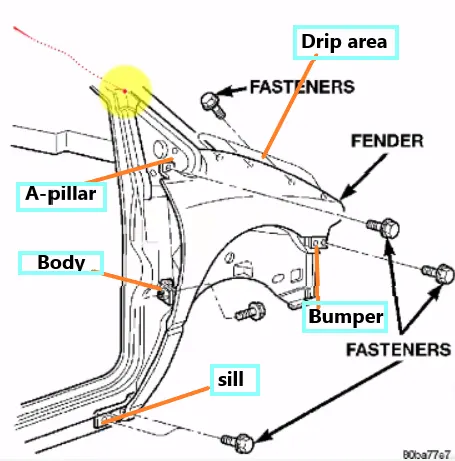
MOUNTINGS ON A FENDER:
There are FIVE mounting points in the fender , they are
- A-Pillar mounting.
- Drip Area mounting.
- Bumper mounting.
- Sill mounting.
- Body mountings.
All these mountings are jointed by using the fasteners like m6,m8 screws etc..
Drip area mounting:
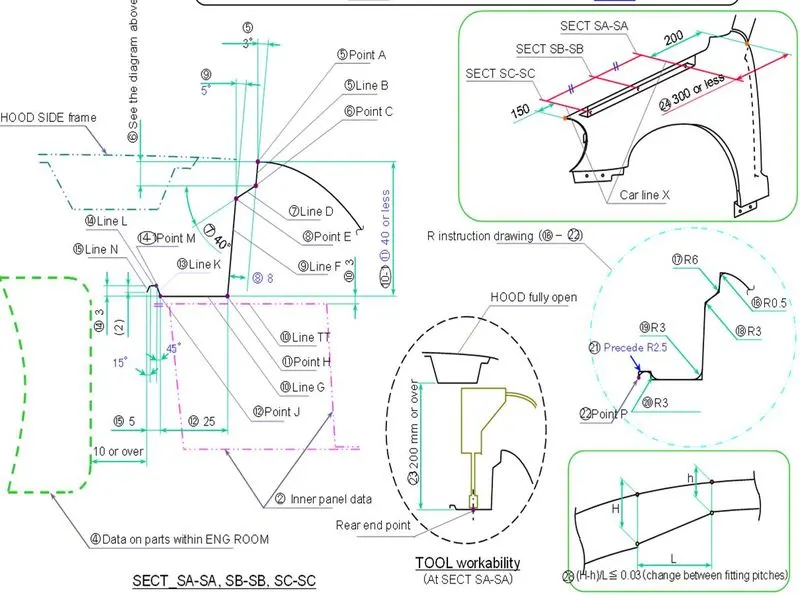
- It is the region where it gets in contact between the fender and the engine compartment.
- The Drip area mounting should be designed in such a way that ,it should be at 150mm away from the front end of the fender for placing the headlights as the wiring should not get disturbed by the drip area mounting.
- And the other consideration is the drip area should be 200mm away from the rear end of the fender, inorder to maintain sufficient space for the cowl top where we have wiper mounting region is installed.
- For creating the drip area mounting we are provided with a mastersection.
- We need to extend the sheet by using law extension up to the data which is provided
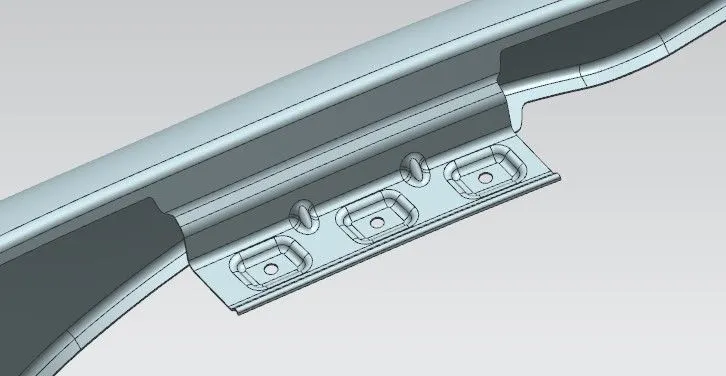
- Once the drip area is created we going to make a sketch for embosses and hoes for fastners which gives support to that area.
- The darts are also provided in between be embossses which are also used for supporting.
- Make blends at wherever the edges are found.
A-Pillar Mounting:
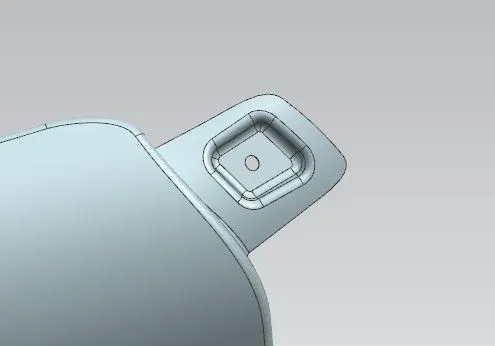
- It is the region where the fender is going to attch with the A pillar part of the vehicle.
- We donot have any mastersections fro designing the A pilar mounting,we need to create on our assumptions, but we need to consider that we need to maintain sufficient clearance when creating the emboss.
- we need to extend the sheet by using law extension.
- using curve on surface method make a curve over the sharp edges and remove it by usig trim sheet.
Bumper Mounting:
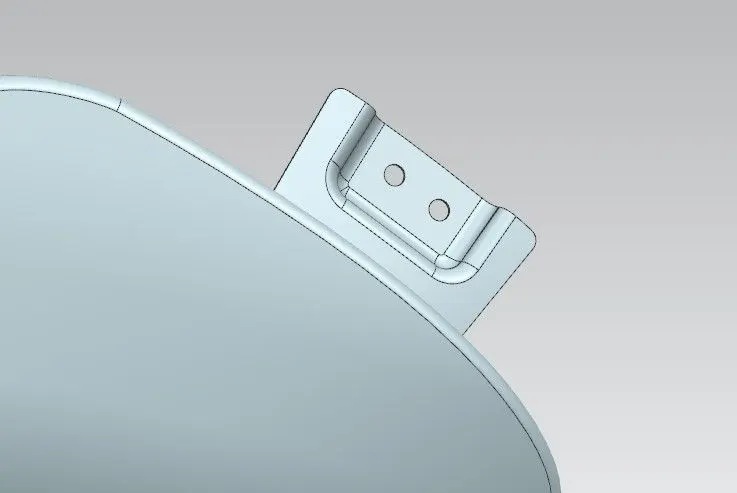
- The region where the fender is attached with the bumper.
- Extend the sheet by law extension and make a sketch,since we have not sufficient space i have created an open emboss.
- Using bride curve remove the sharp corners.
Sill Mounting:
- The region where the fender is attched to the sill which is below the fender.
- make a sketch as peer the considerations and by using emboss command creat ean emboss.
- Using bride curve remove the sharp corners.
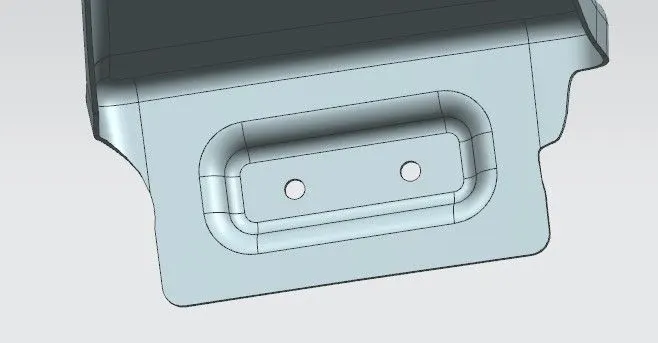
Baffle Mounting:
- These mountings are created for attaching plastic components i.e baffle which prevents chips,stones entering inside the fender.It is a thin plastic piece so we no need to create any embosses over there.
- We can directly craete a sketch of holes an then by projecting them onto the object we can trim them.
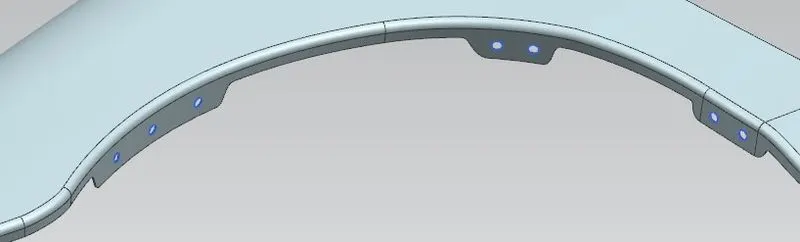
Once all these mountings are created ensure that proper blends are provided at sharp edges adn make sure that there are no sharp edges and then we need to thicken the part for 0.75mm.
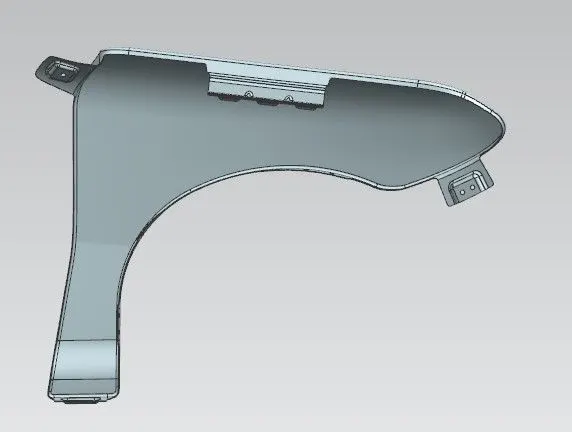
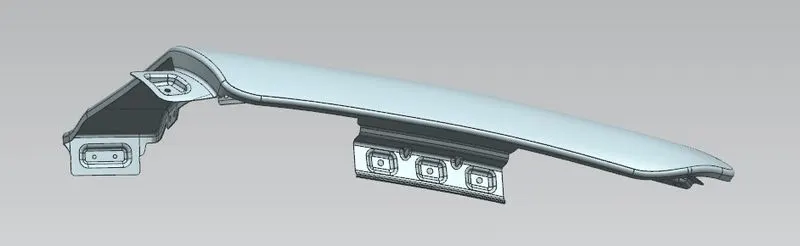
The thicken part in different views:
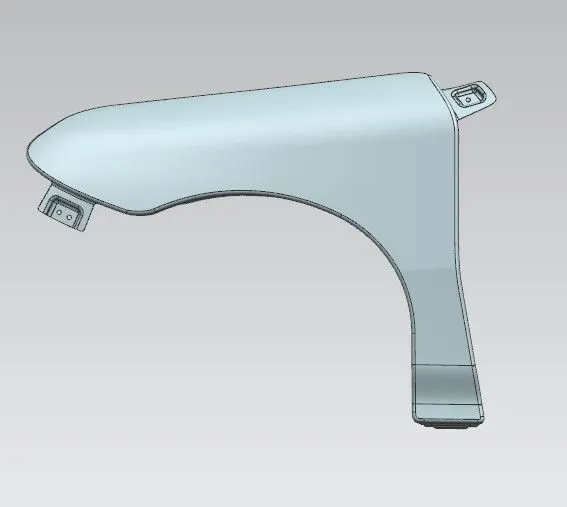
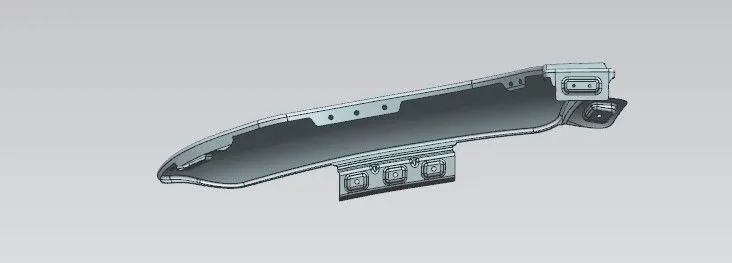
CONCLUSION
The Front Fender is Designed as per the given master section and the OEM Standards.