Fender Design
Introdution
Design of any product starts from the requirements . the deisgn engineer sketches the product based on the requirements . then convert to 3D models . so the design engineer is to design product that can be easily manufactured and with less cost.
Fender
Fender is the American English term for the part of an automobile, motorcycle or other vehicle body that frames a wheel well. Its primary purpose is to prevent sand, mud, rocks, liquids, and other road spray from being thrown into the air by the rotating tire. Fenders are typically rigid and can be damaged by contact with the road surface. A fender is the part of a car that protects and frames its wheels and keeps mud from splashing it.
Fender is the part of an automobile, motor cycle or other vehicle body that frames a wheel well (the fender underside). Its primary purpose is to prevent sand, mud, rocks, liquids, and other road spray from being thrown into the air by the rotating tire. Fenders are typically rigid and can be damaged by contact with the road surface.
TYPES OF FENDER
- Full Bumper type
- Half Bumper type
-
MOUNTING
- Bumper
- Drip
- A Pillar
- Sill
- Cowl
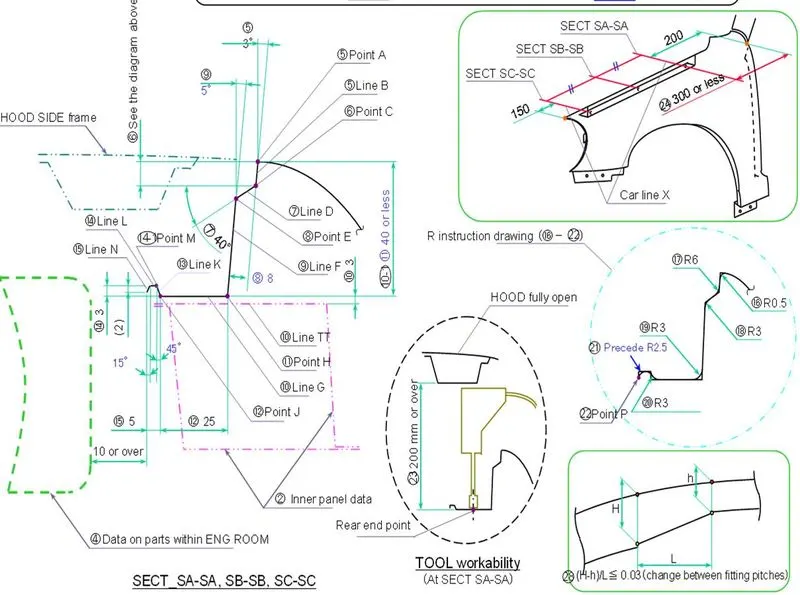
PROCEDURE -
1. As input we received class A surafce, we checked the surfaces and proceeded to whether the surface is required or not.
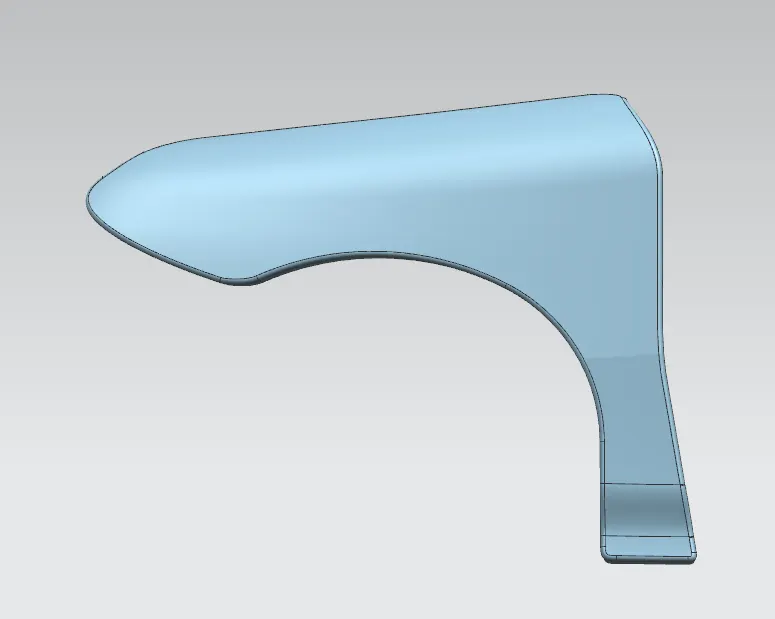
2. we removed the extra flange and make possible cuts outs using some of the features in nx cad software .
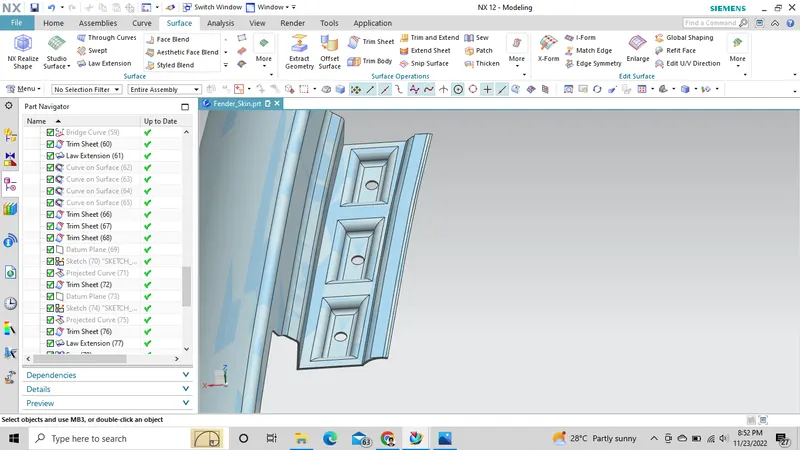
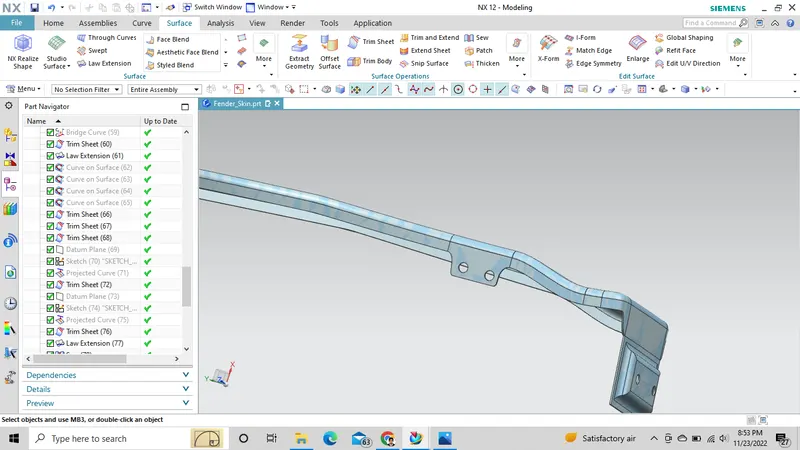
3. now start to making the mounting section. The first mount we created the drip area mounting . we extend the surface using the law extension then created emboss on it.
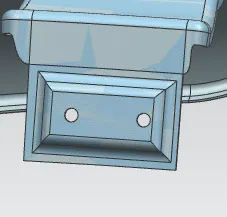
4. after creating drip mount then moving to the sill mount . we use same procedure to create the sill mount by using law extension then draw the sketch and emboss it.Aslo create the stress relief area here so that the stress won't accumulated at certain point.
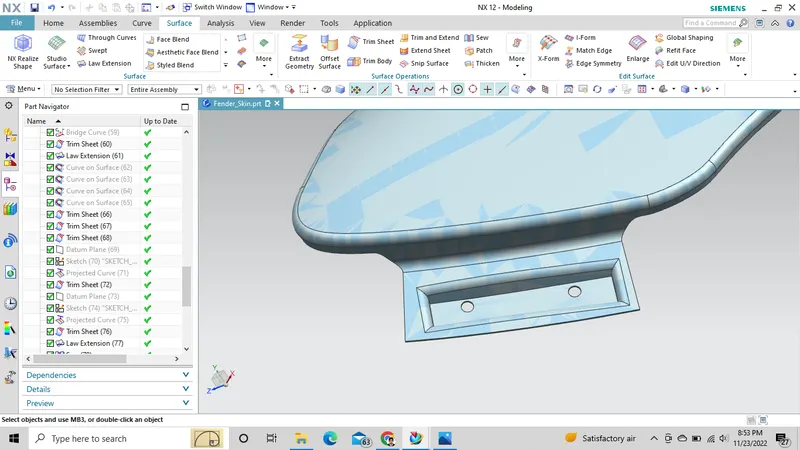
5.now move on the bumper mount by extending the surface and making the emboss on it.
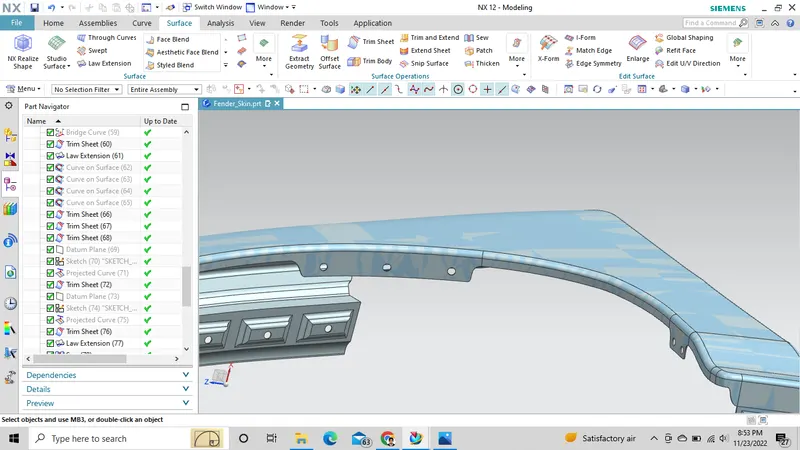
6.we created the baffle emboss mounting . In baffle mounting we simply extended the surface made the sketch and then trim the sheet. here we nor added the emboss.
7.lastly we created the A-pillar mounting .In this we extended the surface created the sketch and made the emboss and then done the trim sheet the hole.
my model photos
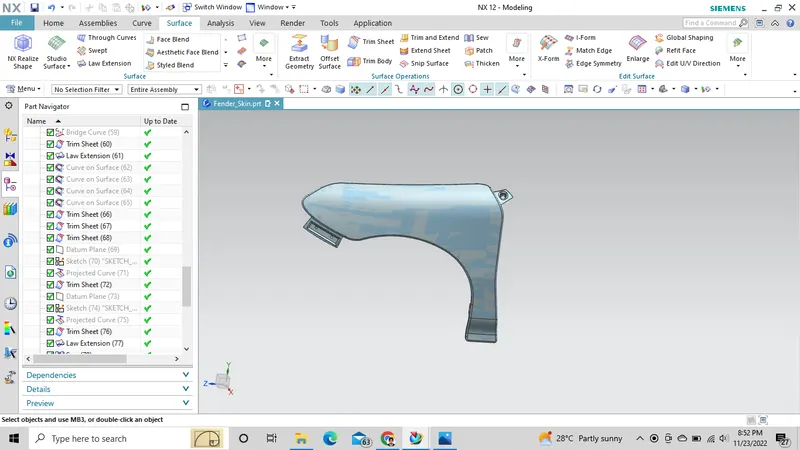
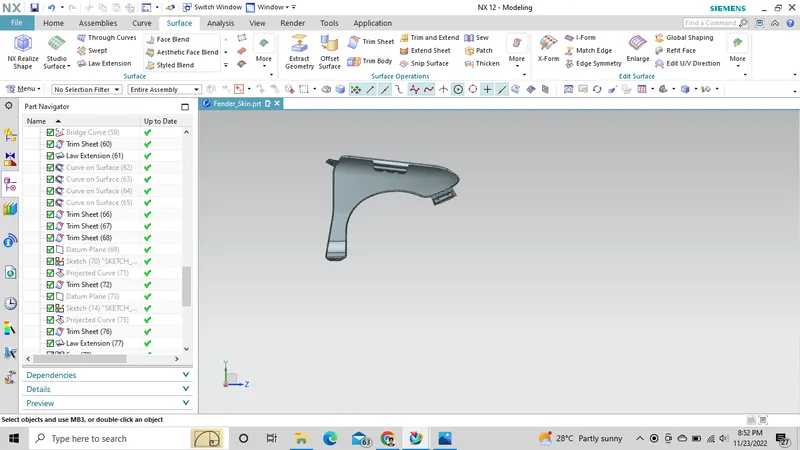
Drip mount
Sill mount
Bumper mount
BAFFLE MOUNT
DOOE SIDE MOUNT
CONCLUSION
The fender is vreated with the thickness of 0.75 mm with the given mount and embosses.