Door Arm Rest Week 8 Challenge
DOOR ARM REST
The door arm rest is the interior part of the automotive and is one of the important part as it provides a support to arm rest which adds more comfort in the interior design.
Here we are given a Class A Surface of the door arm rest, and our task is to design the door arm rest by providing Class B and Class C surface. Here we are given the whole door design just for the reference. We only have to design the door arm rest. The Class A Surface of the door arm rest is given in the figure below.
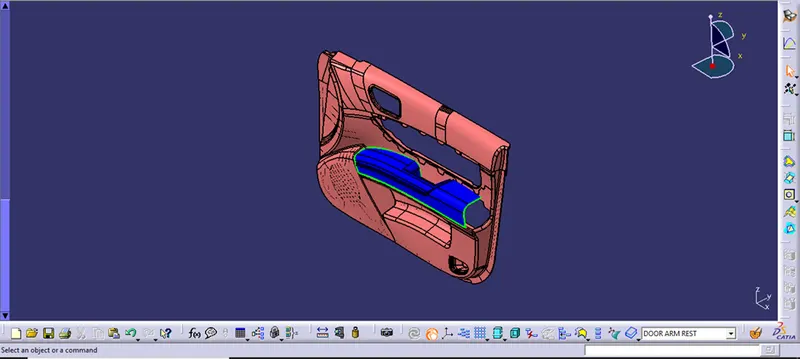
Door arm rest along with door
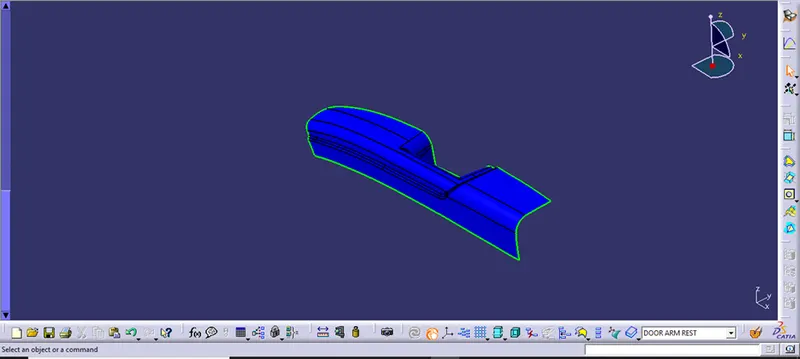
Door arm rest
Now our initial task is to check the surface quality of the door arm rest using the join surface command. Once the surface quality is tested, next is creating the tooling axis on the base of the door arm rest as shown in the figure below.
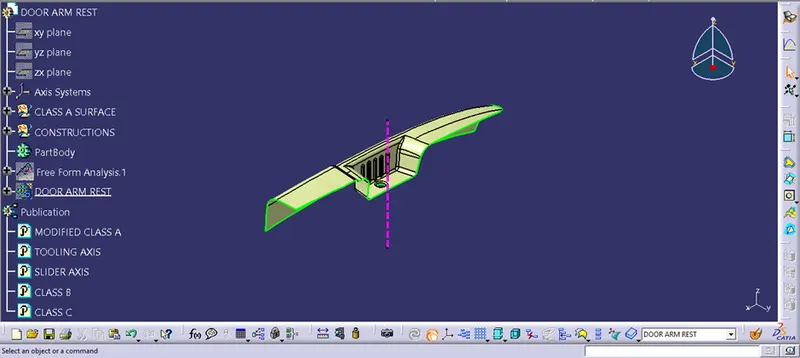
Now after the tooling axis created the next is the analysis part where we get to know that the designed part is able to manufacture or not.
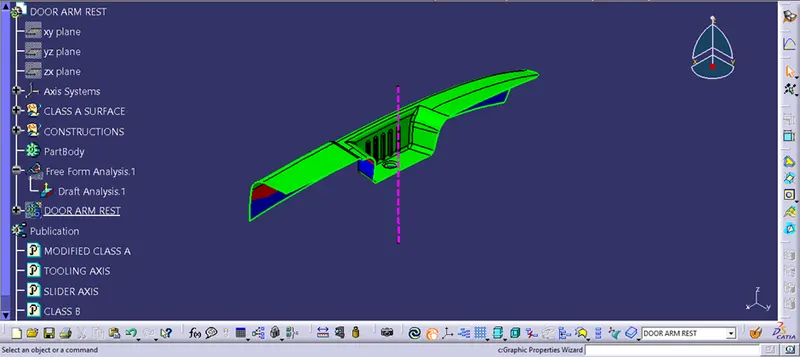
Draft analysis of the door arm rest
But as we can see the below part of the door arm rest is not getting cleared with the main tooling axis so here we need to create the slider axis for clearing the tooling.
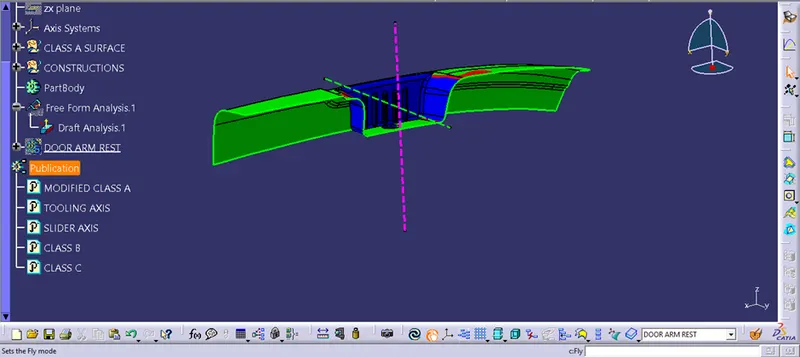
Now as we can see that the tooling is getting cleared using the slider axis.
Now our task is to create the Class B Surface. So here the surface is offset for 2.5mm in the downward direction as shown in the figure below.
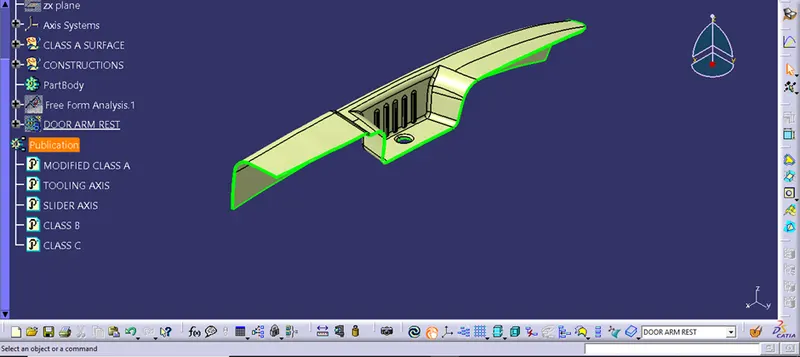
Now as the Class B Surface is created our next task is to create the Class C Surface.
For Class C Surface the boundary of the Class A Surface is extracted and then sweep is provided with the draft direction as shown in the figure below.
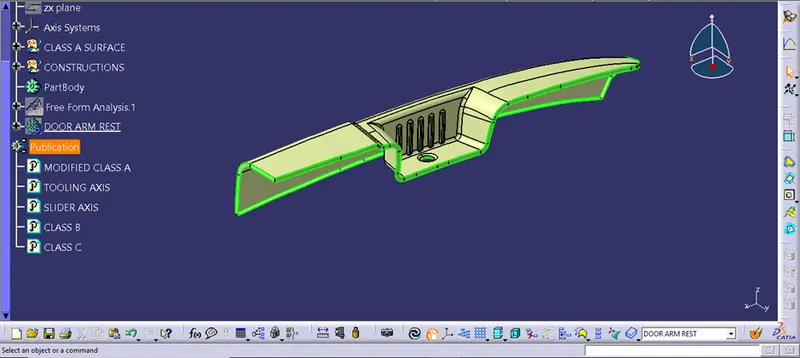
Now as the Class B and Class C Surfaces are designed, we need to provide the final trims in order to complete the design of the door arm rest.
Finally the Class A and C Surface are combined and then trimmed with the Class B Surface as shown in the figure below.
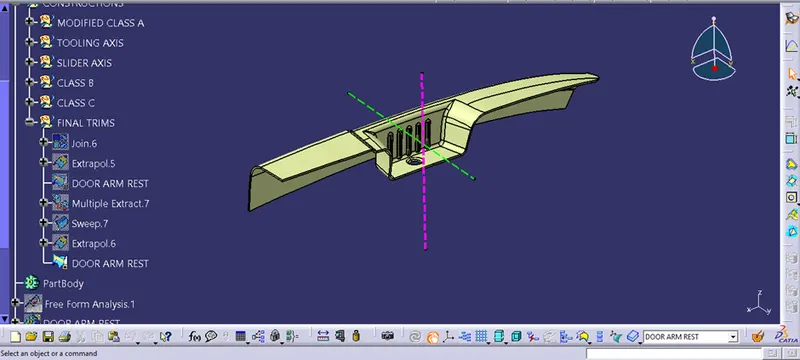
Now we need to create a solid closed body of this component so here the new body is inserted and the closed body command is used in the part workbench as shown in the figure below.
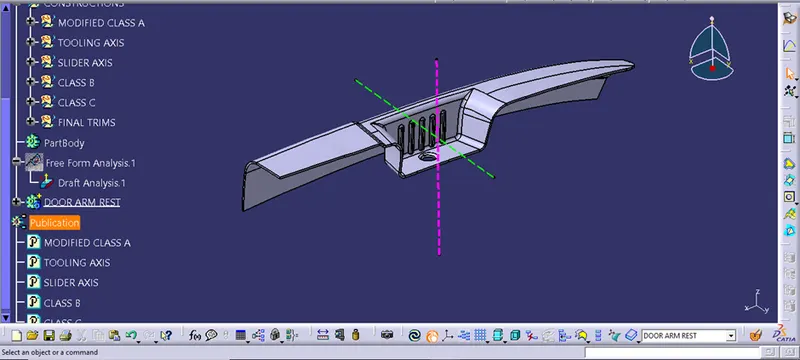
Now the component is fully designed. Our final task is to do the draft analysis using the main tooling and the slider axis of the component.
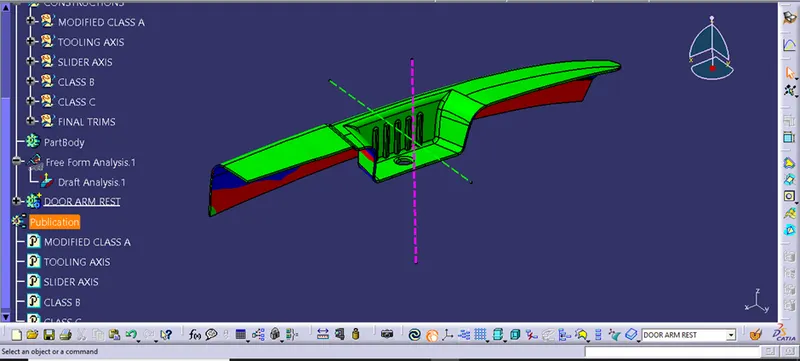
Draft analysis using the main tooling axis.
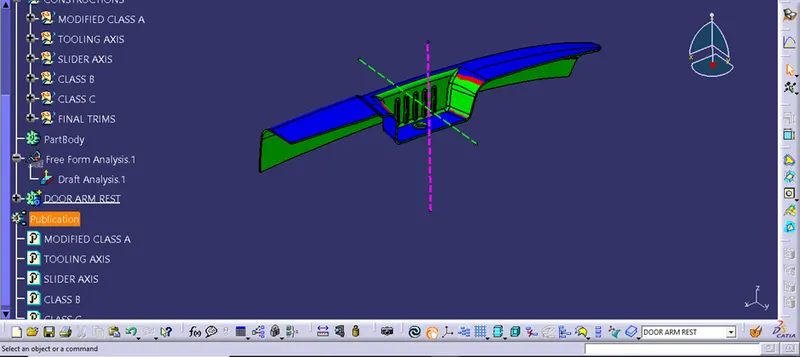
Draft analysis using the slider axis.
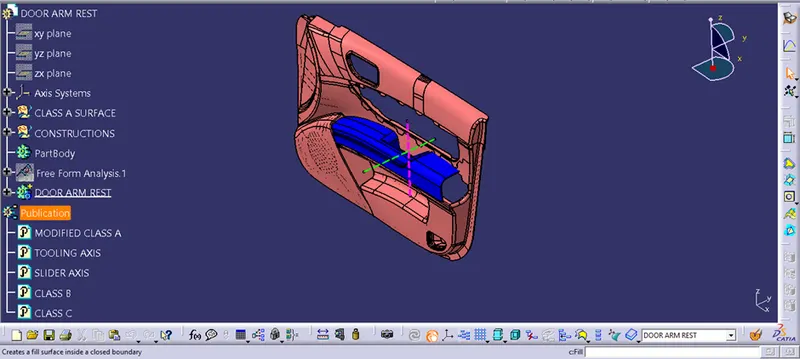
Hence our component is fully designed.