Door Arm Rest Week 8 Challenge
Explanation:
Step - 1
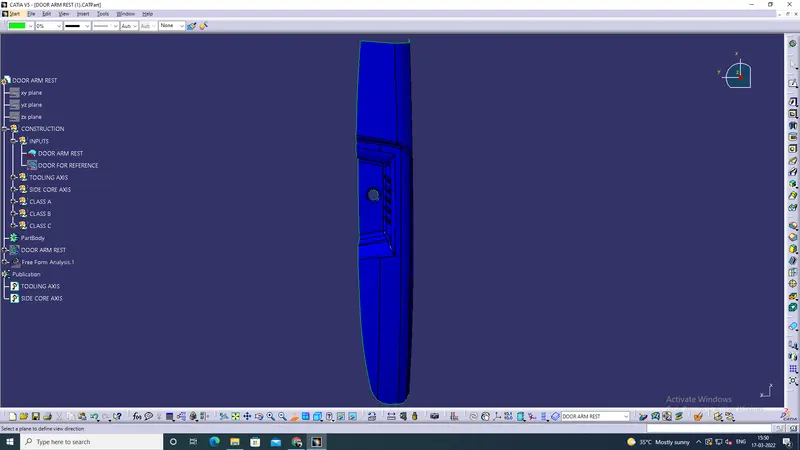
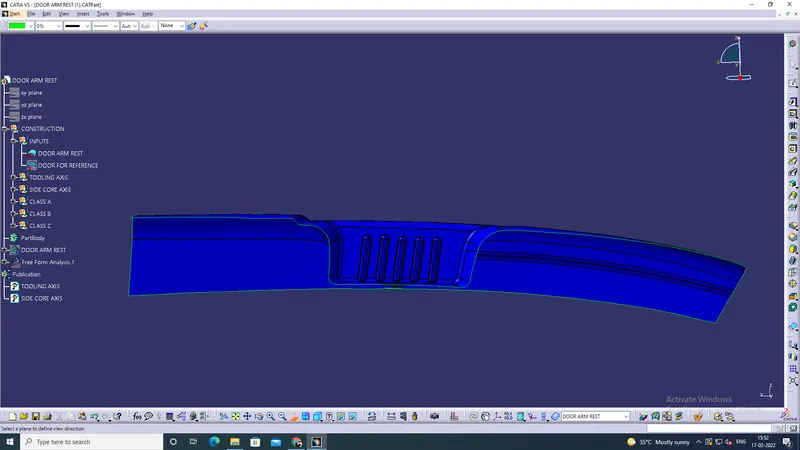
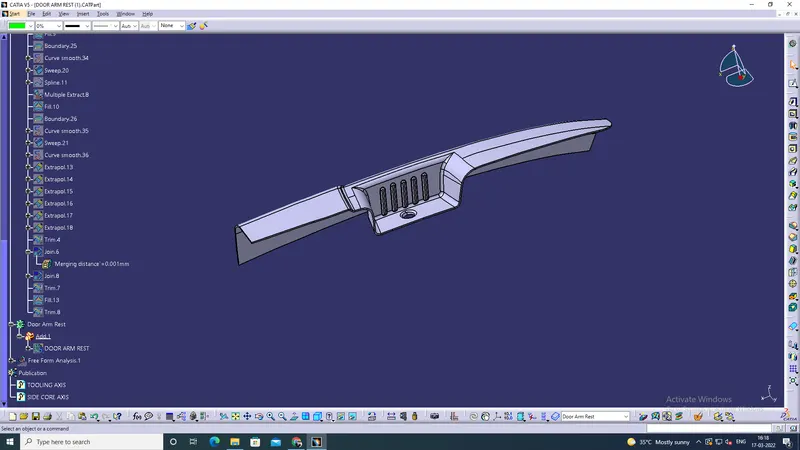
1. The given CAT PART Door Arm Rest and Door reference.
2. We take Door arm rest and hide the door reference.
3. then take the assumption of 2 tooling axis is needed.
4. While manufacturing period 2 process will possible to do, that is core and cavity in up and down position process and sliding core process due to the door arm rest having a rebs.
Input
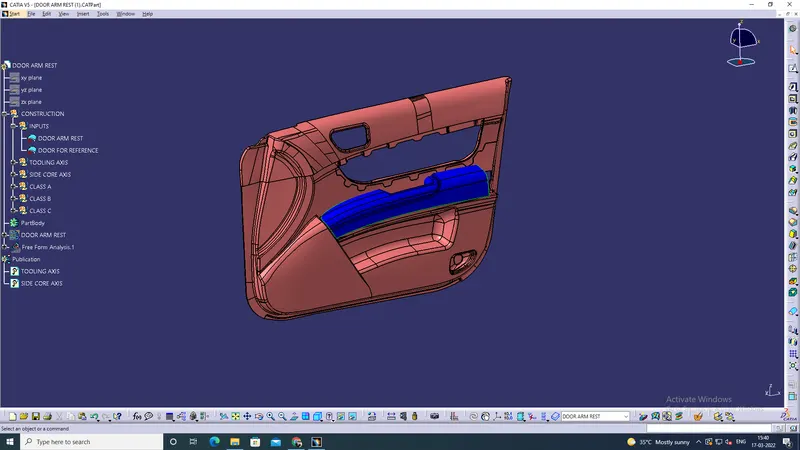
DOOR ARM REST CLASS A
Step -2
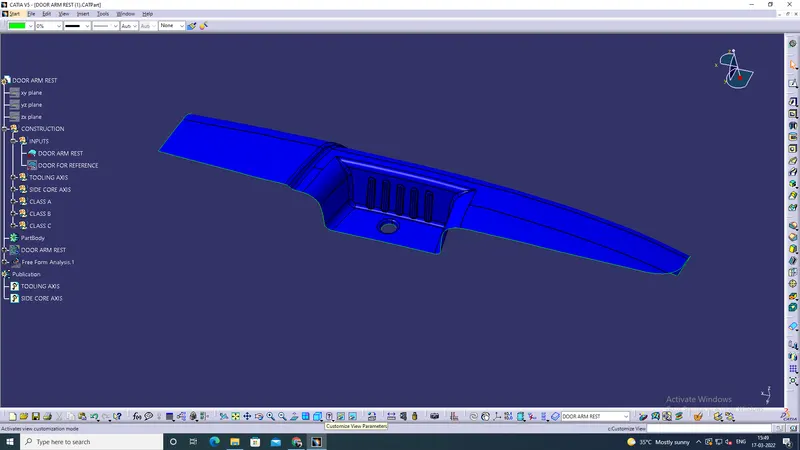
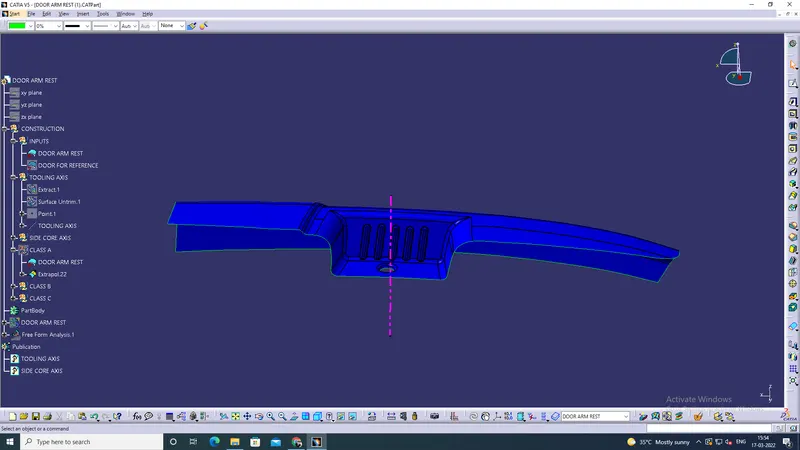
1. Extract the circle surface and untrim, then take a point on surface at centre.
2. Create the line in normal to the surface mode. then represented the name Tooling Axis
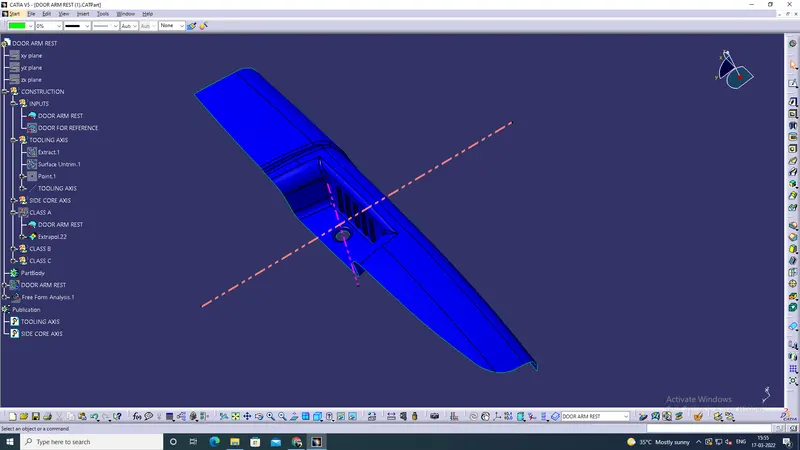
3. Then extract the reb side and untrim, then take a point on surface at centre.
4. Create the line in nomal to the surface mode. then named Side Core Axis
5. This surface is Class A
TOOLING AXIS
SIDE CIRE AXIS
Step 3
1. Create the G. body and named Class B
2. take offset class A downside 2 mm.
3. patches is observed in area so using spline tool and fill the surface.
4. In rib side no need in b side so we want smooth surface
5. Using join tool ( sub element to remove) using to remove the faces and join using multiple extract.
GAPE
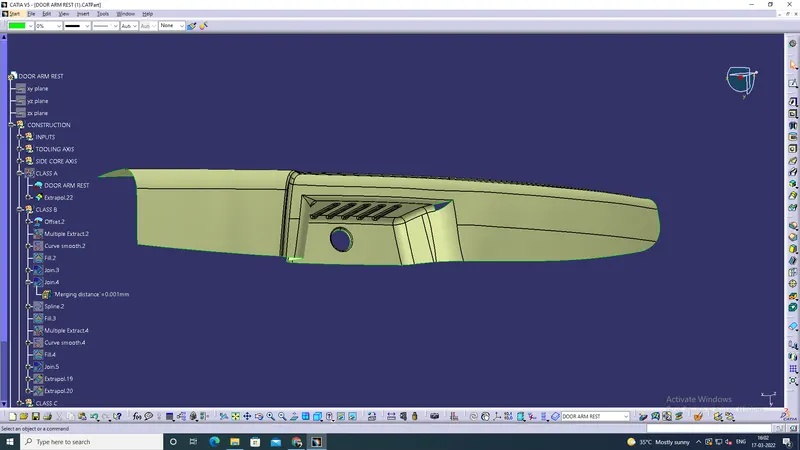
FILLED
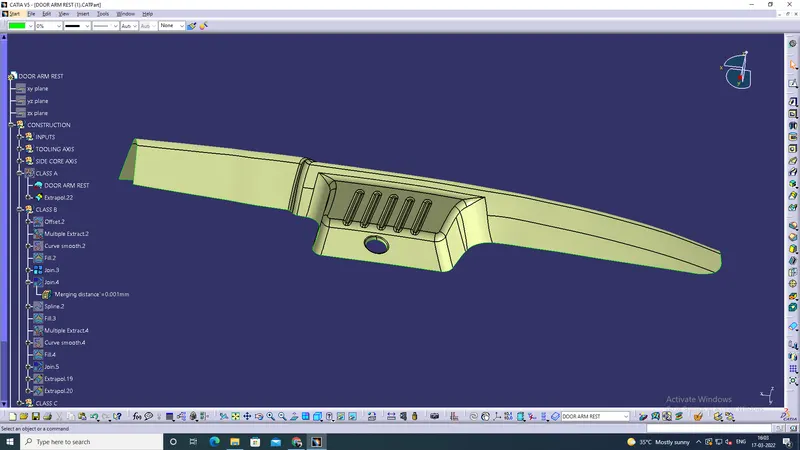
REMOVE
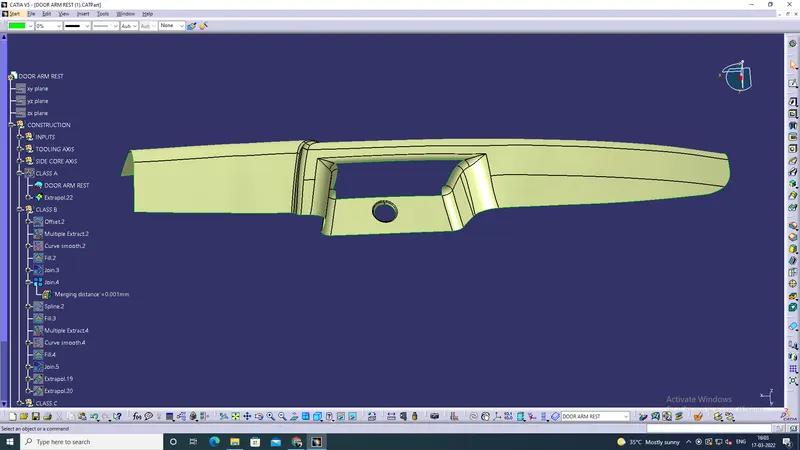
FILLED
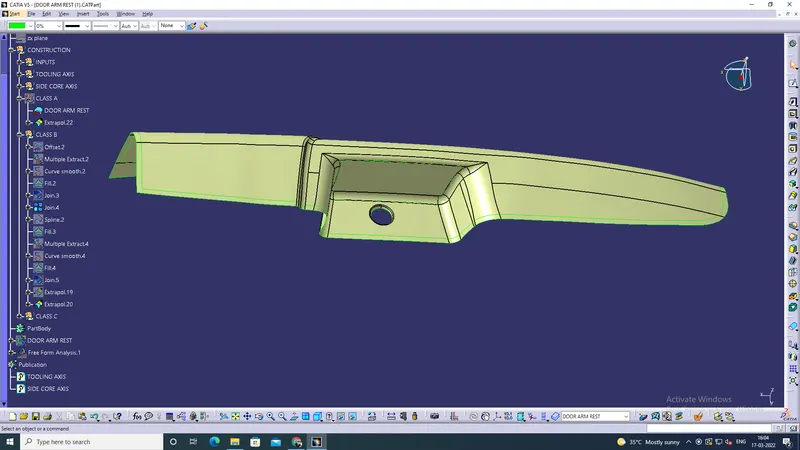
Step 4
1. Take a boundary tool and splitly used for sweep in down side. (Class A)
2. then extrapolate the sweep and trim to join
3. check the boundary every thing ok means then take class b and extrapolate in all side then join Class a and Class c then using trim tool to trim the extra surface in class b.
4. Check the boundary, their is no boundary means ok.
CLASS C
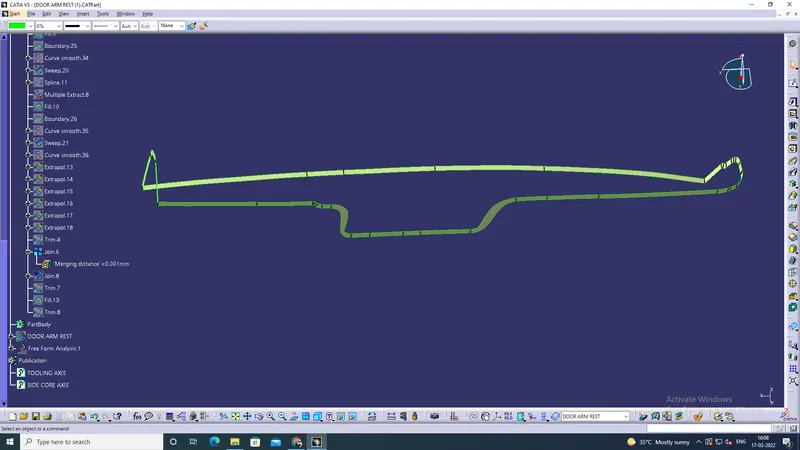
CLASS C AND CLASS A JOINED
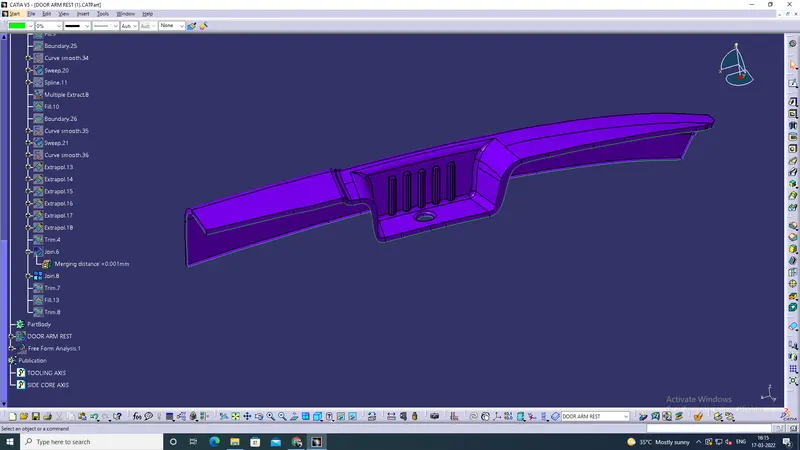
EXPOLATE B
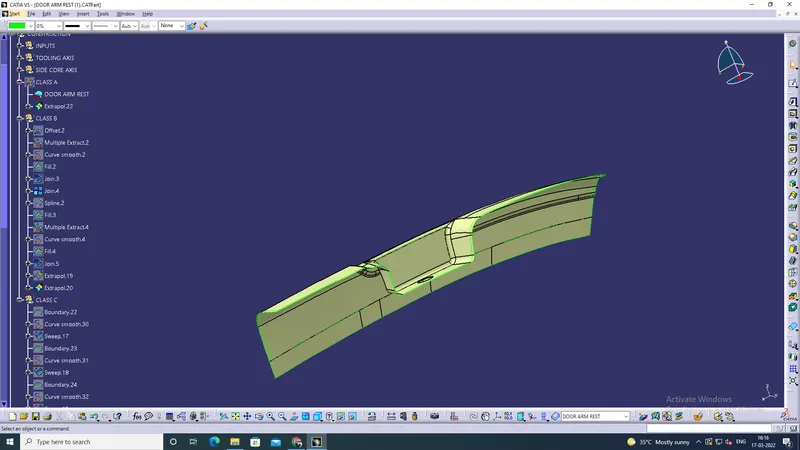
ALL JOINT
Step 5
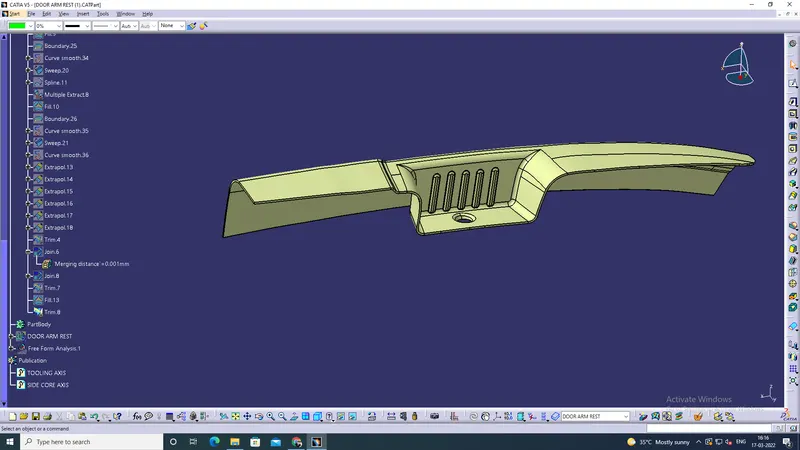
1. Then open the part body and using close surface convert into solid.
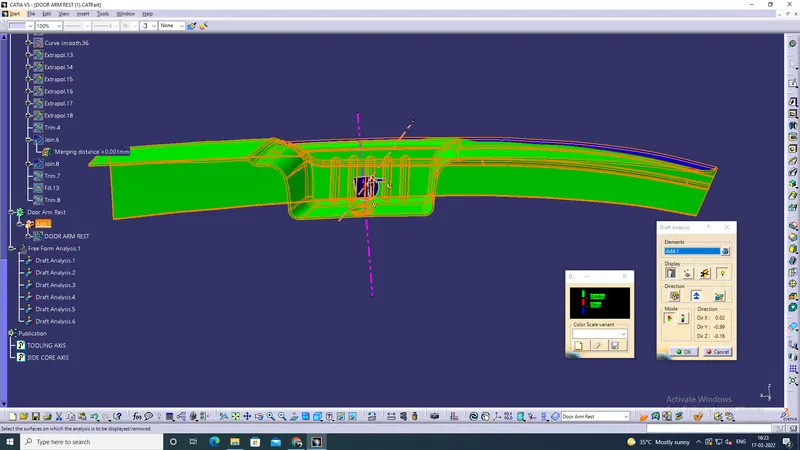
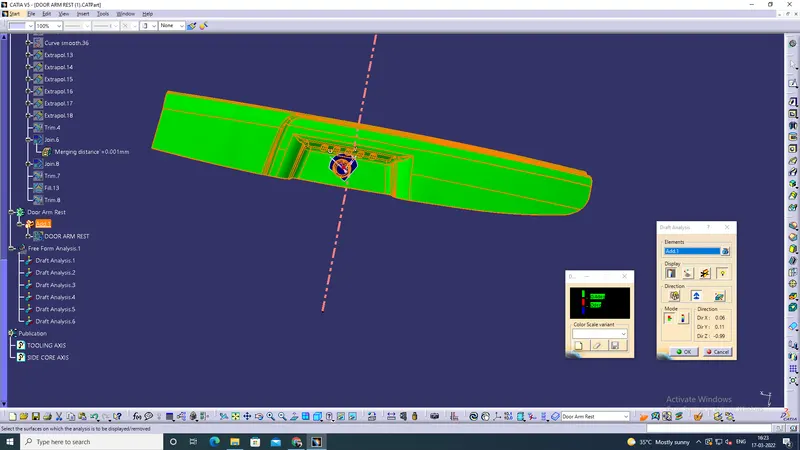
2. Check the Draft analysis in 2 tooling axis
3. All in Green.
SOLID
DRAFT ANALYSIS