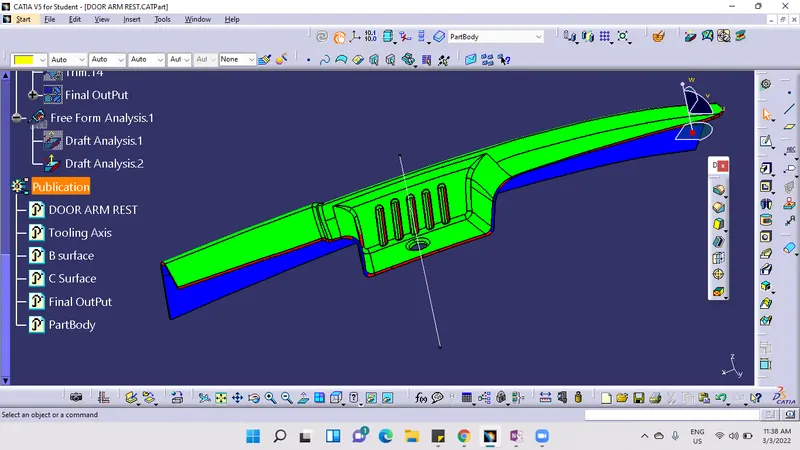
Door Arm Rest Week 8 Challenge
840752
Objective:
- Create CLASS B and Class C Surface for the Door Armrest using the given Class A Surface.
- Use the given Class A Surface of the Door for reference.
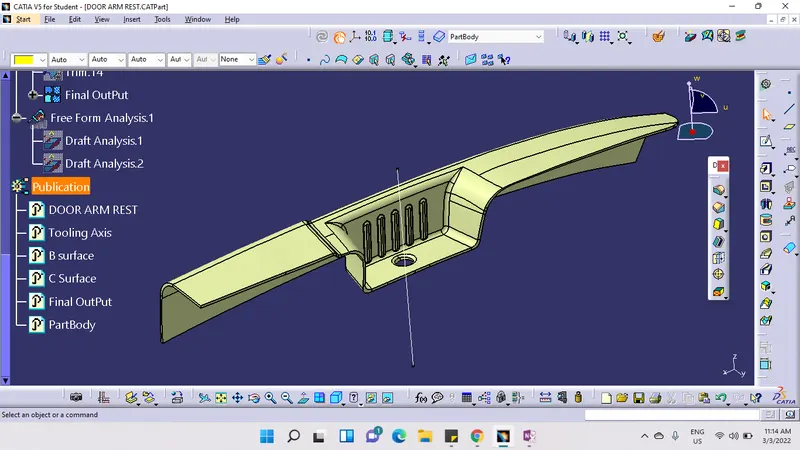
- Use the Close Surface feature to make a solid body from the surface.
- Use the publication option and publish the Class A, Class B, Class C Surfaces and the tooling axes.
Introduction:
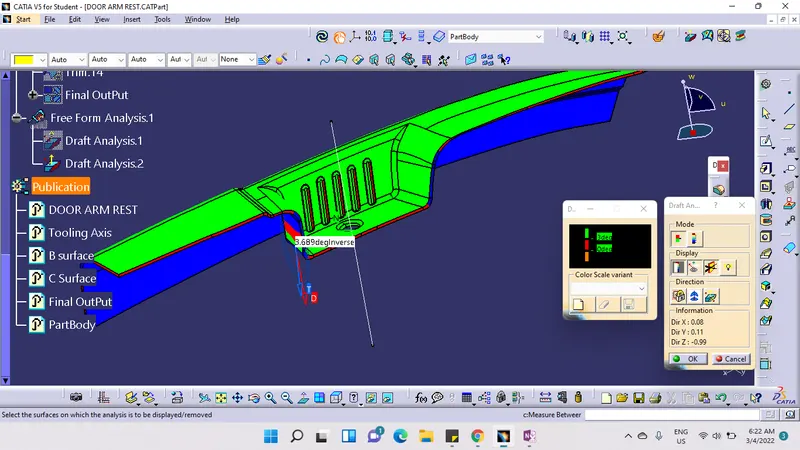
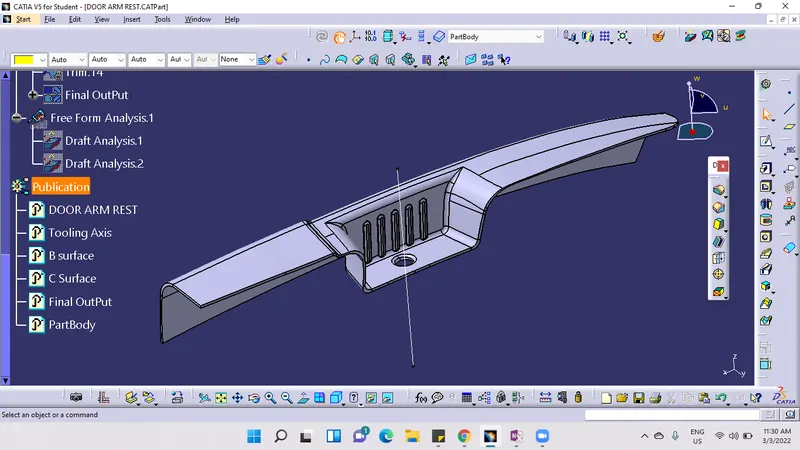
The Draft Analysis command enables you to detect if the part you drafted will be easily removed. This type of analysis is performed based on colour ranges identifying zones on the analyzed element where the deviation from the draft direction at any point, corresponds to specified values.
Class A is the show surfaces or the ones that you see. For example, your instrument panel, steering wheel, floor console in your car. These surfaces must be extremely smooth, if not perfect on most high-quality products. And since the design of those surfaces starts in Catia, that is why some of us talk about them so much.
Class B surfaces are the secondary surfaces that you can see sometimes, but are less important, such as the inside of your glove box, ashtray, etc. These must be smooth and "error-free" as well but are not held to the standards that class A surfaces are.
Class C surfaces are the backside surfaces that can have tool marks, flashes and other imperfections without hurting appearance, function, etc.
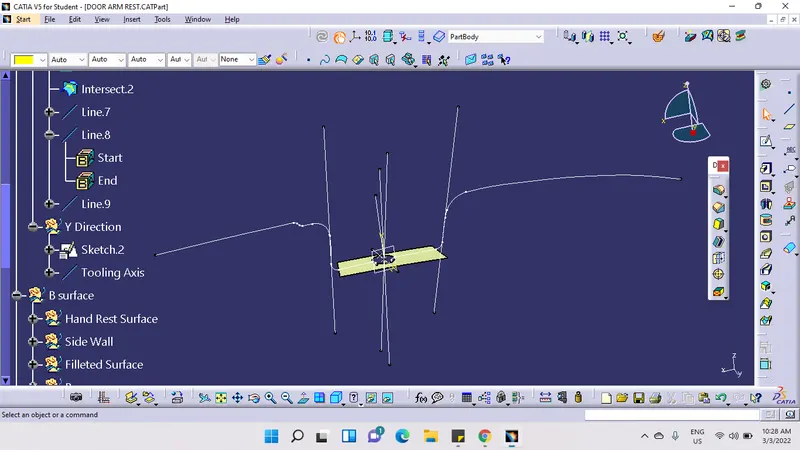
Create Tooling Axis:
Create an Intersection line of class A surface with the help of the ZX Plane and take a point and offset plane with the help of point. make surface intersection on with the offset plane. and draw two parallel lines then create a bisection line as a Tooling Axis.
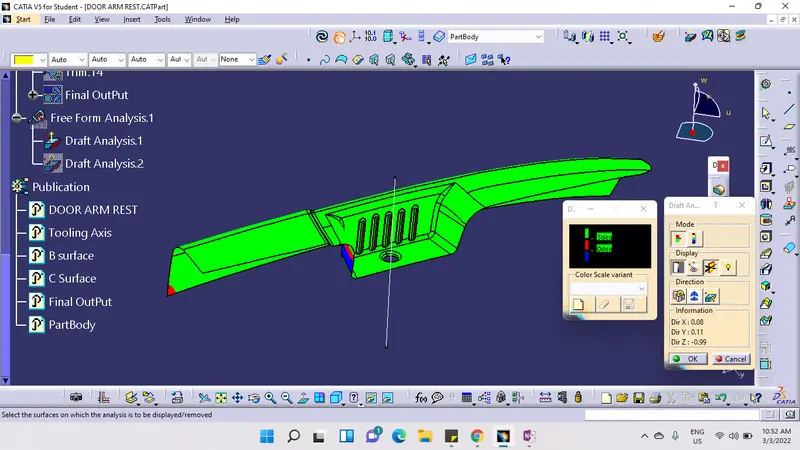
Draft Analysis for Surface A:
The analysis is done for 3deg. Draft so as we can see all the surfaces are in positive draft.
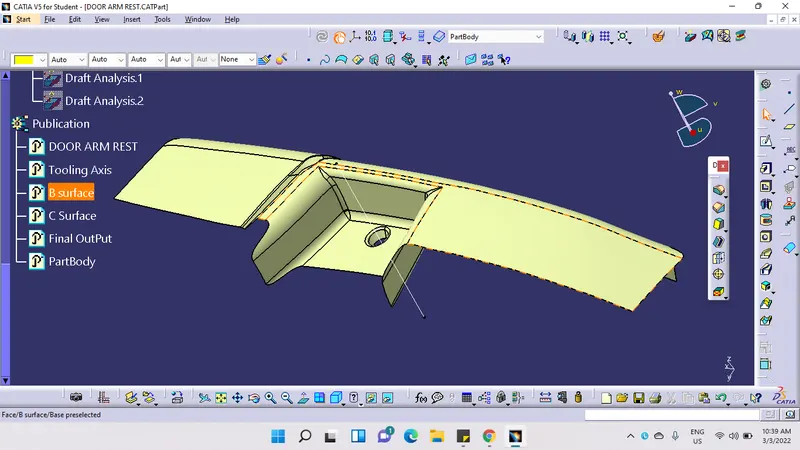
Creating Of Class B
We have extracted the surface from class A and untrimmed it to obtain the original surface.
Then extrapolate and trim surface and offset 2.5mm to the required thickness and make it rib then follow same on middle surface and external surface.
After Offsetting and trimming all required surfaces and applying fillets to the sharp edges.
Creating Class C Surface:
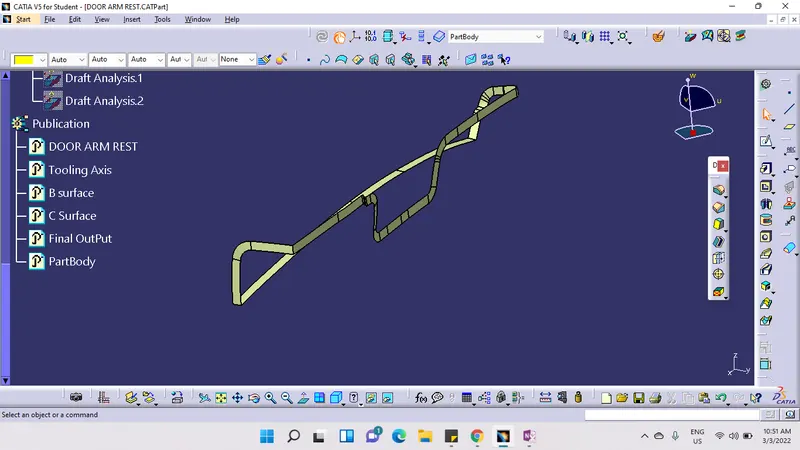
Creating class C surface is from the class A Surface boundary. Using the boundary command and swept with the help of the tooling axis you can create the class C surface.
Class C Surface
Final Trimmed surface:
Close Surface:
Draft Analysis of the Final Component:
The main Tooling axis refers to the draft analysis.