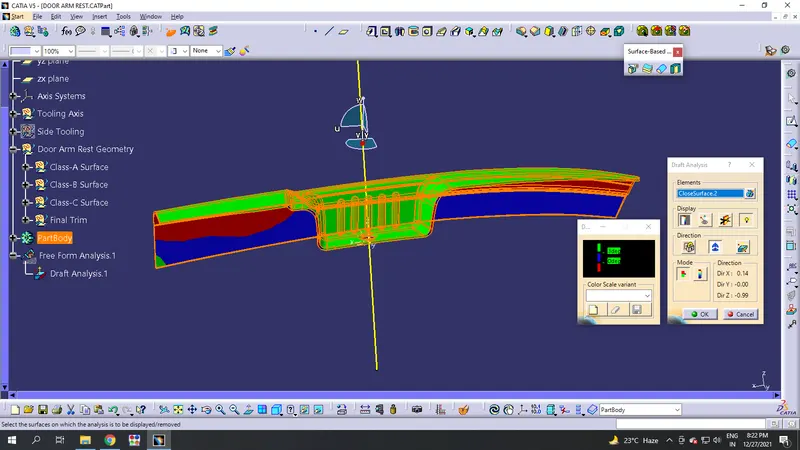
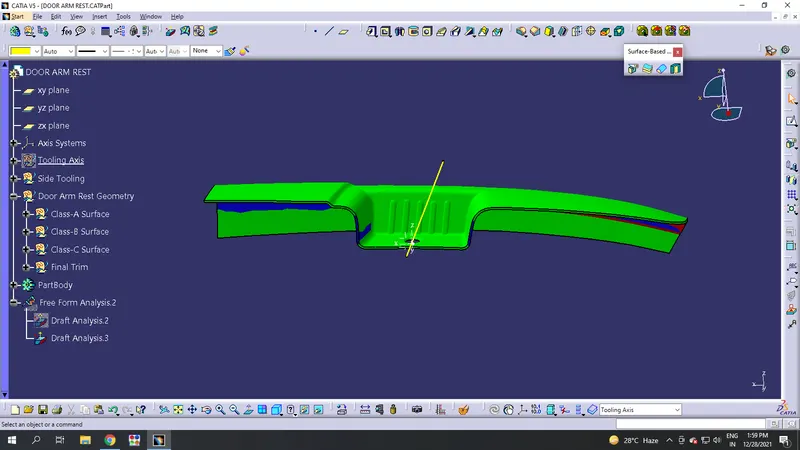
Door Arm Rest Week 8 Challenge
*Creating PartBody using Class-A Surface.
Given Class-A Surface:
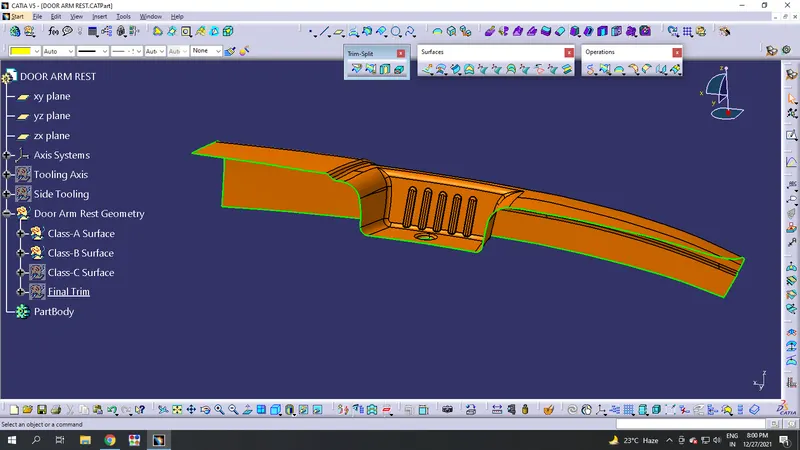
Step-1:
- Step-1 is make a point for the main tooling axis to check the comnponent is manufacturable or not.
- So, take a point in the hole and insert an axis system and make a tooling axis for the component.
- Also take a side tooling axis to it.
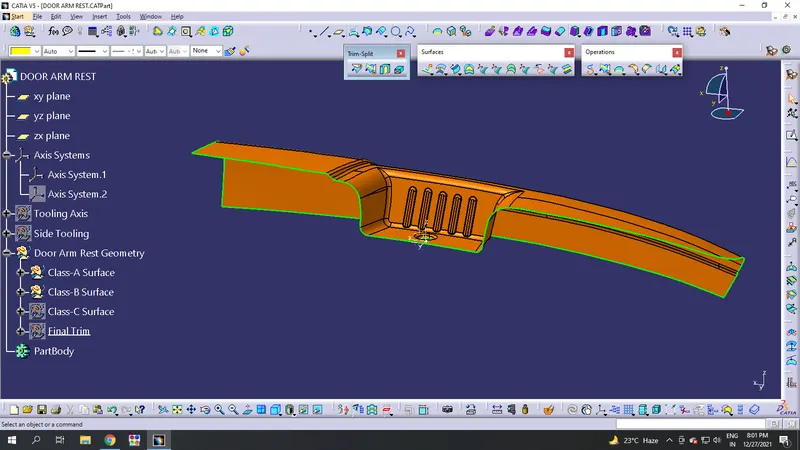
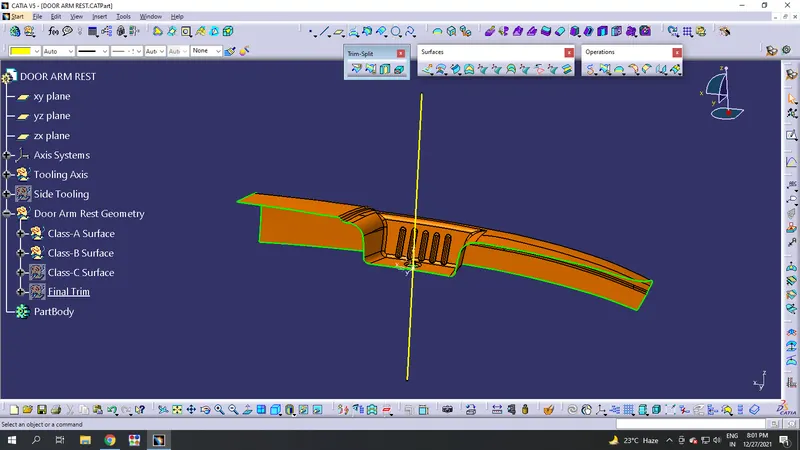
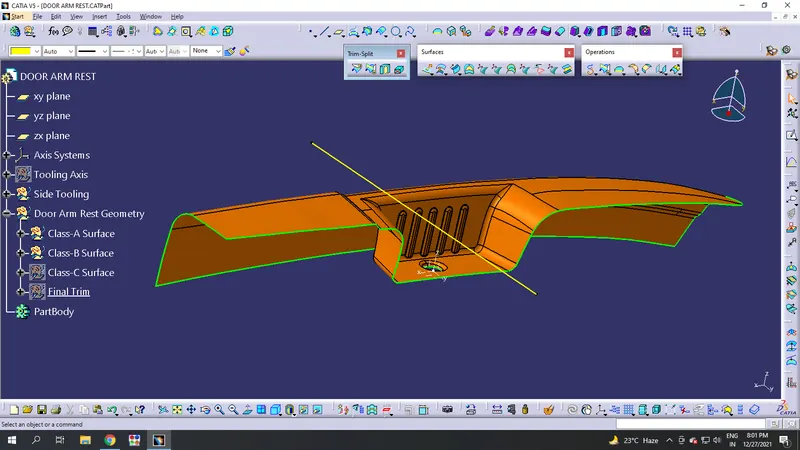
Step-2:
- Now take different geometries to work on and make it easier.
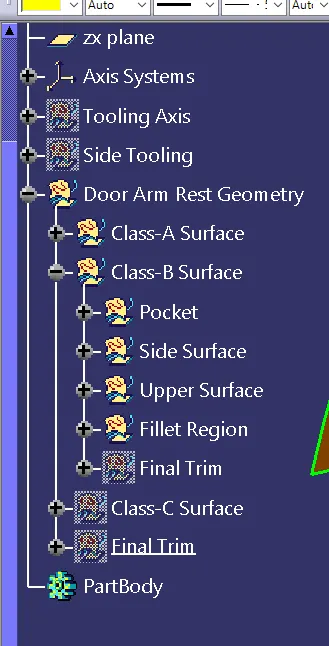
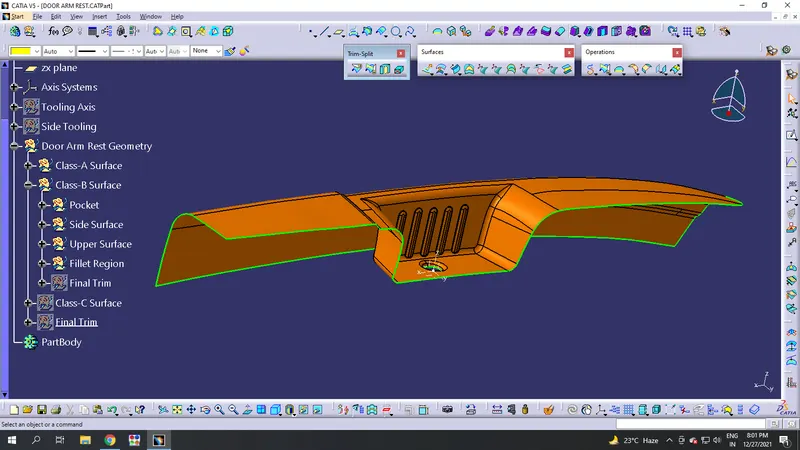
Step-3:
- now define the work object to Class-B>Pocket. Extract the pocket surfaces and untrim it to trim those.
- Offset the trim pocket and do fillets to it.
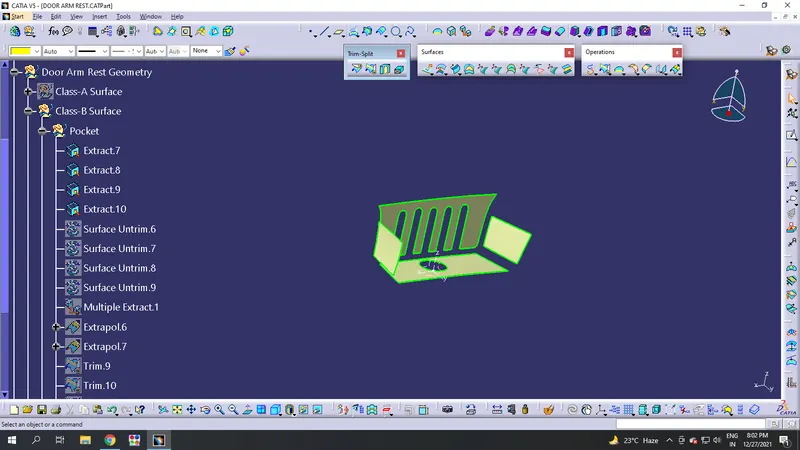
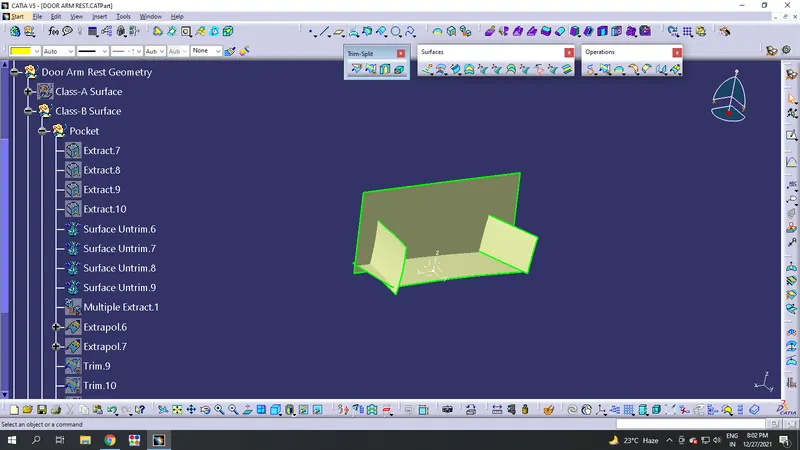
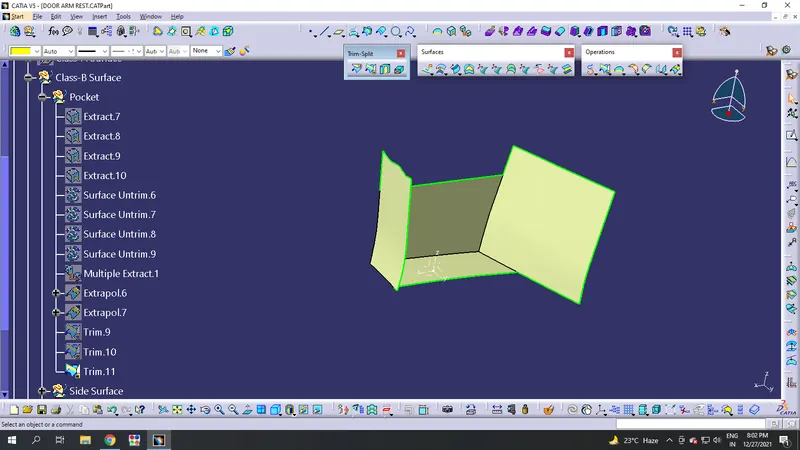
Step-4:
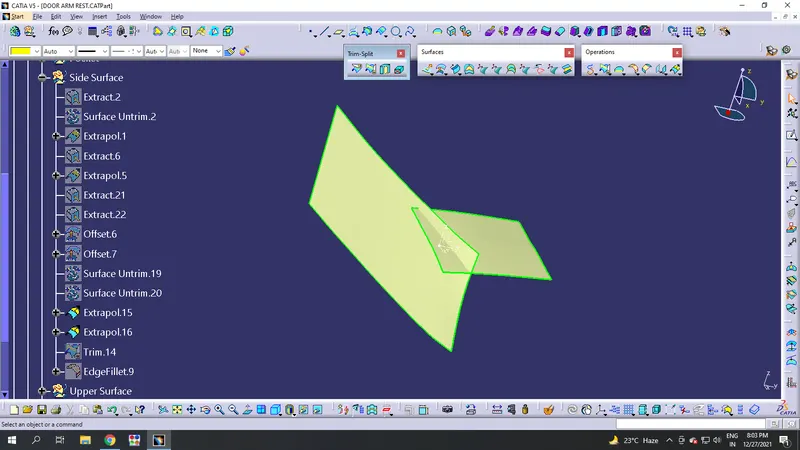
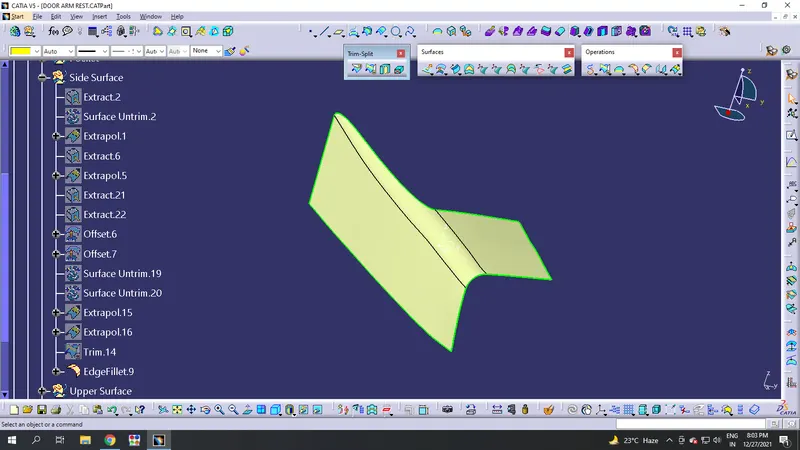
- Now take Upper surface and Side surface as different geometries and work from there.
- Same process applies to the upper surface and side surface.
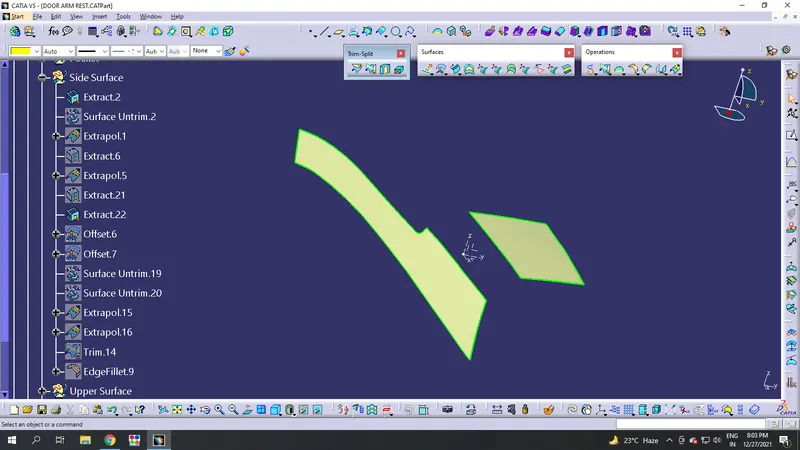
Step-5:
- Trim the upper surface with pocket. Make the two different surfaces which need to join with fillet region.
Step-6:
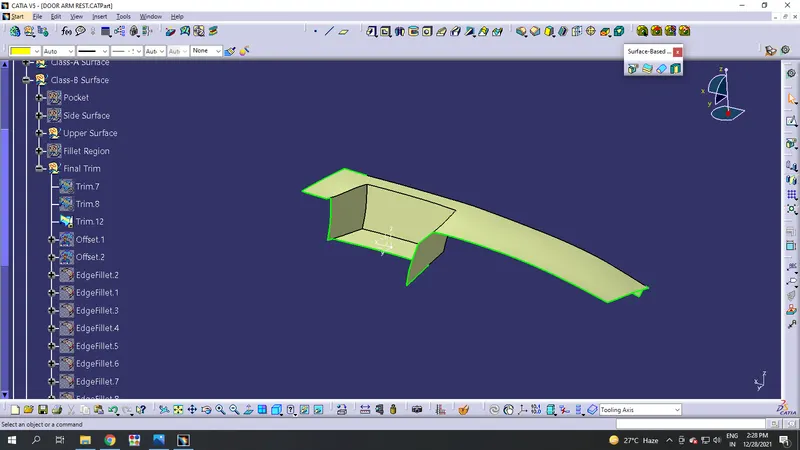
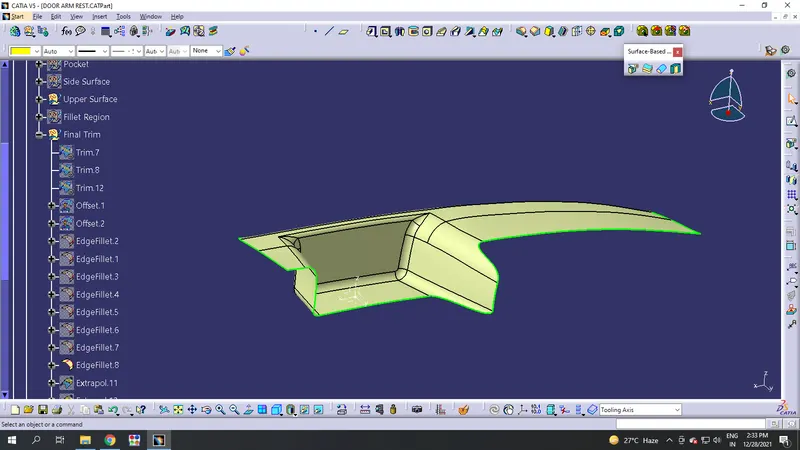
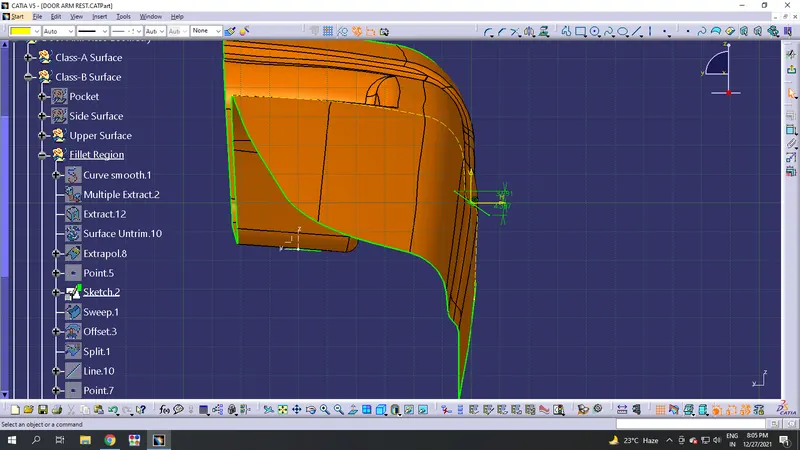
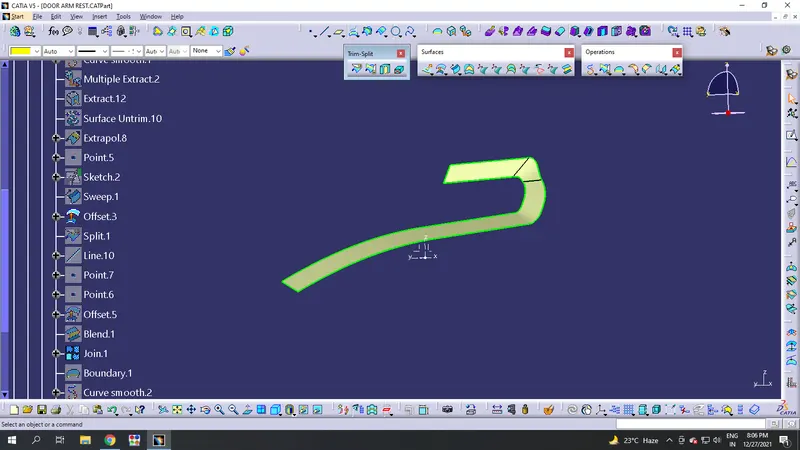
- Take a different geometry inside Class-B and name it as Fillet region.
- Take a different to make a fillet surface and join the fillet region as single surface.
Step-7:
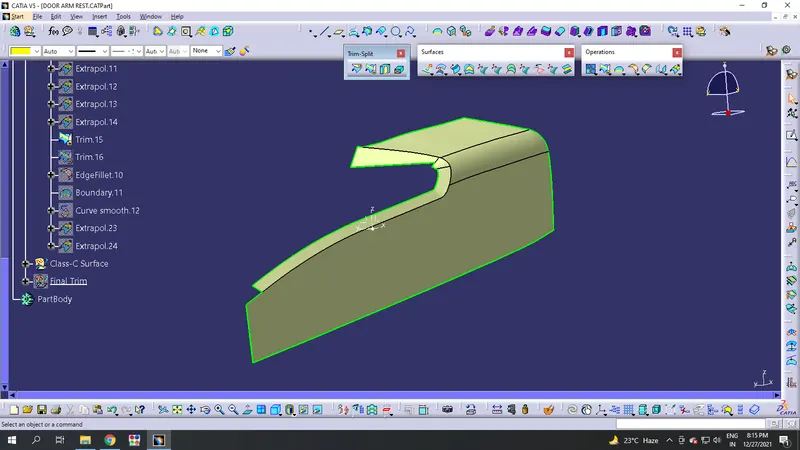
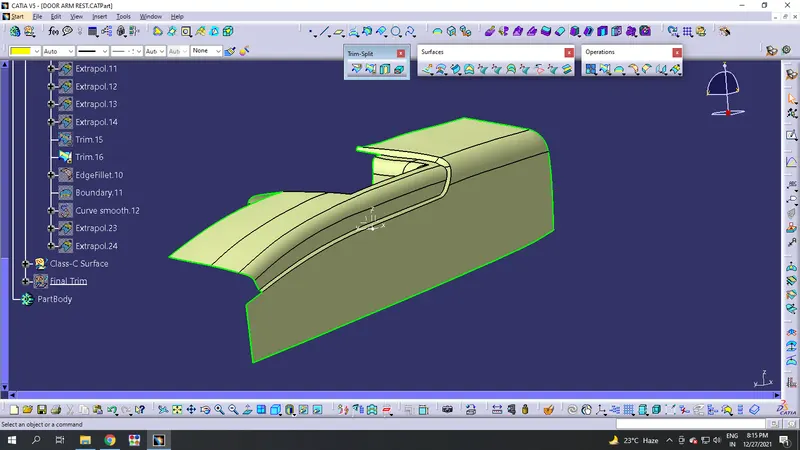
- Trim the side surface with fillet region and also the upper surface with fillet region.
- you get a complete B-Surface.
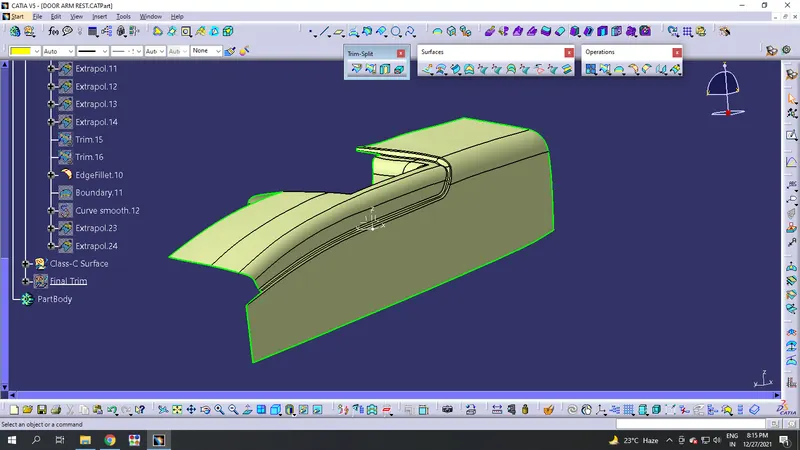
Step-8:
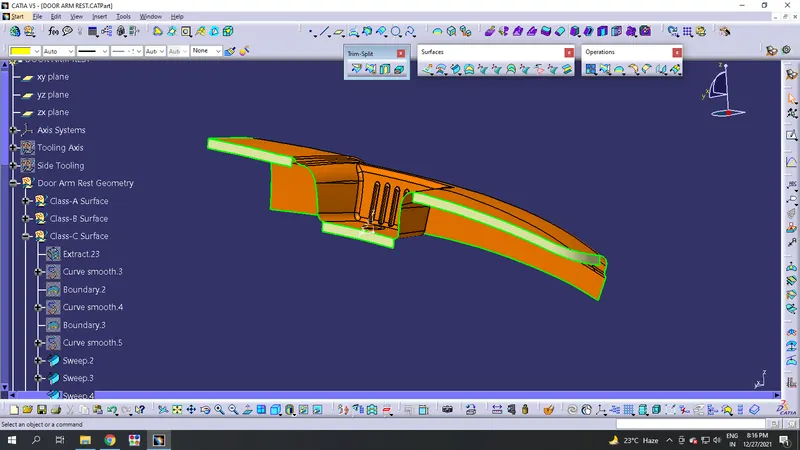
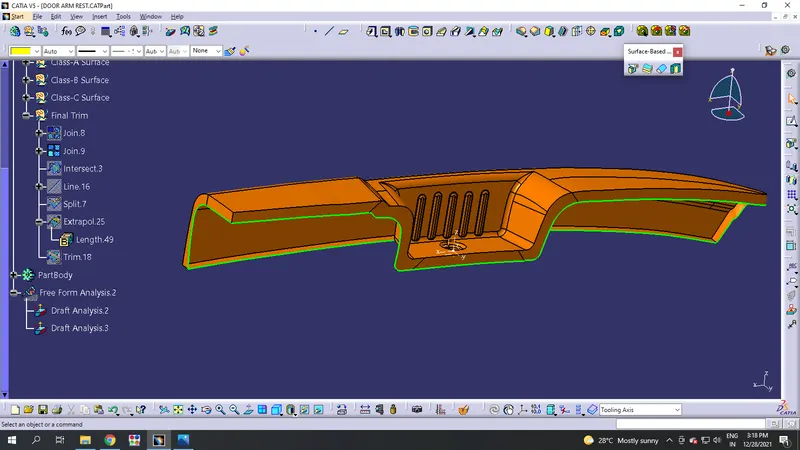
- Make a Class-C surface which combines Class-A & B.
- Sweep the Class-A boundaries towards the draft direction and make them to join.
- After the joining, trim it to Class-A Surface and make it as a single component.
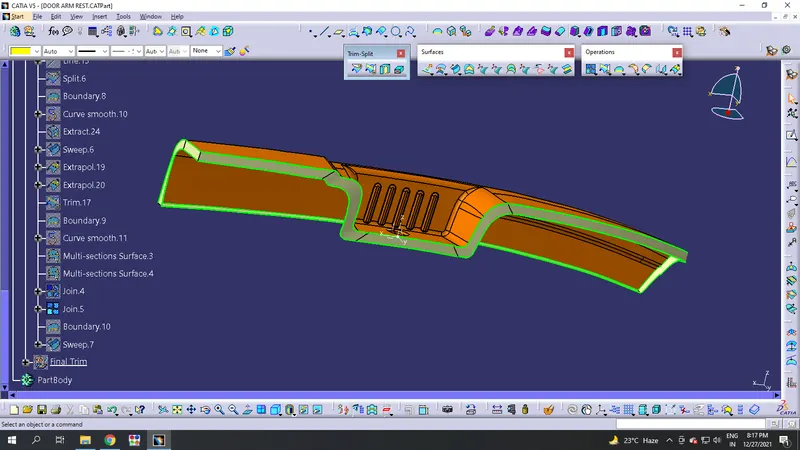
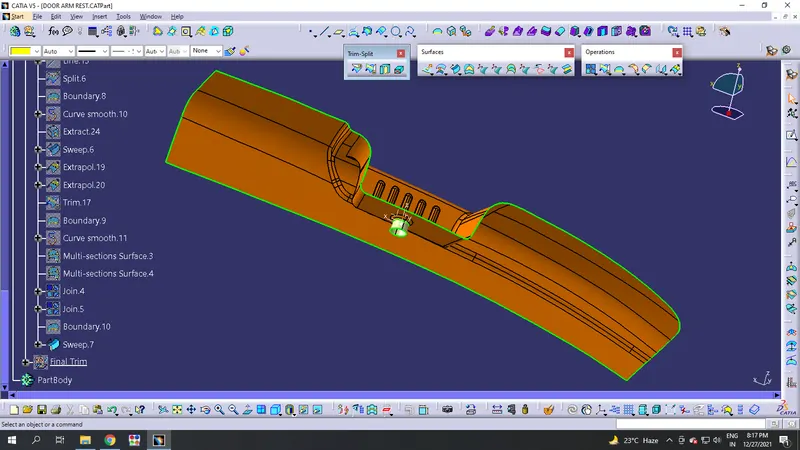
Step-9:
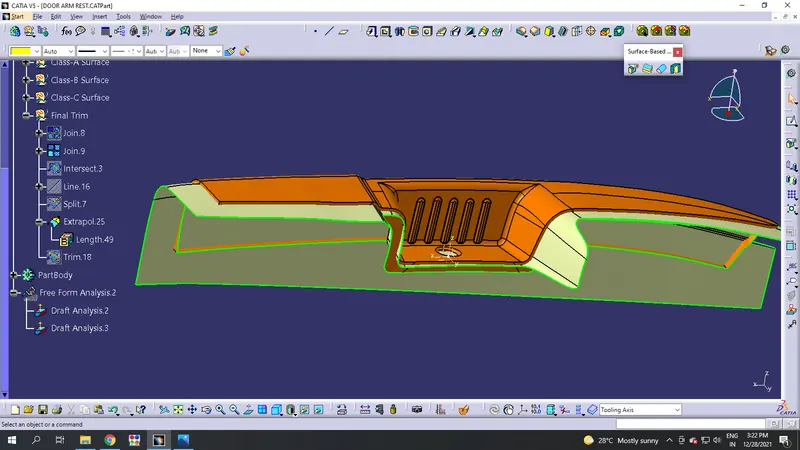
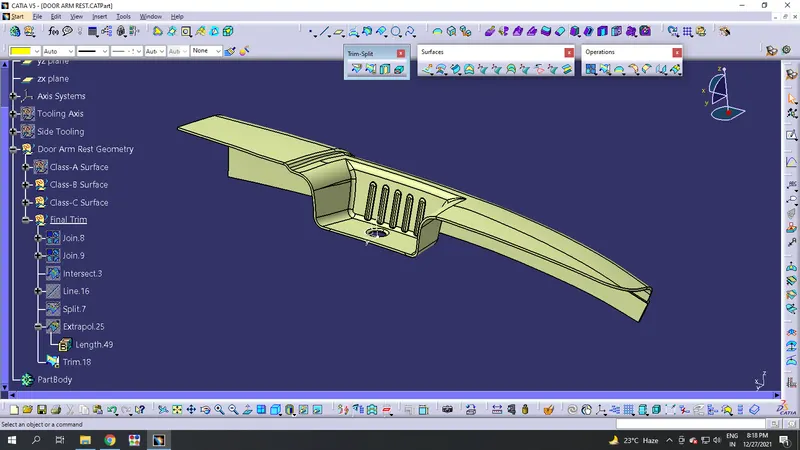
- Now, trim the main trim with Class-B to make a final component.
Step-10:
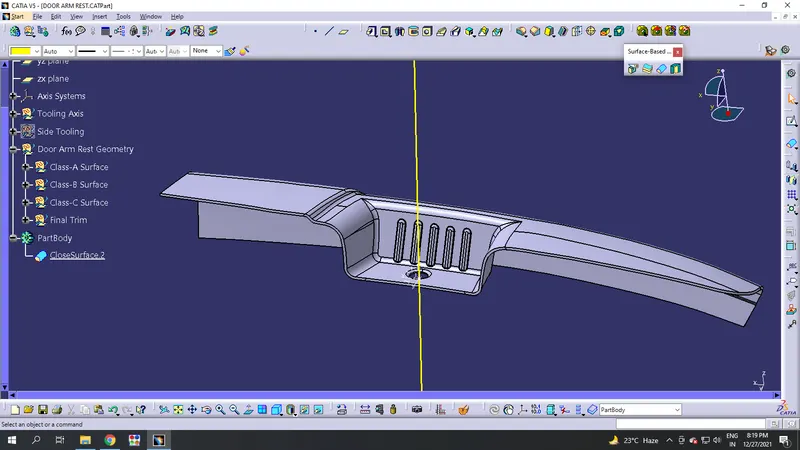
- Now make that final surface component into solid body by doing closed surface to it.
Step-11:
- The last step of your model is to do draft analysis with your main tooling axis. Insert>Analysis>Draft Analysis.