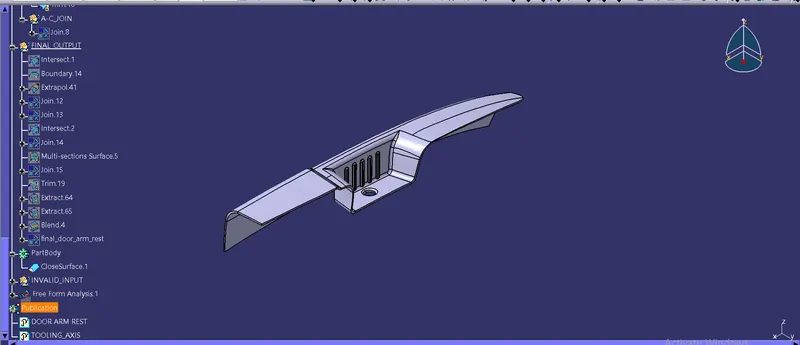
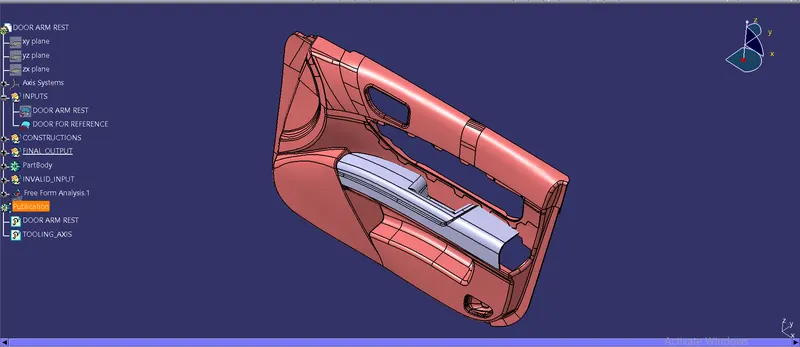
Door Arm Rest Week 8 Challenge
DOOR ARM REST
AIM: To create the door arm rest from the given class A surface model and also to perform the draft analysis of the final model of door arm rest and adding thickness to it.
DOOR ARM REST: Door arm rest is a component in door of a car where a person can rest the hand and it is a resting surface it is known as a door arm rest,
Steps for the creation of a door arm rest as a solid part.
Here we are provided with the class-A surface of door arm rest wit door as a referance and from that we have to create class-B & class-C surface for door arm rest only.
Step 1: Creation of Tooling axis.
- Initially we need to check the quality of class-A so we first took a boundary of door arm rest or class-A and found that the quality of the surface is good and there are no boundaries on the given class-A.
- By the visualisation check we found that the hole in the base can be cleared on the base surface, so we extracted the base surface and later untrim it and created a point and took an axis system on that point.
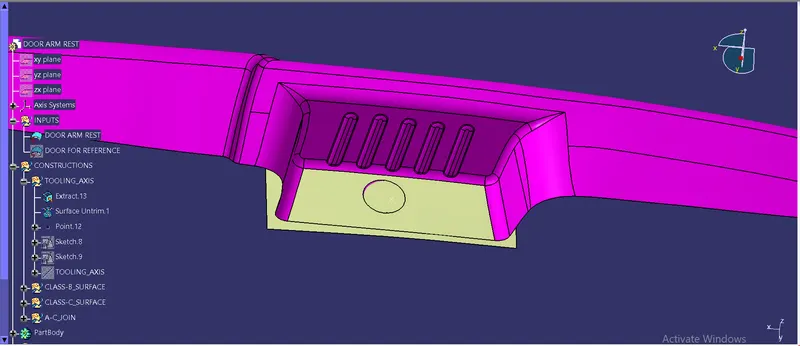
- Later we created a sketch for the tooling to be cleared in Y-direction by taking the intersection of class-A and a bisecting line is made of two lines drawn on the intersection taken from the class-A.
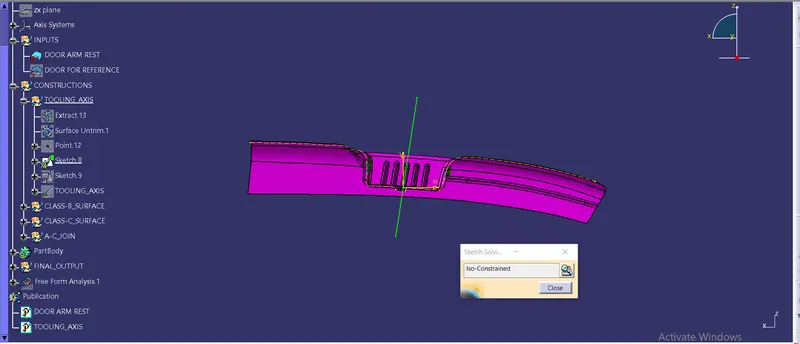
- Then we created another sketch of tooling clearing in X-direction and gave a angle and later we bisect those two lines obtained and that was our main tooling axis. Also colour & shaded it very well.
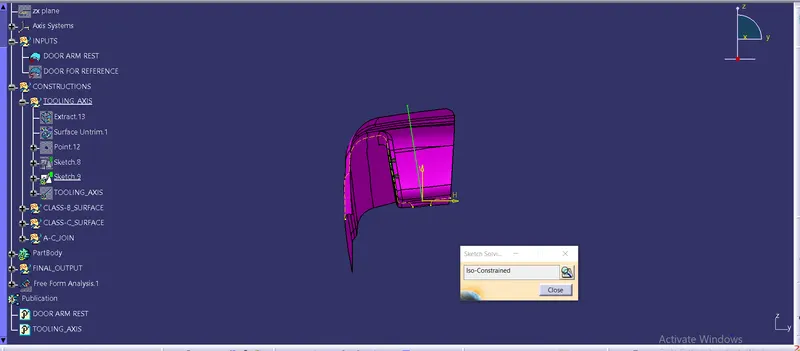
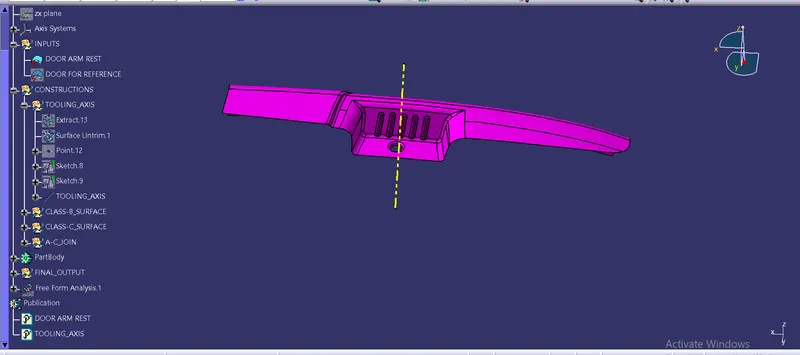
- Finally we do the draft analysis for the tooling axis created and the class A surafce but some portions were inappropriate so draft analysis was not upto the mark.
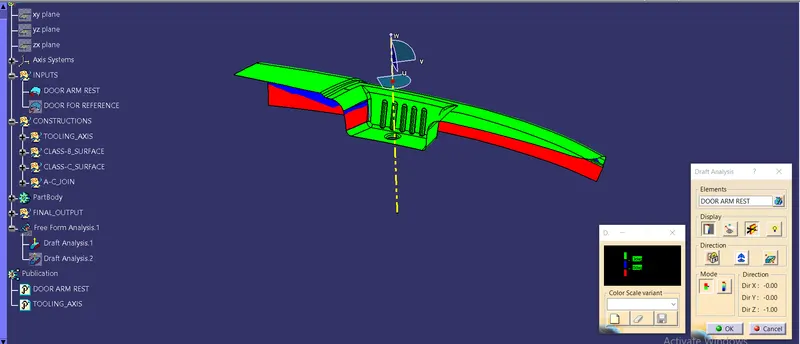
Note: We ensure that the geometrical sets are named accordingly and time to time for avoiding further confusions because we may do many operations.
Step 2: Creation of class-B surface.
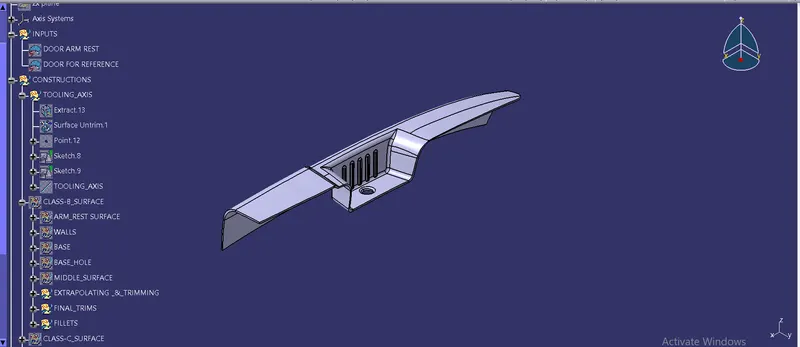
- Initially we made all the geometrical sets and named it accordingly by looking into into and imagining that how much parts we have to create.
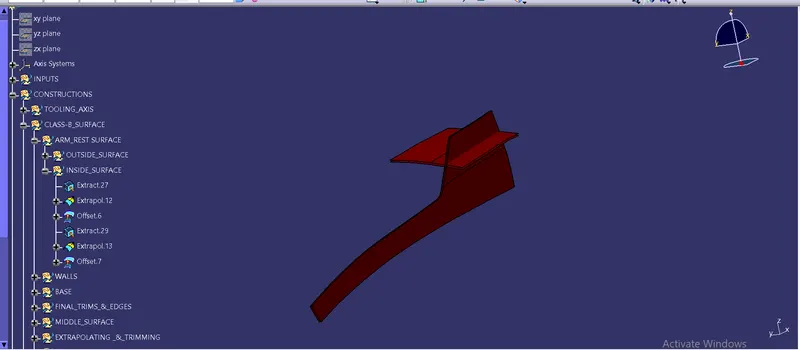
- First we created the arm rest surface and again there are two parts namely outside surface and inside surface.
- In outside surface where a person can rest his hands and the switch bezel is given for the window opening and closing of a car.
- Here we extracted, untrimmed,extrapolated and offstted the outside top surface and later do the same for the outside side surface.
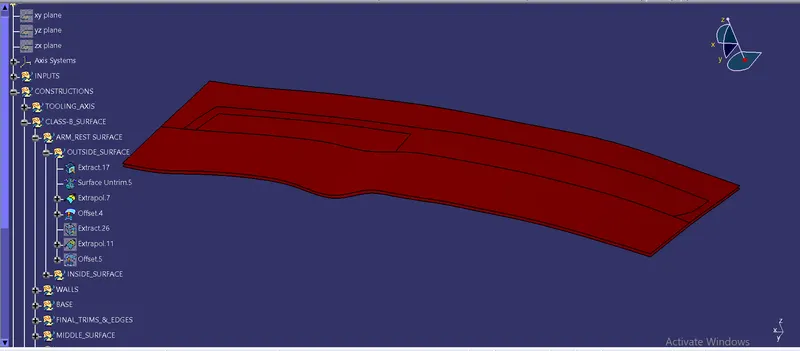
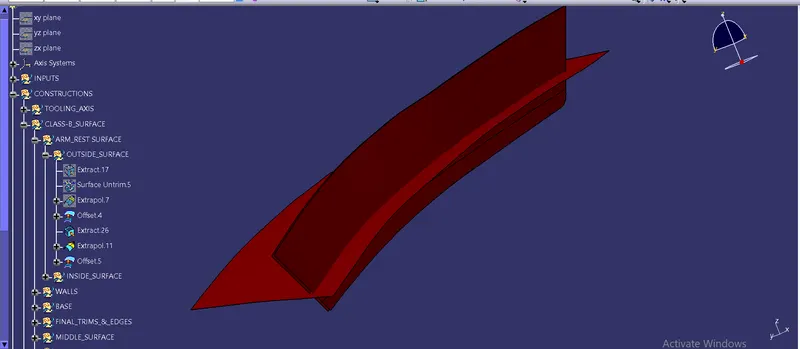
- For the ouside side surface we didnt untrim it as we need only extracted surface to be extrapolated.
- Same we do for the inside surface also, extracted and extrapolated the surfaces which were needed.
- Now for walls we extracted all the side walls surfaces, extrapolated, untrimmed wherever necessary.
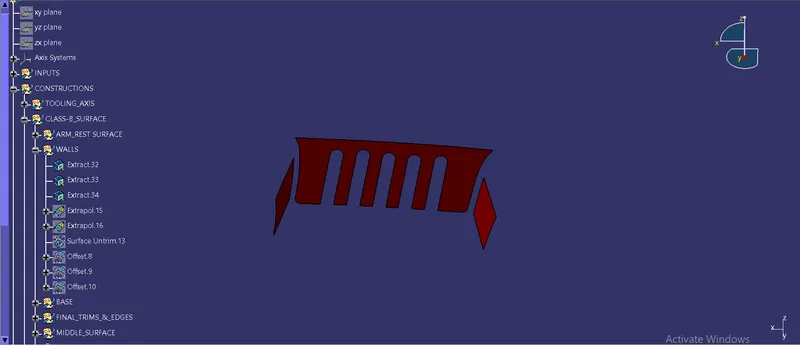
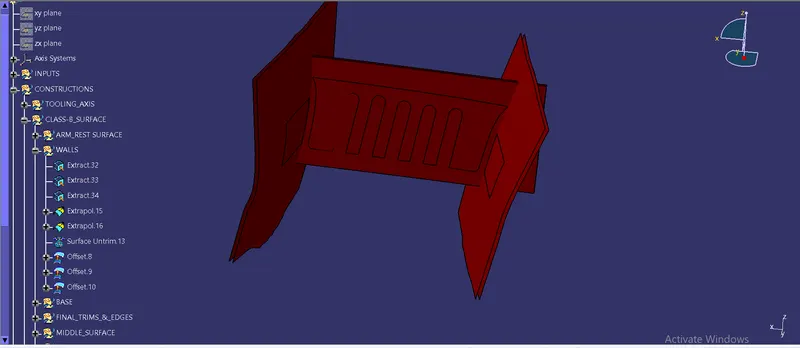
- Finally we offseted all the surfaces.
Note: Here we may do the trimming operation in another geometrical sets for each part to be created, This may also reduces the confusions but defining in the right object must be ensured and by unhiding the class-A surface must be done after offseting each surfacein reverse direction as the class-B surface is always made under the class-A and also to check whether class-B surface is merging with class-A surface.
- Similarly extracted, untrimmed and extrapolated also offseted the base surface.
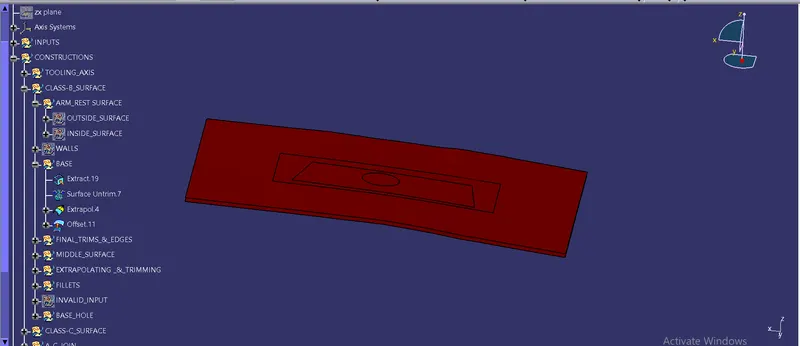
- Next, we initiate the base hole by first extracting the flat surface of hole.
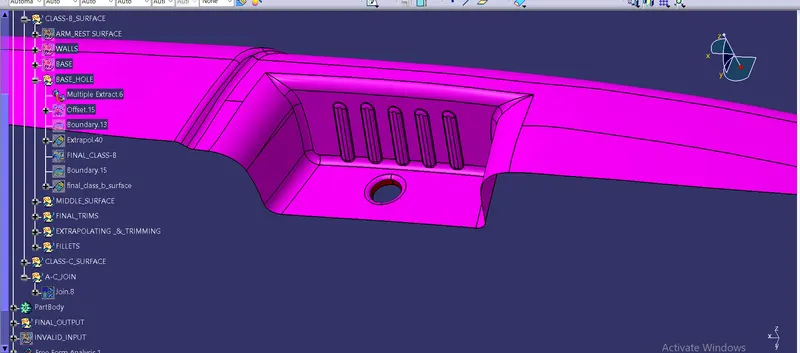
- Then we offseted that hole extract in outward direction and later created a boundary of offsetted extract and extrapolate it towards the top.
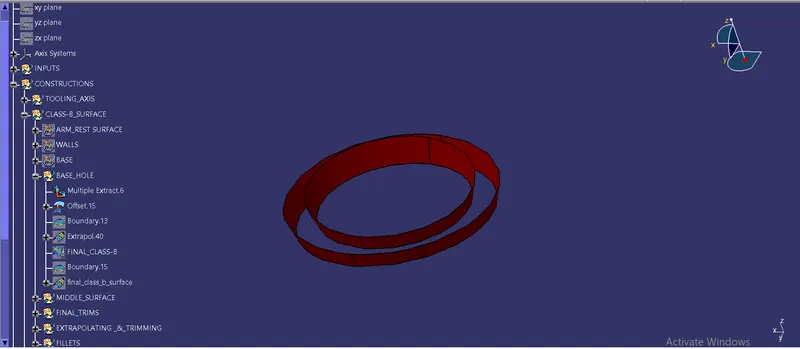
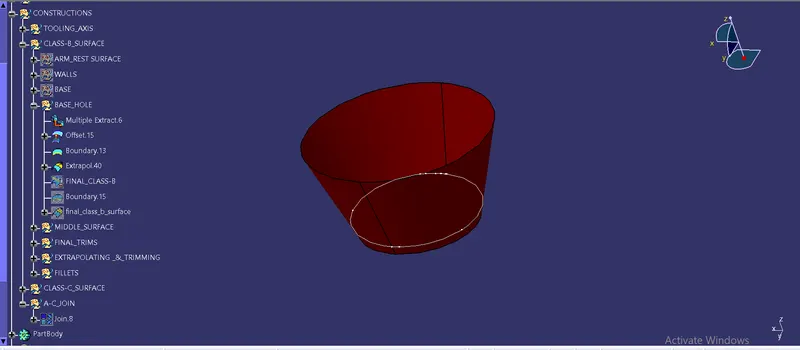
- Now we get the base with also.
- Now we need to create the middle surface between the outside and inside surface of arm rest surfaces. For that we create a point on the interection of filleted area and took an axis system over it and later draw a sketch of straight line which is tangent to both the fillets.
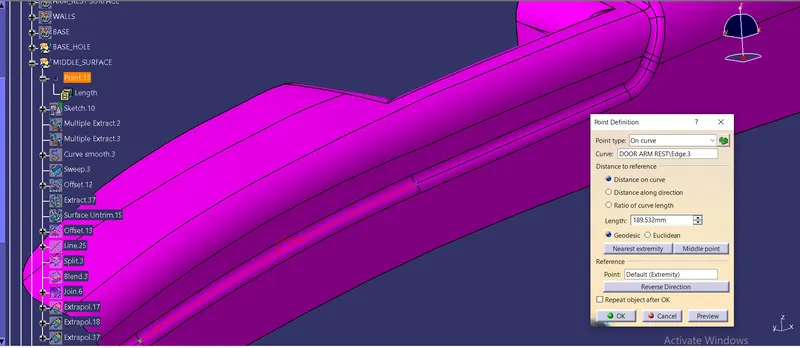
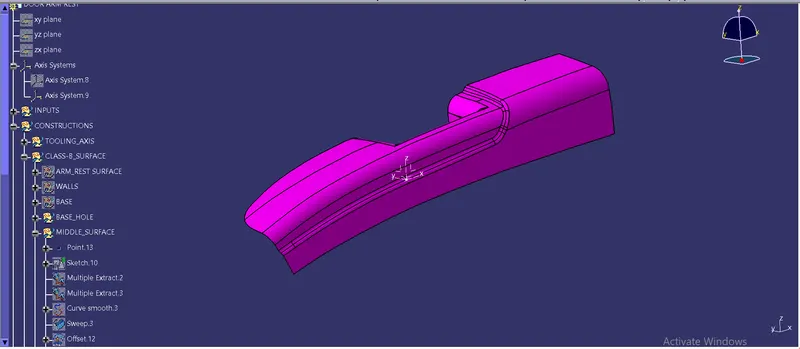
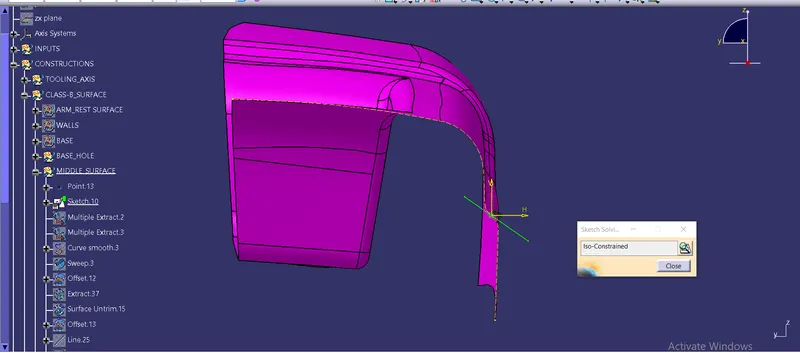
- Then we create a multi-extract from the middle edge upto the turning point of the curve in no propogation mode. And later we smooth curve it.
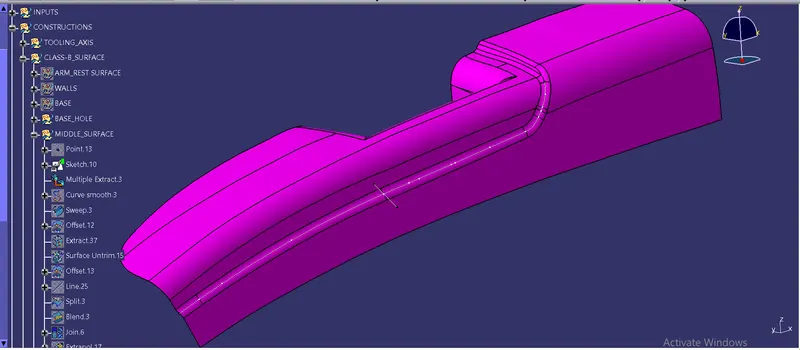
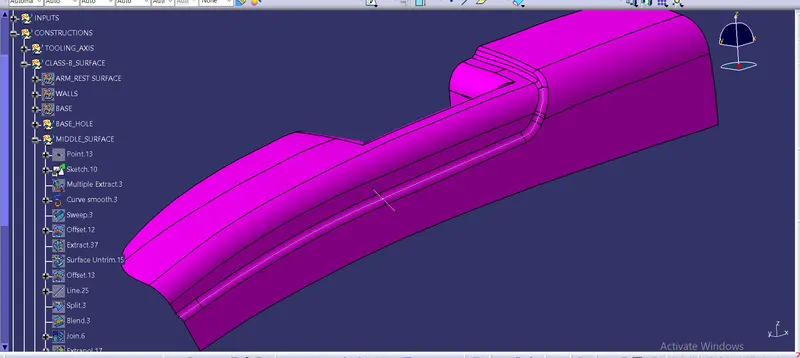
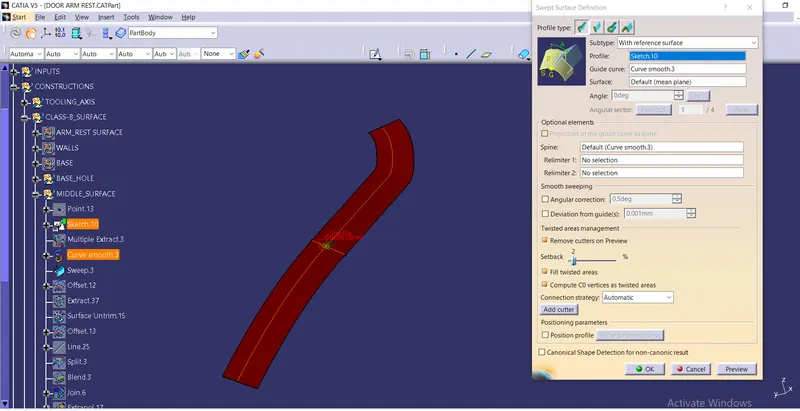
- Then we perform a sweep operation in the explicit profile type and subtype as with referance surface with profile as sketch and guide curve as smooth curve.
- Later we offsted that sweepin downward direction and later we extracted another miiddle surface which was lying in inside surface, untrimmed and offsetted also do the extrapolation in later stage and offsetted it.
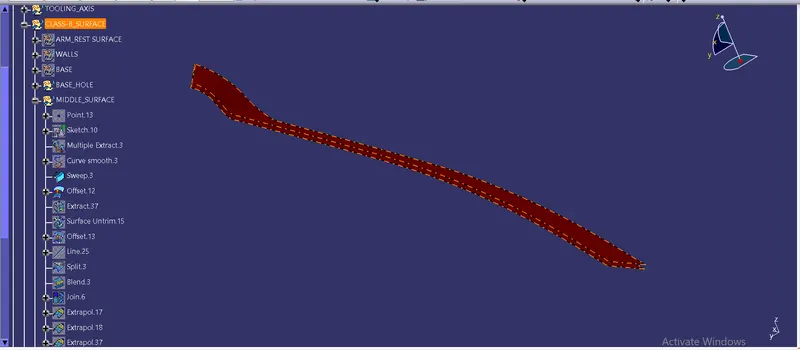
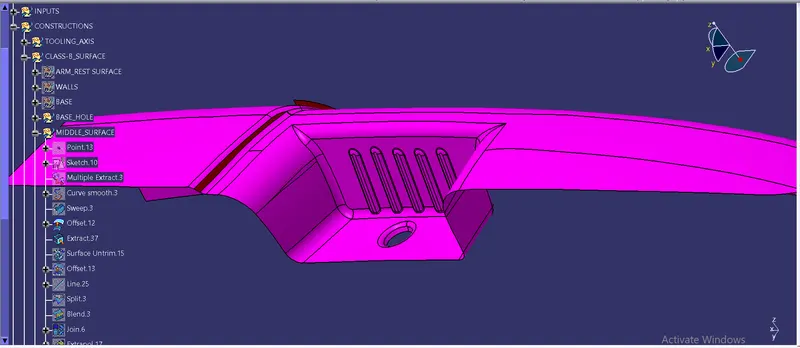
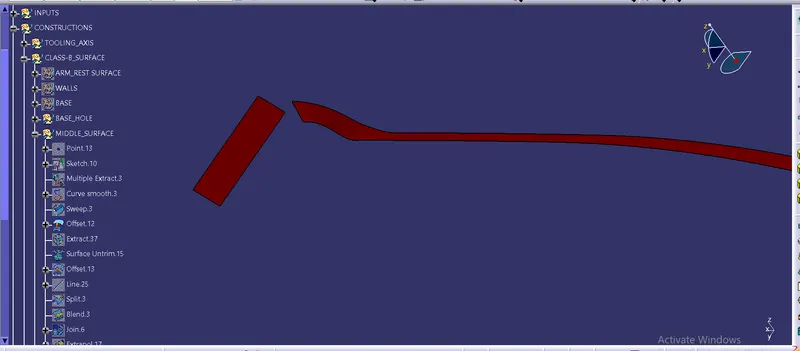
- Now here we had to perform the blend operation so for that we created a line with creating two points on the edges and later split that part.
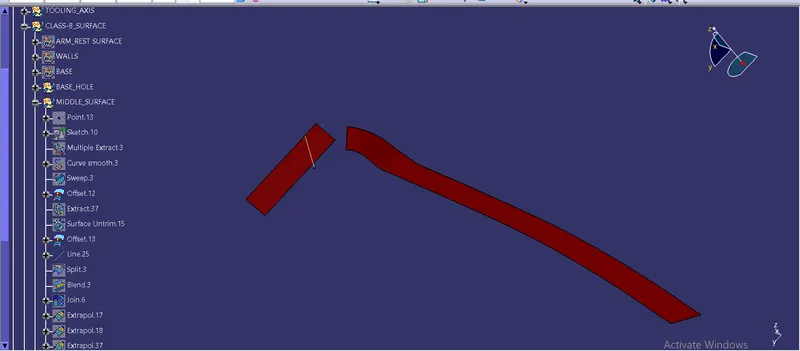
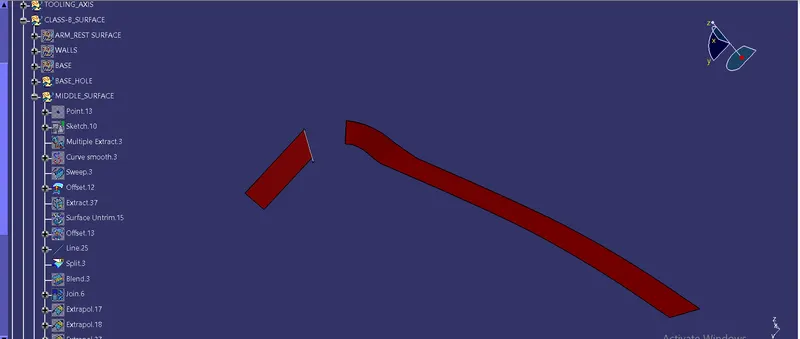
- Now we perform thw blend operation with the respective edges and support with offsets and offset split.
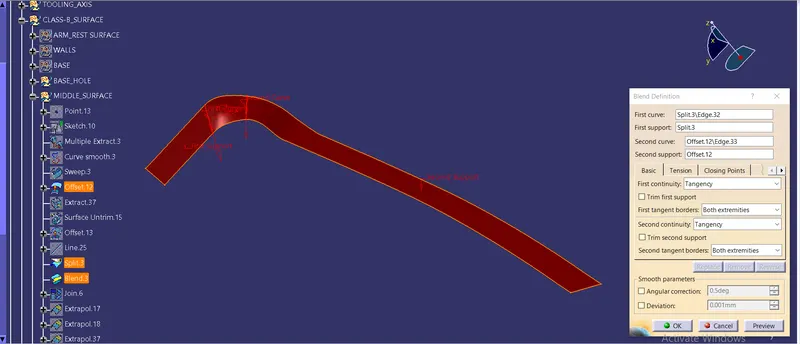
- Finally we joined all the surfaces which we had created then.
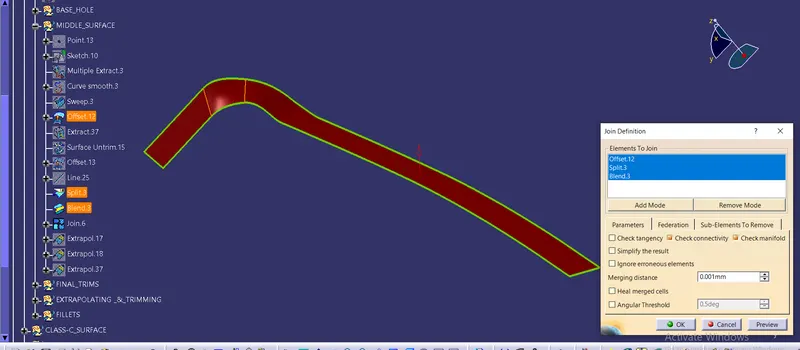
- According to class-A surface we do the necessary extrapolation.
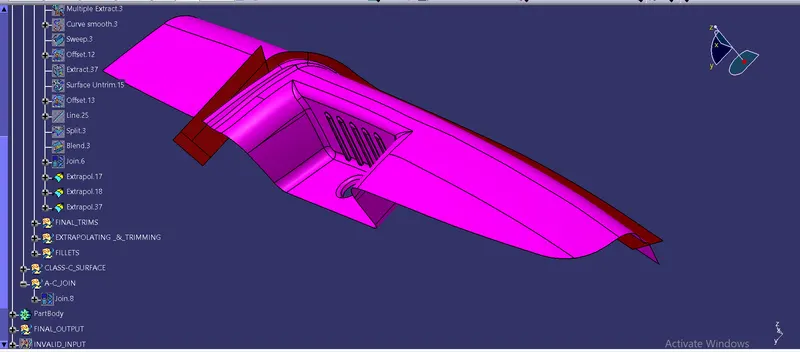
- Now we had our middle surface ready and accordingly do the necessary extrapolation and all other important operations with referance to class-A.
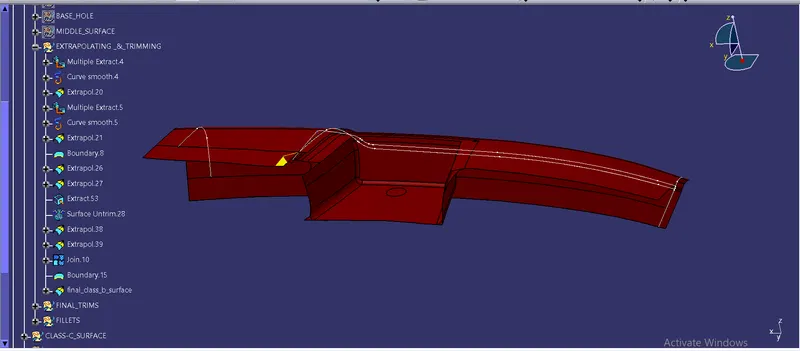
- Now all the surfaces are extrapolated very well by checking with class-A surface. And checked weather any surface is merging with calss-A surface or not offsetted.
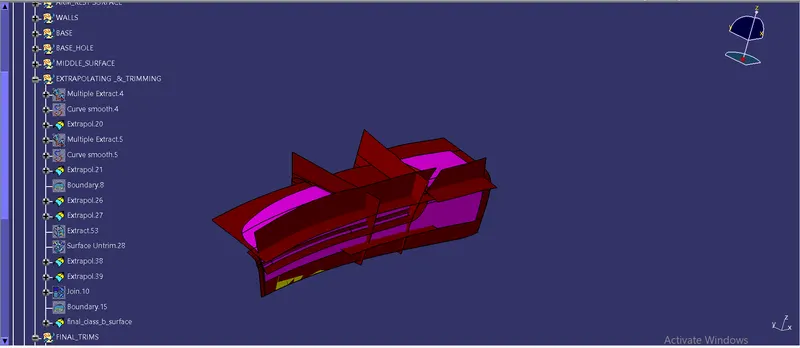
- Now we do the final trims over all the surfaces one by one in another geometrical set of final trims.
- Outside surface trim is done first as we created it first in our tree structure.
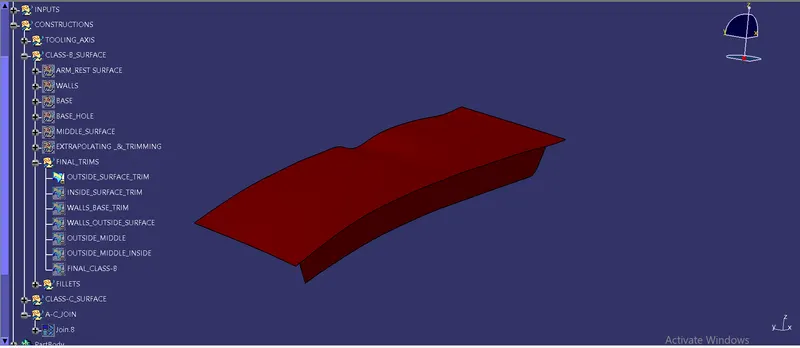
- Then Inside surface trim is done accordingly.
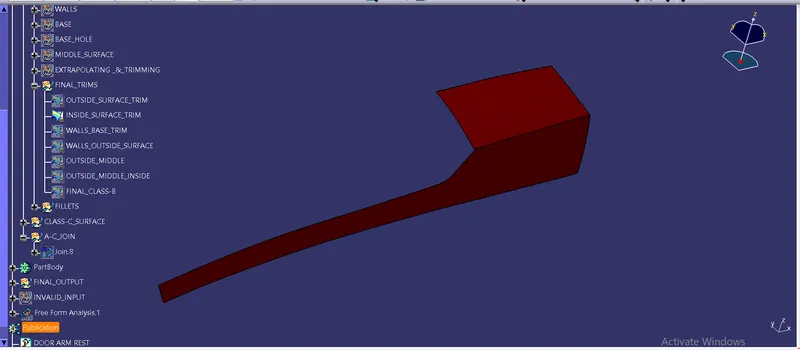
- Then we did the trim of side walls and base.
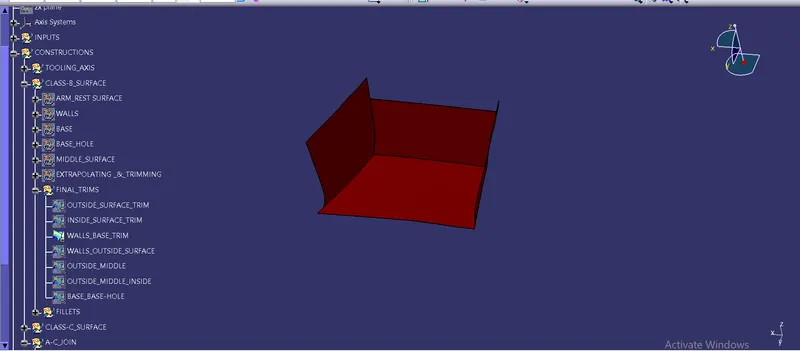
Note: Here we did the trim of base with base hole at last of the final creation of class-B surface. Also we gave the fillets in the middle for avoiding the confusions but by defining the right geometrical sets as we had already created the geometrical set for that at first only.
- Next we trimmed the side walls-base with outside surface of the arm rest.
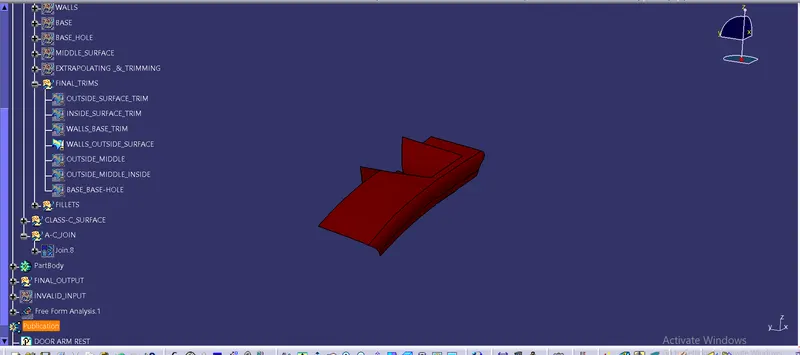
- Then we did the obtained trim of outside surface, side walls & base with the middle surface.
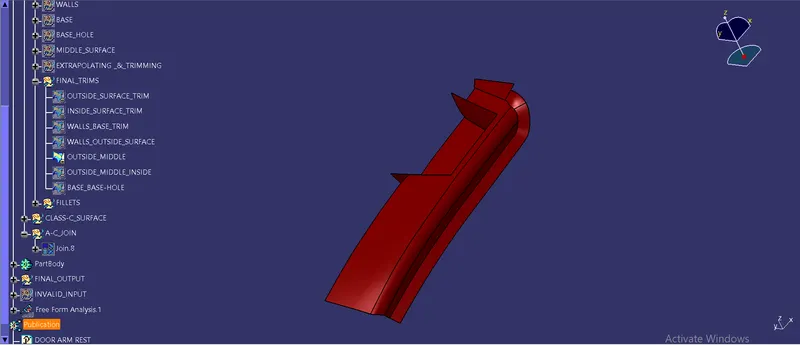
- Then we did the trim of obtained trim with the inside surface.
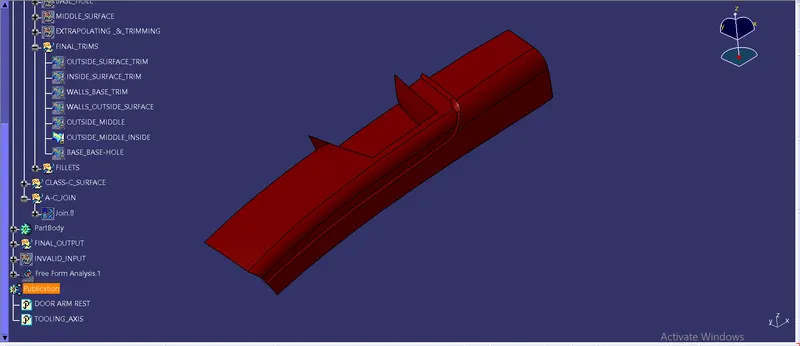
- Here we done the trim of base hole at last.
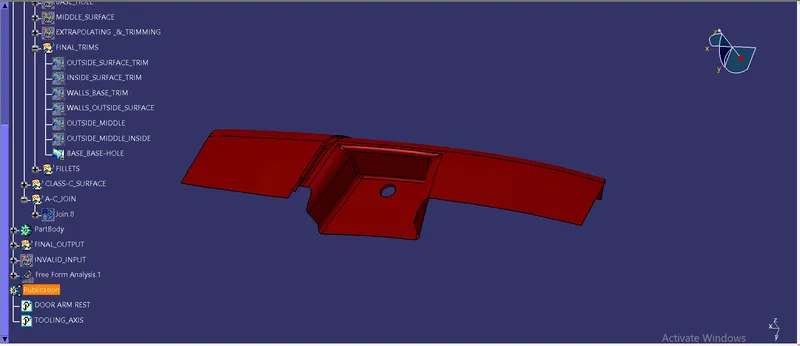
- Now we had done with all the trimminga nd other operations. Now we need to do create the fillets one by one.
- For that we may need to create separate geometrical set which contains all the invalid input geometry because some edges cannot be determined because the class-A surface is being cutted by some another surface, hence we need to do the untrimming and then calculating the fillets value.
- And accordingly we gave the values to it.
Note: Fillet value for the class-B surafce is givenby reducing the thickness value from the obtained fillt value for the class-A surface because there must be a continuous wall thickness on the surfaces which is globally accepted.
- Initially we do the complicated areas first. Here are the fillets are given one by one according to the respective edges.
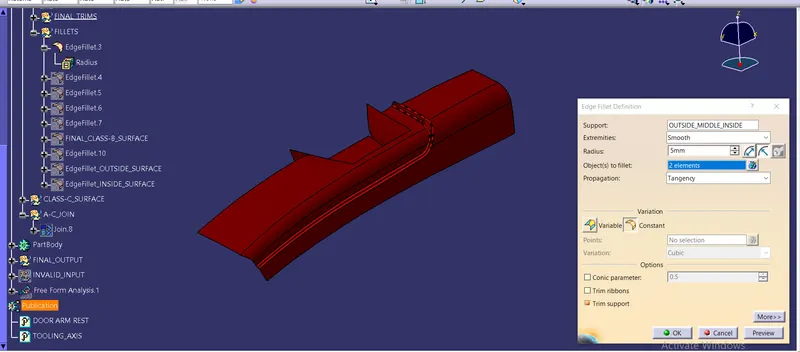
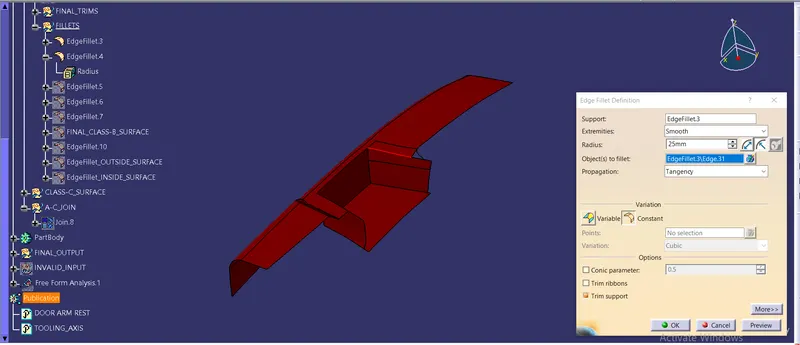
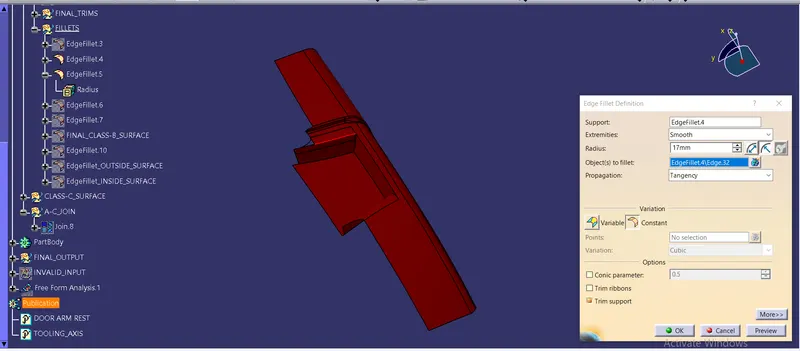
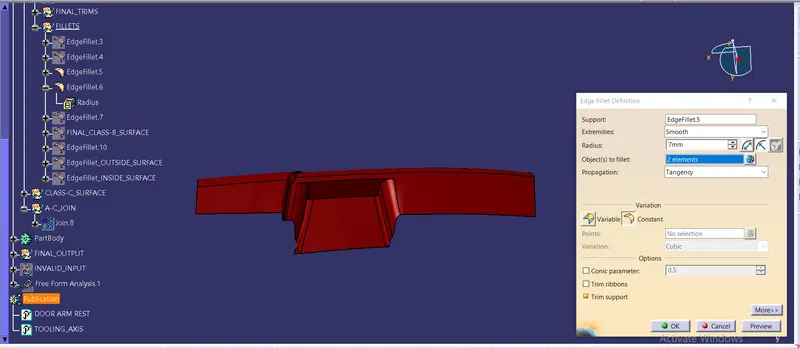
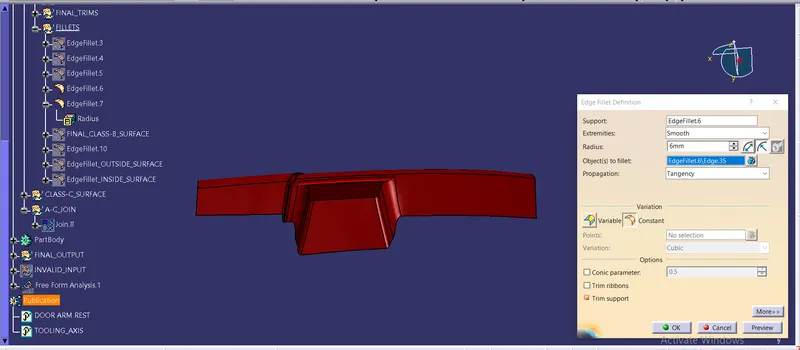
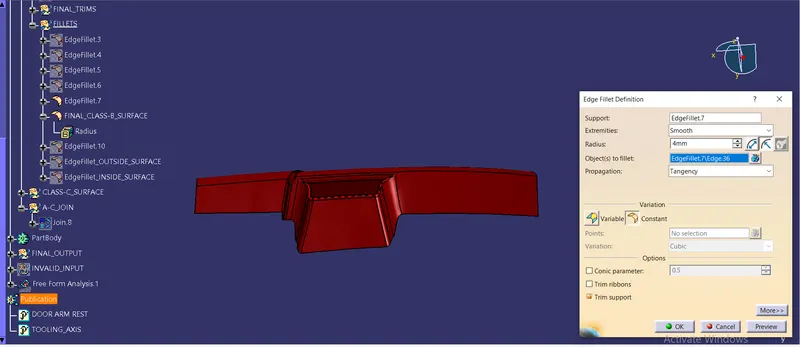
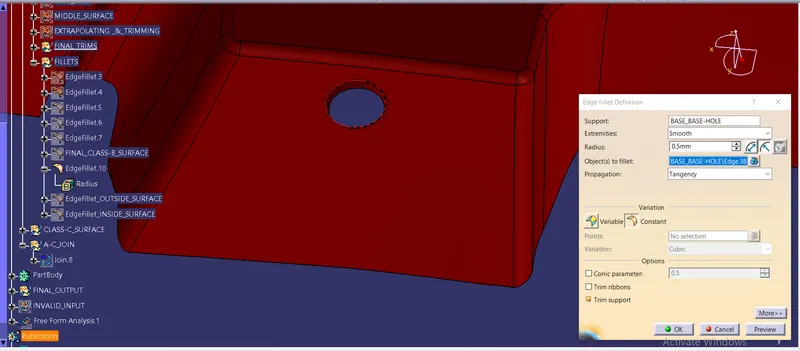
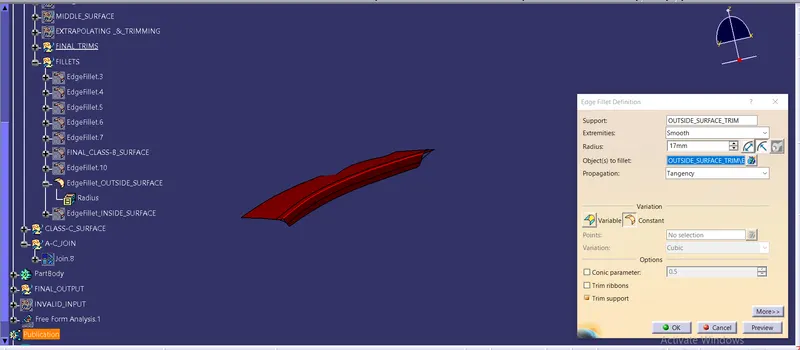
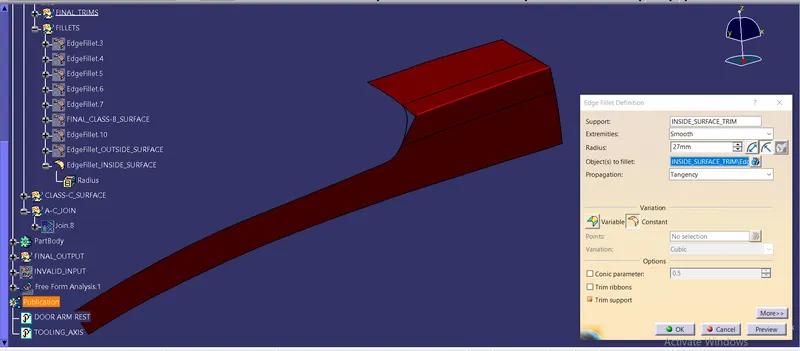
Here we complete our complete class-B surface creation. This is how it looks like:-
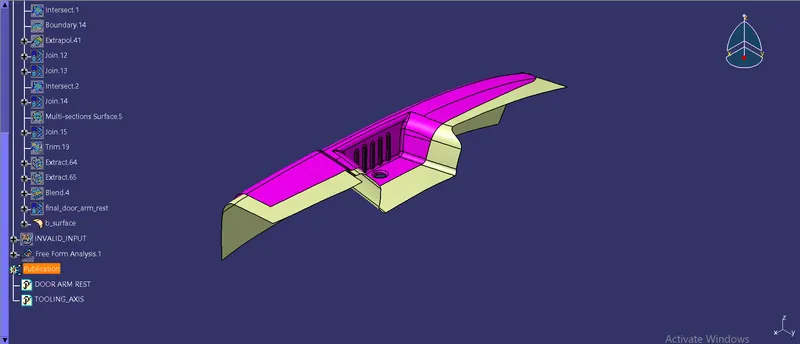
Step 3: Creation of C-surface
Now we need to create the C-surface, and we know that for creating C-surface we would have to create the boundary over the class-A surface and with use of tooling axis sweep it along tooling axis direction.
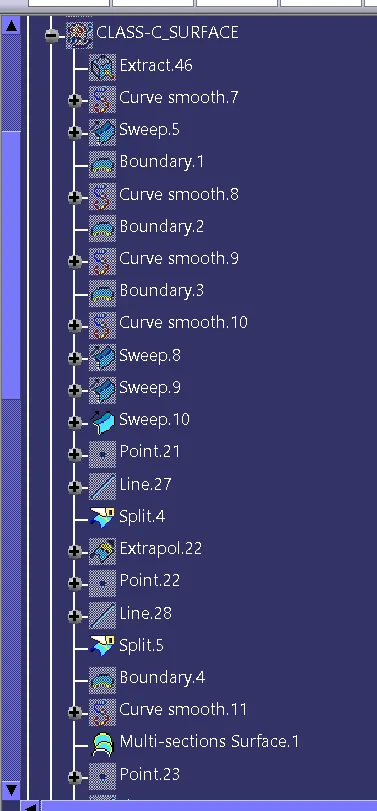
- At first we create an extract over all the surfaces according to the end points. And smooth curve it and sweep it along tooling axis direction.
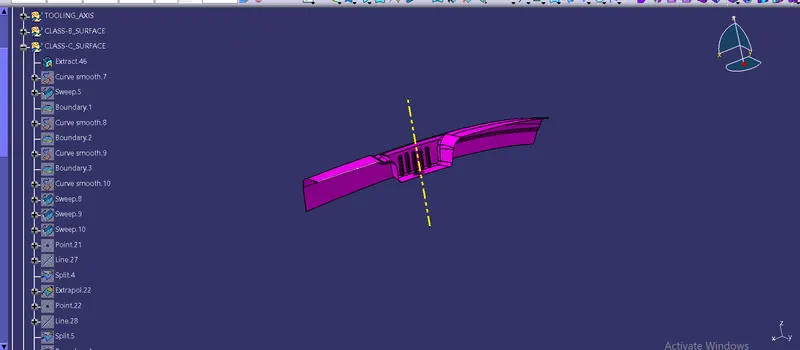
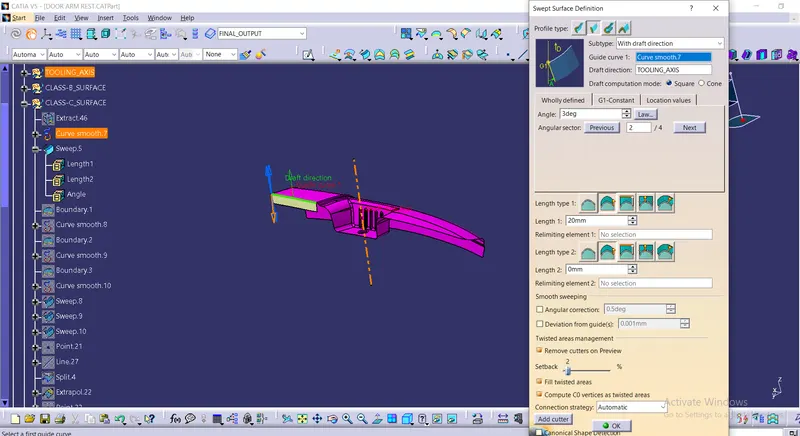
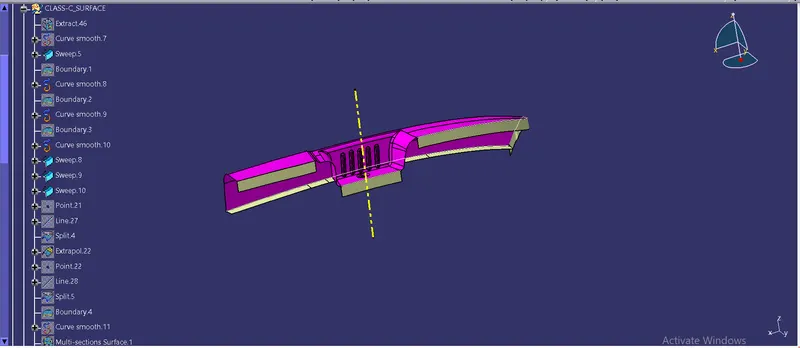
- Here we may use boundary, extract, multiple extract commands to create a boundary over a class-A surface and making sure draft angle is given 3 degree and it should be given in outward direction to avoid the defects such as flashes while cutting the surfaces.
- In some completed areas we need to create a multi-section surfaces. For that we need to create a line on a surface and split it at an appropriate angle.
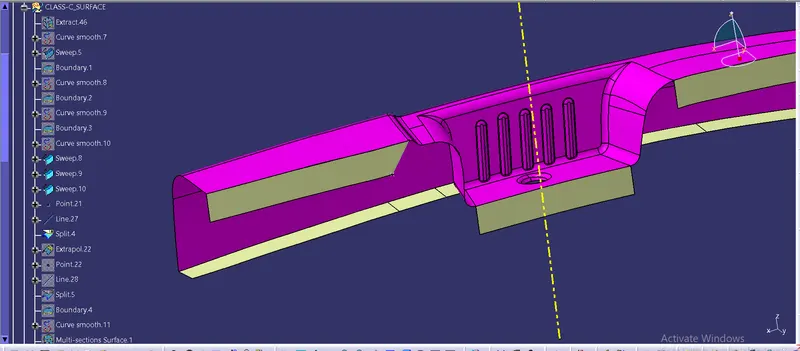
- Same for the other side also, we extrspolated this surface and then create a line and then split the unnecessary portion.
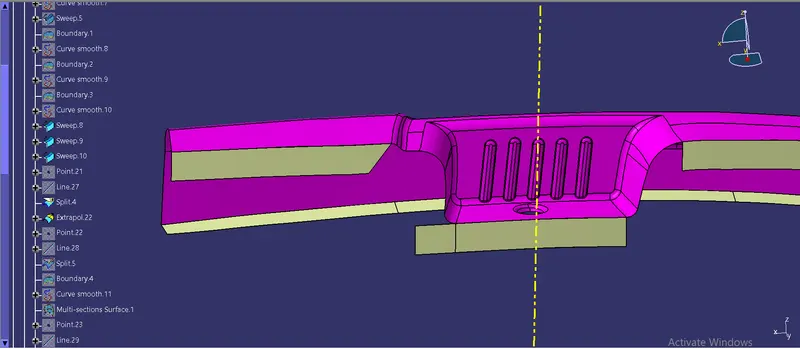
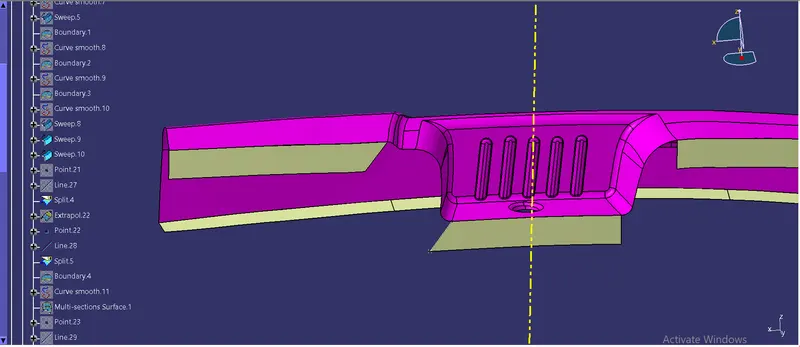
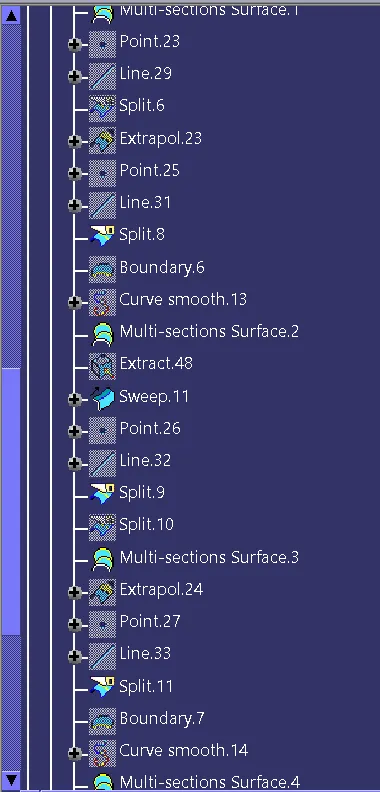
- Then we created a boundary over the surface where we have to perform the multi-section surface and then we smooth curve it and then perform multi-section surface operation.
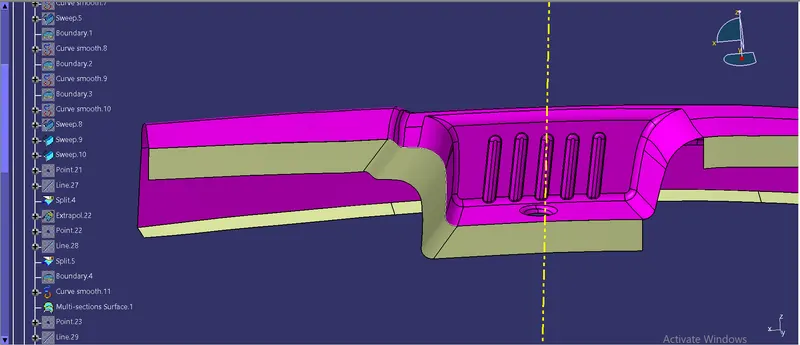
- Same for the ooutside surface of the arm rest.
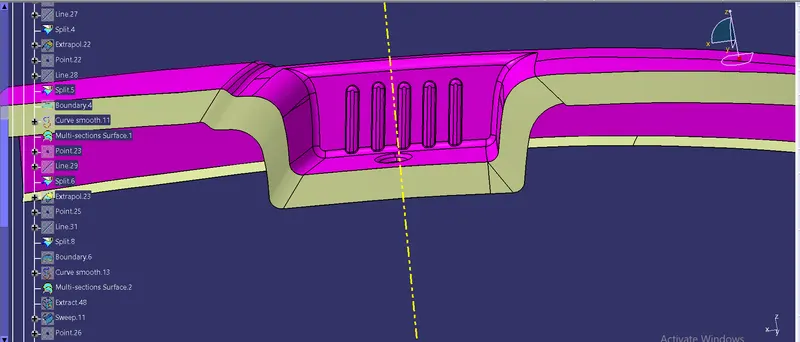
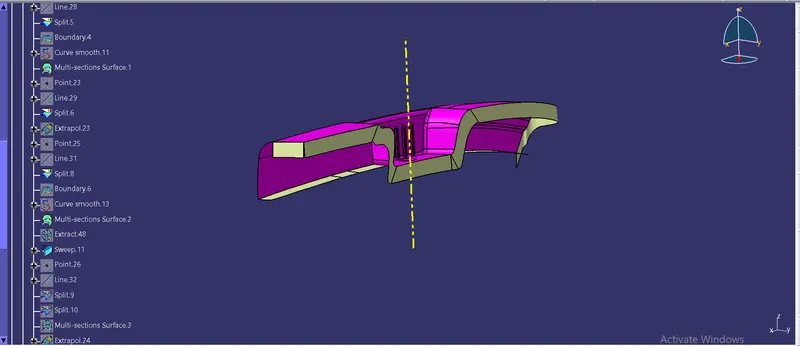
- In the image below in this area we need to join the surface to the bottom surface so we create the same point and line and split the extra portion.
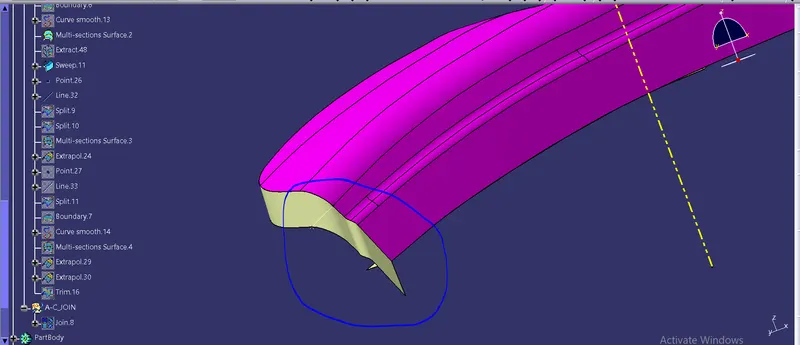
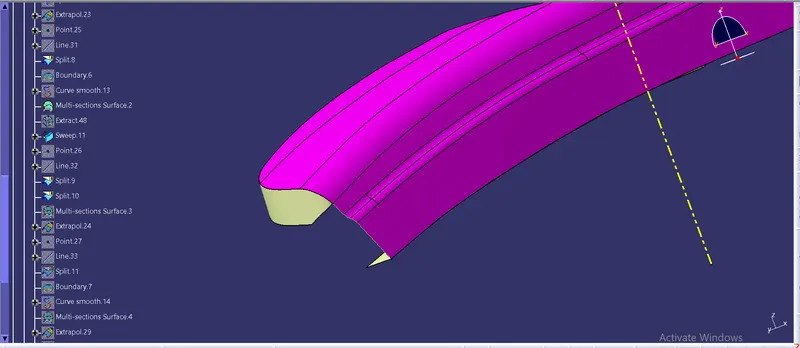
- Also we split the boundary for the modification and created a multi-section surface operation over there.
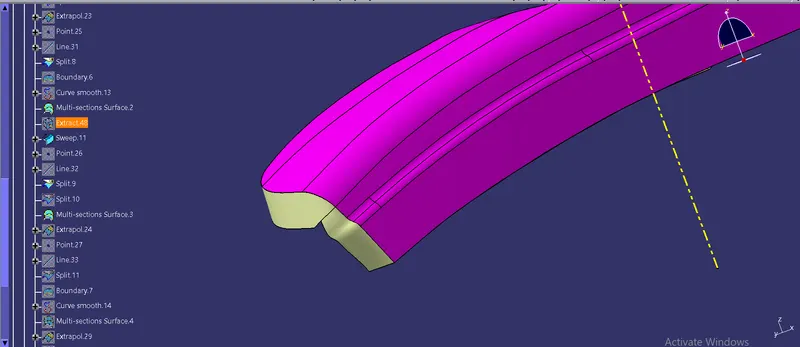
- On other side in the below image, we need to create a draft like surface and we may trim it, so we create point and line and split it accordingly and same for oppsite where we need to perform the multi-section operation. This was done by extrapolating for creating a line & point.
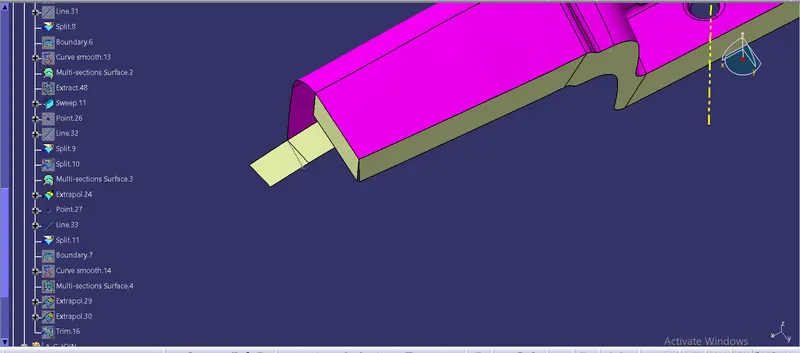
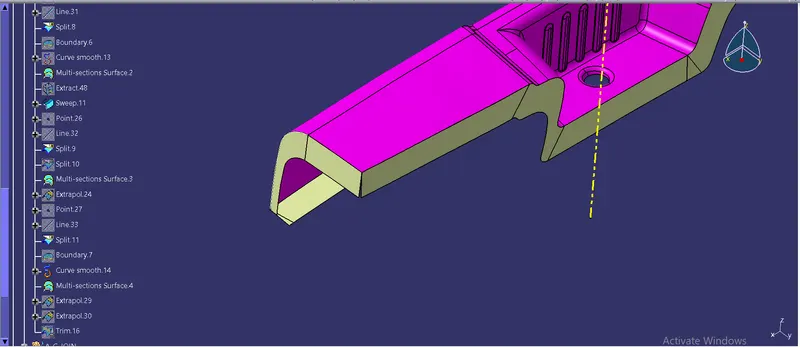
- After creating all the surfaces we need to check wether there is any gap in the surfaces. So here we found one gap so we extrapolated both the surfaces and trimmed it.
- Later we joined all the surfaces with the class-A surface with the merging distance of 0.003mm because with the meerging distance of 0.001 we found gaps. So we ensure it properly.
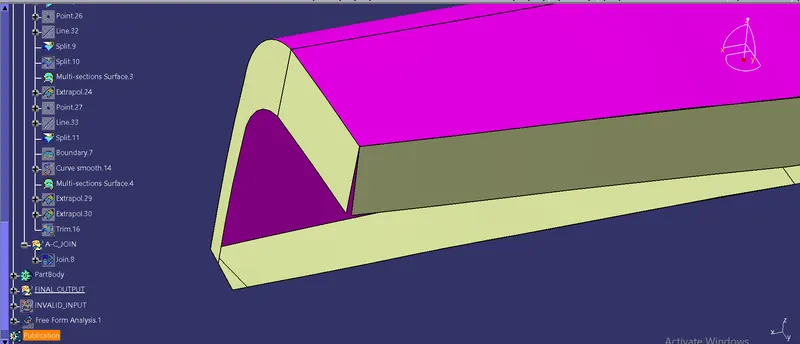
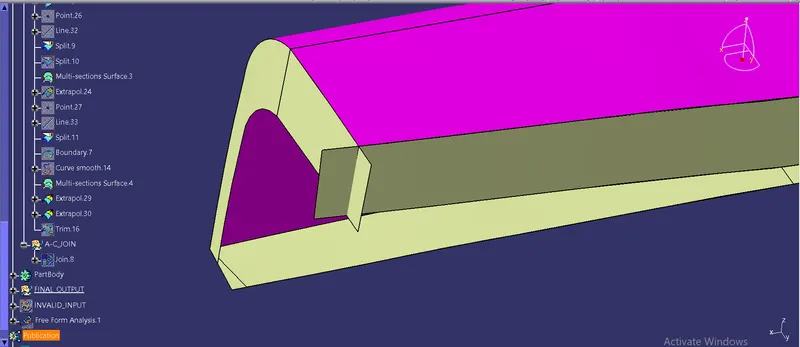
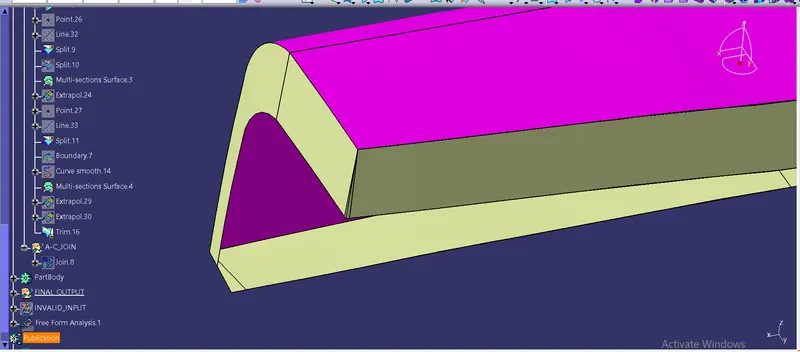
- In this way we created the final class-A & class-C join.Also put it another geometrical set separately.
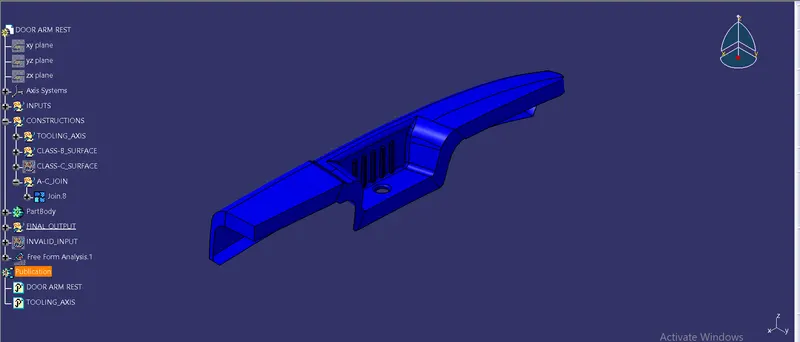
Here we are advisable to check a boundary on final class-A & C surface.
Step 5: Final creation or the trim of class-A_B_C
- Here at last we found the gap in the base surface is not so we extracted both the circles and perform the blend operation to close the boundary of a base hole.
- Also we found some complications and try to resolve it and finally we got the final door arm rest thickened surface with no boundary.
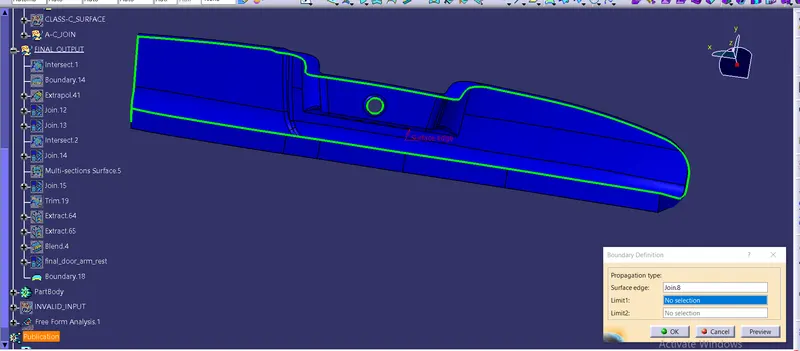
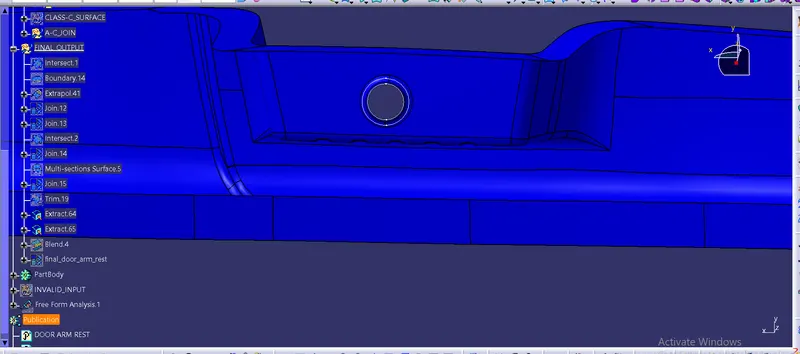
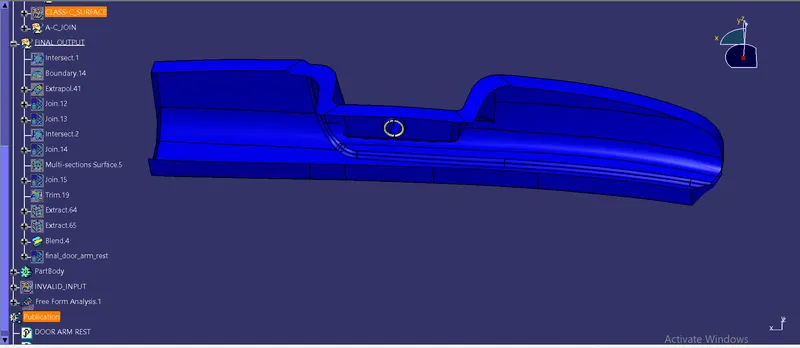
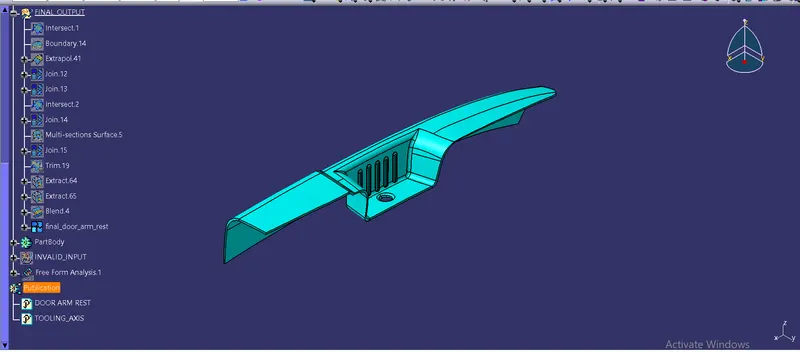
This how we got a thickned door arm rest surface with no boundary in it.
- Later we create the obtained thickned surface into a solid body from the part workbench by using closed surface command.
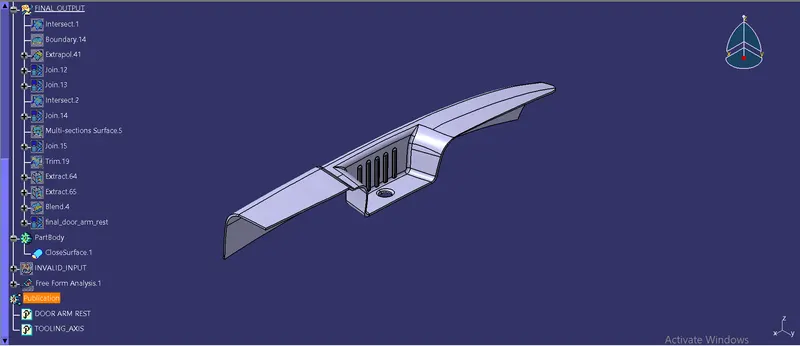
Step 6: Draft analysis on final closed body of door arm rest surface
- Draft analysis performing is necessary because it conforms the component is ready to manufacture.
- In this case some areas were inappropriate as the class-A surface design was not upto the mark so we found these issues.
- Same way we perform the draft analysis for the closed body of arm rest.
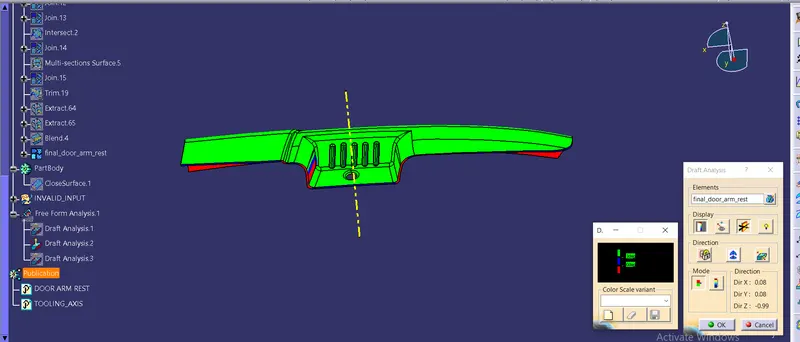
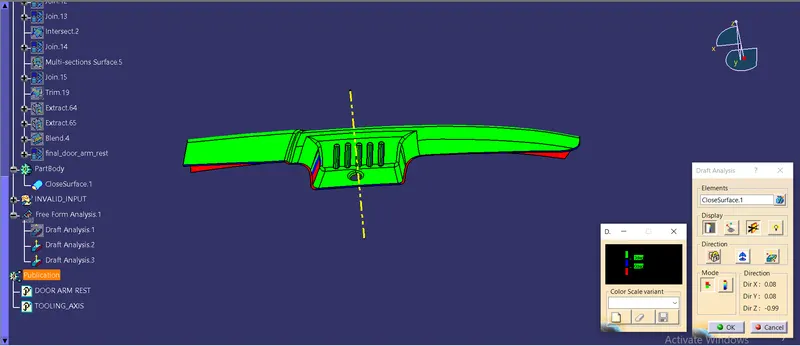
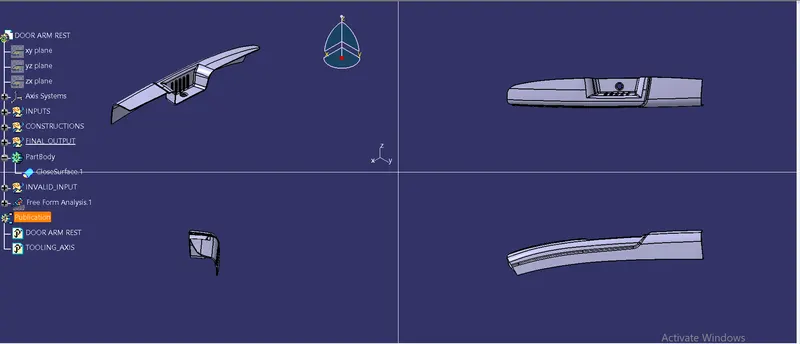
Below listed images are of the tree structure and the standard views (Front, Side, Top & Isometric)