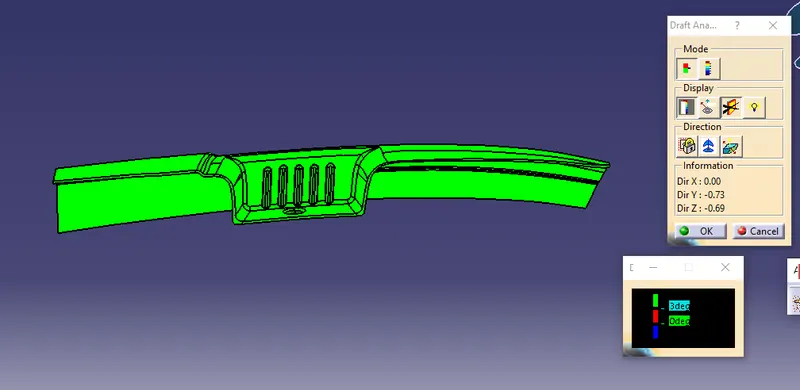
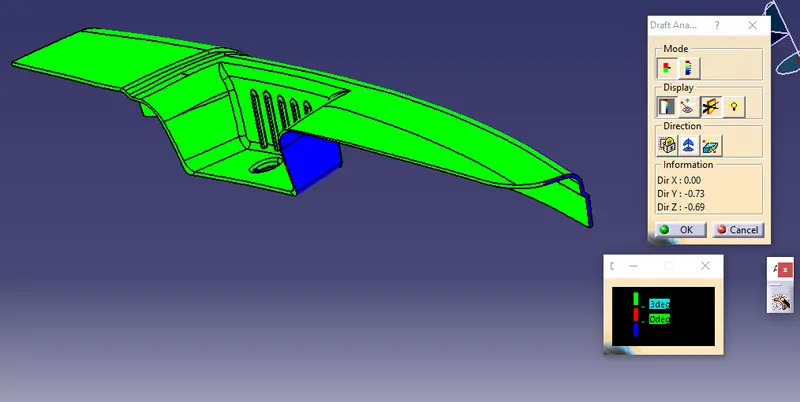
Door Arm Rest Week 8 Challenge
Aim: To create Class B surface for the Door arm rest and perform draft analysis to Class A and final part.
Procedure: Before creating Class B surface we have to perform draft analysis for class A surface.
To perform draft analysis we should create tooling axis. To create tooling axis we can use Bisect method or point on surface method.
While observing Class A we can get to conclusion that to create a slot (Shown below) we should require a side core and we have to define sliding axis for side core too.
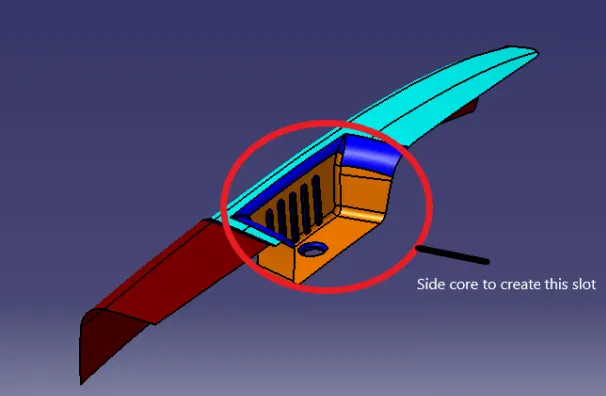
Following are steps to create tooling axis and sliding axis
- First we will create a tooling axis. To create tooling axis we have to create a point on the surface or we can use mersure inertia to measure the CG and create point on CG(Center of gravity).
- After creating point on the CG we have to create a line on the point in the direction of Z which is oue tooling axis as shown below.
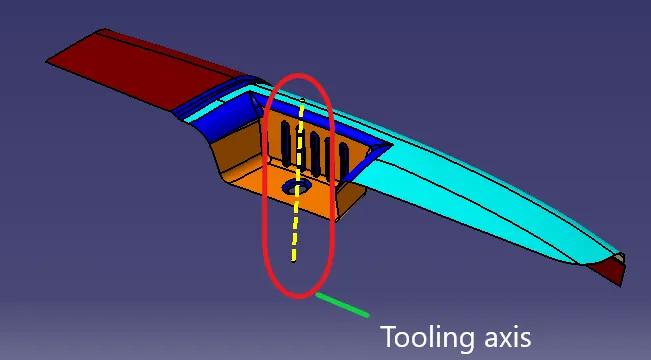
- After getting tooling axis we perform draft anallysis to class A and we got the below result.
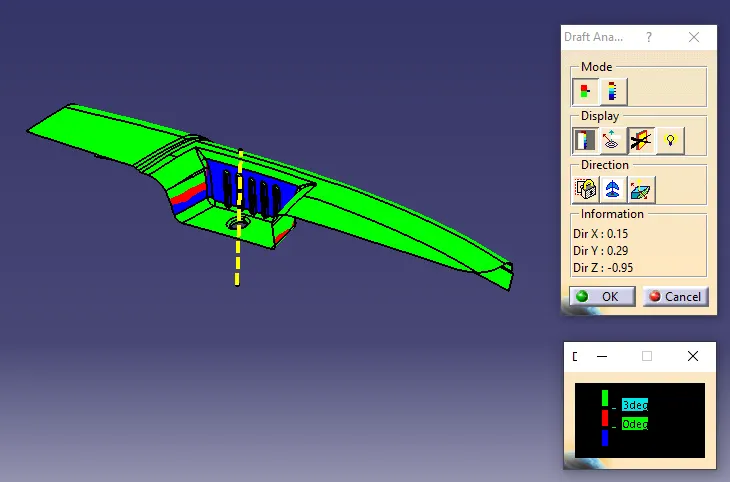
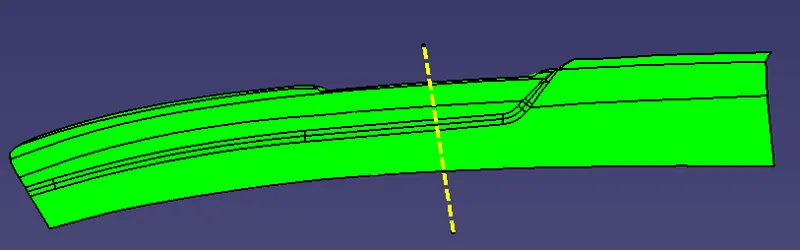
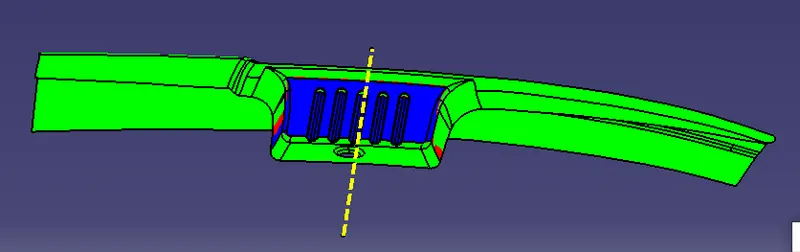
- The surfaces which are not cleared should be cleared by sliding axis. Below shown are the surfaces should be cleared by sliding axis.
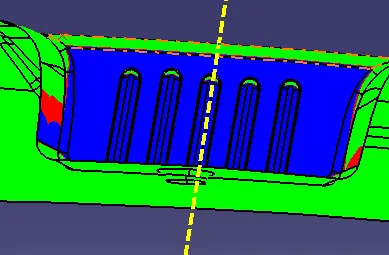
- To clear these surfaces we have to create sliding axis. To create sliding axis we have to create a point anaywhere on surface shown below
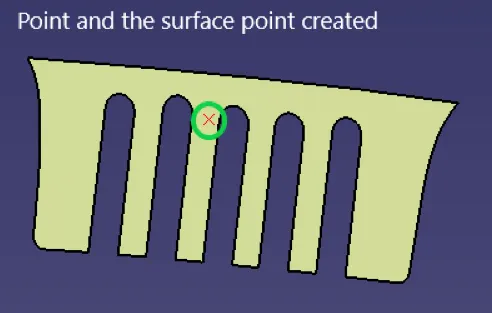
- After cleaating point we have to create a line on the point with respect to Y direction ans consider it as a referance sliding axis.
- Once we got a referance axis we should perform draft analysis to check weather it is cleraing all the required surfaces.
- If it is not clearing we have to rotate/adjust the compass until the surfaces gets cleared.
- Once the surfaces are cleared we have to lock the compass direction. Now chage the direction of the referance line created to the compass direction.
- After changing the direction we will geti the exact sliding axis. Once we got the sliding axis we will perform draft anslysis for sliding axis.
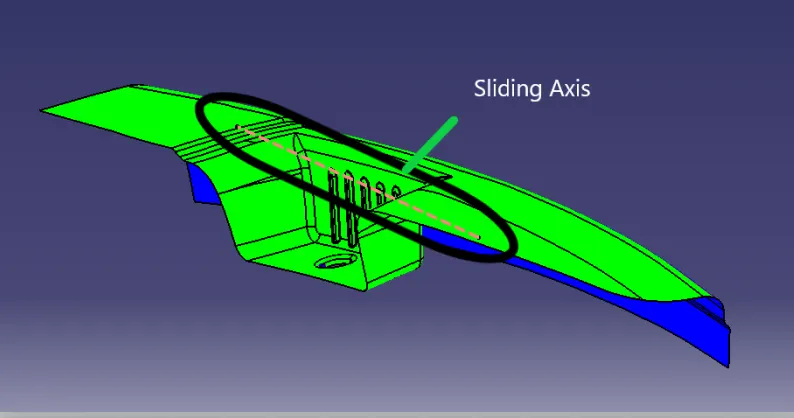
NOTE: Once we got the sloding axis we have to unlock the compass and reset to its original position by using "Reset compass" command
As we are cleared wirh draft analysis now we have to create Class B and C surfaces.
- To create class B surafec to have to extract the surfaces make untrim and extract if requred after that offset them to the requred direction with a value of thickness (i.e 2.5mm)
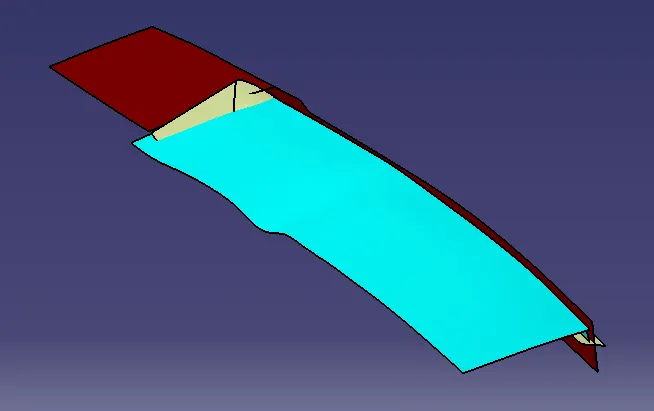
Offset surfaces for class B
- After offsetting the surfaces perform necessory trimming operations and apply fillets to get Class B.
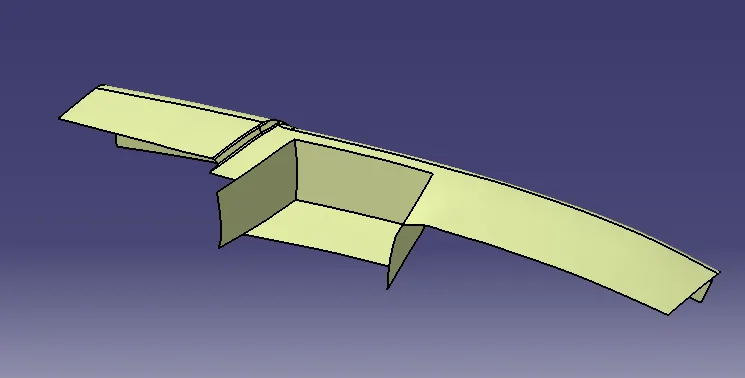
Class b afterapplying trims
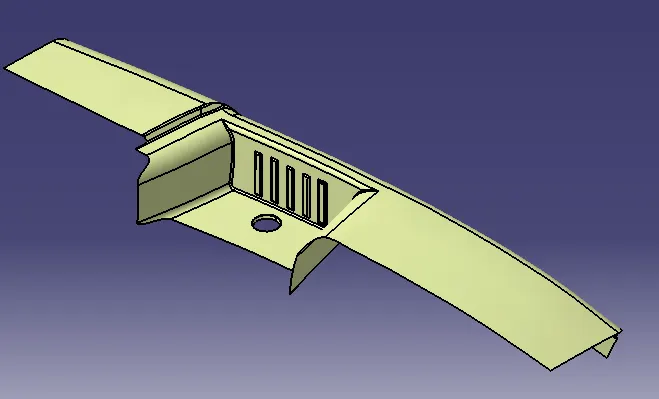
Final Class B after applying fillets.
- After class b to create class c we have to create a boundary on tha class a and sweep the boundart perpendicular to surface(with minimum draft angle).
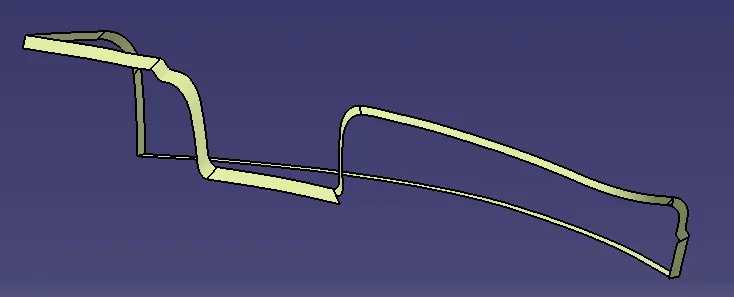
Class C surface
- Afetr applying sweep join class c with class a.
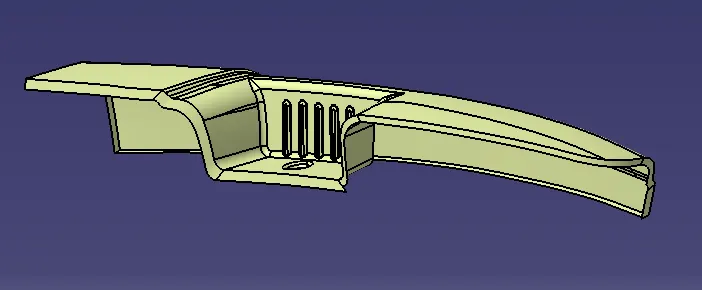
Joint of class A ans Class C
- Now trim the joint with class b to get the required part.
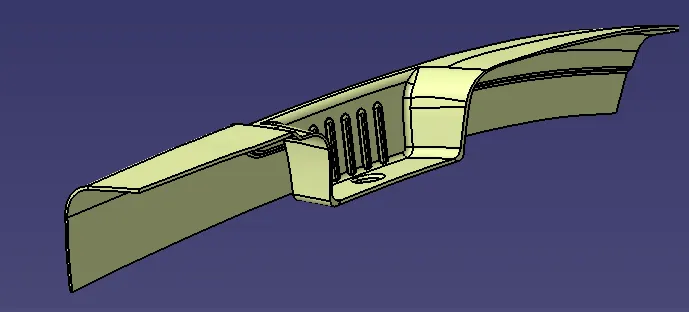
Final output in surface work bench.
- Now swith the work bent to part design and applu close surface to get a solid body.
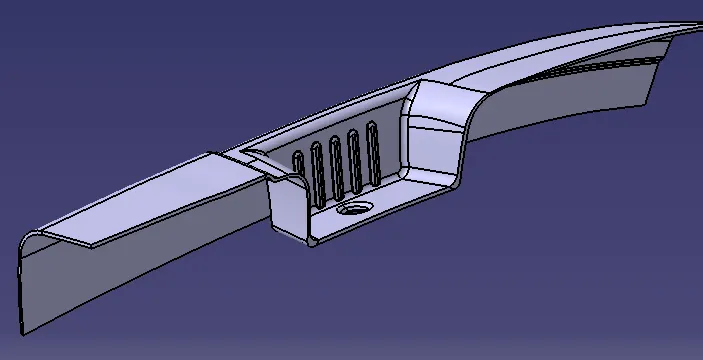
output after applying close surface.
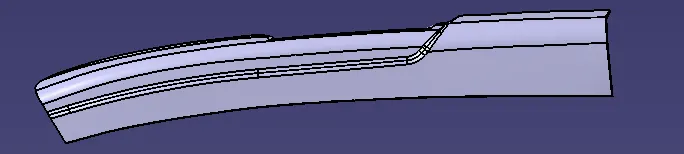
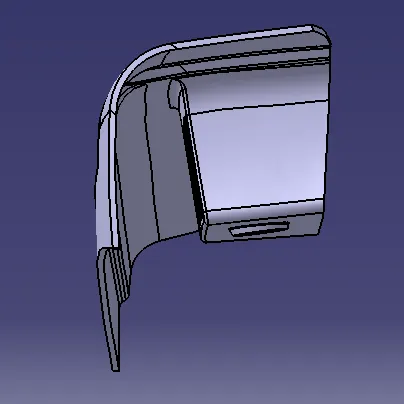
- After getting the solid body we have to perform draft analysis in both tooling and sliding axis.
Draft analysis in tooling direction
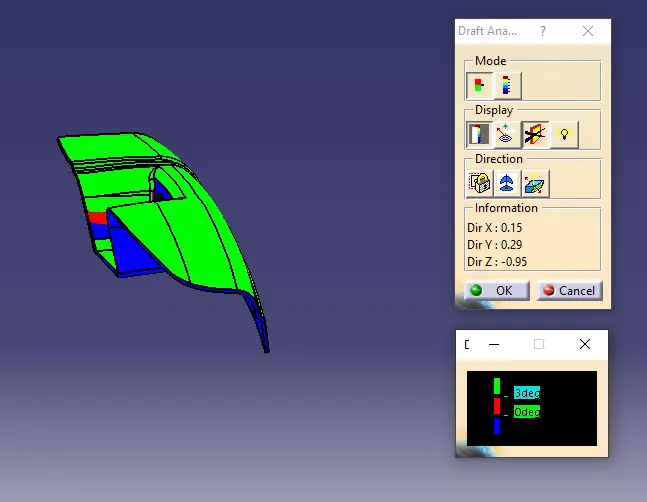
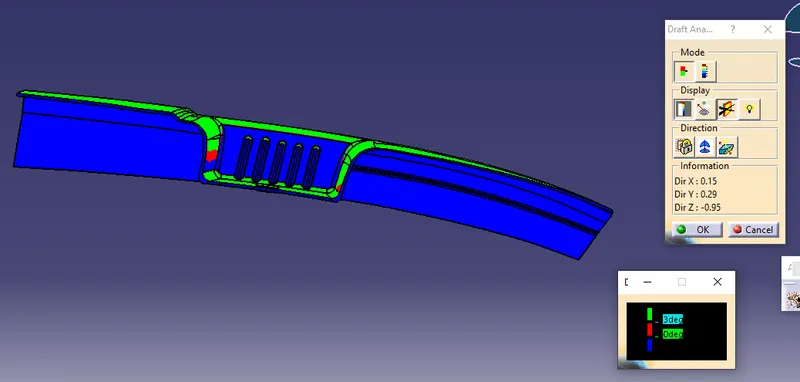
Draft analysis in Sliding direction: