Design of backdoor
Aim: Use the provided styling surface to come up with a back door design, use appropriate design methodologies, and provide the necessary reinforcements and embosses.
Objectives:
1) Make an assembly file for the Back door design.
2) Make the assembly file containing the part files of the components of the back door.
3) Make components Outer upper panel, Outer lower panel, Inner panel (thickness=0.75mm).
4) Make the required reinforcements Left hand hinge reinforcement, Right hand hinge reinforcement, Gas stay reinforcements, Wiper motot Mounting, Latch Reinforcement (thickness=1.5mm).
Design Consideration:
- Hemming : Hemming is done using 0.2 mm gap for top and 0.2mm gap for bottom flanges and 2mm clearance gap on the other side between outer panel and hemming flange.
- Instead of hemming we normally use Bracing process to join Inner and outer panel.
- We can reduce the hemming flange drastcally so that we just have small flange which is comming out to protect the inner panel from the other considerations.
- On the Outer panel we will have the windshield glass mounting with its own gradient lines which are important for the visibility factors.
- The License plate of the vehicle will be mounted either on the Outer panel Lower or on the bumper of the vehicle. IF the License plate is going to be mounted on the Outer panel Lower then the tail lamp for the license place is going to be mounted on Lower region of the Outer panel Upper.
- Sometimes Outer panel Upper will carry the Tail lamp or sometimes Outer panel Lower will carry the Tail lamp.
- In the Inner panel we have some Embosses which will help to sustain or to get recovered in various load conditions.
- At the joining of the Outer panel and inner panel we use spot welding but that will reduce th look of the Back door from the Outer side, so instead of the spot welding at the Actice accessibility region we use mastics, which will reduce the noise and give more strength to the outer panel as well as it will not affect the look of the Outer panel of Back Door.
Steps to make complete assembly of the back door design:
1) Download the part file provided for the reference,
2) Make the part file proper alligned and well sewed all the surfaces. Trimming the improper surfaces using "Trim Sheet", connent the edges of the surfaces using "Bridge Curve" and create the new well sewed srface using "Through Curve Mesh"
3) Create the new assembly file and create new part file in it and name it as "Outer Panel" for Back door design. Copy the corrected file and paste.
4) Now by using the same file create all the components of the back door assembly.
5) As shown in the below figure first of all create the Inner panel using Wave Linker geometry.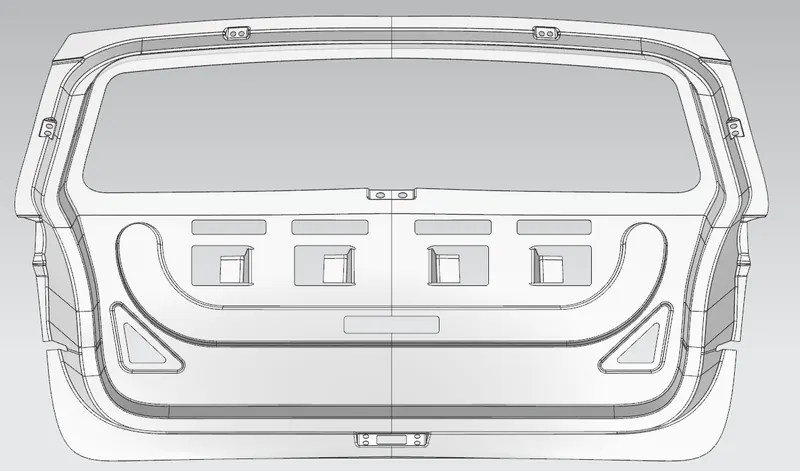
- Make grooves for the mountings for the hinge reinforcements, gas stay reinforcements, wiper motor mounting and Latch reinforcementat the bottom.
- Make sure that these grooves wont disturb the sealing flange so that it will separate the interior and exterior correctly.
- Make some big holes or spaces in the lower part of the inner panel so that the harnessing for the tail indicaters and lamp pass easily.
-
Now the main part comes, Latch Reinforcement.
-
For this we have to create the sketch.
- For this we have to create a Line between the holes of the hinges on the both sides of the inner panel.
- Now create the sketch on the Centre plane as shown in the figure.
- Create the line tangent to the circle passing through the point as shown in the figure.
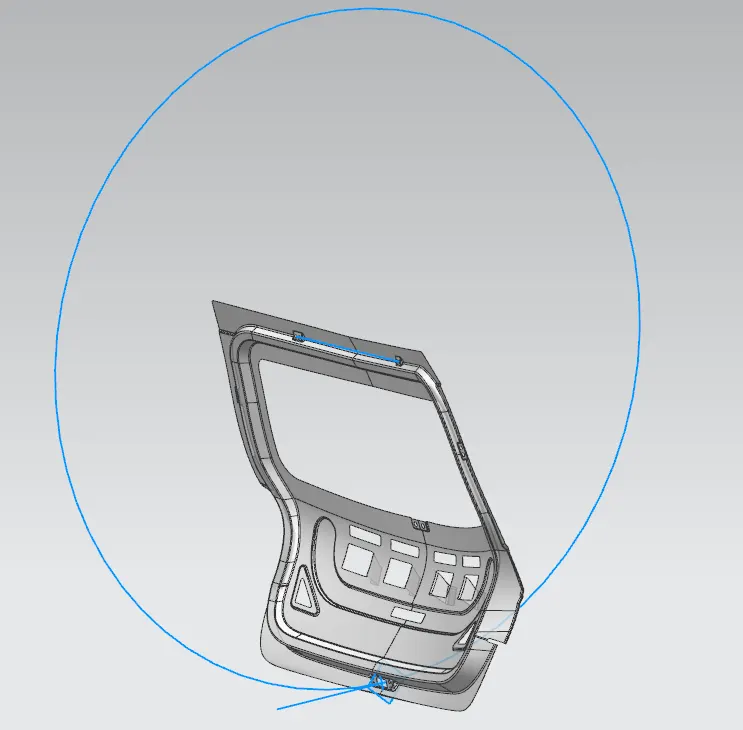
- Create a new plane on the curve parallel to the line and create line on the plane.
- Then by using the law extesion command create the groove for the latch reinforcement on the inner panel.
6) By using the same Outer panel reference surface make the Outer Panel Upper part and Outer panel Lower part as shown in the below figures.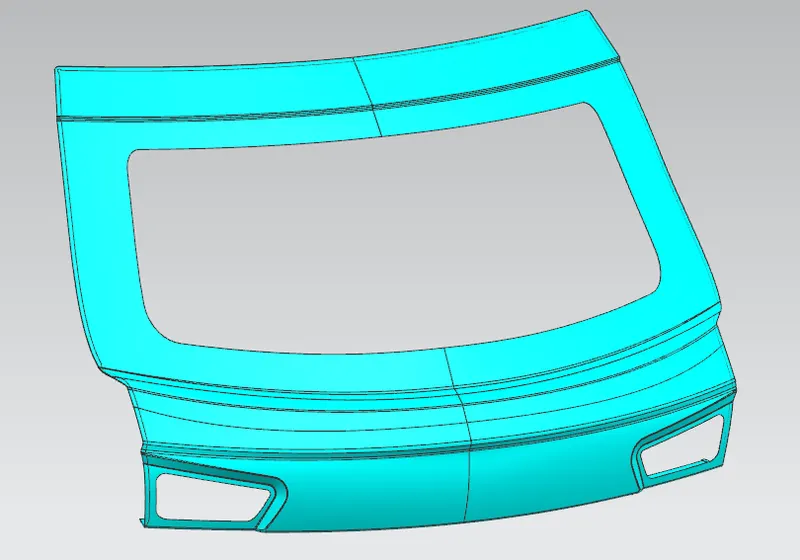
- This is the Outer panel Upper part of the Back Door assembly and the offsetted line shown in the figure is the Hemming of the Upper part of the Outer Panel.
- For hemming the upper surface is offsetted by 2.65mm down and made hemming using Swept Commad.
- While using the Swept command we have to do swept command for every single portion.
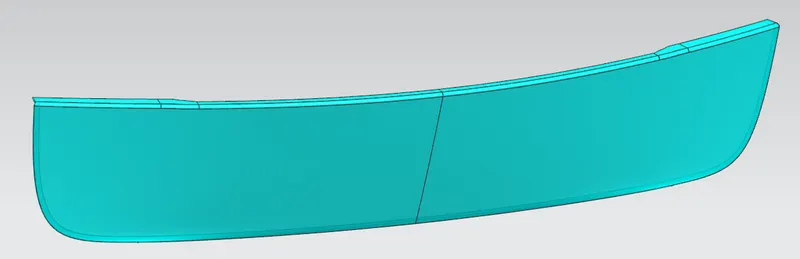
Here the same Hemming has been done in the Lower portion of the Outer panel Lower part of the Back Door assembly.
In this the Inner panel is going to fix inside the hemming part of the Outer panel as shown in the figure.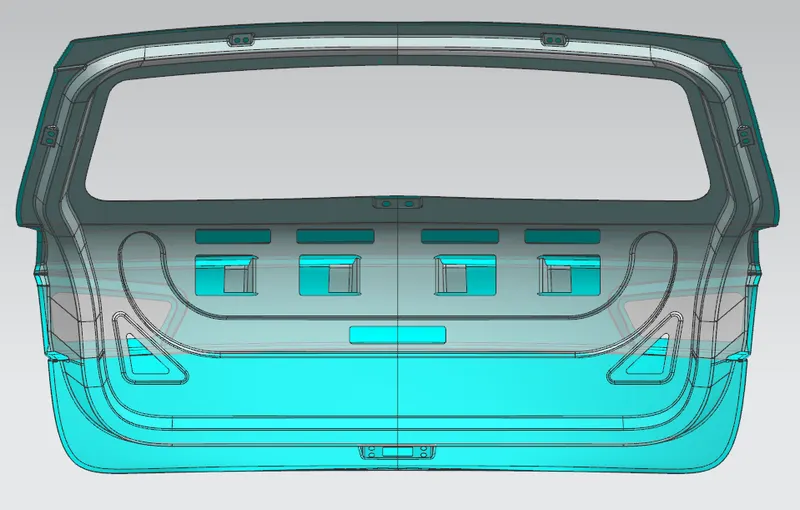
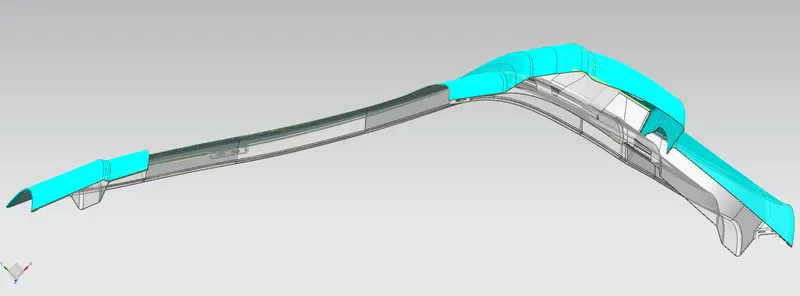
This is the sectional view of the inner panel fixed inside the hemming part of the Outer panel.
7) By using Wave Linker Geometry the inner panel make the Hinge reinforcements for left and right sides saperately as shown in the figure.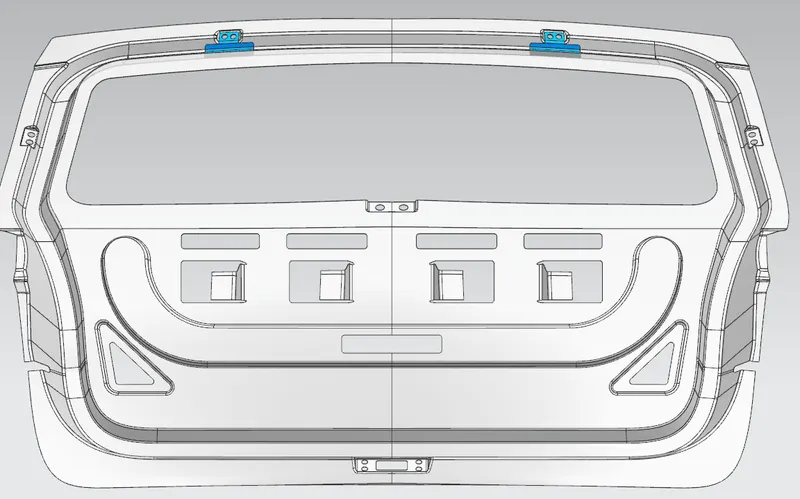
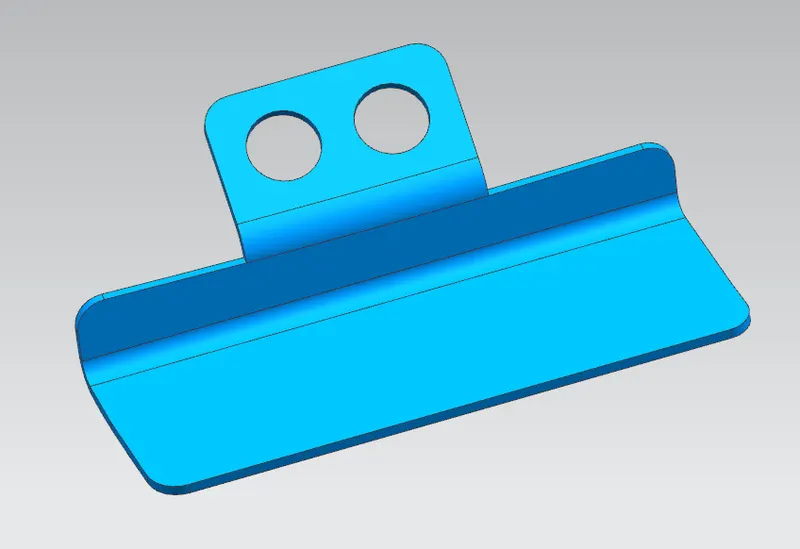
8) By using Wave linker Geometry create the Gas stay Reinforcement on the either side of the inner panel and mirror the geometry on the other side of the inner panel as shown in the figure.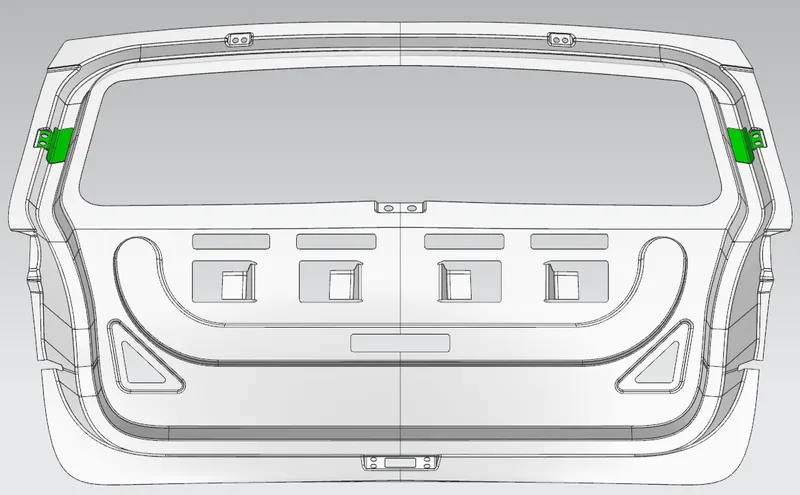
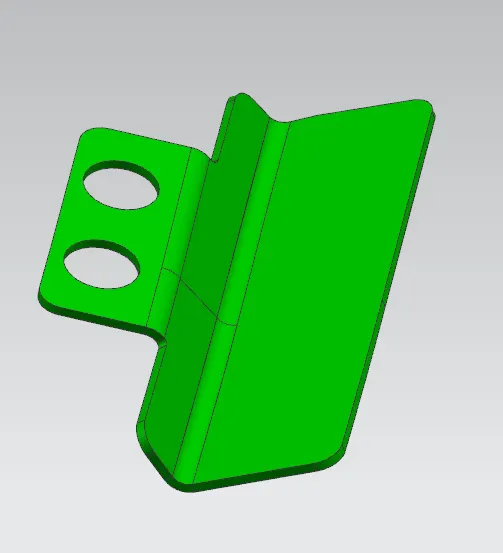
9) Make the Wiper Motor rmounting at the centre portion of the inner panel as shown in the figure.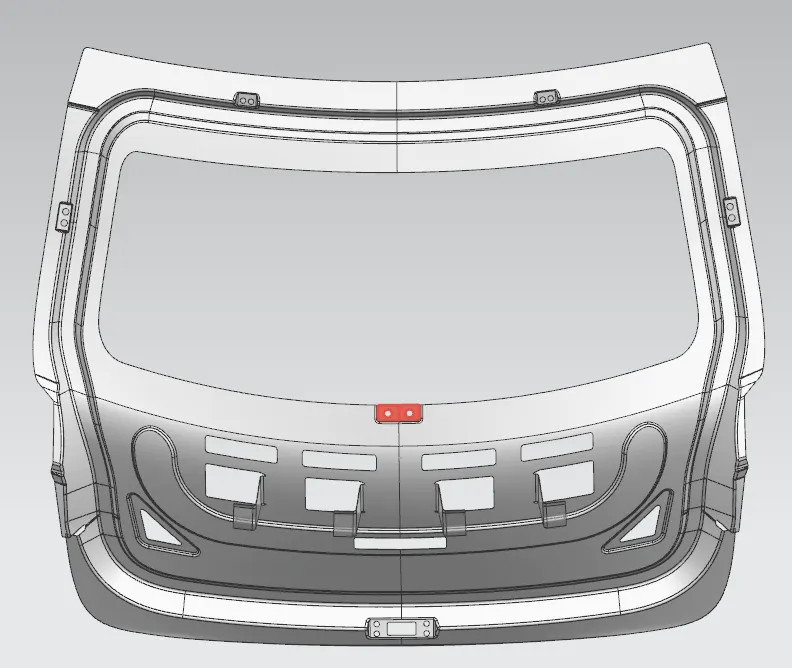
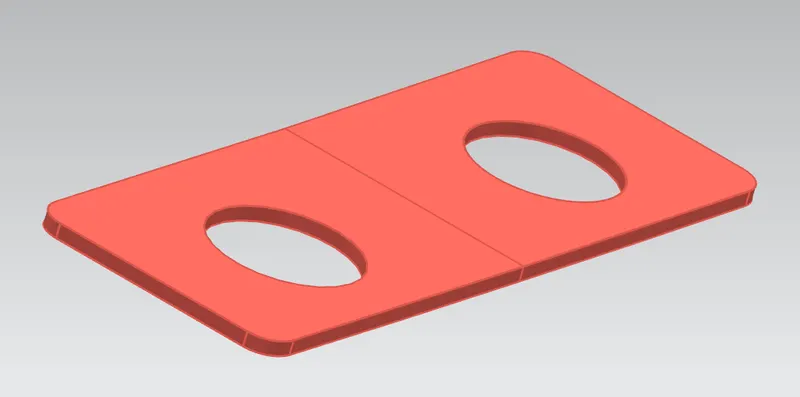
10)By using Wave linker Geometry create the latch reinforcement as shown in the figure.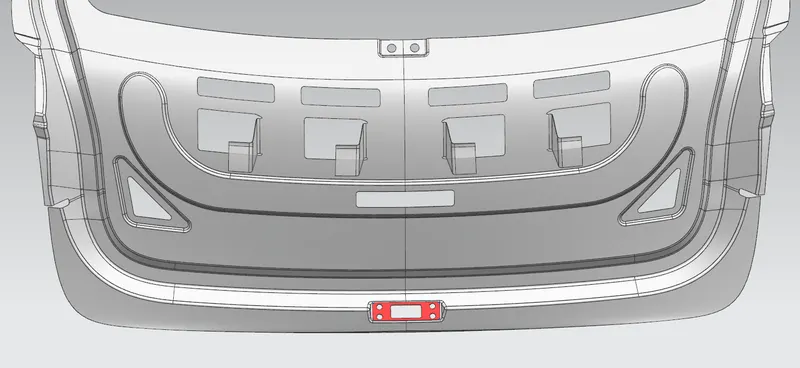
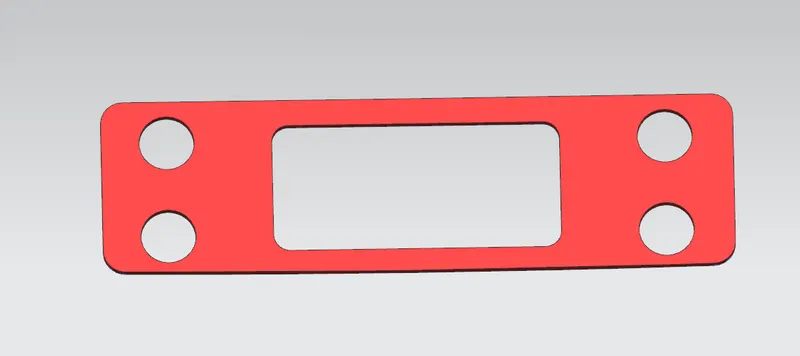
The Files created in the assembly file are as follows:
- Inner Panel
- Outer Panel Upper Panel
- Outer Panel Lower Panel
- Hinge Reinforcement (Left Hand)
- Hinge Reinforcement (Right Hand)
- Gas Stay Reinforcements
- Wiper Motor Mounting
- Latch Reinforcement
Problems Found:
1) While thickening the inner panel some portion is not getting thickened, may be it is graphics problem. But I have tried to solve that problem many times but its not happening, so I leave it as it was.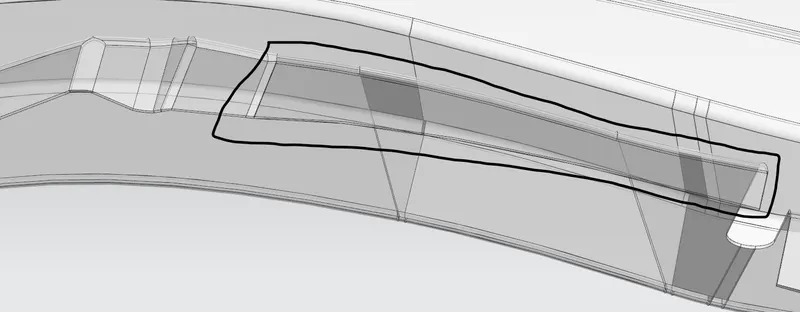
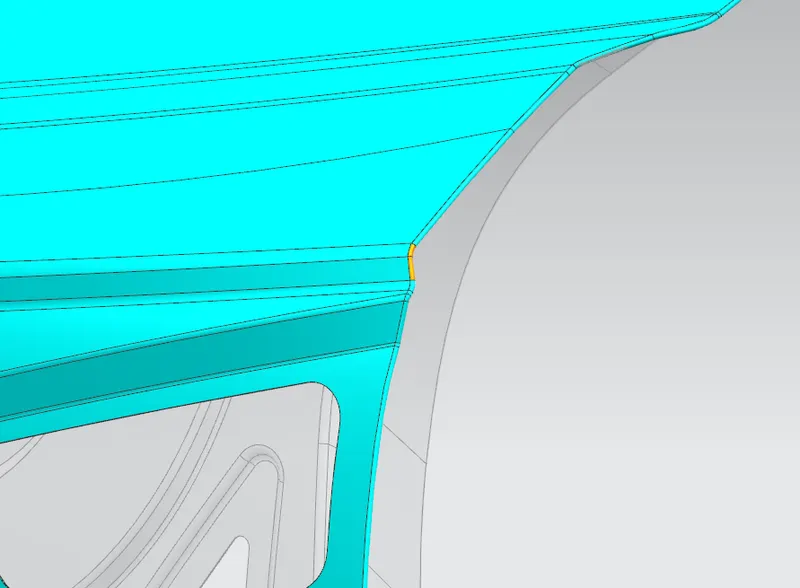
2) In the same outer panel after sewing all the surfaces thickening is not selecting all the surfaces at Swept portion on the right side (in orange color), so I had to select it separately.