Creating Walls, Partition walls and Floors for a residential layout using REVIT
Aim & Introduction : Using floor tool under architecture tab and select the floor with appropriate material and thickness using the property browser create a layout in the Ground floor Level. Align the floor plan with grids created.
Procedure :
1) From The plan Which has been Designed,we are going to proceed the Following Procedure.
2) Select Floor From Architectural Module,as shown below
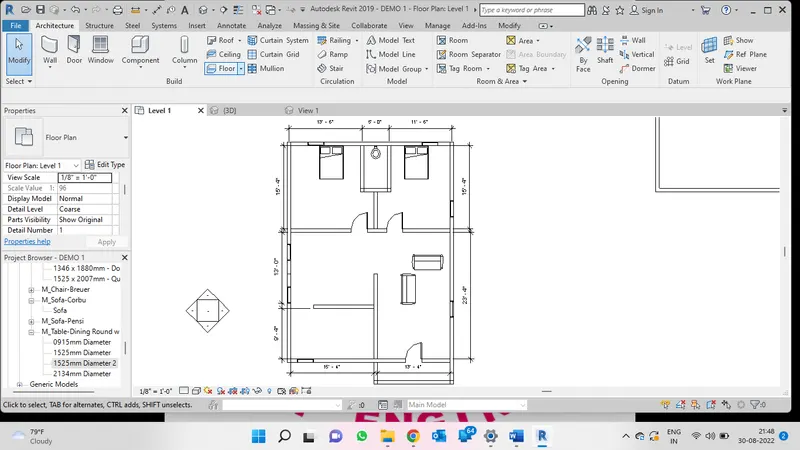
3) Using Pick line Option Select The Outer Boundary Lines So that the floor Been Created.
4) Choose 3D Model option And Check the 3d View Of the building,Where the Floor has Been Created for the Ground Floor.
5) the Following Pictures Show the 3d View of building with Existing Floor Thickness
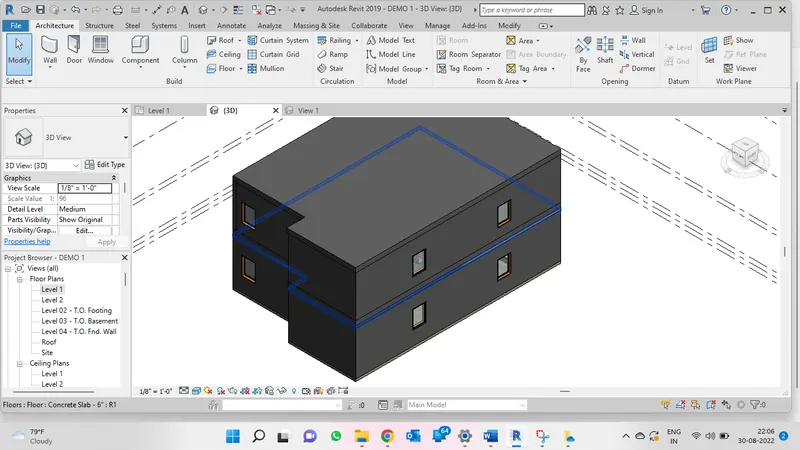
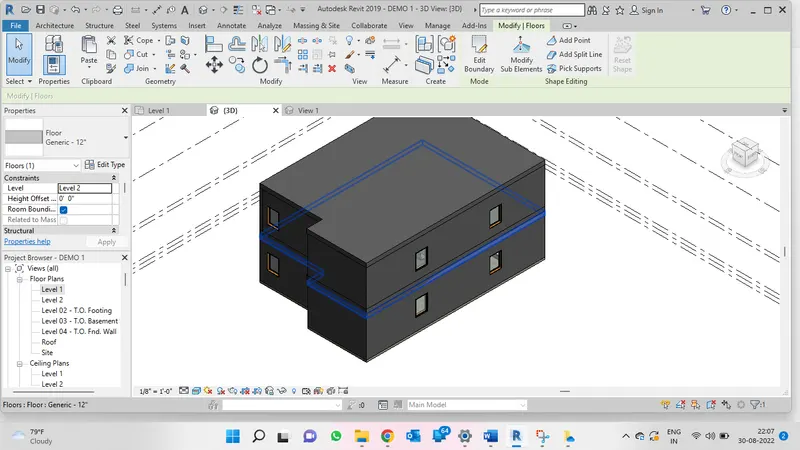
6) By Changing the Thickness ,from 8" to 12" genric Following Pictorial Representation Shows Below
7) Using the property Browser Change the Material type of the floor,The Floor has been Changed to Cherry red Color
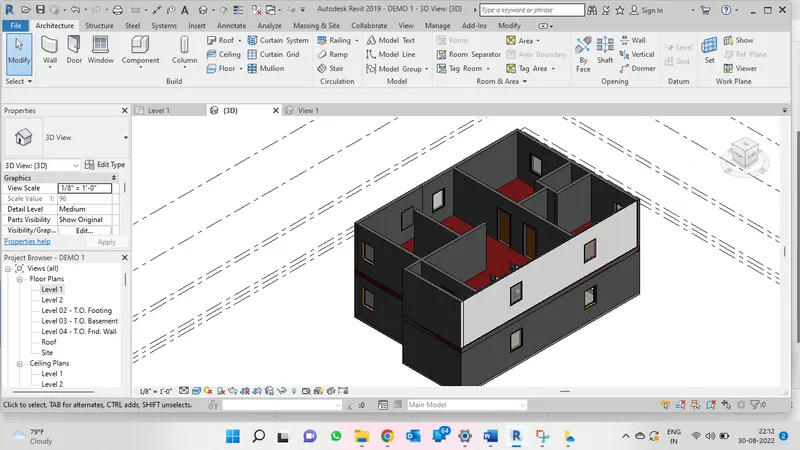
Result : From the above Procedure we came to know About how to Create Floor Level and to change the thickness and material type of the Respective Model.
2) Aim & Introduction : To Add walls based on the floor layout. Pick lines or use the draw tool to modify the boundary of walls. Use the property browser to select appropriate material and thickness for walls. After creating the walls verify using the property browser to see if the top and bottom of the walls are constrained.
Procedure :
1) From the plan which we have Designed, we are going to follow the following Procedure.
2) As the Walls have been Already Placed,We may Directly go to the 3D model Of the Building,
3) By Selecting the Walls >> Project Browser we May change the Thickness and and Material Type of the wall it may be curtain,partition,glass etc as shown Below is glass Wall.
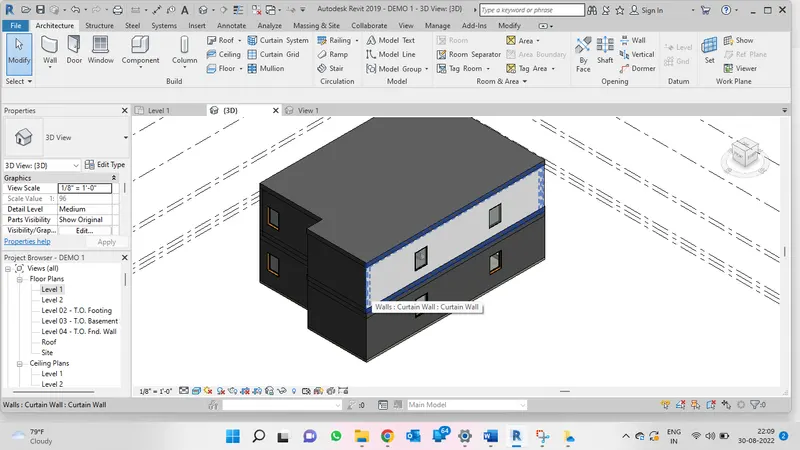
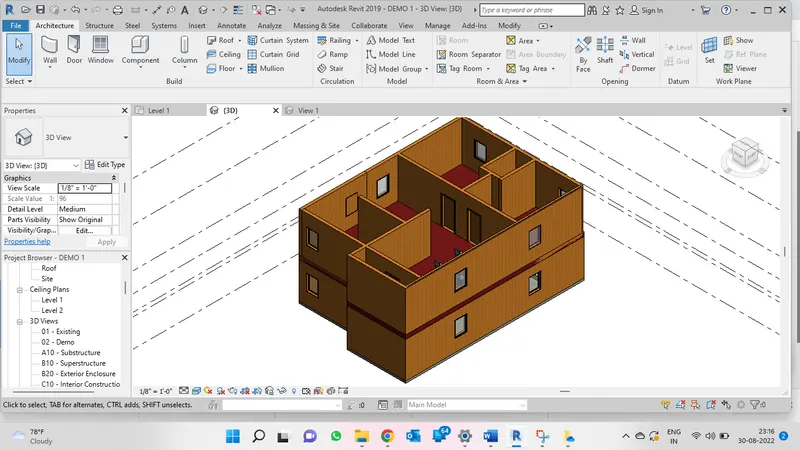
4)For Changing the all wall Type material Simultaneously,Go to Edit Type >> Structural edit>> Category, In that Select The material that needed and do the Changes Accordingly as shown below.The Following Shown is Wood Finish
5) To Change the thickness of wall use edit type and choose the Thickness accordingly,the following Pictures Shows the change in wall As Genric 6" Masonry wall.
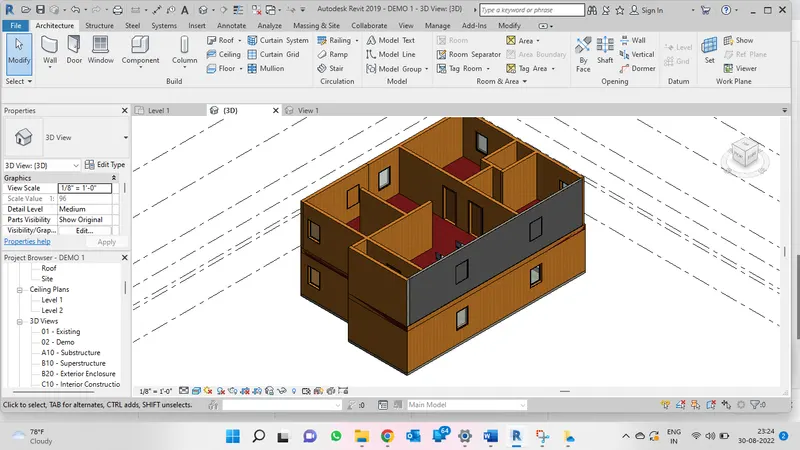
a) Top Constraint and Base Constraint is main to Connect the walls at different Levels
b) Height Option is Convenient in Modelling the walls.
Result : From the above Procedure we come to Know About how to change the material thickness and type of material.
3) Aim & Introduction : To Copy the model elements ( wall, floor ) modelled to Ground Floor Level and paste it aligned to First Floor Level . Use modify tab to utilize copy and paste options to align
elements to a different level.
Procedure :
1) From the Ground Floor Level We have to Create the First Floor level
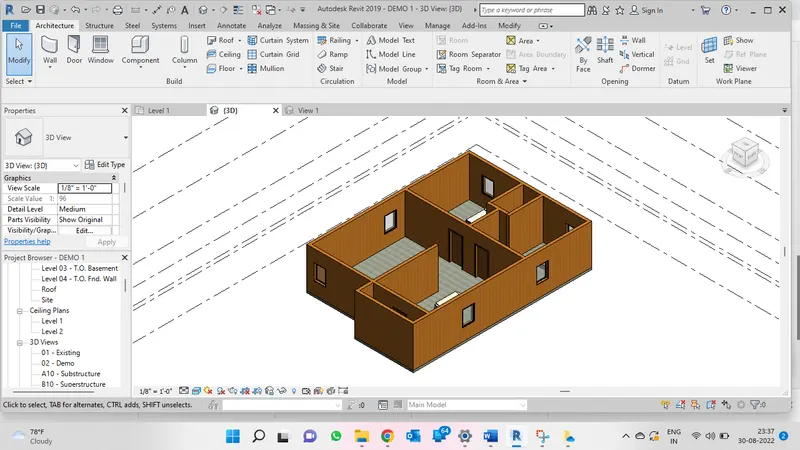
2) Go to Floor Level plan and Choose roof pick line and draw the outline
3) Copy the Clipboard and paste it in Next level
4) The First Floor level has been assigned.
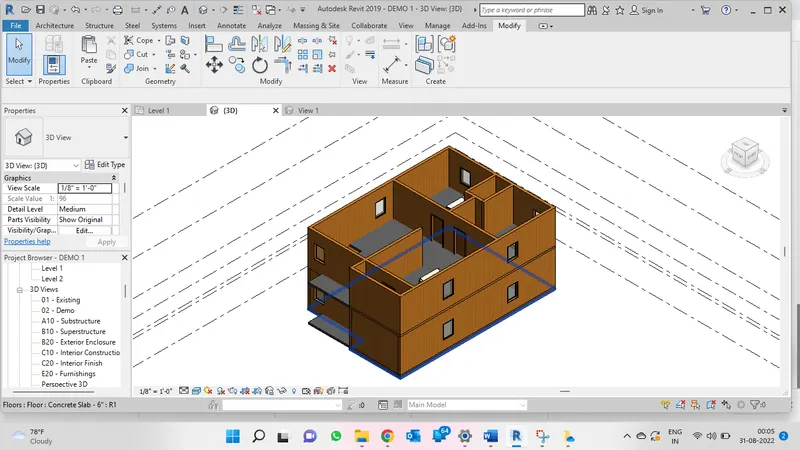
Result : From the Above Procedure we Come to KNow how to Create Multiple Floor level using Revit Software.
4)Aim & Introduction : To Use interior partition walls to create separate rooms within your residential unit.
Procedure :
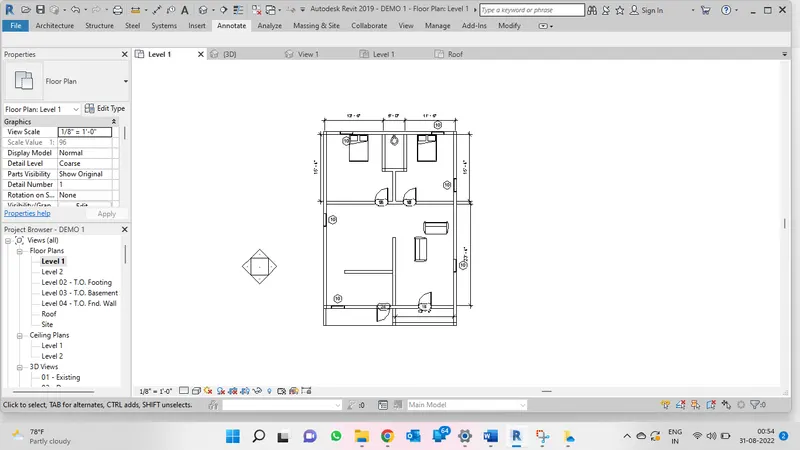
Result : we came to Know how to design the plan using revit.
5)Aim&Introduction : To Place the components to be included in a residential unit were inserted to the Revit file. Place these components in appropriate locations to add details to your residential model
Procedure :
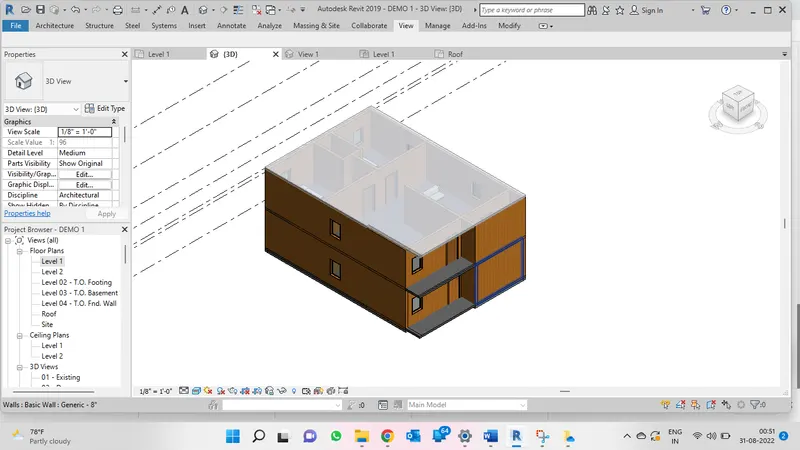
Result : From the Above Procedure we are able to get clear idea of how to use deisgning in revit