3D Creation of Celing, Roof, Architectural plan, Structural plan, Sectional view, Elevation view and Camera specific view for a house plan using REVIT
1)Aim & Introduction : To Model a Ceiling from the architecture tab above the walls at the first-floor level.
Procedure :
1) From Already Designed plan,Go to ceiling in the tool bar as shown below.
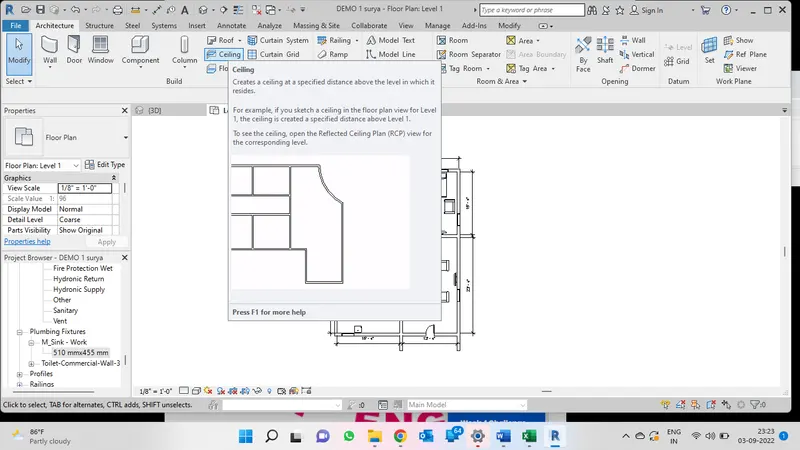
2)By Using Pickline option select the walls and change the level settings where it should be placed.
3)By clicking ok,You may move on to 3D view and look the ceiling created area,as shown below
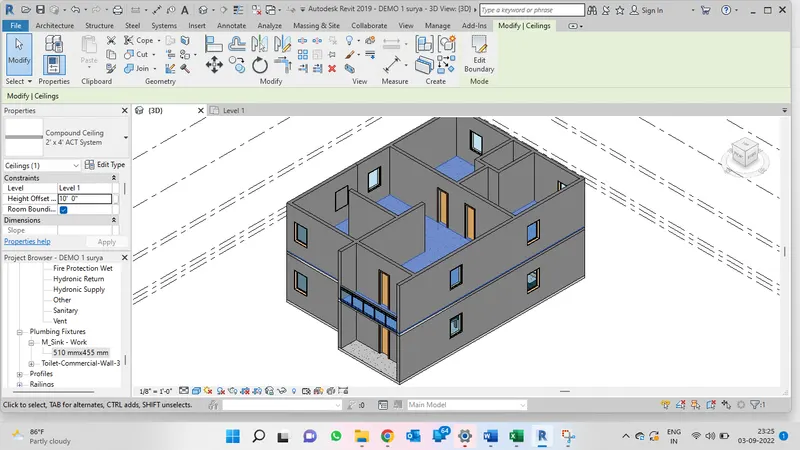
Result : From the Above Procedure we come to Knoiw how to design the ceiling Using Autodesk Revit Software.
2)Aim & Introduction : To Model a roof above the ceiling by selecting the footprints of the ceiling. Using the adjustment toolbars appearing on-screen adjust the roof slope to 10 degrees
Procedure :
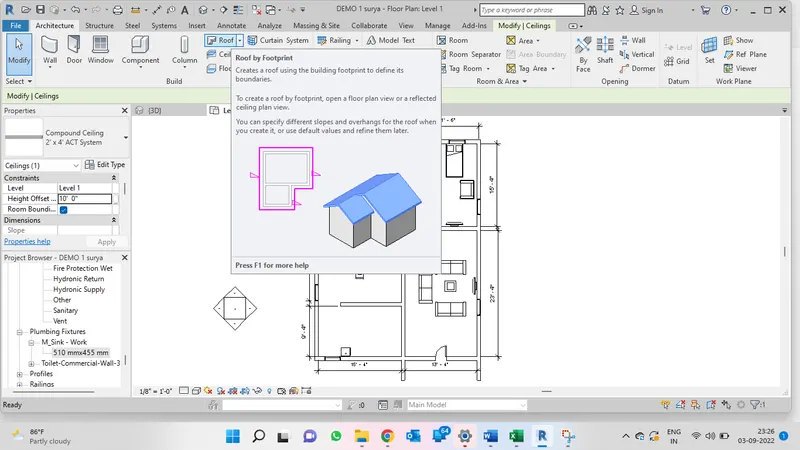
1) From Alreay designed Plan,Use roof Option as Shown below.From roof Choose Roof By FootPrint Option.
2) By using Pickline option,choose the walls of the design plan and mention it as define slope.so that the slope created will not be flat slope.it will be dislplayed as shown below
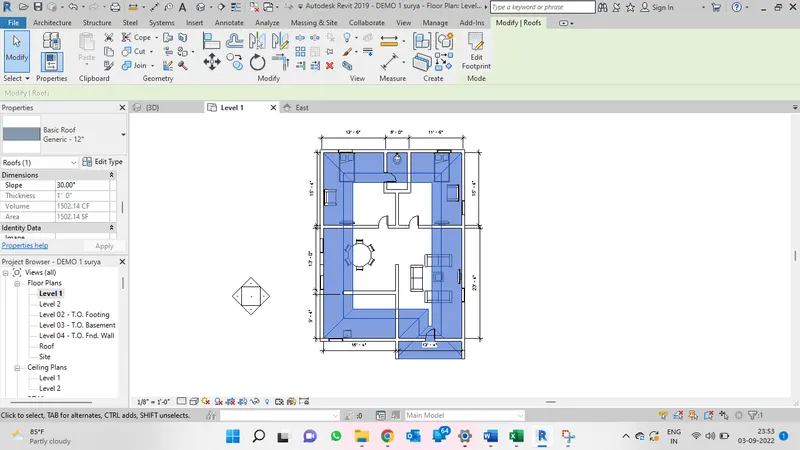
3)The respective Heights should be mentioned and Should viewed from 3D option.
4)As Mentioned above the slope to be changed to 10 deg can be done by using property browser change the slope dimension to 10deg. as shown below.
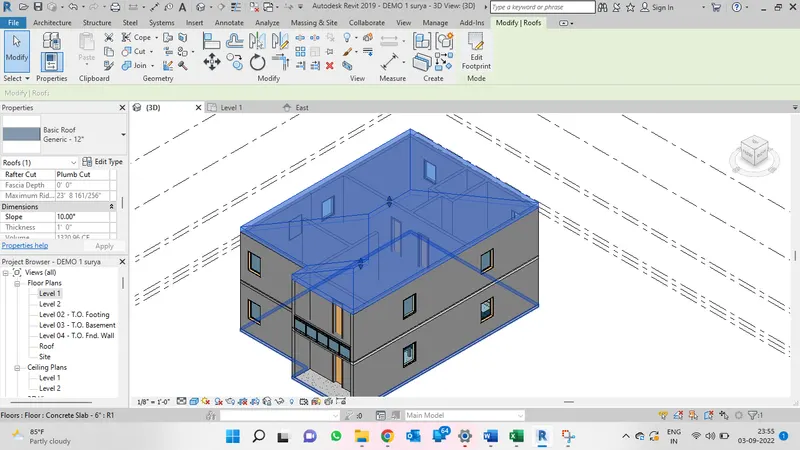
5)If the units are in inches then use UN command and change into degrees and then Proceed with it.
Result : From the above Procedure we come to know how to create sloped architectural roof and how to change the slope ratios from autodesk revit works.
3) Aim & Introduction :To create plan views for ground floor level and first-floor level including all the walls, floors, and components. Separate them to architecture and structural plans
Procedure :
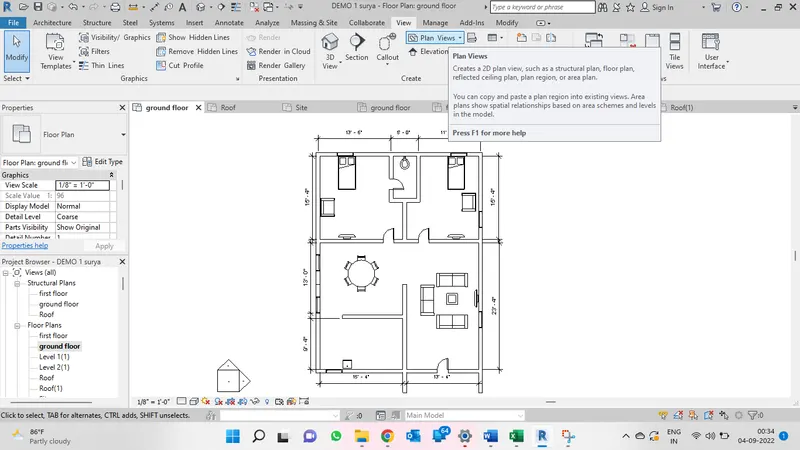
1) From The designed Plan, use view option and choose Plan Views Tool Bar as shown below.
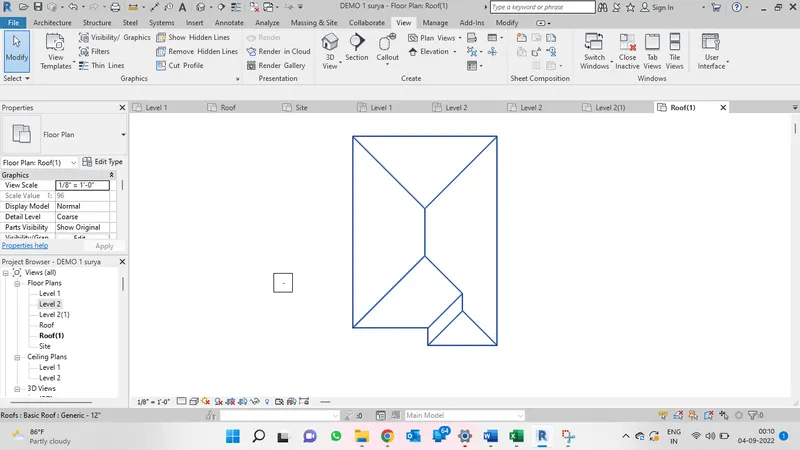
2) By Choosing Plan view,Select floor plan for architetural view and Create for all floors as shown below are 3 images of floor plan levels in architectural view.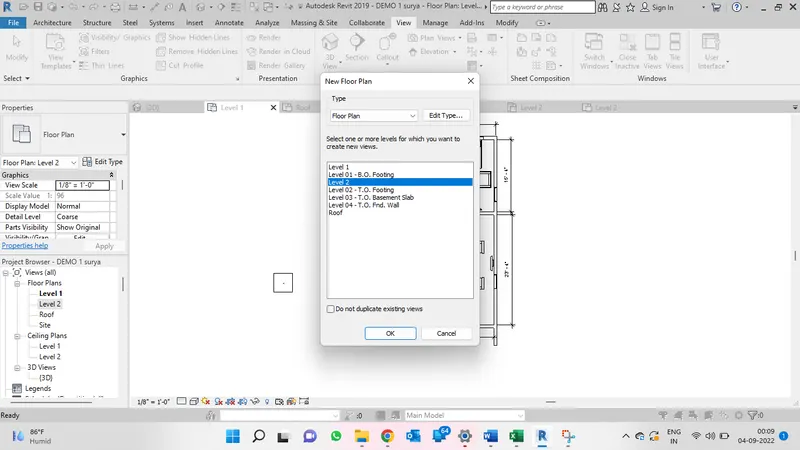
Ground Floor
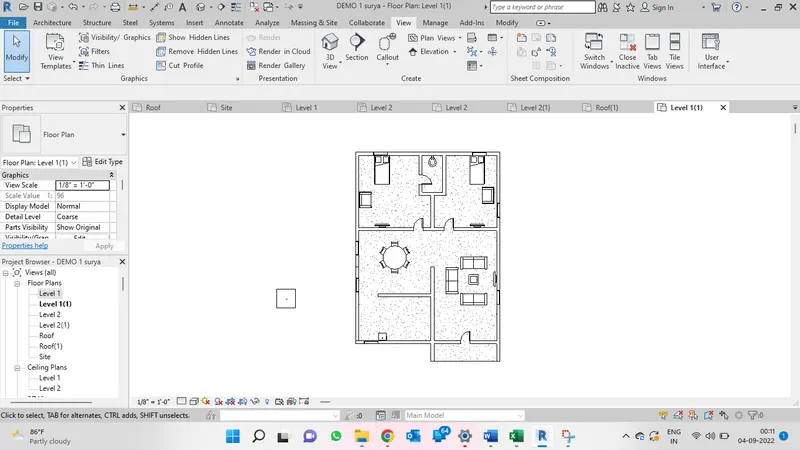
First Floor (Note : Furnitures are not placed in the level itself)
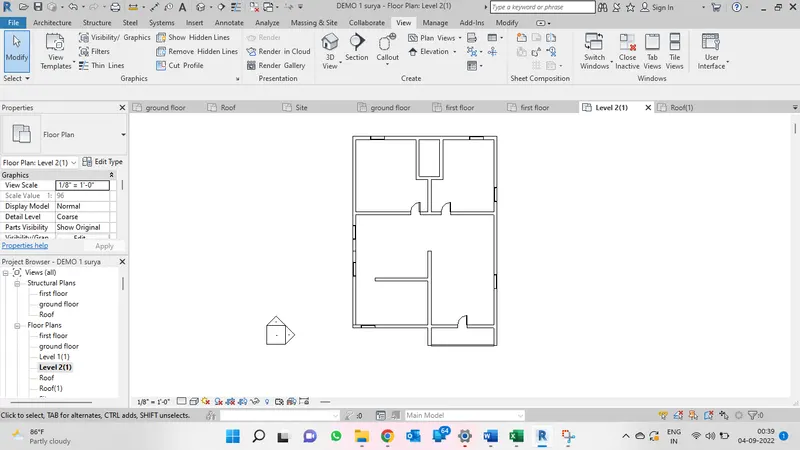
Roof
3)Similarly For Structural plan,Go to view tool bar select plan view and choose structural floor plan and the following levels will be created.
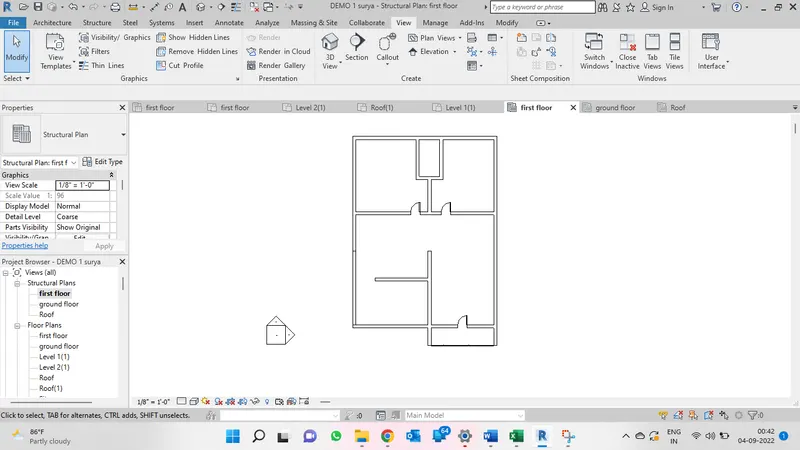
Roof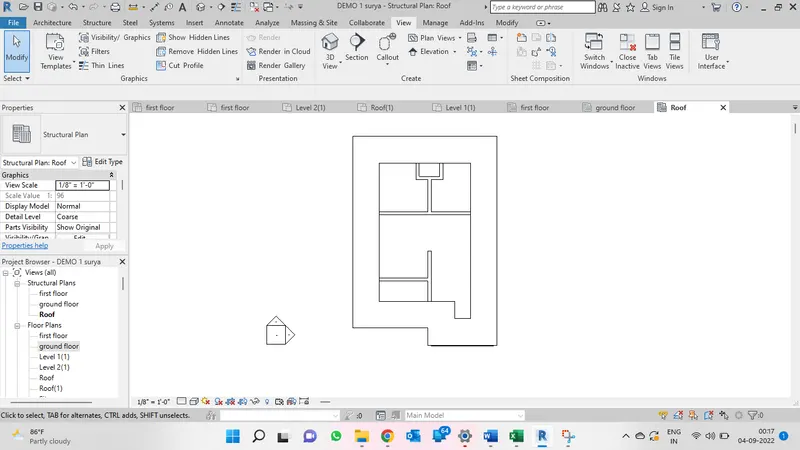
Result : From the following procedure,we come to know how to create separate floor plans for both architectural and structural views.
4)Aim & Inroduction : To Use annotate toolbar add dimensions to all the walls and floors with reference to the longitudinal and transverse grids created in the project file
Procedure :
1)From The Deisgned plan,Choose Annotate toob bar and Check the dimensions from the Created floor plan viewe for both structral and architectural.
2)Choose annotate and Choose linear Option to know the dimensions as shown
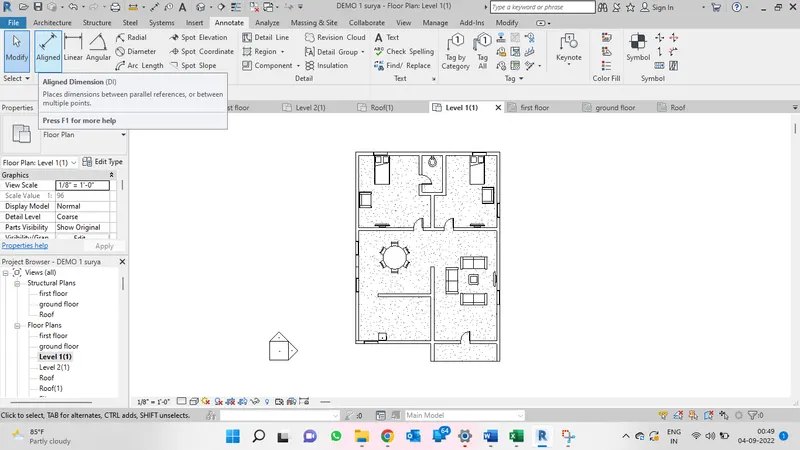
3)Shown below is the architecture Floor Plan dimensions.
4)Show Below is the Structural floor plan Annotations
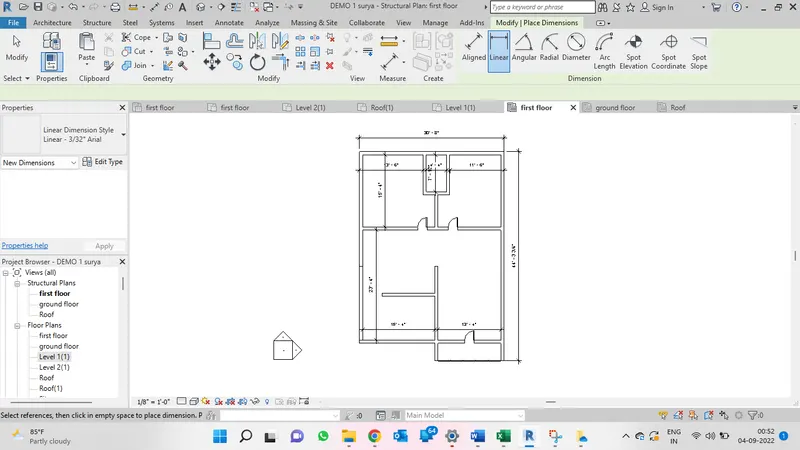
Results : From The above Procedure we came to know how to mention the dimensions of the building.
5) Aim & Introduction : To Create a sheet template from the view tab and adjust the parameters on the sheet to add appropriate views
Procedure :
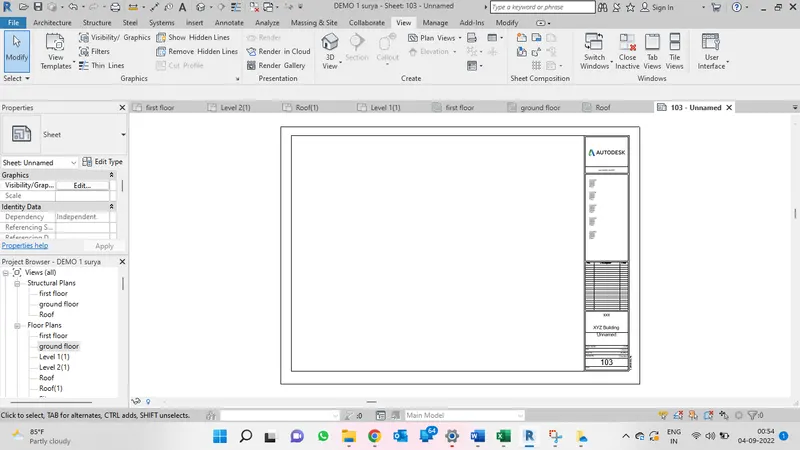
1)From the Designed Plan,Choose view tool bar and Select sheet option from the tool bar as shown below.
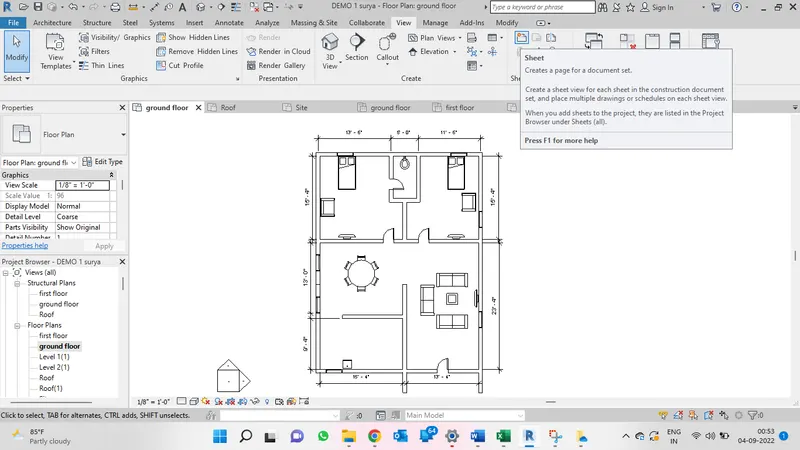
2)By Clicking on the sheet option ,Following box opens and click ok as shown below
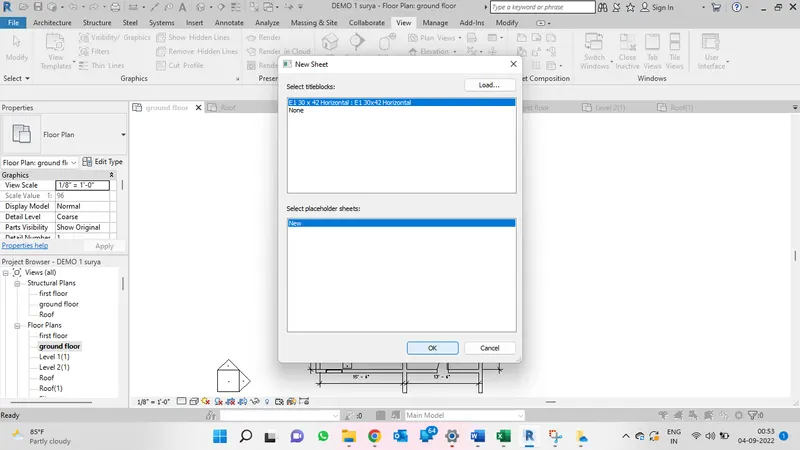
3) By Proceeding the sheet appears as shown below.
4)Duplicate the File Which is going to be placed there
5)Set the Scale and place the file and Change the details of the project respectively as done below.
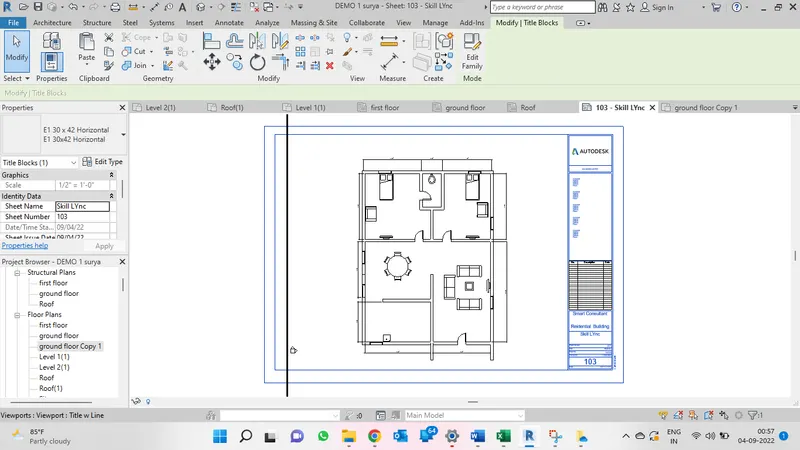
Results: From the above Procedure we come to know how to create a sheet and to add on the information to it using autodesk revit.
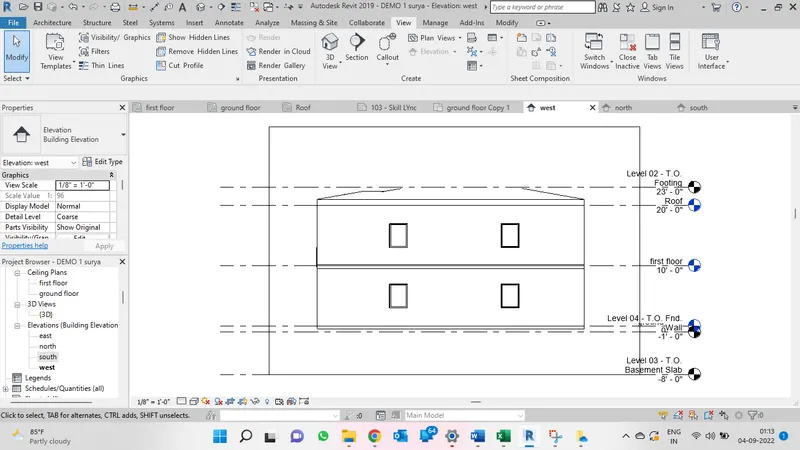
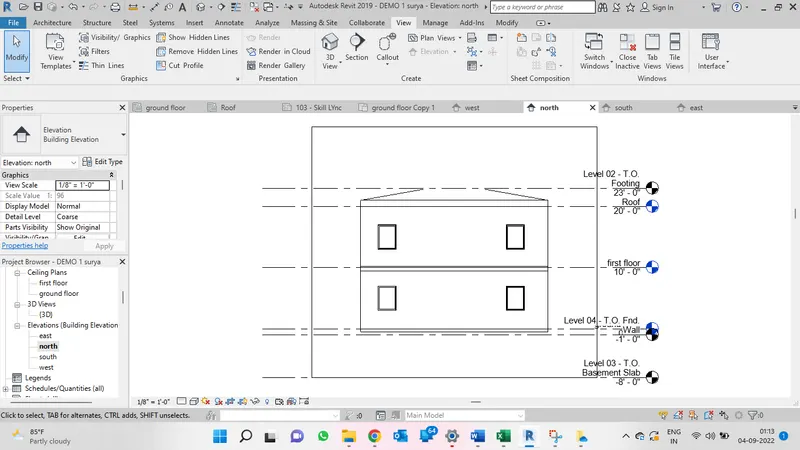
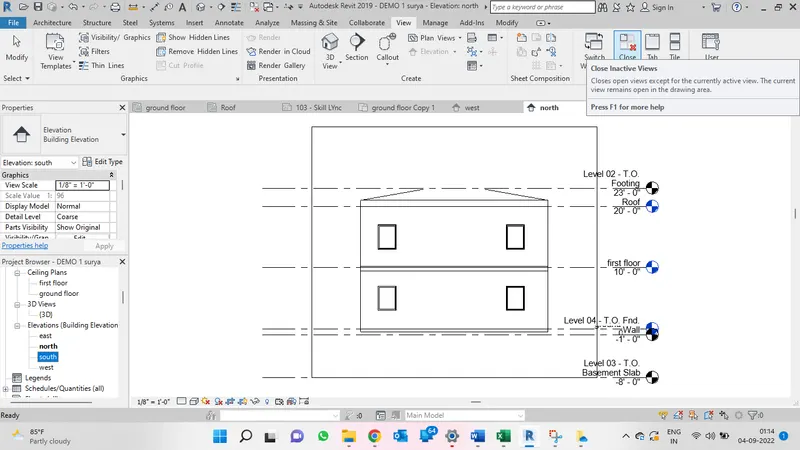
6)Aim&Introduction : To Use the elevation tab create the elevation views, looking at your building from East, North, South, and West
Procedure :
1)FromAlready Designed View ,go to elevation tool bar as shown below.
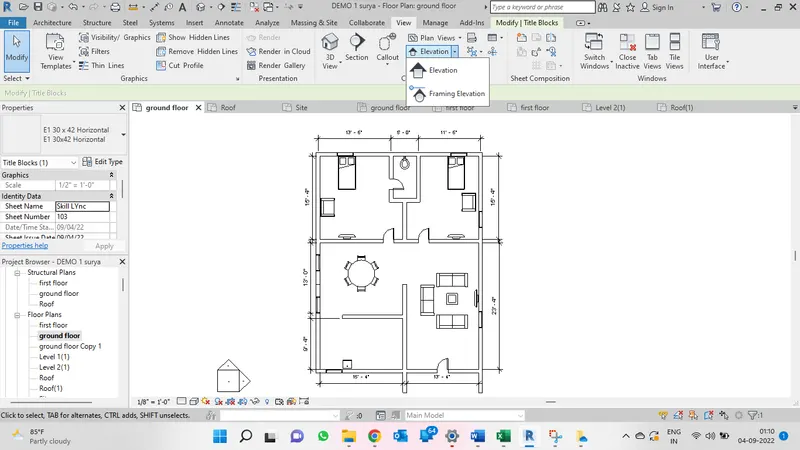
2) Using the elevatiom tool bar we can see the following views
East View
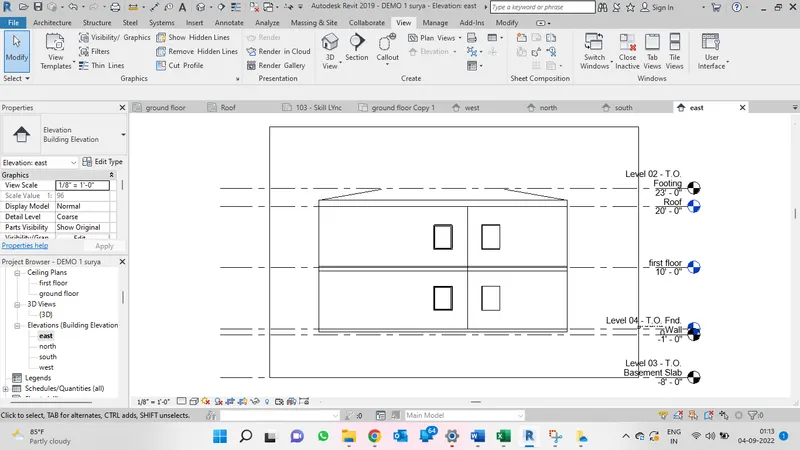
West View
North View
South View
Result : From the following Procedure we come to know how to create elevation view for the floor plan
7)Aim & Introduction : To Produce section cut through each room either cutting across longitudinally or in a transverse direction
Procedure :
1) From the Above Designed Plan,Choose view from tool bar and select section from it as shown below
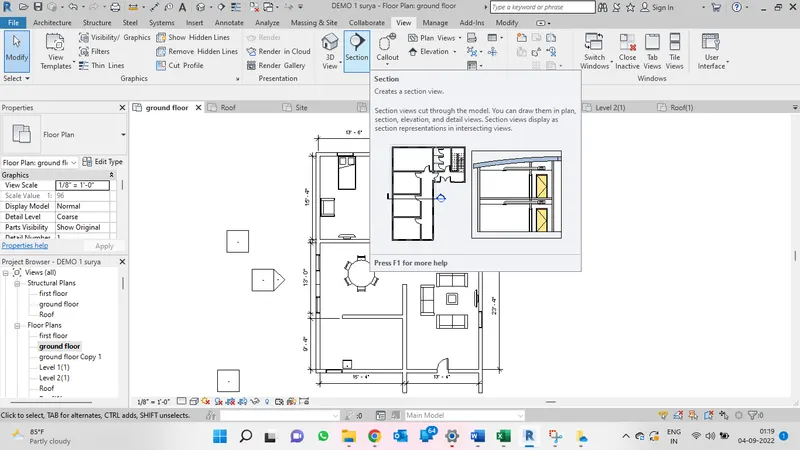
2) From the ground Floor plan section it both longitudinally and transversley as shown are 3 examples of revit sections
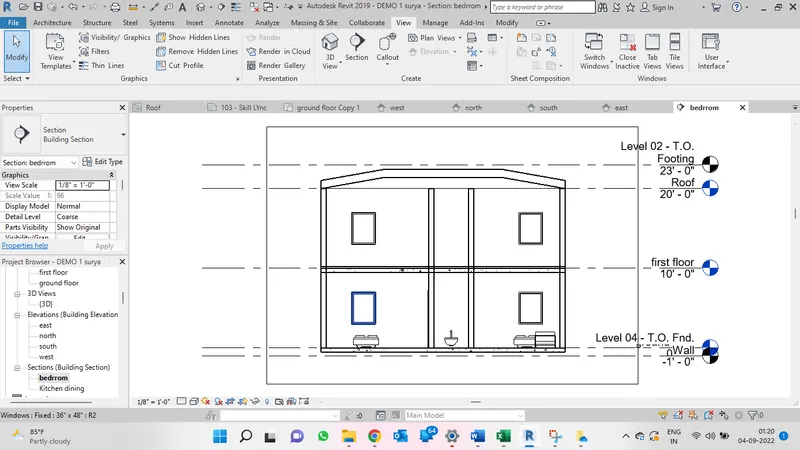
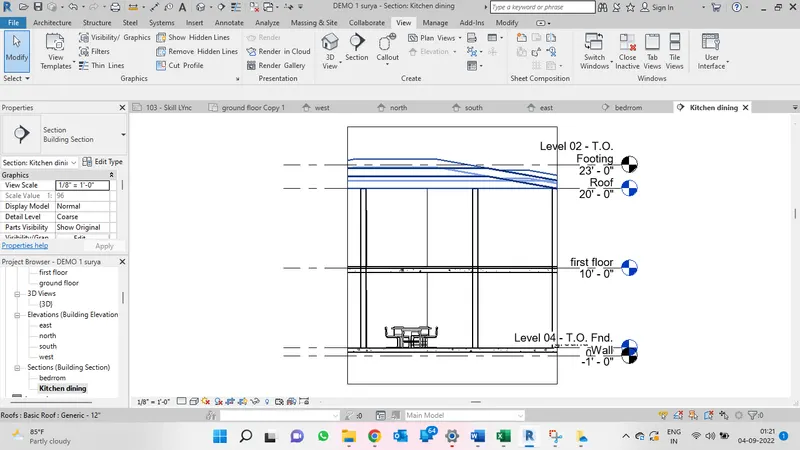
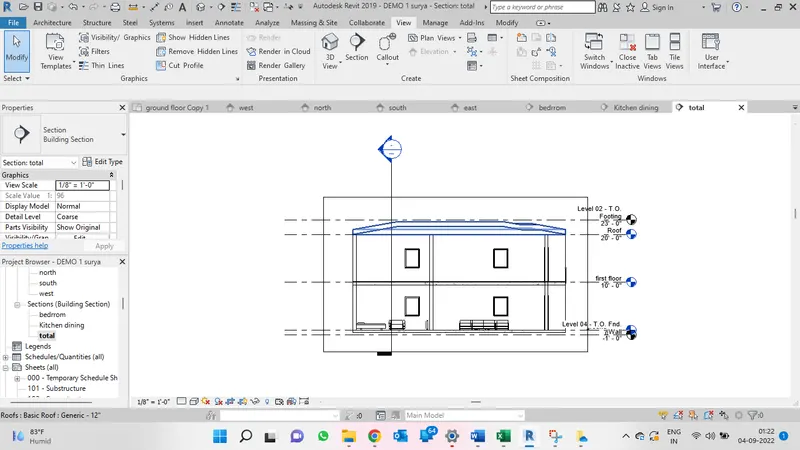
Results : From the Above Procedure we come to Know about how to do Section view using autodesk revit software.
8) Aim & Introduction :To Classify the views, Plan Views, Section Views, and Elevation views to either Design or Documentation category using Properties browser
Procedure :
1) Property and project browser always appears on the left screen of revit software
2)If not available choose the manage option and click on user interface you can active the project and property browser as shown below
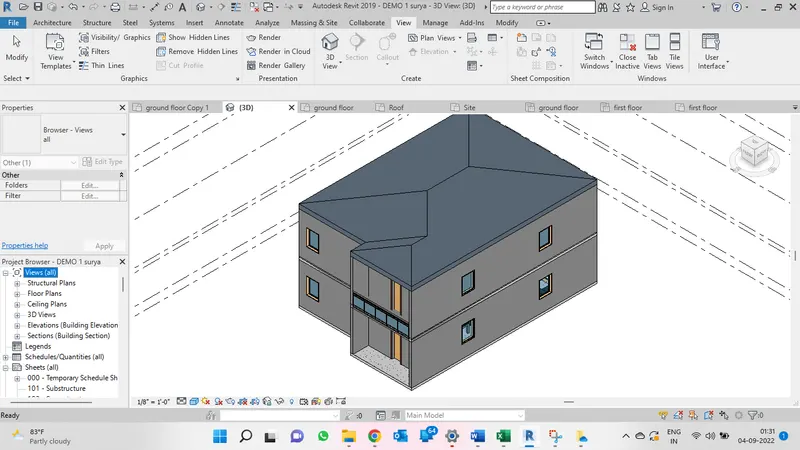
Results: From the above procedure we are able to know how to and what to get to know from the respective browsers.
9)Aim & Introduction : To use the sheet template produced create multiple sheets as follows
a. A 101- Ground Floor Architecture Plan
b. A 102- First Floor Architecture Plan
c. A 103- Roof Plan
d. S 101- Ground Floor Structural Plan
e. S 102- First Floor Structural Plan
f. S 103- Roof Framing Plan
g. A-201- North-South Elevations
h. A-202- East-West Elevations
Procedure : From The above Deisgn , Choose View tool bar and choose sheet option and add the followimg sheet repectively.
A101 - ground floor architectural
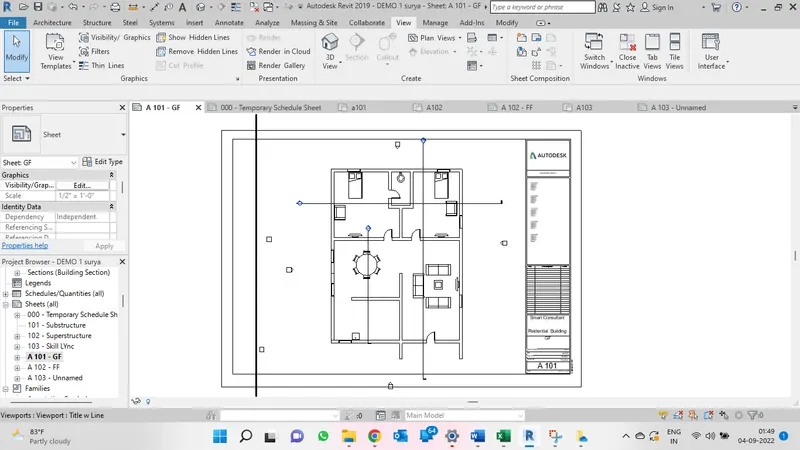
A-102 First floor Architectural
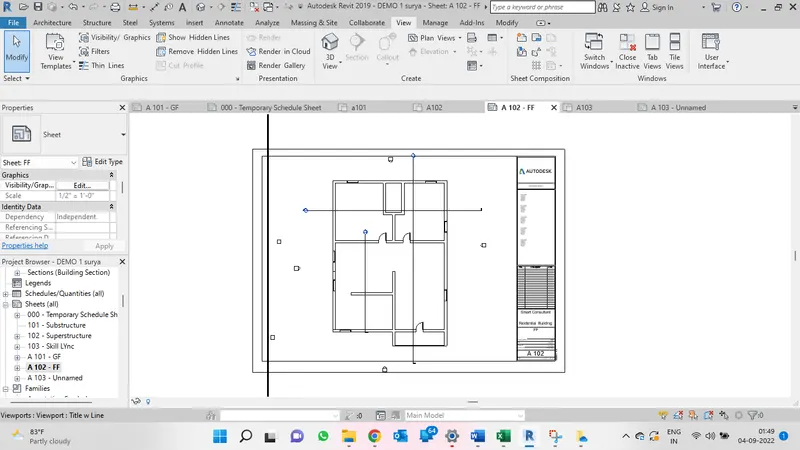
A-103 Roof
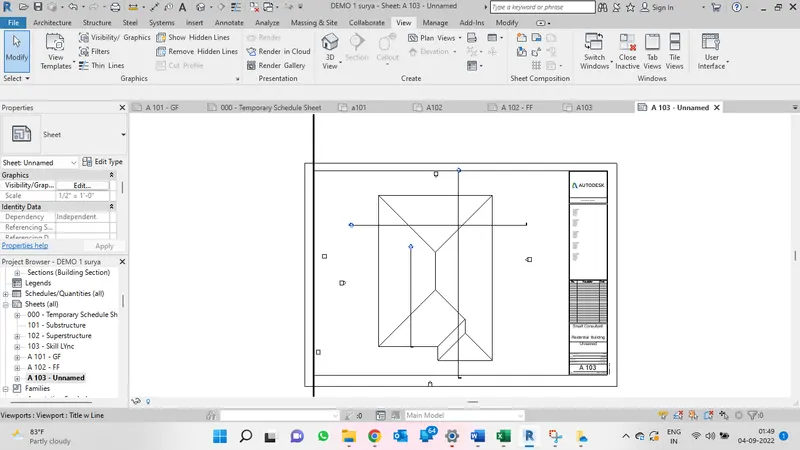
S-101 Ground Floor Structural
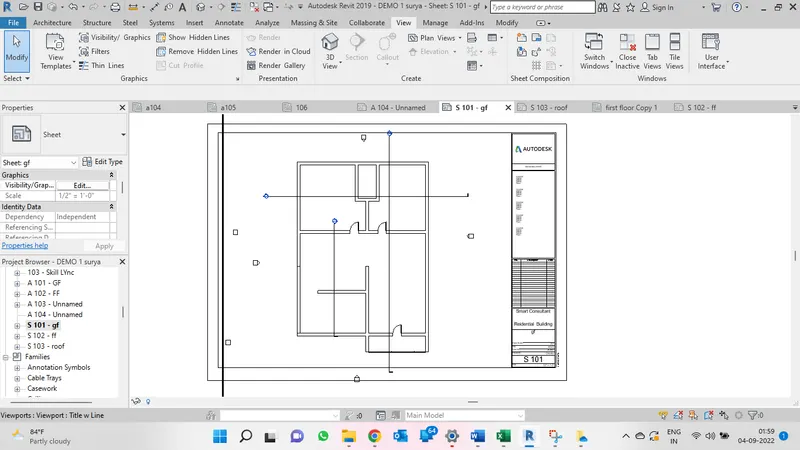
S-102 First Floor Structural
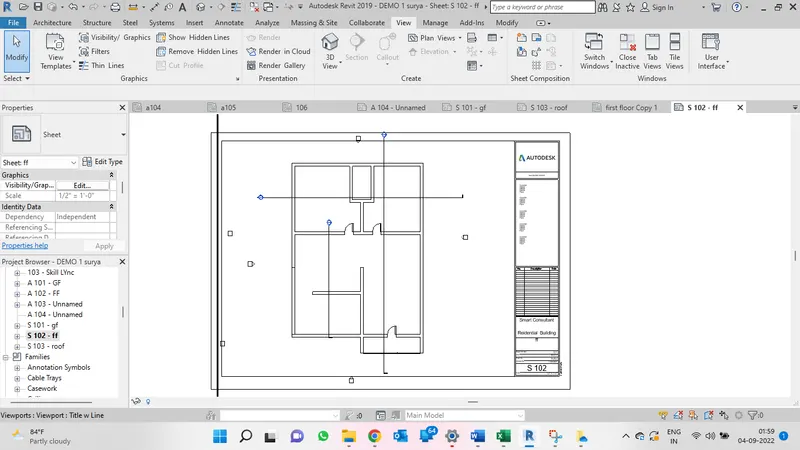
S -103 Roof
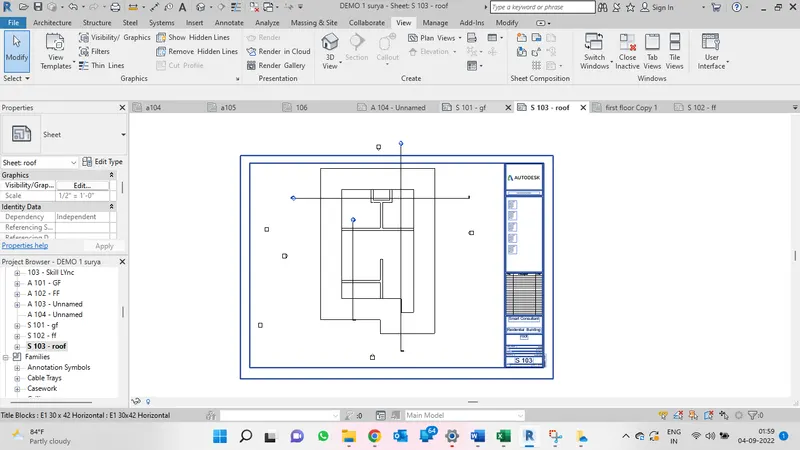
Results : From the above Procedure we come to know how to create multiole sheets.
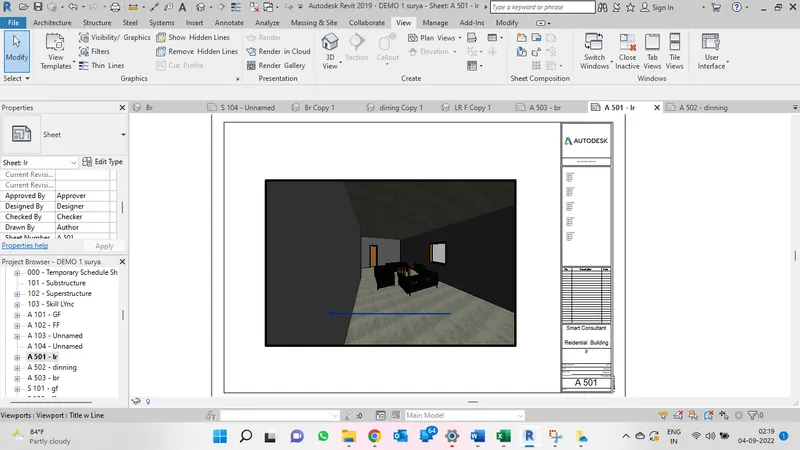
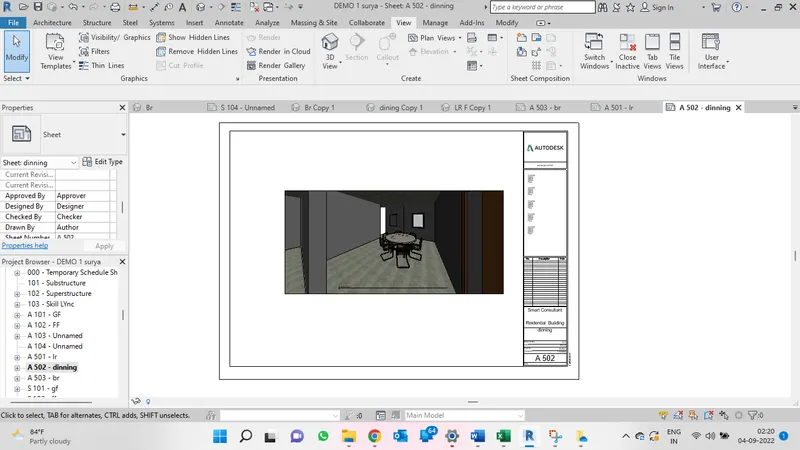
10) Aim & Introduction : To Create a camera-specific view or a 3D view in each room ( living, dining, bedroom). Based on the views create a new set of sheets starting A-501 (you can add as many sheets after, 502, 503.. n)to place the 3D view images. Produce the sheets as a part of project drafting.
Procedure :
The Following are done and shown below
A-501 Living room
A-502 Dinning room
A-503 Bedroom
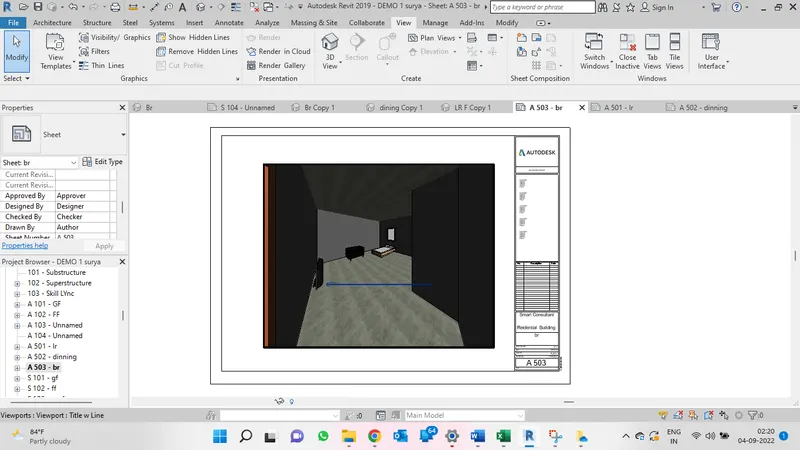
Results : From the Above Procedure we came to know how to use camera tool and place the respecrive image in a sheet.