Creating Walls, Partition walls and Floors for a residential layout using REVIT
Aim-To create a floor, assign material to it and give thickness using property browser,
Introduction-In this using week-2 project file i.e.Challenge-2 file to creating a floor. We can assign diffrent material to floor as Revit provide us so many options. We can manage thickness of floor by creating duplicate of inbuilt floor.
Procedure-
-Open "Challenge-2" file
-Select ground floor level
-Go to Architecture toolbar>Select Floor>Select Floor Architecture>Select Pick lines option
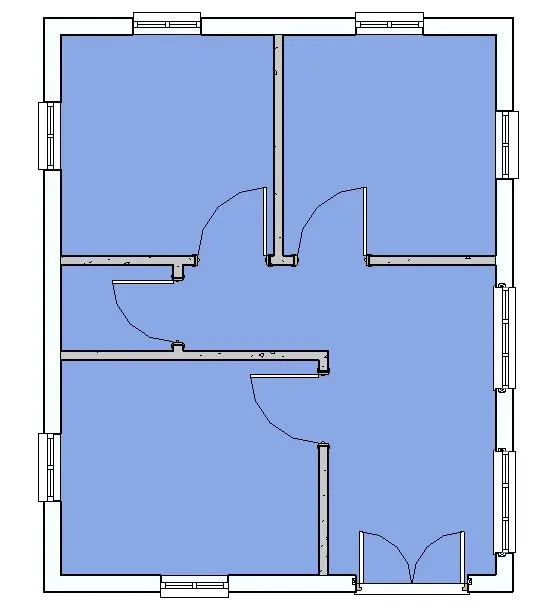
-After creating floor, select that floor go to properties>select Edit>Click on duplicate>Floor_4">Select strctural edit>Select material option and choose material>Give thickness of 4".
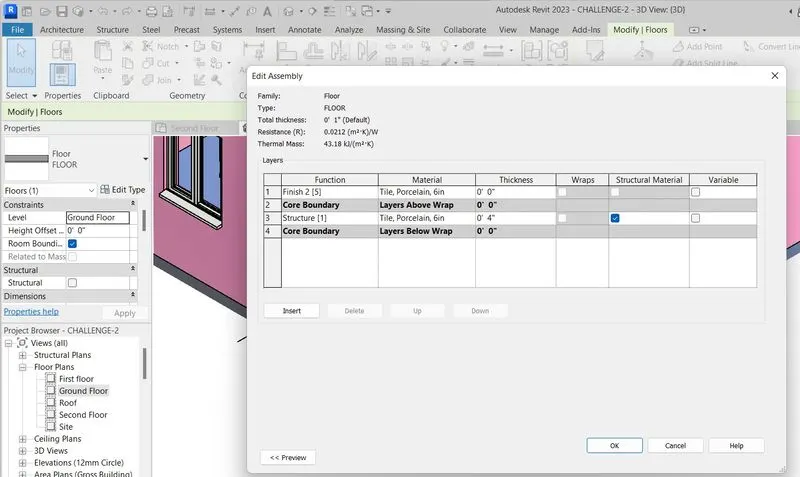
-Tile porcelain material is used
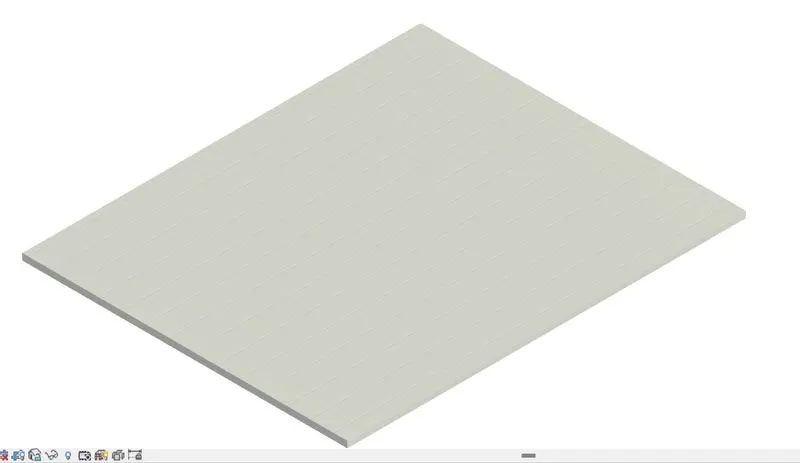
Result-
Floor is created, Tile porcelain material is assgined and 4" thickness provided.
Aim-To draw walls, assign material to it, give thickness and check walls of constrained.
Introduction-In this using week-2 project file i.e.Challenge-2 file to creating walls. We can assign diffrent material to walls as Revit provide us so many options. We can manage thickness of floor by creating duplicate of inbuilt walls.
Procedure-
-Open "Challenge-2" file
-Select ground floor level
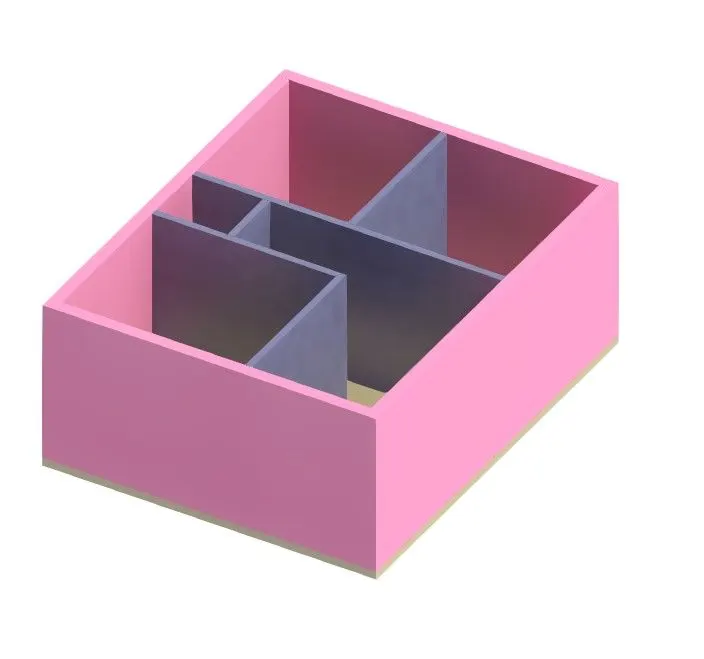
-Go to Architecture toolbar>Select wall>Select Architecture wall>Draw walls acording to floor level for that elect line from draw panel.
-After creating wall select wall go to Properties>Select Edit>Click on Duplicate>Exterior wall>Go to structural tab Click on Edit>Give thickness 9">Click on material and select appropriate material
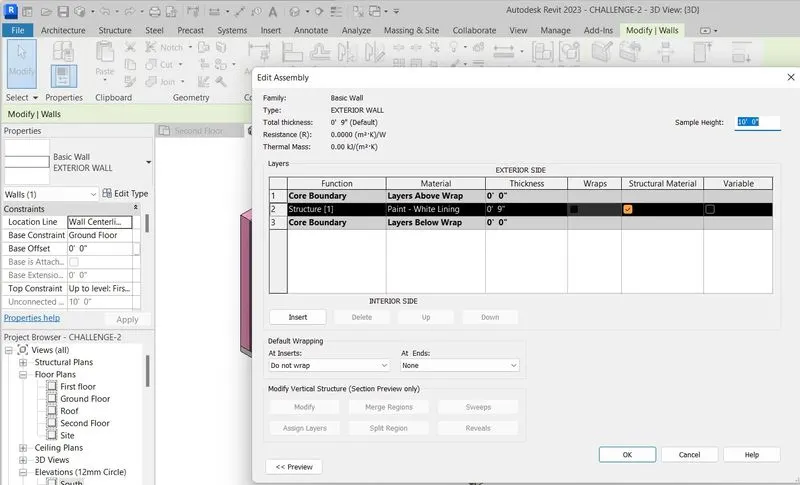
-We can change the color by go to Appearance of that material
-Follow this same procedure for INTERIOR WALL
-Now go to Properties and check the constrain of walls
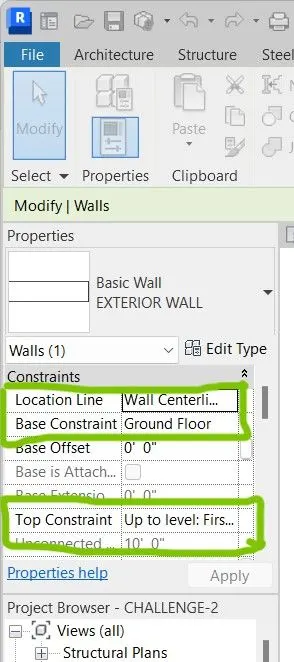
a]
By connecting WALLS with the associated levels we can change the elevation height easily just by changing the value of that respective LEVELS.
Editing the Wall height and floor height can easily done.
Attaching the Floor to the walls is easy by connecting walls with the associated Levels.
b]
Modelling the walls by Height option is convenient.
We can draw the walls from Zero Level to Top Level
No confusion while creating Floors levels.
Result-
The walls are created, assigen material to it , provide thickness also.
The constraine of walls are also checked.
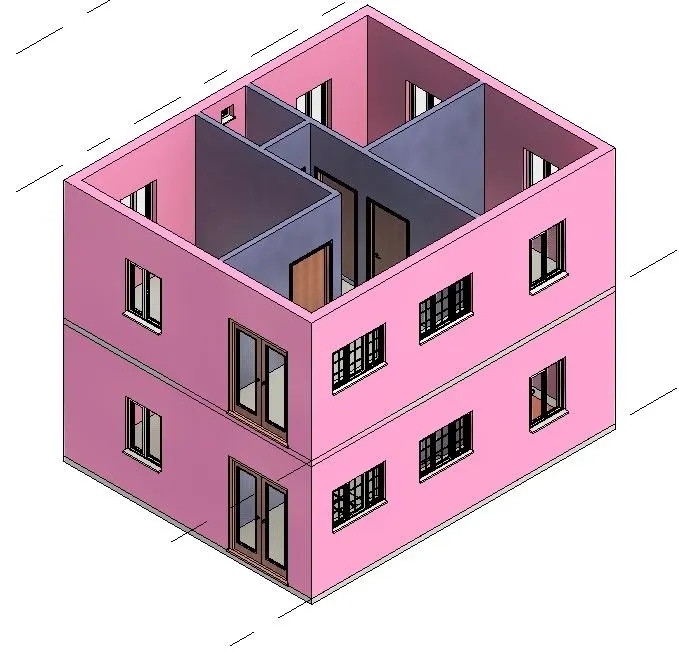
Aim-To copy the model elements modelled to ground floor level paste it aligned to first floor level.
Introduction-In "Challenge-2" file there is already ground floor plan is created with floor, walls. We can create first floor just by copy command and paste it to align first floor level. In Revit we can easily create multiple floor building.
Procedure-
-Open the "Challenge-2" file
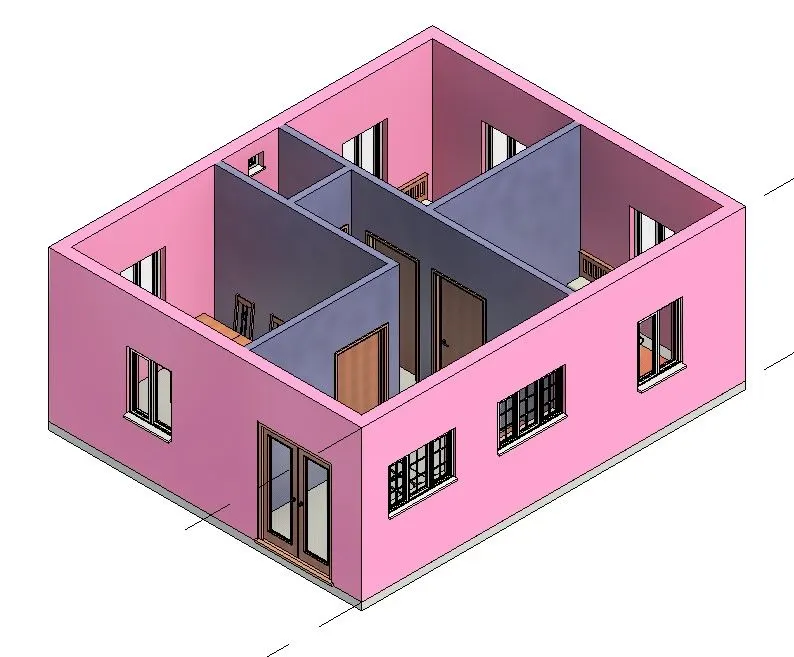
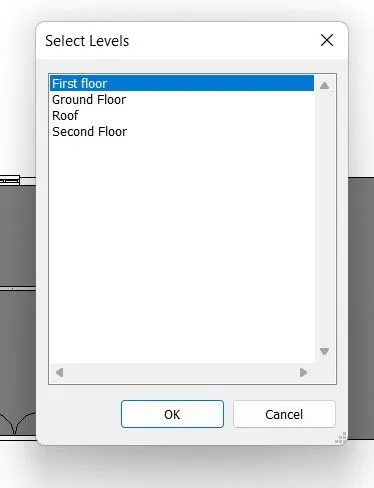
-Click on ground floor level and select whole plan and Go to Ribbon>Select Copy to clipboard>Select Paste>Select Aligned to Selected Levels>Select First Floor Level
-Model align properly to first floor level
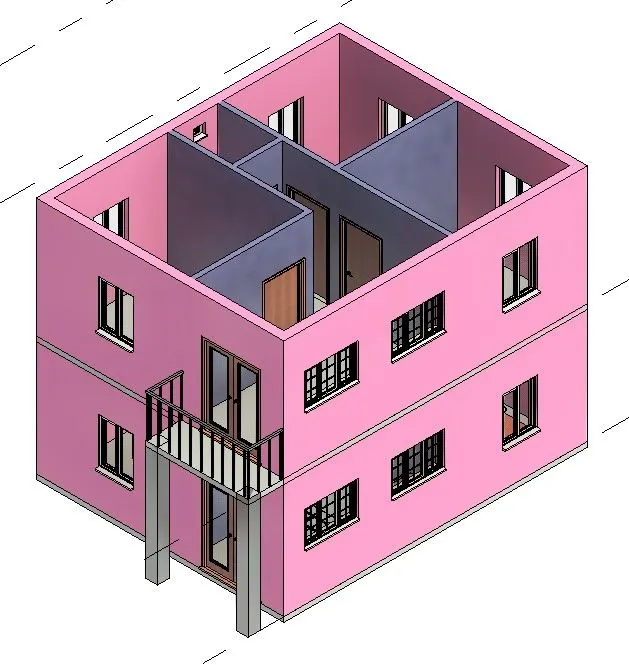
-Go to Architecture toolbar>Select floor>Select Architectural floor>Select draw panel>Select lines and draw floor
-Go to Properties>Select Edit>Select material>Thickness is 4"
-To draw Railing Go to Arrchitectural toolbar>Circulation>Select Railing>Select pick lines>Select floor lines that we just created>Ok
-Go to properties change Railing base to First Floor Level
-To Draw column Go to Architecture toolbar>Build>Select column>Select Edit>Select Duplicate>make it 1'x1'
Result-
First floor plan created by copy and paste command.
Aim-To draw residential unit which include Living room, Dining room, Bed room, Rest room and Kitchen.
Introduction-In Revit we can draw outer walls and inner walls as per our preerences.
All dimensions are in feet and inches.
Procedure-
-Open Revit software
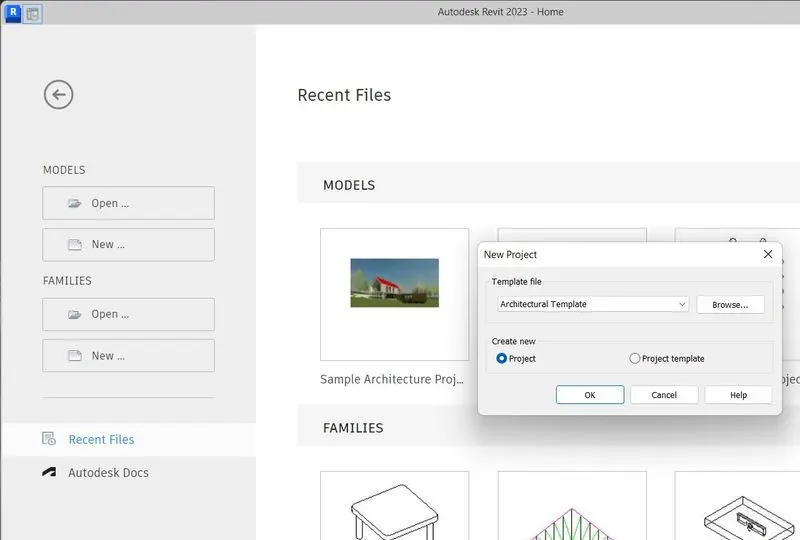
-Select new>Select Architectural template>Select Projet>Ok
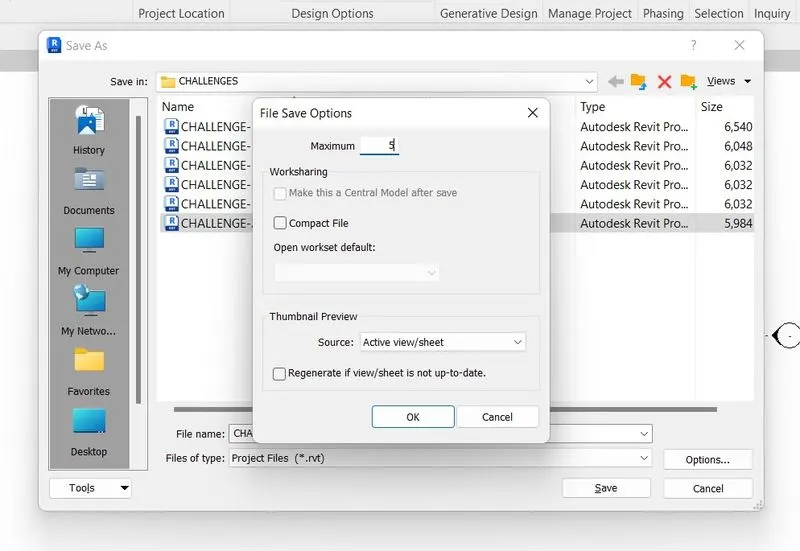
-Go to file>Select Save option>Type Challenge-3>Select Option>Set backup 5>Ok
-Go to Manage>In setting panel>Select Project unit>Click on Length>Change m to feet and inches
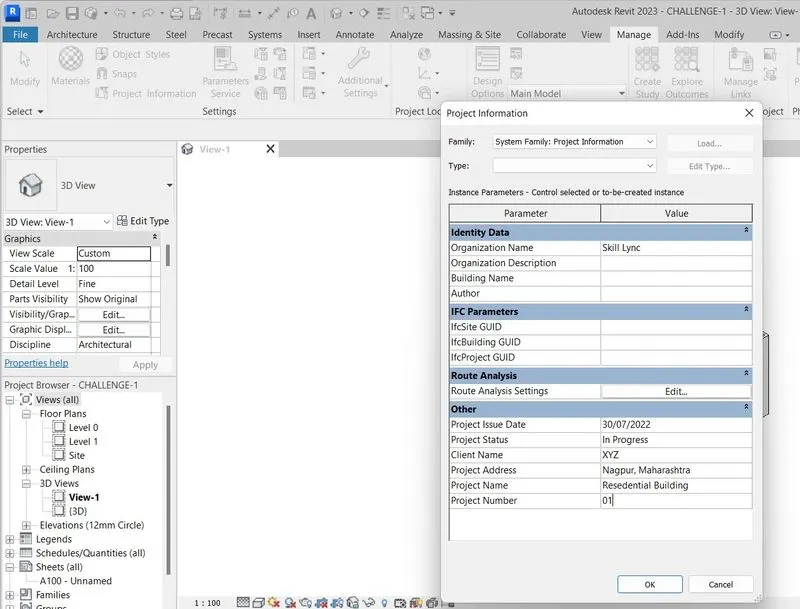
-Go to Manage>Select Project Information>fill all the details
-
-
-Go to Manage>Select Location>Set Location
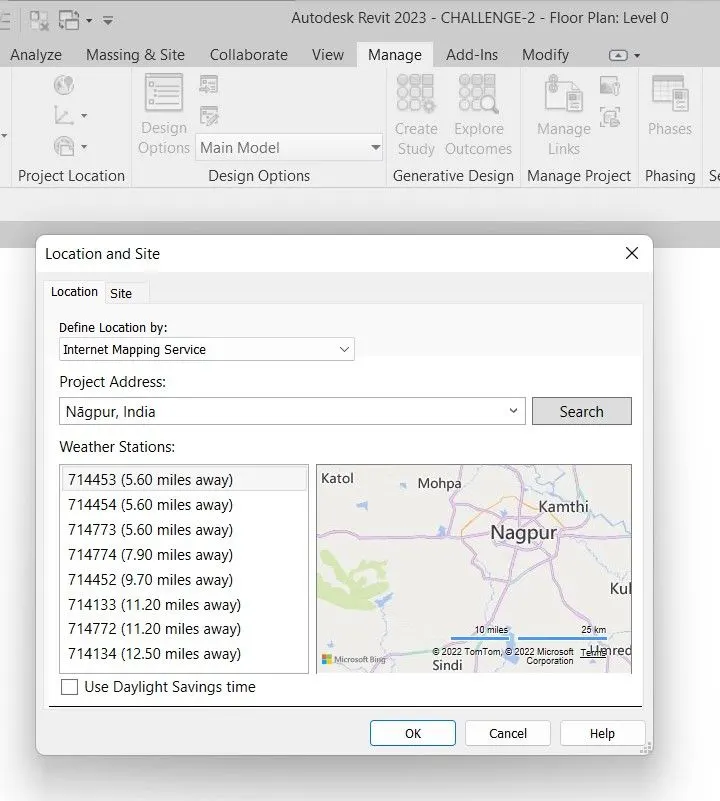
-Go to Elevation>Select East
-Click on level and rename it as Ground floor level and First floor level
-Select ground floor level
-Now go to Architecture tab>Select Architecture wall>
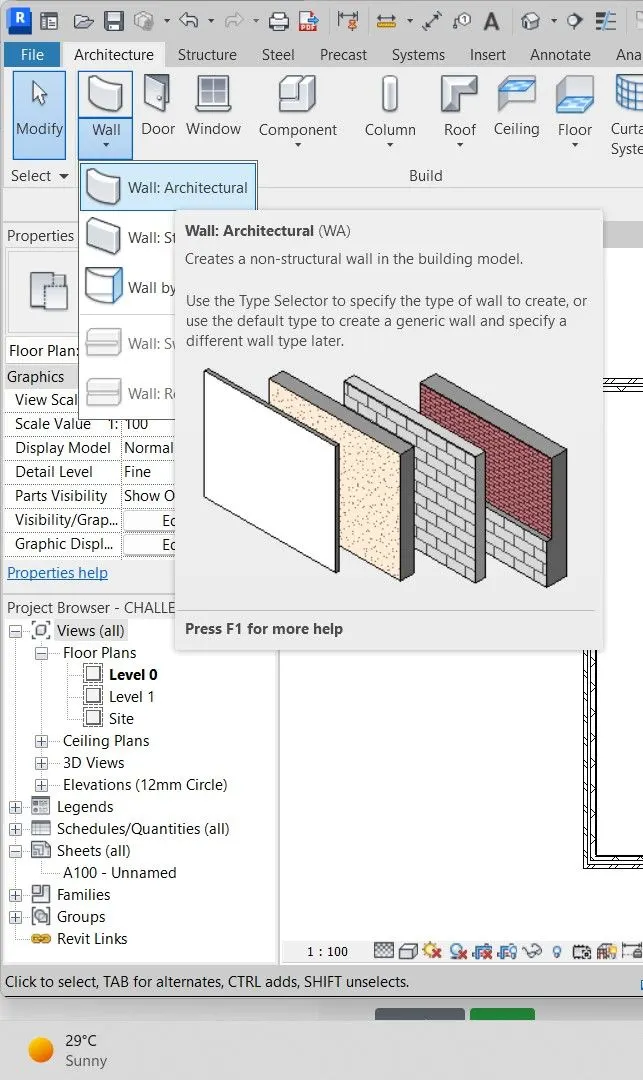
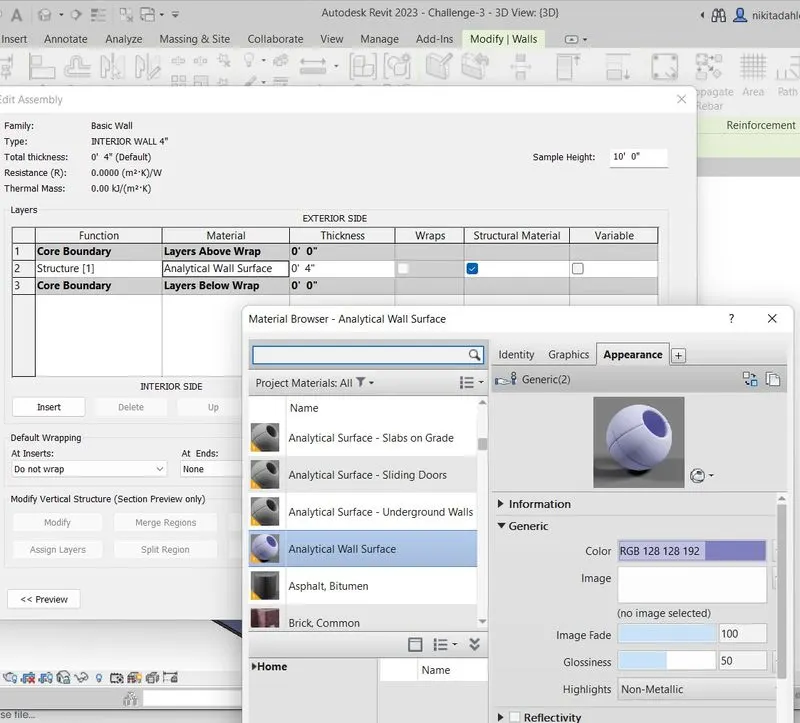
-Go to properties>Select Duplicate>Exterior wall 9">Select structural edit>Select thickness9"
-Draw exterior walls
-Go to properties>Select Duplicate>Exterior wall 4">Select structural edit>Select thickness4"
-Draw interior walls
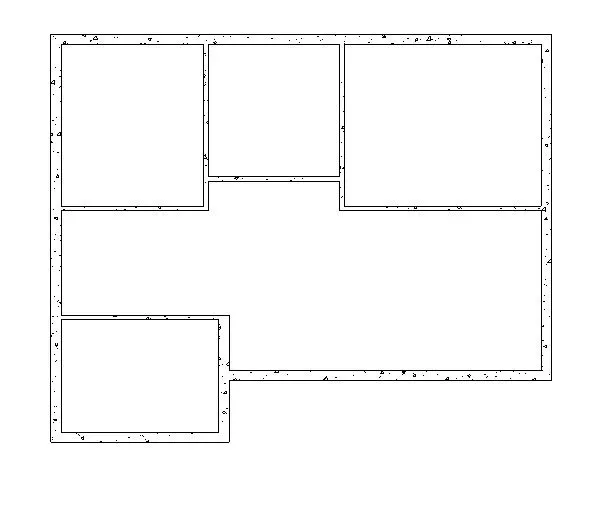
-To drw floor
Go to Architecture tab>Select Floor>Select Architecture floor>In properties click on edit make duplicate FLOOR 4">Select lines and draw floor
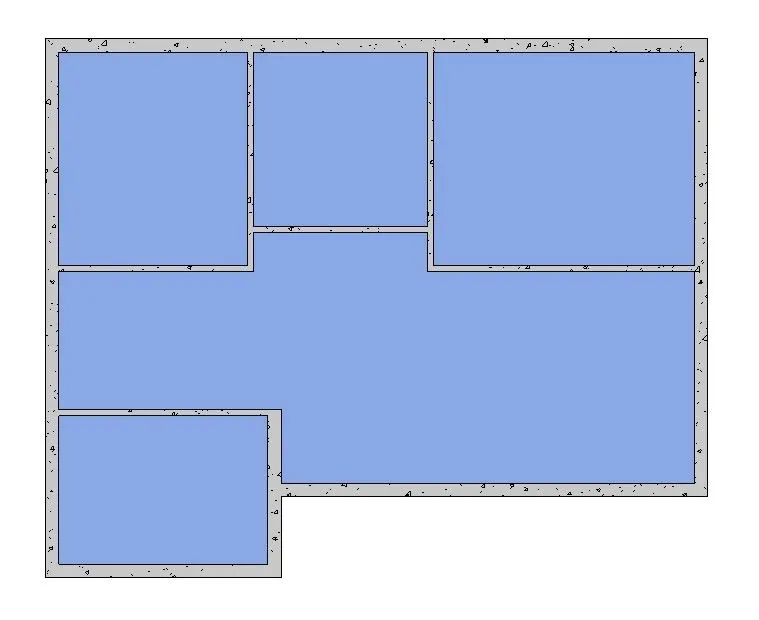
-Go to Annotate>Select Text and enter room name and dimension
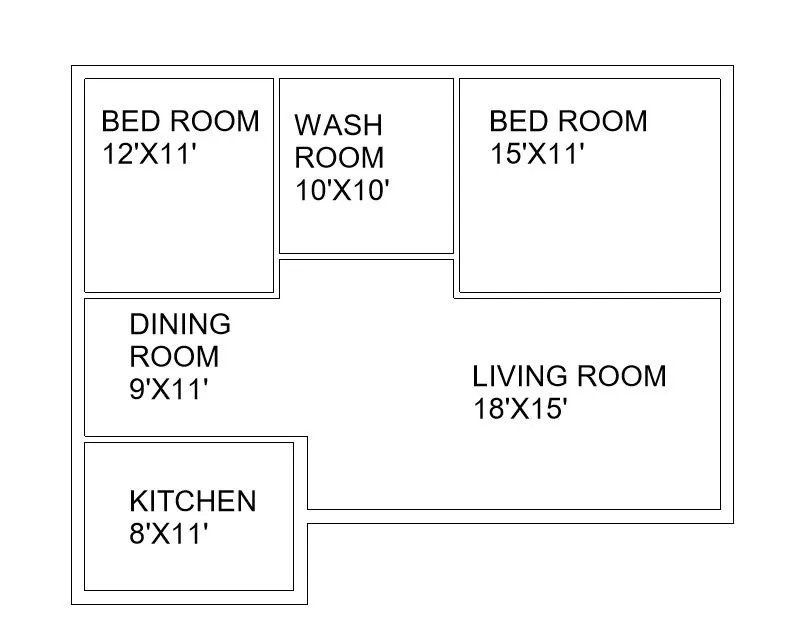
-In Architecure tab we can mark room and room tag and Area and area tag
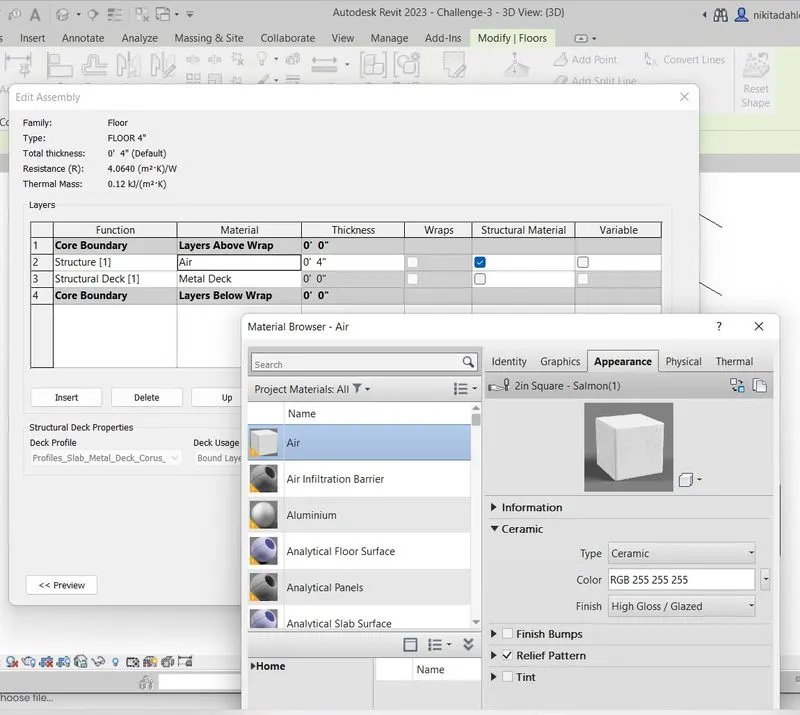
-Now select floor go to properties>Select Edit>Select Structural edit>Select material
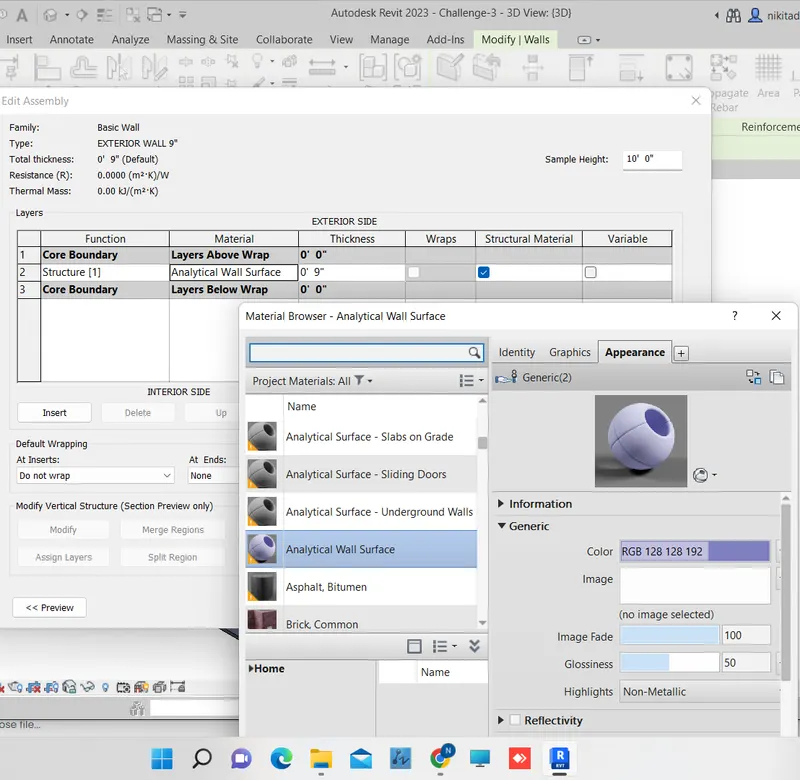
-Now select exterior wall>Go to properties>Select edit>select structural edit>Select material
-Now select interior wall>Go to properties>Select edit>select structural edit>Select material
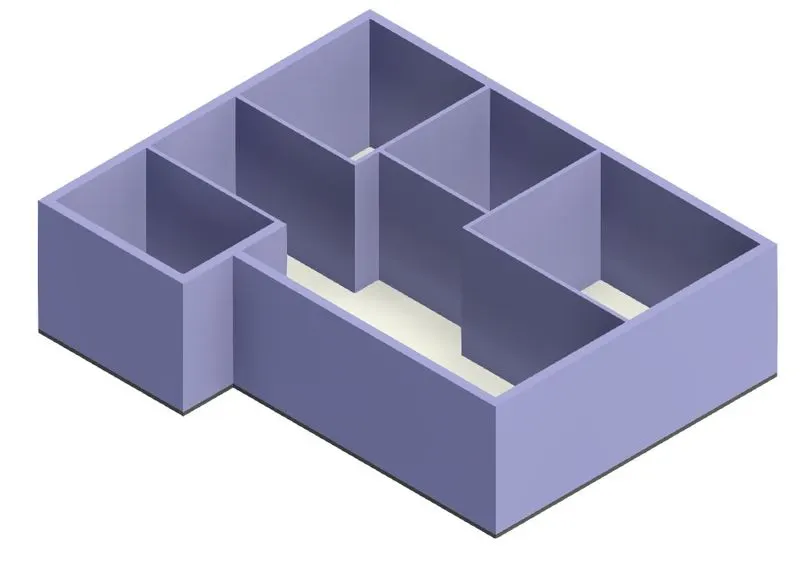
Result
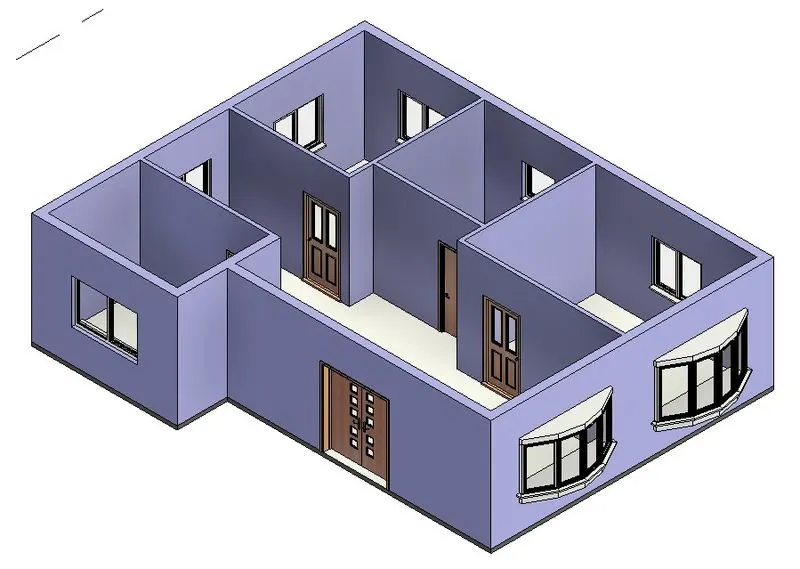
-Residential unit created with Living room, Bed room, Washroom, Kitchen, Dining
Aim-To insert various components in residential unit
Introduction-Here i am using Challenge-3 file
In revit there is inbuilt Autodesk family which include furniture, plumbing equipments, kitchen equipments etc
Procedure-
-Open Challenge-3 file
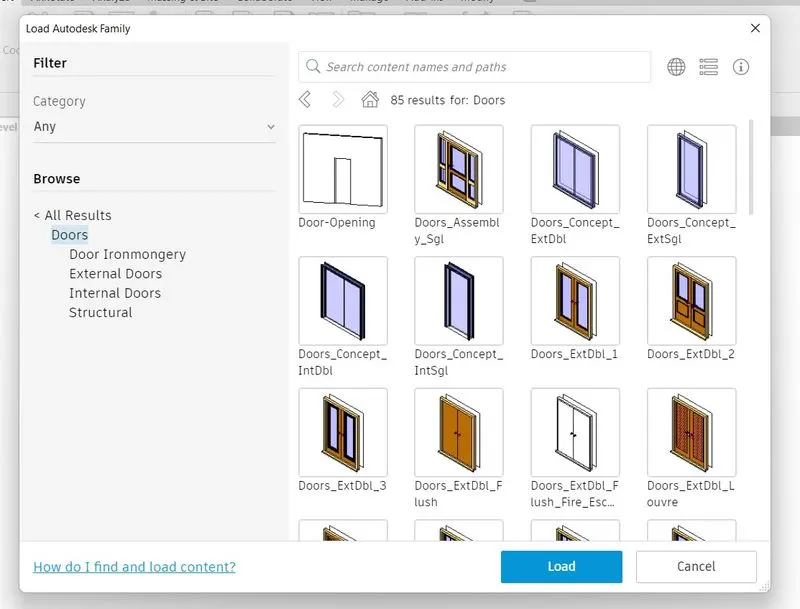
-Go to Insert>Select Load Autodesk Liberary>Select doors>Load
-Now go to Project Browser>Select Families>Select Doors>Select appropriate dimensio and drag in plan
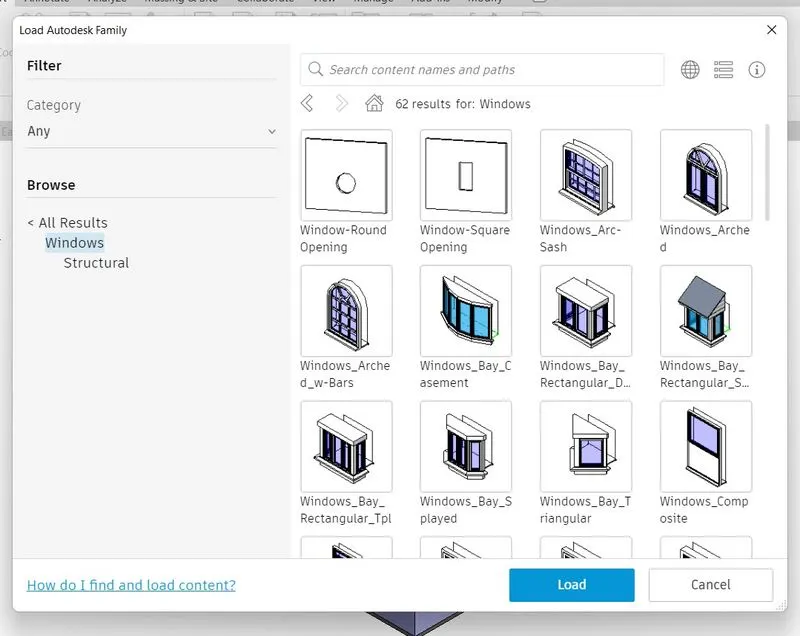
-Go to Insert>Select Load Autodesk Liberary>Select Windows>Load
-Now go to Project Browser>Select Families>Select Windows>Select appropriate dimensio and drag in plan
-Place doors and windows to every rooms properly
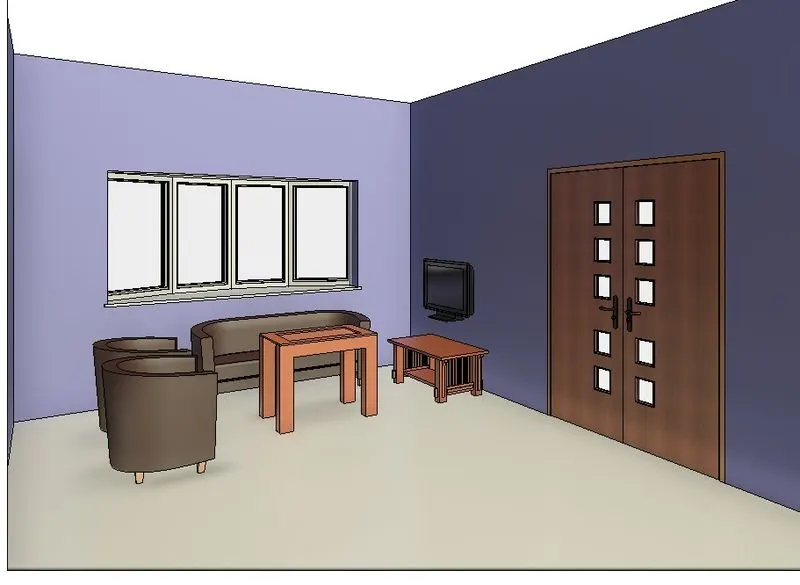
-Now again go to insert>Load Autodesk library>Select Furniture>Select sofa, table etx for living room
-Go to View>Select 3D view>Select Camera>In ground floor place a camera in living room
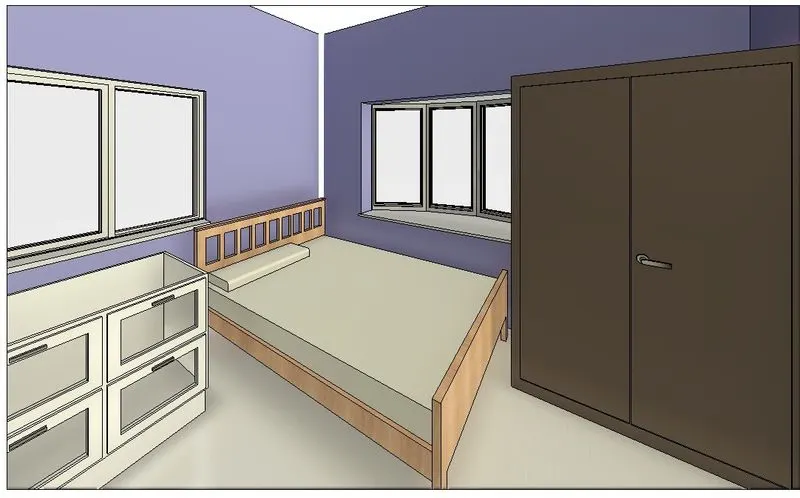
-Now again go to insert>Load Autodesk library>Select Furniture>Select bed,shelves etc for bed room
-Go to View>Select 3D view>Select Camera>In ground floor place a camera in bed room
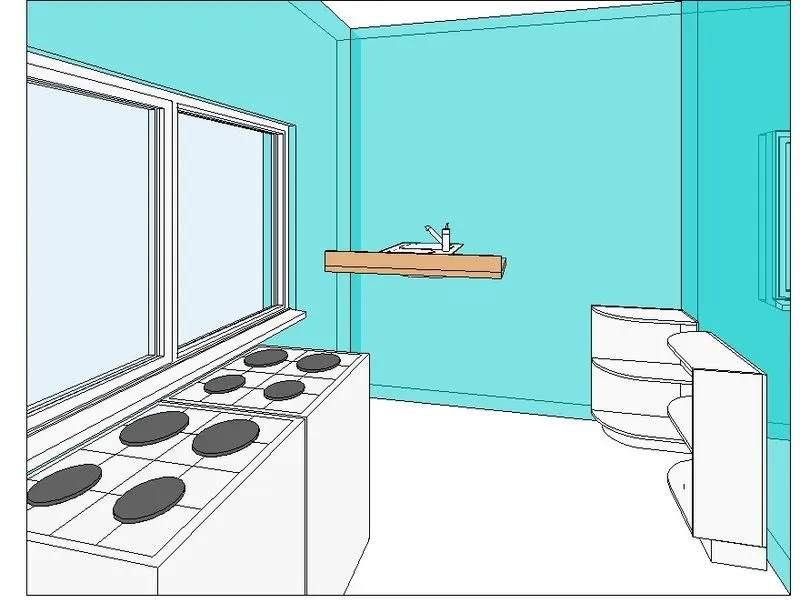
-Now again go to insert>Load Autodesk library>Select Furniture>Select gas stove, basin etc for kitchen
-Go to View>Select 3D view>Select Camera>In ground floor place a camera in kitechen
-Now again go to insert>Load Autodesk library>Select Furniture>Select bathtub, washbasin, toilet eat for washroom
-Go to View>Select 3D view>Select Camera>In ground floor place a camera in washroom
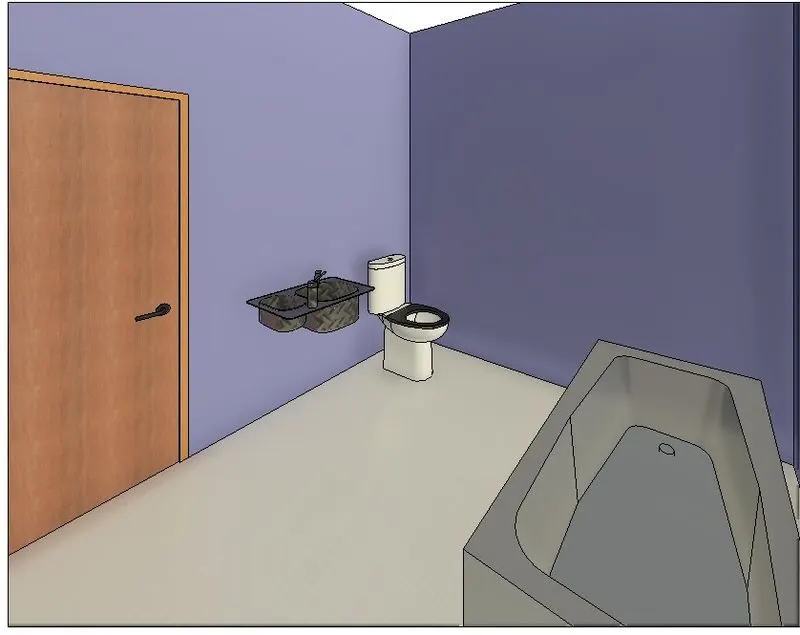
-All the componenet after loading drag from properties browser>Select family>Select Furniture>Select appropriate dimension and place it
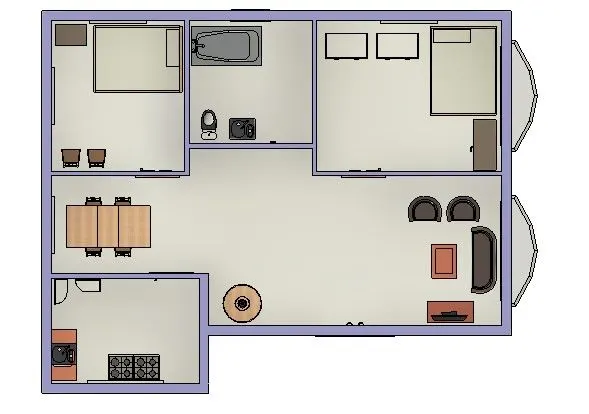
Result-
All the component place in rooms properly
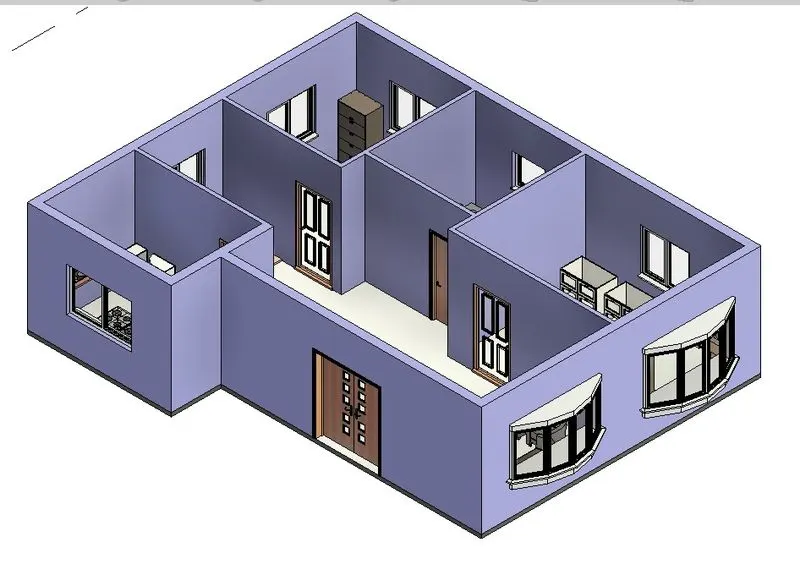
Living Room
Bed Room
Kitchen
Washroom